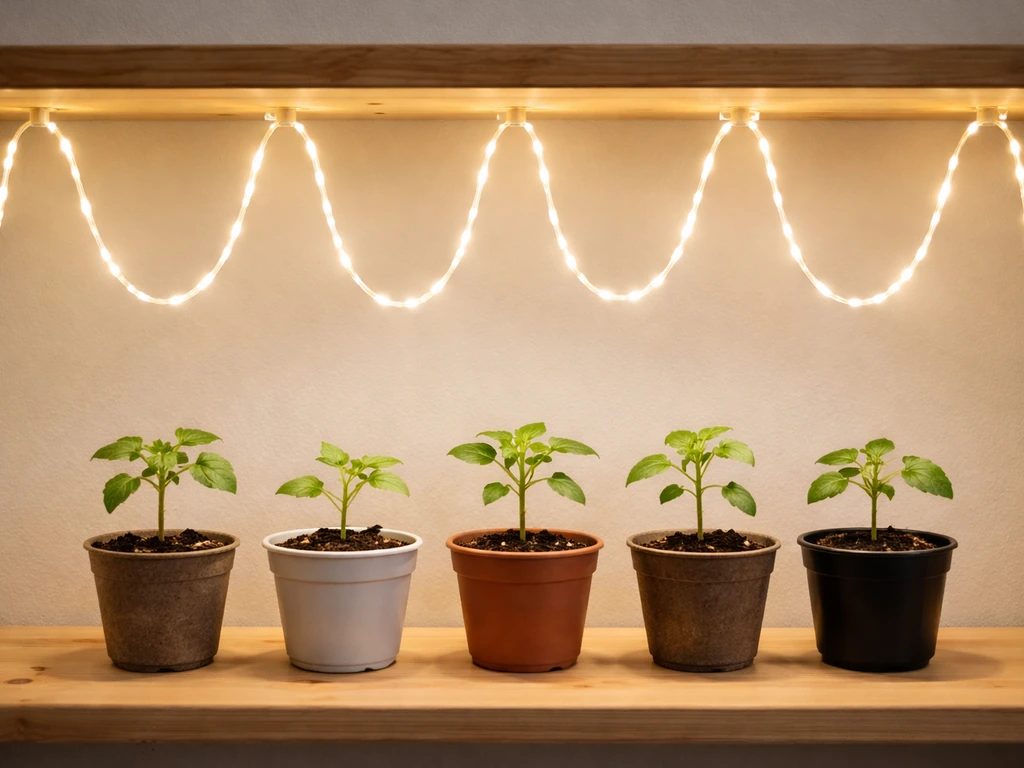
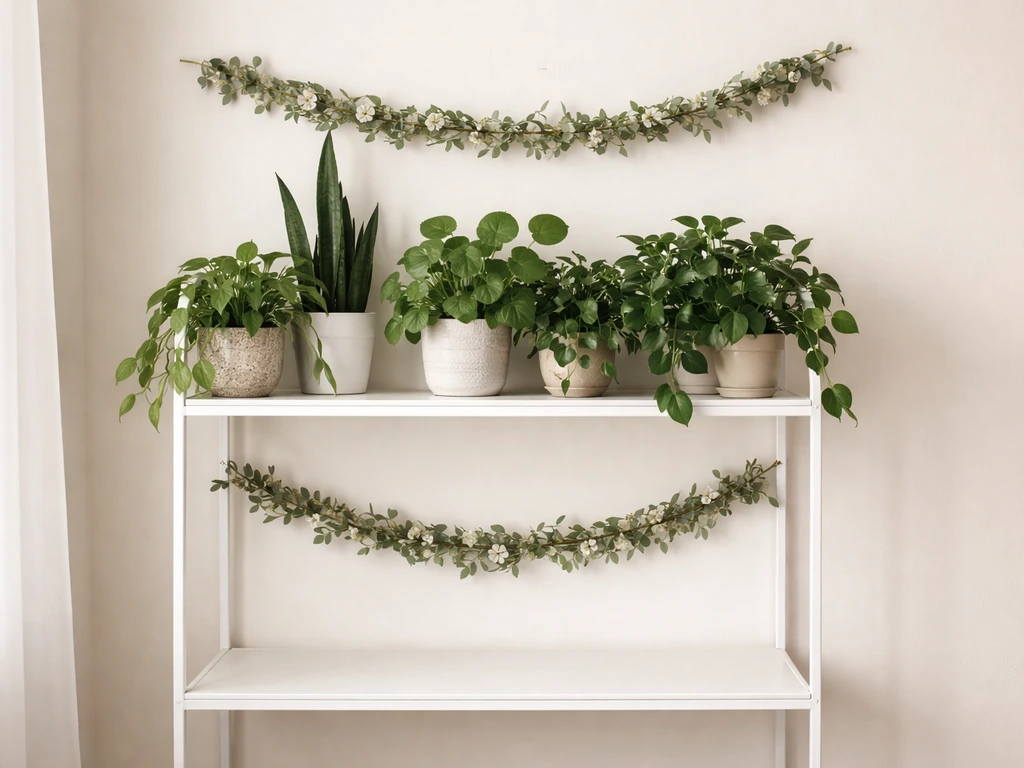
For most indoor gardeners, a garland grow light setup means stringing LED grow-light strips or bulb-string lights above or around your plants to provide supplemental or primary light. Start by hanging the garland 6 to 12 inches above seedlings, plug it into a timer set for 16 hours on and 8 hours off, and you have a working system in under an hour. The key is understanding what type of garland product you have, whether it puts out the right spectrum, and how to position it so every plant gets even coverage.
Garland Grow Light Garden Instructions: Setup Guide

Marcus Tillman
16 May 2026
What a garland grow light setup actually is
The term 'garland grow light' gets used in a few different ways, so it's worth sorting out before you buy or install anything. Most commonly it refers to one of two products: a string of small LED grow-light bulbs on a flexible wire (similar in format to decorative fairy lights but built with plant-growth spectrums), or a strip-style LED grow bar that's long enough to drape or loop around shelving, plant stands, or grow racks like a garland.
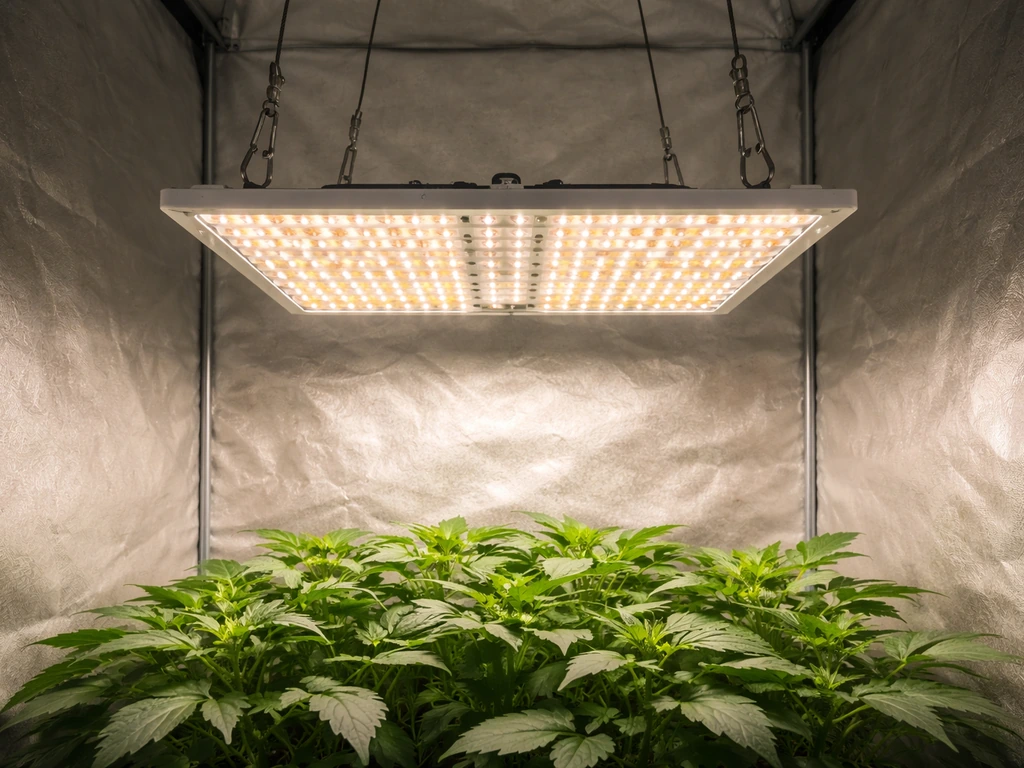
Both formats do the same job: they wrap or layer light around plants rather than casting it from a single overhead point. That's actually a real advantage for bushy houseplants and multi-shelf setups because the light reaches lower leaves and side growth that a single overhead fixture would miss. The trade-off is that total output per foot is usually lower than a dedicated panel or bar fixture, so garland lights work best as a supplement to natural light or for low-to-medium light plants rather than sole-source lighting for heavy feeders like tomatoes or peppers.
If your product looks more like a traditional clip-on or panel fixture and someone just called it a 'garland' in the listing, treat it as a standard grow fixture and follow the spacing and timing rules below. The instructions still apply either way.
Picking the right components before you start
Spectrum: what color light actually matters
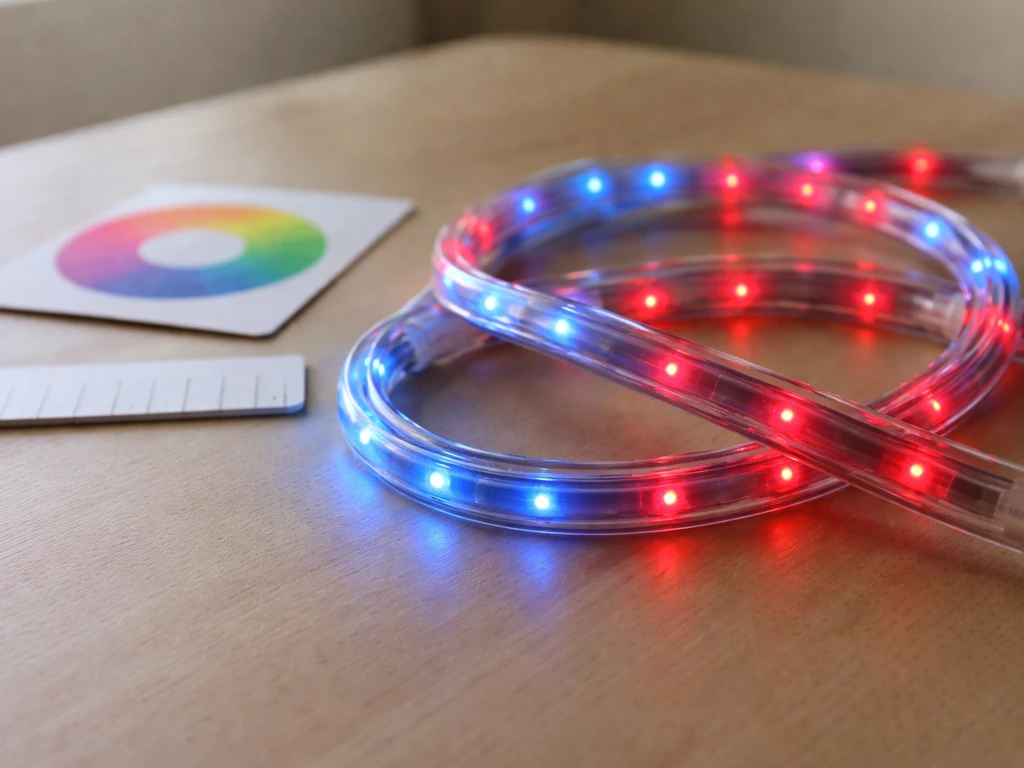
Plants need blue light (roughly 400 to 500 nm) for compact, leafy growth and red light (roughly 600 to 700 nm) for flowering and fruiting. A full-spectrum LED garland that covers both ranges is the safest all-purpose choice. If you see the listing say 'red and blue' or 'full spectrum,' you're in good shape. Pure warm-white or pure cool-white bulbs can work in a pinch for foliage plants but they are not ideal for seed starting or flowering.
Power and coverage: how much do you need
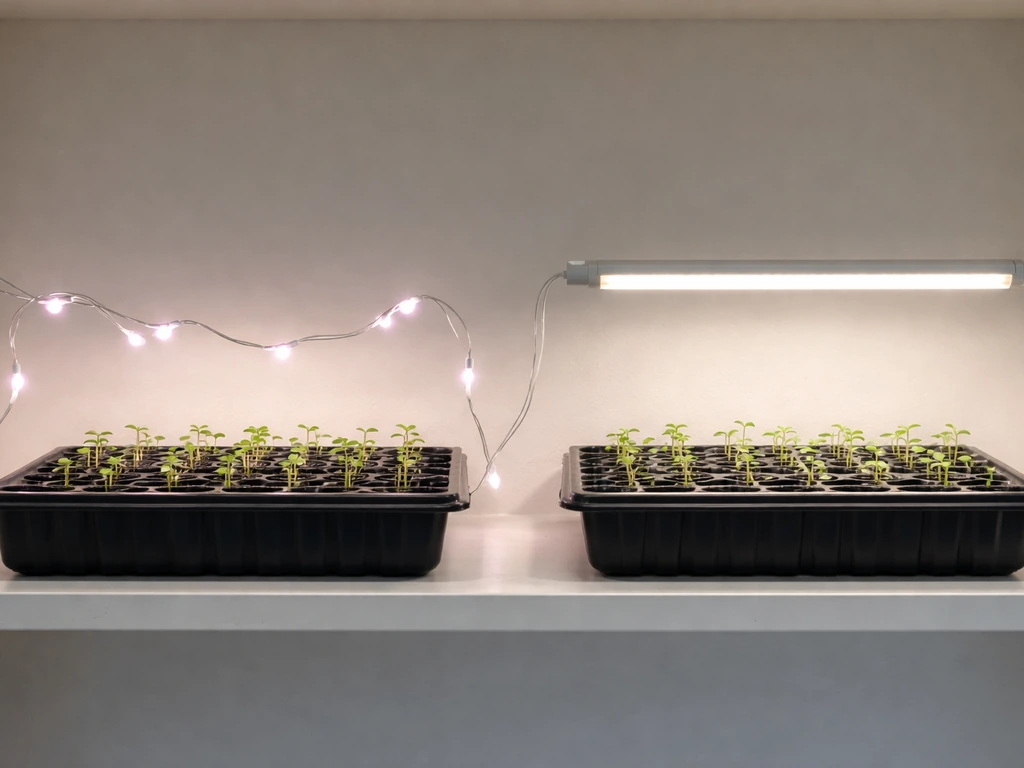
A realistic rule of thumb for garland-style lights is 20 to 40 true watts per square foot of plant canopy for seedlings and 10 to 20 watts per square foot for low-light houseplants. Most garland products run between 10 and 30 total watts for a full string, so they comfortably cover one shelf of seedling trays (about 1 to 2 square feet) or several small houseplants. If you have a larger rack or a vegetable garden spread across multiple levels, plan to run two or three garland strings or pair the garland with a dedicated bar fixture.
Garland grow lights vs dedicated fixtures at a glance
| Feature | LED Garland / String Lights | Dedicated Bar or Panel Fixture |
|---|---|---|
| Typical wattage | 10–30 W per string | 20–100+ W per fixture |
| Coverage area | 1–2 sq ft per string | 2–6+ sq ft per fixture |
| Flexibility / placement | Very flexible, wrap/drape anywhere | Fixed mounting, less adaptable |
| Best use case | Houseplants, seedling trays, supplemental fill light | Primary light, seedlings, fruiting crops |
| Cost | Budget-friendly ($10–$40) | Moderate to high ($25–$150+) |
| Even coverage | Can be uneven without careful placement | More consistent spread |
| Setup difficulty | Easy, plug-and-play | Requires hanging hardware |
If you need sole-source lighting for starting a lot of seeds or growing vegetables, consider pairing your garland with a bar fixture like a Barrina or similar T5/T8-style LED. If you want, you can follow Barrina grow light instructions for spacing and timer settings to pair your garland with a dedicated T5/T8-style bar. Garland lights shine as a complement, not always as the only light source.
Step-by-step installation instructions
What you'll need
- Your LED grow-light garland or string
- Small hooks, adhesive clips, or S-hooks rated for the wire weight
- A mechanical outlet timer or smart plug with scheduling
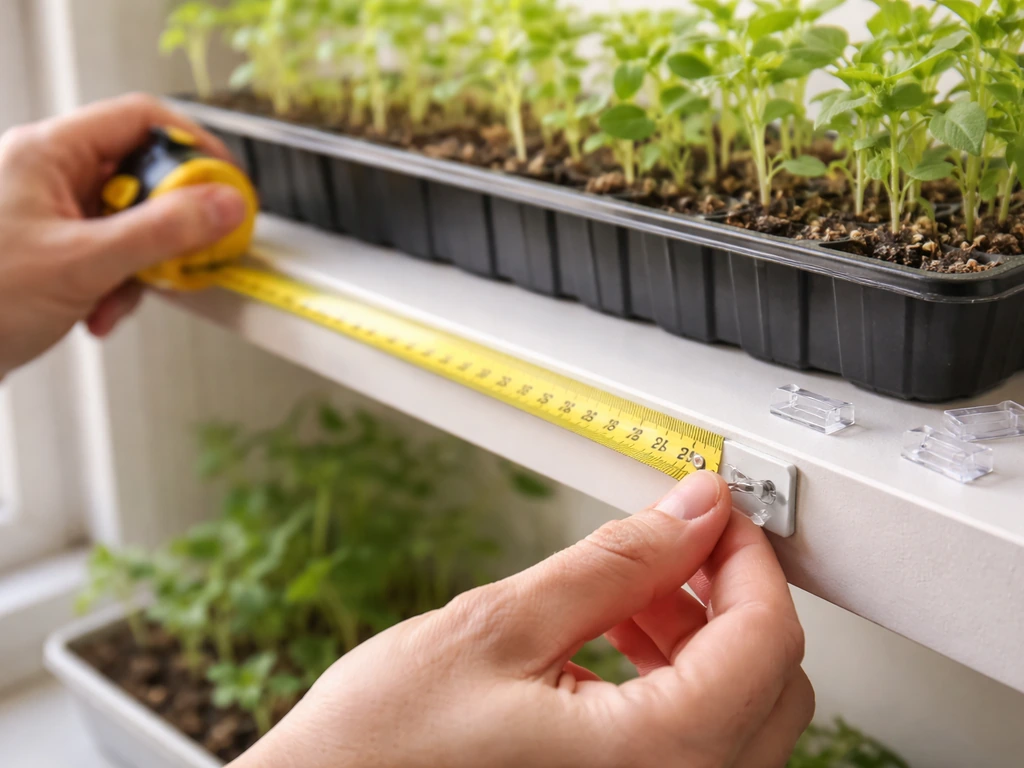
- A tape measure
- A power strip with a surge protector if running multiple strings
Install it in this order
- Measure your growing area. Note the length and width of your shelf or plant tray so you know how many loops or runs of garland you need to cover it evenly.
- Install your hanging hooks or clips along the top edge of your shelf, grow rack, or a curtain rod above the plants. Space the hooks 6 to 8 inches apart so the garland sags minimally and stays close to your target height.
- Thread or drape the garland across the hooks. For a flat shelf, run parallel rows spaced about 4 to 6 inches apart so the light overlaps slightly across the canopy. For a bushy single plant, loop the garland in a spiral or weave it through the branches.
- Set your initial height at 6 to 12 inches above the tops of your plants for seedlings. For established houseplants, 10 to 18 inches is a good starting point. Adjust after the first few days based on plant response (more on this below).
- Plug the garland into your timer or smart plug before connecting it to the wall outlet. Set the timer now (see the scheduling section below) so the lights do not run 24 hours accidentally on the first day.
- Connect the timer to a surge-protected power strip. Do not daisy-chain multiple garland strings by plugging one into the next unless the manufacturer explicitly allows it. Most inexpensive garland lights are only rated for one or two strings in series.
- Do a quick safety check before leaving it on: make sure no wire is touching soil or sitting in water, bulbs are not pressing against leaves or plastic, and there is at least 2 to 3 inches of air space around each bulb for heat dissipation.
- Turn on the system and check for any flickering, dead sections, or bulbs that seem significantly dimmer than neighbors. Address these before starting your schedule.
Wiring and safety basics
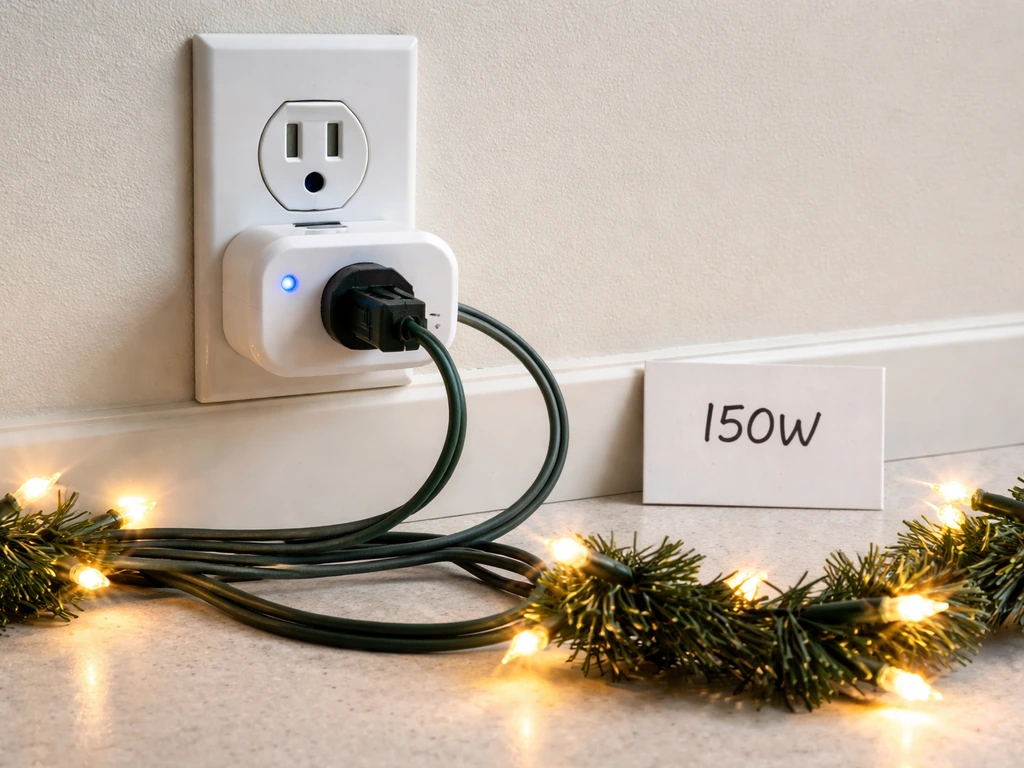
Always check the total wattage of all garland strings on a single circuit before plugging them in. A standard 15-amp household circuit handles about 1,800 watts, but grow areas often share outlets with other equipment. Keep your total grow-light load under 1,200 watts per circuit to leave a safe buffer. If you are running your garland near a misting system, humidifier, or in a humid greenhouse space, use only lights rated for damp or wet locations (look for an IP44 or higher rating on the product spec sheet). Moisture and standard household wiring are a dangerous combination.
Placement for different plants
Seedlings and cuttings
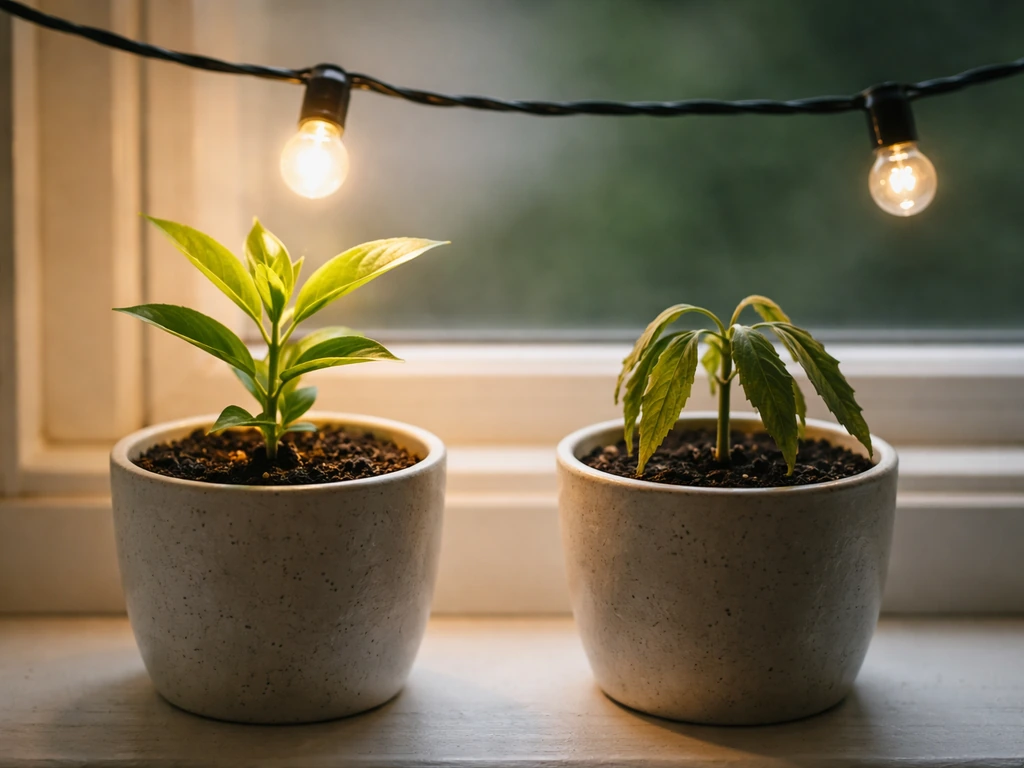
Seedlings are light-hungry but also heat-sensitive. Start with the garland 6 to 8 inches above the top of the trays and watch the stems over the first three to five days. If seedlings stretch toward the light and look thin (leggy), lower the garland by 1 to 2 inches and increase your daily light duration. If leaf tips look bleached or slightly scorched, raise the garland by 2 inches and check that bulbs are not concentrating heat in one spot. University of Maryland Extension specifically recommends keeping transplant tops 1 to 2 inches from fluorescent lights, but LED garlands run cooler so you have a bit more forgiveness with distance, which is why starting at 6 to 8 inches is the right call rather than going extremely close.
Established houseplants
Most tropical houseplants (pothos, philodendrons, peace lilies, ferns) do well with the garland 12 to 18 inches above or draped around the plant canopy. They are more forgiving than seedlings and will adjust over a week or two. Succulents and cacti want more intensity, so bring the garland to 6 to 10 inches above them. Flowering houseplants like African violets or orchids benefit from the garland being positioned at the same level as the leaves rather than purely overhead, since their blooms develop on the side as much as the top.
Multi-level and tiered setups
If you have a multi-shelf rack, install a separate garland run for each shelf rather than trying to have one string serve two levels. A garland mounted under shelf two becomes the light source for shelf one below it, and another garland mounts under shelf three for shelf two, and so on. This stacking approach is one of the reasons garland-style lights work so well for grow racks: they fit under shelves where a bulkier panel would not. Leave at least 18 to 24 inches of vertical clearance between each shelf to give plants room to grow and allow some air movement around the lights.
How to set your grow light schedule
Daily light hours by plant type
The most practical starting schedules, backed by extension research, are as follows. For seedlings and cuttings, run the light for 16 to 18 hours per day. Home Depot's grow light product PDF example for the vegetative stage also instructs turning the LED grow light on for 18 hours a day blank" rel="noopener noreferrer">run the light for 16 to 18 hours per day. UMN Extension also recommends providing about 16 hours of light daily when starting seeds indoors blank" rel="noopener noreferrer">16 to 18 hours per day. University of Minnesota Extension recommends 16 to 18 hours for starting seeds indoors, and that aligns with what you'll see most LED grow-light brands suggest for vegetative or seedling stages. For established foliage houseplants, 12 to 14 hours per day is enough. For flowering or fruiting plants where you want to trigger blooming, drop to 12 hours on and 12 hours off to simulate the shorter days that trigger flowers in many species. Low-light plants like ferns and pothos can thrive on as few as 10 to 12 hours.
| Plant Stage / Type | Recommended Daily Light Hours | Starting Distance from Canopy |
|---|---|---|
| Seeds / fresh seedlings | 16–18 hours | 6–8 inches |
| Vegetable transplants | 14–16 hours | 6–10 inches |
| Foliage houseplants | 12–14 hours | 12–18 inches |
| Flowering houseplants | 12 hours | 10–16 inches |
| Succulents / cacti | 14–16 hours | 6–10 inches |
| Low-light tropicals | 10–12 hours | 14–20 inches |
Setting your timer and ramping up intensity
Set your timer so the lights come on about an hour after sunrise or your normal morning wake time, and turn off in the evening, mirroring a natural day shape. Do not run lights in the middle of the night with a dark period during the day because some plants are sensitive to irregular light cycles. If your garland has a dimmer, start at 70 to 80 percent intensity for the first week, especially for seedlings that have never been under artificial light before. Then ramp up to 100 percent over 7 to 10 days. This gradual approach prevents light shock, which shows up as pale or bleached patches on young leaves.
Diagnosing weak or leggy growth from the schedule
If stems are long, thin, and reaching hard toward the light, you either have too few daily hours, the garland is too far away, or the output is too low. Try adding 2 hours to your schedule and lowering the garland 2 inches. Wait five days and reassess. If leaves are yellowing uniformly across the plant (not just lower old leaves), that often points to too little light overall, not a nutrient issue. Conversely, if you see pale spots or crispy tips, you may be too close or running too many hours, so back off by 2 hours per day and raise the light 2 to 3 inches.
Common problems and how to fix them
Hot spots and uneven coverage
Garland lights concentrate intensity wherever a bulb sits directly above a plant. If you notice one plant thriving while the neighbor looks weak, the problem is usually that the struggling plant is sitting in a gap between bulbs. Reposition the garland so bulbs are spaced evenly across the full canopy, or move pots so each plant sits under a bulb rather than between two. Rotating pots a quarter-turn every few days also helps even out growth if perfectly uniform placement is not possible.
Flickering and dimmer compatibility issues
Flickering is almost always a wiring or compatibility issue. If your garland flickers when plugged into a dimmer switch, the LED driver inside the bulbs is not compatible with that dimmer type. The fix is either to use the garland on a non-dimmed outlet or to replace the dimmer with an LED-compatible dimmer rated for low-wattage loads. Flickering can also signal a loose connection in the string itself, especially at the plug end. Check and reseat the connector. Persistent flicker from a brand-new product usually means a defective unit worth returning.
Overheating
LED garlands run much cooler than incandescent or HID lights, but poor air circulation can still cause heat buildup around the bulbs, especially when they are draped in tight clusters around a bushy plant. If bulbs feel hot to the touch after an hour of operation (not just warm), space them out more, add a small fan to the area, and avoid covering the garland with reflective material that traps heat. Never leave a garland bunched up and running for hours while you test it.
Pests and mold risk from improper setup
Garland lights strung too close to soil or nestled into dense foliage reduce air circulation around lower leaves, creating warm, humid pockets that fungus gnats and mold love. Keep the garland at canopy level or above, not buried in the plant. If you see white fuzzy growth on soil or tiny flies around the base of plants where garland wires sit close to the soil, lift the wire at least 3 to 4 inches above the soil surface and increase the space between leaves and the wire. Adding a small fan that runs a few hours a day near the grow area does more to prevent mold and pests than almost any other single intervention.
Weak flowering or pale new leaves
If your plants look healthy but are not flowering, or new growth comes in pale and small, the garland is likely not producing enough red-spectrum light for the output needed. For Bseah grow light instructions, check the manufacturer guidance on red and blue channel settings so your output matches the stage you are growing red-spectrum light. Check the product spec for red wavelength coverage around 630 to 660 nm. If you want exact steps for a specific brand, look for the purple reign grow light instructions and match the timer, spacing, and wattage guidance to your layout red wavelength coverage. If the product is heavy on blue and light on red, adding a warm-spectrum supplemental bulb or a dedicated red-spectrum LED bar can make a noticeable difference in four to six weeks. If you need tower garden led grow lights instructions, use the same red and blue coverage checks and then tune distance and daily hours to your plants. This is one area where garland lights sometimes fall short compared to full-spectrum fixtures like dedicated bar lights, which is worth keeping in mind as you scale up your setup. If you are comparing options, follow the koscheal grow light instructions for the specific bar or string you purchase to match setup and coverage to your plants full-spectrum fixtures like dedicated bar lights.
Quick-start checklist before you walk away
- Garland is mounted at the right height for your plant type (6–8 inches for seedlings, 12–18 inches for houseplants)
- Bulbs are distributed evenly across the canopy with no large gaps
- Timer is set to the correct daily duration (16–18 hours for seedlings, 12–14 hours for houseplants)
- No wire is touching wet soil, sitting in standing water, or pressed against leaves
- Total wattage on the circuit is within safe limits
- Air can circulate freely around the bulbs
- You have a date in your calendar 5 to 7 days from now to check plant response and adjust height or duration if needed
Getting this system dialed in takes one or two rounds of adjustment, and that is completely normal. The most common setup mistakes are hanging the light too high and running it too few hours, so when in doubt, go a little closer and a little longer and then back off if you see stress. Once you have your garland running smoothly, exploring other fixture formats like T5 bar lights or dedicated full-panel LEDs can help you decide how to expand your setup as your plant collection grows. If you are using a Lighthouse 2.0 grow tent, review its grow tent instructions so your lighting placement and wiring match the tent layout lighthouse 2.0 grow tent instructions.
FAQ
Can I plug a garland grow light into a smart plug or power strip, and what should I watch for?
Yes, but only if the timer and outlet are rated for the wattage you are drawing. Add up the total watts of every garland string plugged into that timer, then keep the total under your circuit buffer. If the garland runs through a multi-outlet strip, make sure the strip is also rated for grow-light loads, not just phone chargers.
What if one side of my plants is thriving but the other side stays weak?
A common sign is that only the middle of the canopy looks good while plants at the edges lag. This usually happens when the bulbs do not align with the plant positions or the string length does not cover the full footprint. Reposition so every pot sits under a bulb, or use two shorter strings instead of one long string stretched across a wide area.
When my seedlings look leggy, should I move the garland closer or change the schedule first?
If you see stretching plus pale leaves, try increasing daily light hours first and then adjust height second. Lowering the garland can help, but raising it is needed when you see bleaching or crispy tips. A practical sequence is, change one variable at a time, wait 5 days, then decide whether to add hours (up to your target range) or move the light 1 to 2 inches.
Will warm-white LED garlands trigger flowering like a grow light?
Don’t rely on “warm white” to substitute for flowering for every plant. Warm white can help foliage, but if your goal is buds or fruiting you generally need meaningful red-spectrum output. Check the listing for red wavelength coverage (roughly 630 to 660 nm) and confirm the product is marketed for grow stages, not just general lighting.
How do I prevent timer mistakes that cause irregular light cycles?
If the timer is set for long daylight windows, you can accidentally run lights on during the “dark” period by daylight-saving changes or app glitches. Verify the timer in the first week after setup, and consider plugging lights into a timer that has a physical override. Also make sure the schedule is consistent daily, avoid frequent manual switching.
My garland has a dimmer, is it safe to dim it down for seedlings?
Use the dimmer only if the garland is explicitly dimmer-compatible, and start lower for young plants. If you get flicker, it is usually not safe to keep dimming anyway, switch to a non-dimmed outlet or replace with an LED-compatible dimmer. Also avoid dimming while testing heat, heat management still depends on spacing and airflow.
What’s the right way to manage heat if my garland is bunched up near dense plants?
Garland strings can run cooler than incandescent bulbs, but they still need airflow. If bulbs feel hot to the touch after an hour, increase spacing, untangle clustered wiring, and add a small fan aimed to move air across the canopy, not directly blast the plants. Also avoid wrapping the garland in reflective foil, that can trap heat around the LEDs.
How close can the garland be to soil, and what if I see fungus gnats?
For most indoor setups, keep the garland positioned at canopy level or slightly above it, then raise or lower based on plant response. Since heat can still vary by model, measure at your height after an hour of runtime. If fungus gnats appear or the base stays humid, lift the garland wire away from soil and improve airflow with a fan.
Can I combine a garland grow light with a bar light in the same tent or rack?
You can, but you must avoid overlapping schedules that confuse the plant response goals. Use the same general on-off window for all fixtures, then balance intensity by distance and wattage. If the goal is flowering, keep the photoperiod aligned across fixtures, the plant needs one consistent day length.
My plants won’t flower, how do I troubleshoot garland lights specifically?
If growth is healthy but flowering does not start, first confirm the photoperiod target, then check red intensity and distance. Two common fixes are dropping to a 12 hours on, 12 hours off cycle for many species, and moving the light so leaves are close to the effective red zones. If your garland is mostly blue, consider adding a dedicated red-spectrum source for 4 to 6 weeks and reassess.
Next Article
Koscheal Grow Light Instructions: Setup, Height, Timing
Step-by-step Koscheal LED grow light setup, safe wiring, correct height and timing, plus troubleshooting and maintenance