Purple Reign grow lights are made by Apollo Horticulture, and the setup steps depend entirely on which version you have: the T5 fluorescent fixture (model PR JS-T5-2ftx2), the 10W LED A19 bulb, or the digital dimmable HPS/MH ballast (400W–1050W). Before you do anything else, check the label on your unit and match it to one of those three. Instructions for one will not work for another, and the hang heights, wiring, and schedules are all different. Once you know your model, everything below applies directly to your setup.
Purple Reign Grow Light Instructions: Setup Guide

Marcus Tillman
24 Apr 2026

Figure out exactly which Purple Reign model you have
Apollo Horticulture has released at least three distinct Purple Reign products, and they often show up in search results together. If you are searching for instructions and land on the wrong set of steps, you will waste time and potentially damage your plants or equipment. Here is how to tell them apart quickly.
| Model | Type | Wattage | Key Identifier |
|---|---|---|---|
| PR JS-T5-2ftx2 | T5 Fluorescent Fixture | 51W total (2×24W bulbs) | Long rectangular bar, 2 ft, 6400K tubes |
| Purple Reign LED Bulb | A19 LED Bulb | 10W | Screw-in A19 shape, 4" tall, 2" diameter |
| Purple Reign Digital Ballast | HPS/MH Ballast | 400W–1050W (12 levels) | Box unit with digital display, fan inside |
One quick heads-up: if you searched 'Purple Reign' and started seeing cannabis seed strain results from ETHOS Genetics or grow diaries, that is a completely different thing. You are looking for the Apollo Horticulture hardware, not a seed variety. Keep scrolling past the seed content and look for the fixture or ballast.
What comes in the box and what tools you need
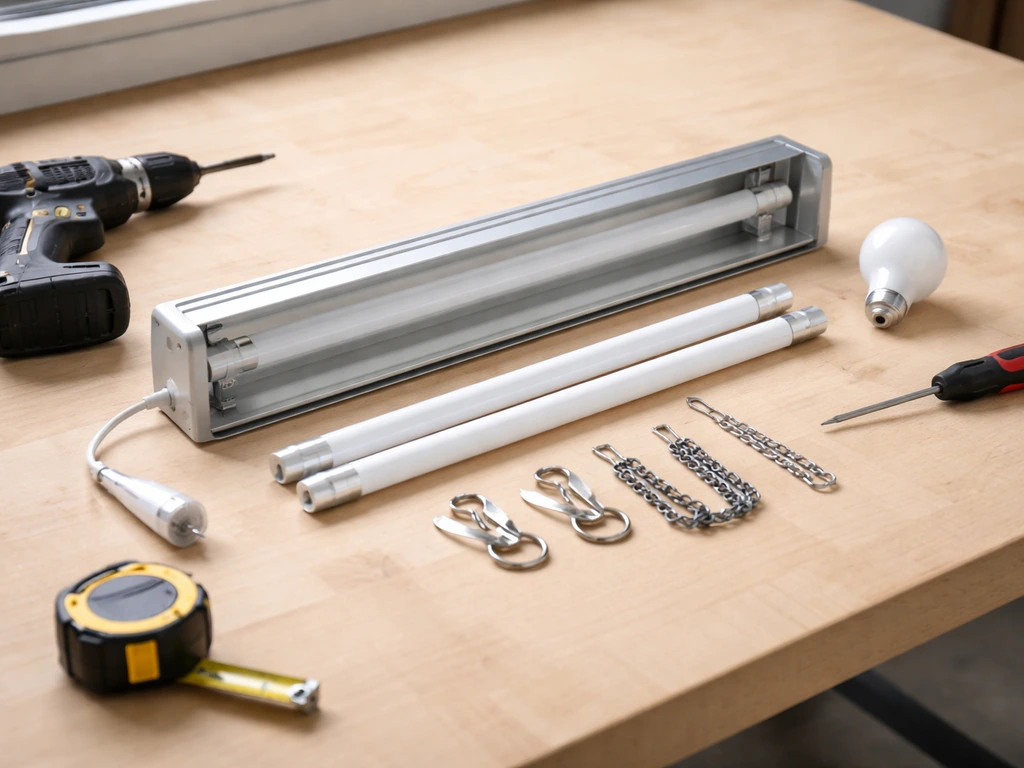
T5 Fixture (PR JS-T5-2ftx2)
- 1x 2-foot T5 fixture housing with reflector
- 2x 24W 6400K T5 fluorescent tubes (pre-installed or loose in packaging)
- Hanging hardware (hooks or chains depending on batch)
- Power cord with standard plug (118V, 0.41A)
10W LED Bulb
- 1x A19-style 10W LED bulb (4" height, 2" diameter)
- No additional hardware included — needs a standard medium-base socket or clamp light fixture
Digital Dimmable Ballast (400W–1050W)
- 1x Purple Reign digital dimmable ballast unit
- Power cord
- Lamp cord/socket (verify included vs. sold separately in your package)
- Note: the HPS or MH bulb itself is typically sold separately
For tools, you will need: a sturdy step stool or ladder, a measuring tape, a pencil for marking hanging points, a drill and appropriate wall anchors or ceiling anchors (if mounting to a hard surface), zip ties or adjustable rope ratchets for the T5 fixture, and a timer outlet (strongly recommended for all three versions). For the ballast setup, also have electrical tape and confirm you have a compatible HPS or MH bulb before starting.
Step-by-step installation
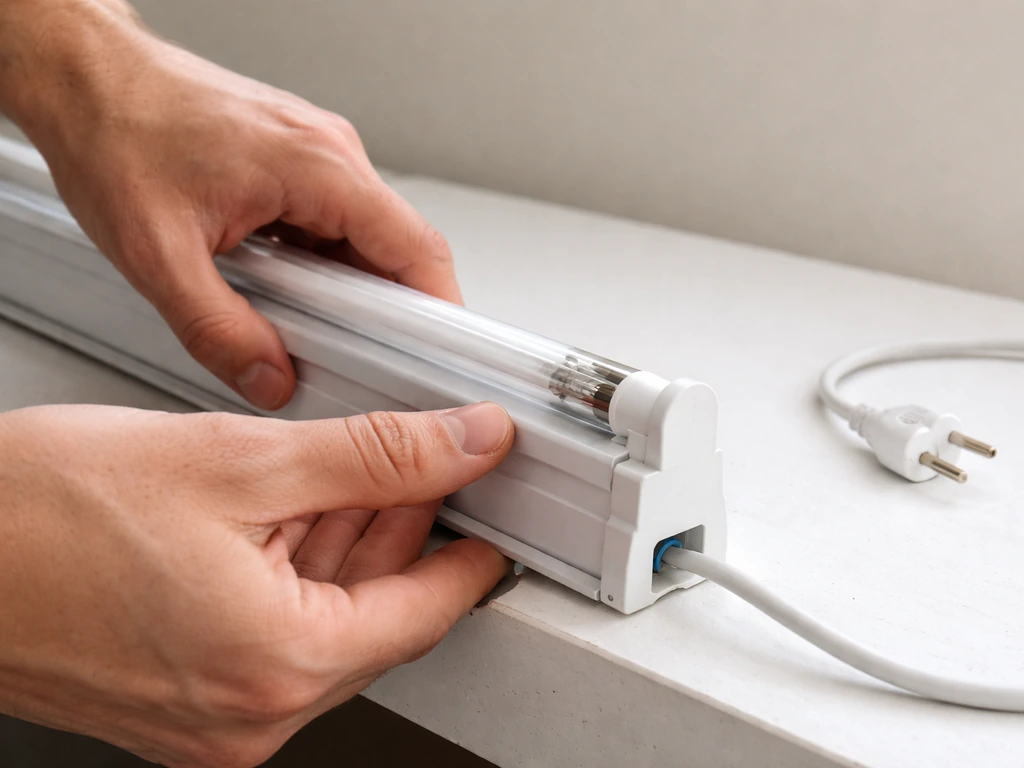
Installing the T5 fixture
- Keep the fixture unplugged the entire time you are mounting it. This is non-negotiable.
- If your T5 tubes are not pre-installed, twist them into the end caps until they click. Do not force them.
- Decide on your mounting method: hang from a tent pole or overhead structure using the included hooks and chains, or use adjustable rope ratchets for easier height adjustment. Rope ratchets are worth the extra few dollars.
- Attach your hanging hardware to the fixture's mounting points at each end of the bar.
- Hang the fixture above your plant canopy and set the initial height to 6–8 inches above seedlings or 12–18 inches above established plants. You will fine-tune this later.
- Route the power cord safely away from water sources and the plants themselves.
- Plug into a timer outlet (not directly into the wall if you can help it) and set your schedule before turning on.
- Turn on the power and confirm both tubes light up within a few seconds. T5 tubes may flicker briefly on first start — that is normal.
Installing the 10W LED bulb
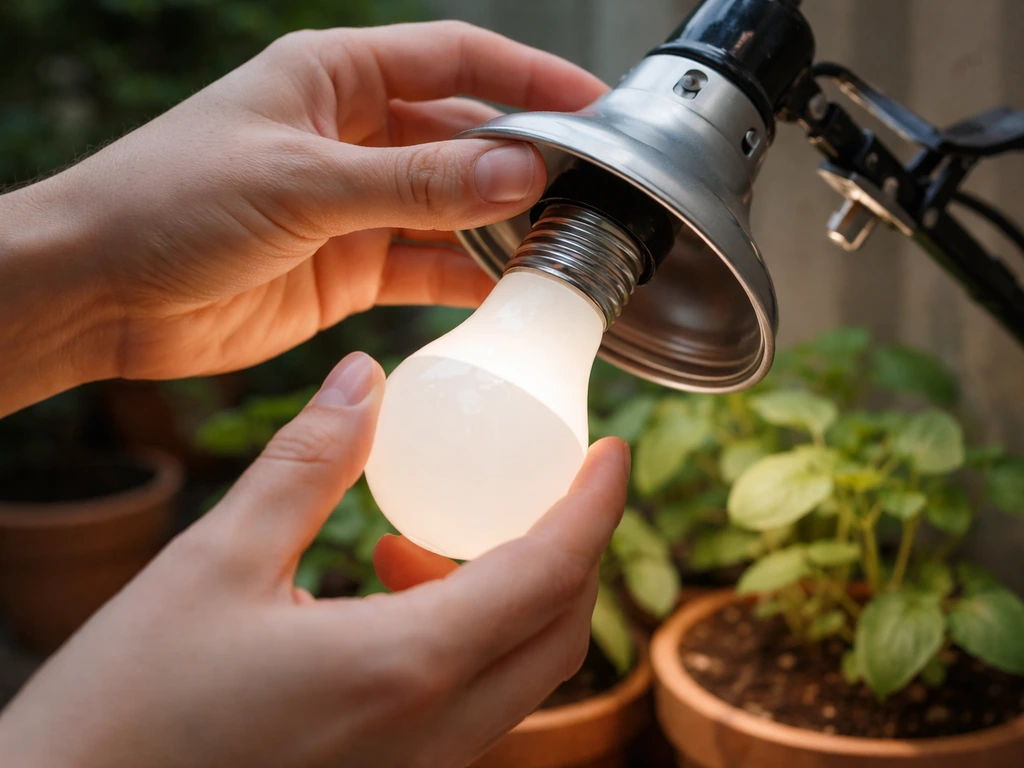
- Screw the A19 bulb into a standard medium-base socket, clamp light, or any fixture that accepts a regular household bulb.
- Position the clamp light or socket fixture above your plants before screwing in the bulb, so you are not adjusting a live socket.
- Once positioned, screw in the bulb, plug the fixture into a timer outlet, and turn it on.
- The LED combines red wavelengths (600–650 nm) and blue wavelengths (420–500 nm). There are no intensity controls on the bulb itself, so placement height is your only intensity adjustment.
Installing the digital dimmable ballast
- Place the ballast on a flat, ventilated surface. It has an internal fan and needs airflow around it — do not put it inside a closed box or against a wall.
- Connect the lamp socket/cord from the ballast to your HPS or MH bulb according to the socket connector on your unit. The ballast supports 400W, 600W, and 1000W bulbs.
- Set your initial wattage on the digital display before plugging in. A good starting point is matching the ballast output to your actual bulb wattage (e.g., 1000 for a 1000W HPS).
- Plug the ballast into a grounded 120V or 240V outlet (it supports both). Do not use an extension cord unless it is rated for the load.
- Turn on the ballast. The digital display will show the selected wattage level. The bulb may take 1–3 minutes to reach full brightness.
- Never touch the bulb with bare hands during or after operation. Heat from HPS/MH bulbs is significant.
One important safety note that applies to all three versions: Apollo Horticulture's own product documentation states that these products are intended for professional greenhouse use with blank" rel="noopener noreferrer">proper ventilation. Greenhouse operating procedures also emphasize that exhaust and venting for safety typically involve moving outside air through openings, not relying on stagnant enclosed air blank" rel="noopener noreferrer">proper ventilation. They are not recommended for enclosed spaces without adequate airflow. If you are running the T5 or especially the HID ballast in a small tent or room, make sure you have an exhaust fan running.
Placement, hang height, and coverage area
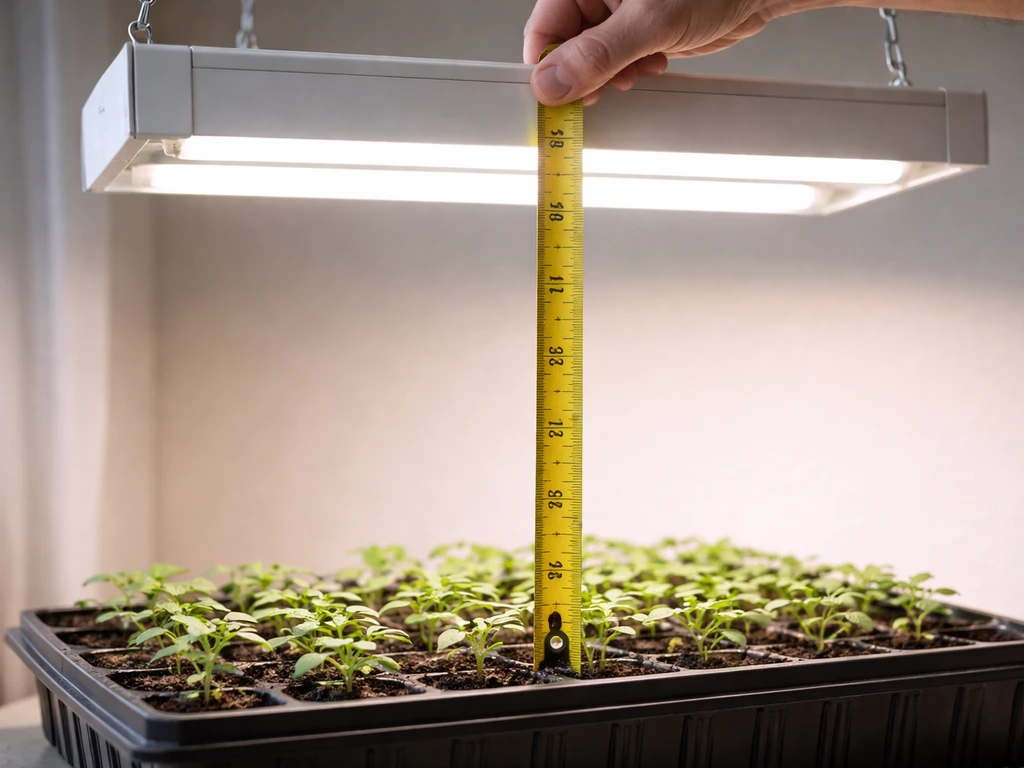
Getting the height right is probably the single most impactful decision you make after installation. Too close and you stress or burn the plants. Too far and they stretch toward the light, get leggy, and produce weak growth. Here are the practical numbers for each model.
| Model | Seedlings | Vegetative Growth | Coverage Area |
|---|---|---|---|
| T5 Fixture (51W, 2×24W) | 4–6 inches | 6–12 inches | Roughly 2 ft x 1.5 ft at optimal distance |
| 10W LED Bulb | 8–10 inches | 10–14 inches | Small spot, approx. 1 ft diameter at 12 inches |
| HID Ballast (1000W) | N/A (too intense for seedlings) | 18–24 inches (1000W setting) | 4×4 ft to 5×5 ft at full power |
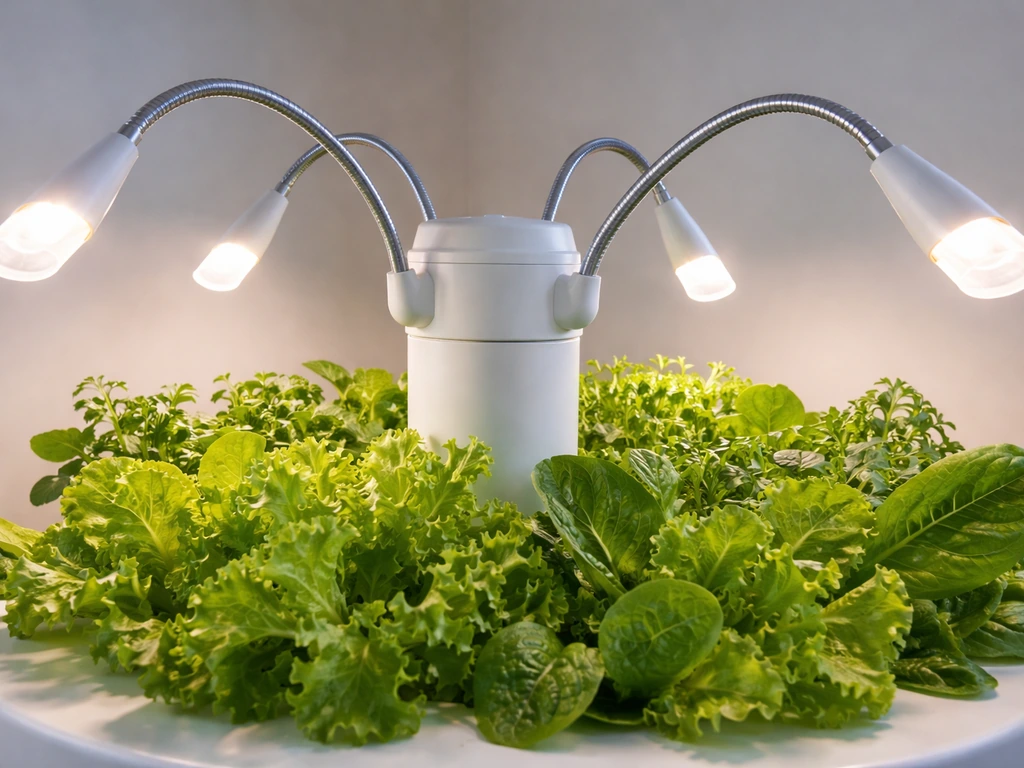
For the T5 fixture, the 6400K color temperature is tuned to mimic daylight at high noon, which makes it excellent for leafy growth and seedlings but less ideal as a sole source for flowering. Coverage is modest because this is a compact 2-foot bar: it works well for a single tray of seedlings or a few small houseplants side by side, not a 4x4 tent. If you need to cover more area, you need multiple fixtures or a different product.
The 10W LED bulb is best used as a supplement light for a single plant or a small group of succulents and herbs on a shelf. Do not expect it to drive strong growth across a wide area. Think of it as a targeted boost for one or two plants, not a room-wide solution.
The HID ballast paired with a 1000W HPS bulb is in a completely different league. It generates serious heat, serious light, and needs a properly ventilated grow tent or room. The hand test is a reliable field check: hold your hand at canopy level. If it feels uncomfortably warm after 30 seconds, raise the light.
Intensity and dimming settings
The T5 fixture and the 10W LED bulb have no built-in dimming controls. Your only intensity levers are hang height (closer equals more intense) and how many hours per day you run them. If your plants are showing signs of light stress (bleaching, curling edges, crispy tips), raise the fixture rather than trying to reduce power.
The digital dimmable ballast is a different story. If you want step-by-step lighthouse 2. If you are also looking for garland grow light garden instructions, match the wattage and schedule to your plant stage and then dial in the hang height for coverage <a data-article-id="BD4E489F-09EF-4632-97C2-4EFBB7CC701A">lighthouse 2. If you also want <a data-article-id="BD4E489F-09EF-4632-97C2-4EFBB7CC701A">garland grow light garden instructions for comparison, match the wattage and schedule to your plant stage, then dial in the hang height for coverage.
If you want garland grow light garden instructions, start by matching the wattage and schedule to your plant stage, then dial in the hang height for the coverage you need. . 0 grow tent instructions, match the wattage and schedule to your plant stage, then dial in hang height using canopy feedback.
If you want bseah grow light instructions, use the same approach of matching the bulb, then setting the correct wattage and schedule for your plants digital dimmable ballast. It gives you twelve distinct wattage levels on a digital display: 400, 420, 500, 630, 700, 750, 800, 840, 900, 1000, 1050, and a super-lumen 1050W mode. In practice, most growers start at a lower setting during early vegetative growth and ramp up as plants mature.
Here is a straightforward approach: For tower garden led grow lights instructions, focus on matching the wattage and schedule to your plant stage, then set hang height for the target coverage.
- Early veg (first 2–3 weeks): run at 50–60% of your bulb's rated wattage (e.g., 500–600W on a 1000W bulb) to avoid overwhelming young plants
- Full veg: step up to 750W–840W
- Flowering or fruiting: run at full rated wattage (1000W for a 1000W bulb)
- The 1050W super-lumen mode pushes the bulb beyond its rating — useful for a short intensity boost but not recommended as a permanent setting since it shortens bulb life
The ballast also has built-in overload protection, voltage fluctuation detection, and lamp end-of-life (EOL) detection. If the digital display shows an error code or the unit shuts off unexpectedly, those protections have triggered. Do not just reset and ignore it, troubleshoot the cause first (see the section below).
Daily schedules for common plant types
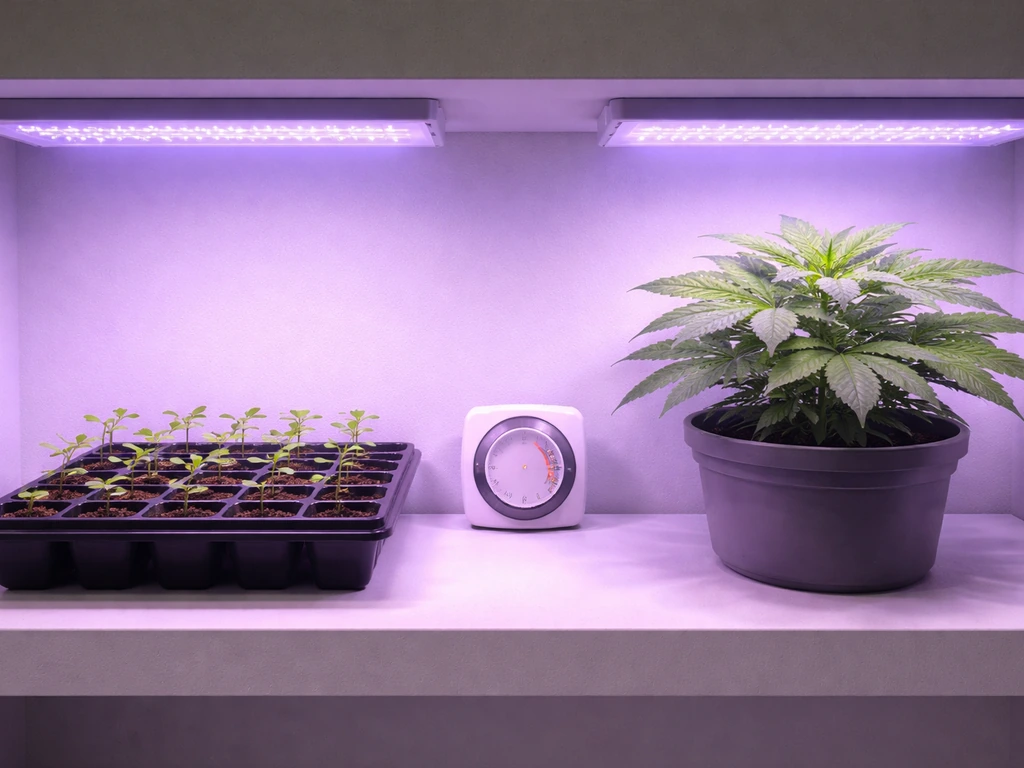
Light scheduling is where a lot of beginners leave results on the table. Running the light too long does not make plants grow faster, it can actually stress them. Most plants need a dark period. Use a mechanical or digital timer outlet and set it before your first full day of operation.
| Plant Type | Recommended Daily Hours | Schedule Example | Notes |
|---|---|---|---|
| Seedlings (any type) | 16 hours on / 8 hours off | 6 AM – 10 PM | T5 or LED bulb works well here |
| Leafy herbs and houseplants | 14–16 hours on / 8–10 hours off | 7 AM – 10 PM | Lower-light plants (pothos, ferns) can do 12 hours |
| Vegetative cannabis or tomatoes | 18 hours on / 6 hours off | 6 AM – 12 AM | HID ballast most appropriate here |
| Flowering / fruiting plants | 12 hours on / 12 hours off | 6 AM – 6 PM | Strict dark period triggers flowering |
| Succulents and cacti | 12–14 hours on / 10–12 hours off | 8 AM – 8 PM | 10W LED bulb is sufficient for most |
A few things that trip people up: first, keep the schedule consistent. Plants respond to light cycles as cues, and erratic schedules cause stress. Second, if you are growing fruiting or flowering plants and they are not transitioning when you expect, check that your dark period is truly dark. Even a small light leak can reset the clock. Third, with the T5 fixture specifically, the 6400K spectrum is great for vegetative growth but if you need to push flowering, consider swapping to a 3000K or 2700K tube.
Troubleshooting the most common setup problems
Light won't turn on at all
Check the obvious first: is the outlet live? Plug something else in and confirm. For the T5 fixture, make sure the tubes are fully seated, they need to be twisted until they lock. For the ballast, confirm the wattage setting matches the bulb you installed. A mismatched setting (e.g., ballast set to 400W with a 1000W bulb) can prevent startup. Also check that any inline switches or timer outlets are actually in the 'on' position.
Flickering or inconsistent light

T5 fluorescent tubes flicker briefly on cold start, that is normal and should stop within 10–30 seconds. If flickering continues, the tube is either failing, not fully seated, or the fixture's starter (if present) is going bad. Try re-seating the tube first. If the problem persists, replace the tube. For the HID ballast, flickering or cycling on and off often means the bulb is near the end of its life (the ballast's EOL protection may be triggering) or the ballast wattage setting does not match the bulb.
Uneven coverage or dim spots
With the T5 fixture, uneven brightness usually means one tube is failing or poorly seated. Swap tubes end-to-end and see if the dim spot moves. If it does, replace that tube. If the problem is that your entire canopy is not covered evenly, you are likely trying to cover too large an area with one 2-foot bar. The realistic footprint is about 2 feet by 1.5 feet at proper distance. Add a second fixture or reposition plants to cluster them under the bar. For the 10W LED bulb, this is by design, it is a spot light, not a flood.
Overheating or loud fan noise from the ballast
The digital ballast's fan is supposed to run, that is normal. What is not normal is if the unit feels excessively hot to the touch or shuts off on its own. That almost always means airflow around the ballast is blocked. Move it away from walls, off carpet, and out of enclosed spaces. The ballast needs several inches of clearance on all sides. If the unit shuts off and the overload protection light or indicator appears, let it cool for 15–20 minutes before restarting, and address the ventilation issue before doing so.
Timer not working or schedule getting reset
Mechanical timers can wear out and lose their settings if the dial gets bumped. Digital timers can lose programming if power is cut. First, confirm your timer outlet is actually cycling by watching it through one full on/off cycle. If a digital timer keeps resetting, it may need a fresh backup battery. For the ballast specifically, do not put the timer between the ballast and the wall outlet if the timer is not rated for the ballast's load. Check the timer's amperage rating and compare it to the ballast draw. Undersized timers can fail silently or trip a breaker.
Plants stretching or showing light stress despite correct setup
Stretching (etiolation) means the plants are not getting enough light, lower the fixture, extend the daily hours slightly, or add a reflective surface (mylar or white paint on surrounding walls) to bounce more light onto the canopy. Bleaching, curling leaves, or crispy edges mean the opposite: the light is too close or too intense. Raise the fixture by 2–4 inches and check again in 48 hours. Plants give you clear feedback if you know what to look for, and small adjustments make a big difference.
Getting the most from your Purple Reign after day one
Once you are past the initial setup and your plants are responding well, the main thing to do is observe consistently. Check canopy height every week and adjust hang height as plants grow. Replace T5 tubes every 10,000–12,000 hours of use even if they still appear to light up, because lumen output degrades well before the tube visually fails. For the HID ballast, plan to replace HPS bulbs every 10,000–18,000 hours and MH bulbs every 10,000 hours.
If you are working through similar setup questions for other brands, the process for fixtures like Barrina, Koscheal, or Bionic grow lights follows a lot of the same logic around hang height, coverage, and scheduling, the main differences are in the specific controls and wiring style each brand uses. If you are working with Koscheal grow light instructions, follow the same logic for hang height, coverage, and scheduling, but match the specifics to your Koscheal model.
If you are working with Barrina LED grow lights, the setup steps are similar, but double-check your specific model's hang height, wattage, and daily schedule. If you are working with Barrina grow light instructions, the setup steps are similar, but double-check your specific model's hang height, wattage, and daily schedule Barrina LED grow lights. The fundamentals of placement and timing carry over across systems, so the confidence you build here applies broadly.
FAQ
How do I confirm I truly have the T5 fixture versus the 10W LED bulb or the digital dimmable ballast?
Check the model label on the hardware body, not the marketing name. T5 units use a 2-foot fluorescent tube bar and typically require multiple tubes, the 10W A19 is a single screw-in bulb, and the dimmable unit is a ballast with a digital wattage display and a fan. If you cannot find the model label, take a photo of the power input area and the controls, then match by the presence of a fan and wattage display.
What’s the safest way to start if I’m unsure about my first height and schedule?
Start conservative. For the T5 and 10W LED, begin at a higher hanging height (further from canopy) and use fewer daily hours than you think you need. Then adjust after you see plant feedback over 48 hours. For the digital dimmable ballast, set a lower wattage level to start, confirm ventilation first, and only ramp up once the canopy responds without bleaching.
Can I use the same timer outlet and schedule for all three Purple Reign versions?
No. The same timer plug can be used, but the timing strategy should differ because intensity differs. T5 and the 10W bulb have no electronic dimming, so hang height and run time control intensity, while the digital ballast has wattage levels you can adjust. Keep the dark period consistent, and avoid abrupt schedule changes, especially after the first week.
Why do my plants look stressed even though I’m not running the lights “all day”?
Stress can come from intensity, not just duration. Common causes are hanging too low, insufficient airflow (especially with HID), or uneven coverage (one side too close). Also check for timers that drift, or a schedule that accidentally extends beyond the intended window due to a bumped dial or a digital timer losing its program.
How can I tell if my HID bulb is mismatched to the digital ballast setting?
Look at the ballast wattage setting on the digital display and compare it to the bulb type and wattage installed. If the display is set lower than the bulb expects, the ballast may fail to start or repeatedly cycle. If it’s set higher than what the bulb can safely handle, you can accelerate failure and trigger protections. When in doubt, stop, verify the bulb wattage, then set the matching ballast level.
What should I do if the digital dimmable ballast shows an error code or shuts off mid-cycle?
Do not just restart repeatedly. Let the unit cool 15 to 20 minutes, then check ventilation clearance around the ballast (it should have several inches on all sides). Next, confirm the bulb is properly installed and the wattage setting matches the bulb. If the same error repeats, treat it as a protection trigger and troubleshoot the root cause rather than bypassing anything.
Do I need to worry about light leaks with these grow lights?
Yes, especially for flowering or fruiting stages where photoperiod cues matter. Even small light leaks around doors, vents, or indicator LEDs from the timer area can disrupt the dark period. To prevent surprises, make sure the room is truly dark during the off window, and consider covering indicator lights on nearby electronics if they can be seen from the plants’ position.
For T5, how should I handle uneven brightness across the canopy?
First confirm both tubes are fully seated and locked (twist until they hold). Then check whether the dim area corresponds to one tube. Swapping tubes end-to-end will reveal a failing tube versus a fixture alignment problem. If brightness is uniform but coverage is still patchy, you likely exceeded the realistic footprint of the 2-foot bar and need a second fixture or better plant clustering.
How often should I adjust hanging height during grow cycles?
Plan for at least weekly canopy checks. In fast growth phases, you may need small adjustments more frequently. Use visual cues, bleaching or crispy edges mean raise the light, leggy stretching means lower the fixture or consider increasing effective exposure (for T5, add fixtures if you run out of coverage).
Can I place the ballast on a surface that looks “cool,” like a shelf or near insulation?
Avoid it. The ballast needs airflow and clearance, surfaces like carpet, foam, or insulated panels can block cooling even if the area feels cool at first. Keep it away from walls and soft materials, and route cables so nothing obstructs the fan intake or exhaust path.
What’s the quickest way to troubleshoot a timer-related problem?
Watch the timer through a full on/off cycle before assuming the light is working correctly. If it resets, loses its program, or shows inconsistent switching, replace or reconfigure it, and check whether the timer has a working backup battery (for digital timers). Also verify the timer’s amperage rating is appropriate for the ballast load.
Next Article
Tower Garden LED Grow Lights Instructions: Setup Guide
Step-by-step Tower Garden LED grow lights instructions for placement, height, schedule, safety, and quick troubleshootin