Setting up an LED plant grow light correctly comes down to four things: picking the right light for your plants, mounting it at the right height, running it for the right number of hours, and watching your plants for feedback. Get those four things right and your indoor garden will thrive. Get them wrong and you'll either burn your plants or wonder why nothing is growing. This guide walks you through every step, start to finish, with real numbers you can actually use.
LED Plant Grow Light Instructions: Setup, Placement, Timing

Marcus Tillman
5 Apr 2026
How to choose the right LED grow light for your plants
The first decision is matching the light to what you're growing and how much space you have. Don't get distracted by marketing claims about wattage equivalency. Instead, focus on three specs: actual power draw (in watts), coverage area, and efficacy. Efficacy is measured as PPE (photon efficacy), expressed as µmol per joule, and it tells you how efficiently the light converts electricity into usable photons for your plants. A PPE above 2.0 µmol/J is considered excellent for home grow lights in 2026.
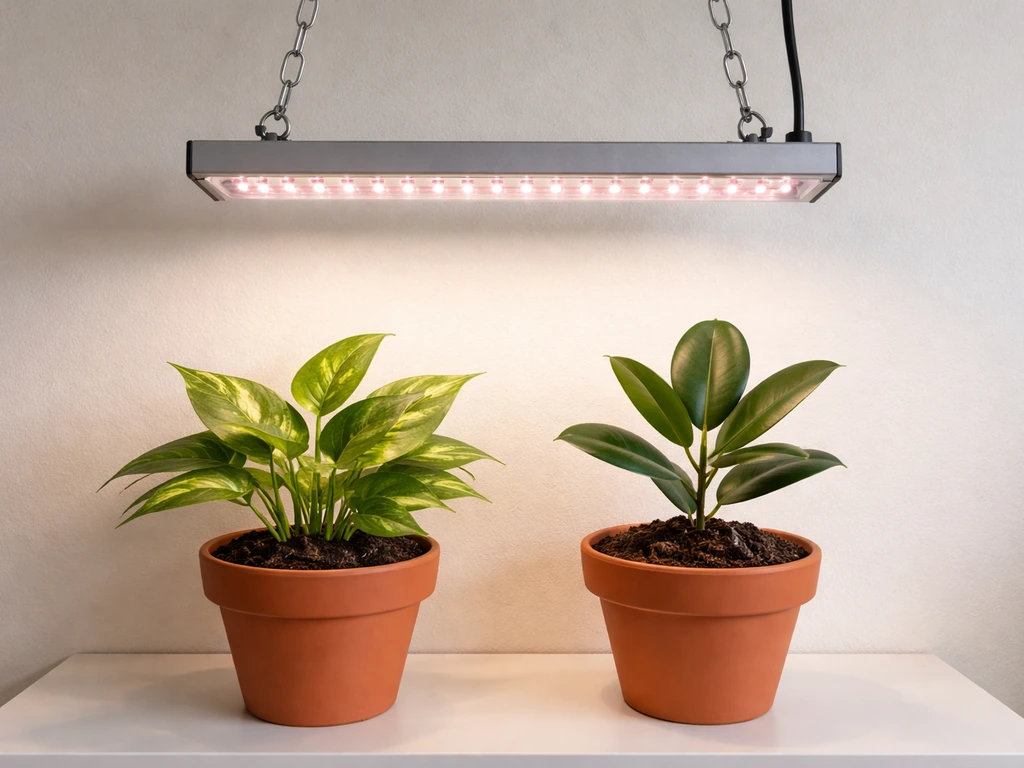
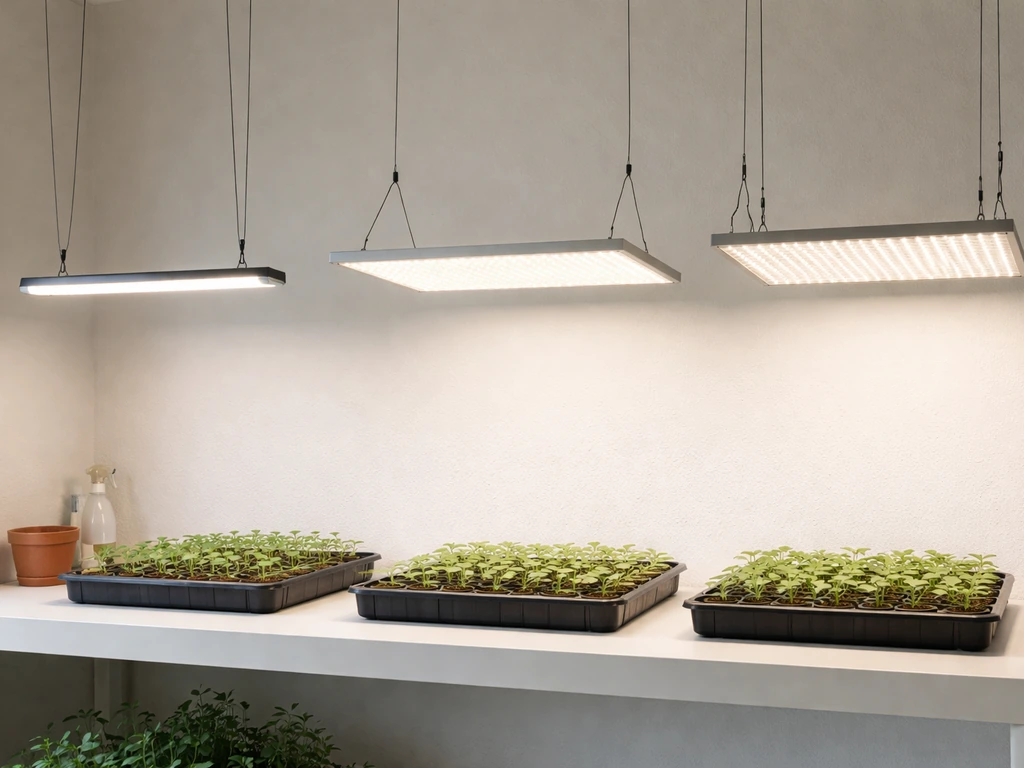
For seedlings and cuttings, you don't need a high-powered light. A 20–45W LED panel covering a 2×2 ft area is plenty. For leafy houseplants and herbs in a 3×3 ft space, look at 100–200W lights. For fruiting plants like tomatoes or peppers in a 4×4 ft tent, you'll want 200–400W of actual draw. The general rule is 20–40 watts of actual LED draw per square foot of growing space, with fruiting plants needing the higher end.
The key metric you'll hear about is PPFD (photosynthetic photon flux density), measured in µmol·m⁻²·s⁻¹ at your canopy surface. This is the intensity your plants actually experience. Low-light plants like pothos and ferns thrive at 50–150 µmol/m²/s. Medium-light plants like lettuce and herbs want 150–400. High-light plants like tomatoes and cannabis need 500–1,000 µmol/m²/s. Any reputable light brand will provide a PPFD map showing coverage at different hanging heights, and that map is the most useful thing on the spec sheet.
If you're comparing brands and want a deep dive on a specific product, checking brand-specific setup guides is worth the time. For example, fecida grow light instructions and vogek grow light instructions break down the exact controls and dimming options for those popular budget-friendly panels, which helps you understand whether a light's feature set matches what you need.
Unboxing to setup: parts checklist and safety basics
Before you plug anything in, do a quick inventory of everything in the box. Most LED grow lights ship with the same core components, but missing a hanging kit or driver cable is a frustrating surprise after the fact.
- LED light fixture (panel, bar, or quantum board)
- Hanging hardware: ratchet hangers, carabiners, or mounting clips
- Power cable or external driver (some lights have the driver built in)
- Rope or steel wire for suspension (sometimes sold separately)
- Manual or QR code linking to instructions
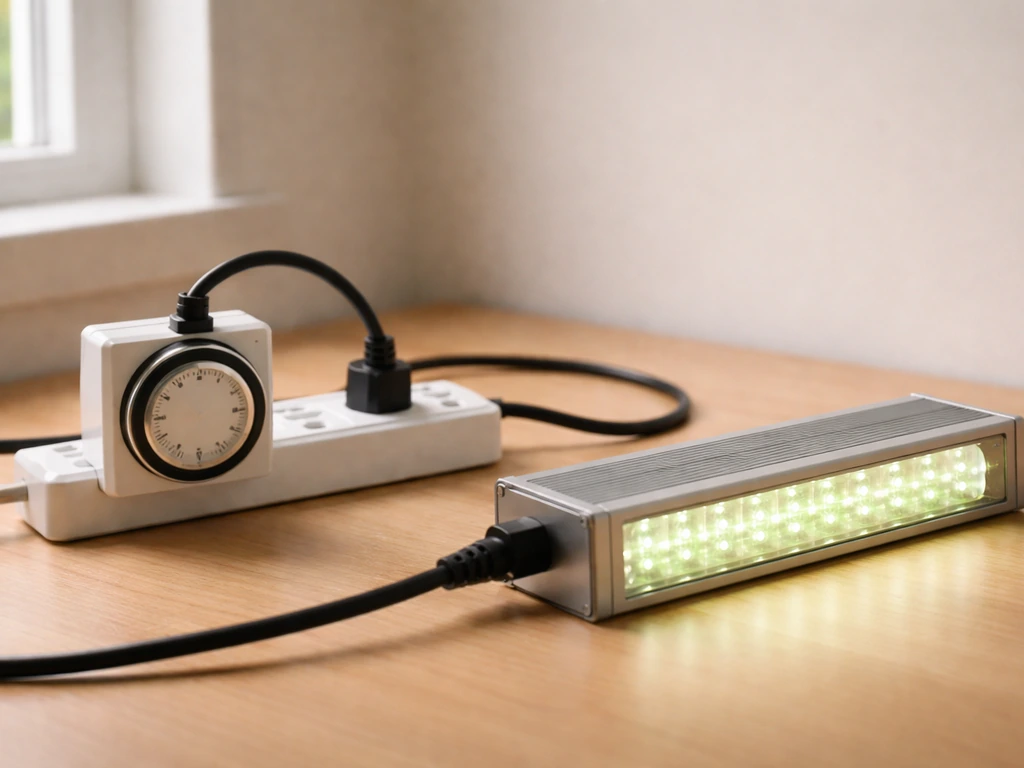
Safety first, genuinely. Grow lights run hot drivers and pull consistent amperage for 12–18 hours a day. Use a grounded (three-prong) outlet or a surge-protected power strip. Never daisy-chain multiple lights through a single extension cord that isn't rated for the combined load. Check the amperage draw on your light's spec label, then confirm your outlet circuit can handle it, most home circuits are 15A or 20A at 120V, giving you 1,800W or 2,400W of headroom respectively. If your grow space has humidity (like a tent with plants being watered frequently), keep the driver and outlet connection points away from direct drips.
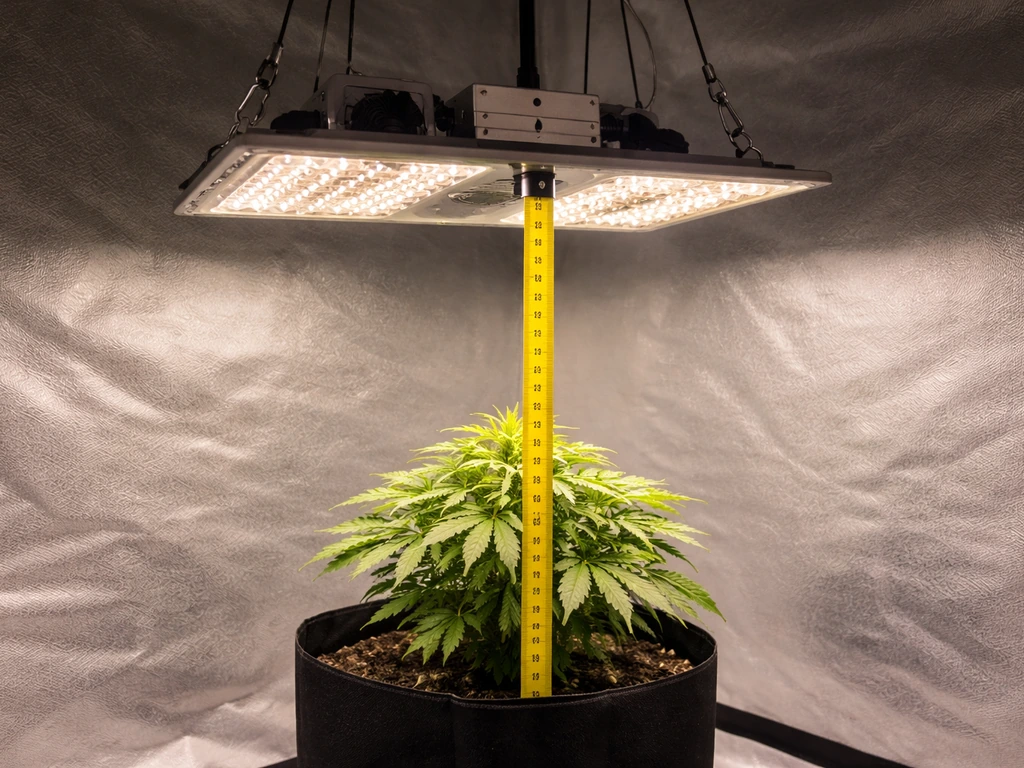
Inspect the fixture before powering on. Look for cracked lenses, loose wires at the driver connection, or bent heat sink fins. If anything looks damaged in shipping, photograph it before plugging in and contact the seller. Once you're satisfied everything is intact, hang the light at the maximum recommended height from the manual (usually 24–36 inches above the canopy for a new setup) before you turn it on for the first time. This gives you a safe starting point to work down from.
Placement and mounting: height, angle, and coverage area
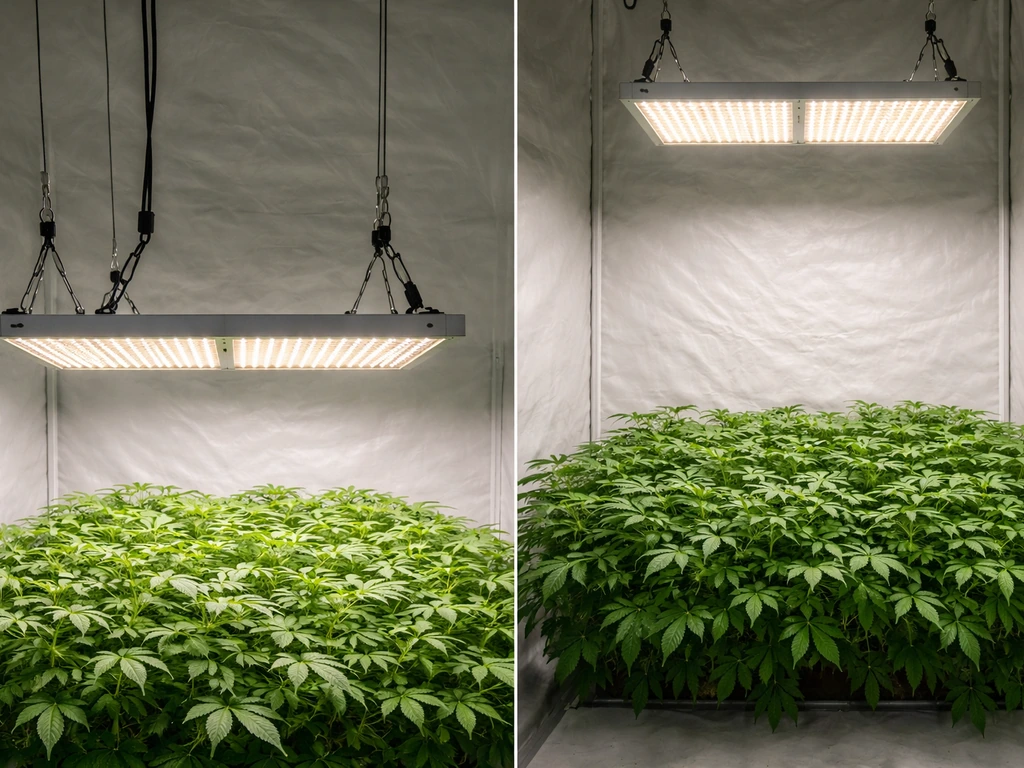
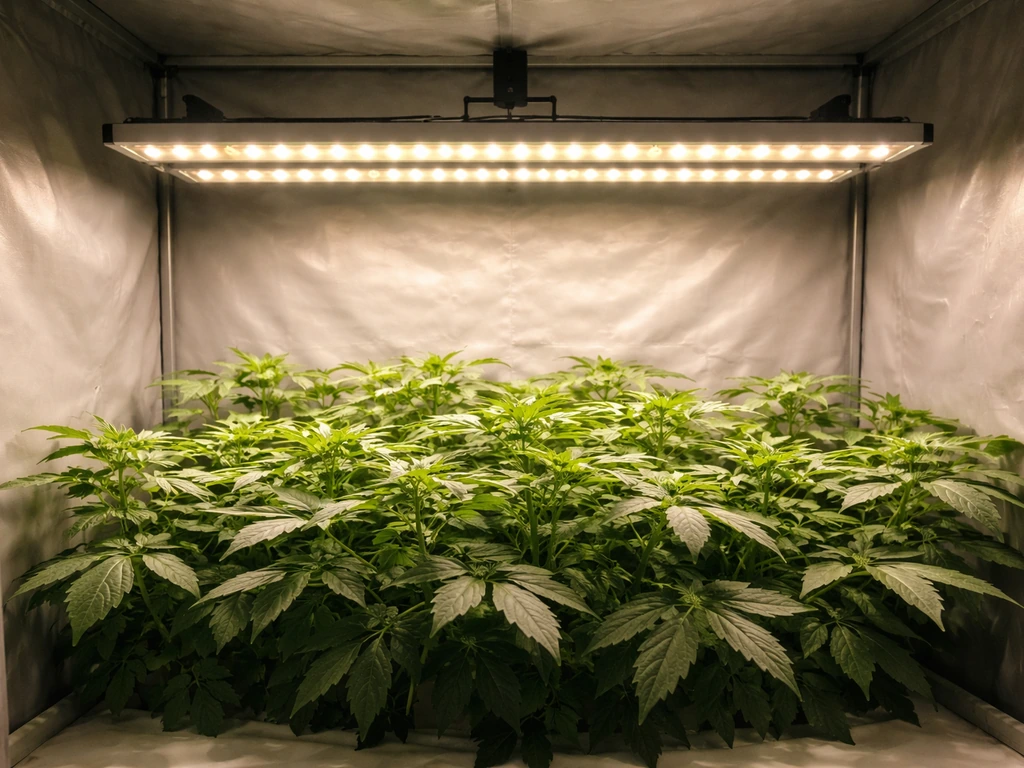
Height is the single most important physical variable in your setup. Too close and you risk light stress or burn. Too far and your plants stretch (etiolate) reaching for light. The correct height depends on the power of your light and what you're growing, but here are practical starting points: hang a low-power seedling light (20–45W) 12–18 inches above your seedling tray. A mid-power veg light (100–200W) should start at 18–24 inches above the canopy. A high-power fruiting light (200–400W+) belongs 24–36 inches away at full power, or closer only if you dial the dimmer down significantly.
For angle, most grow lights are designed to hang level and point straight down. If you're using bar-style lights or have an unusual tent shape, angling lights slightly inward toward the center of the canopy can improve edge coverage. For most square panels and quantum boards, keep it horizontal and centered over your plant footprint. If you're growing in a reflective tent, the reflective walls already redirect edge light back onto your plants, so you don't need to angle the fixture.
Coverage area claims on grow light packaging are almost always optimistic. A light marketed as covering 4×4 ft might deliver adequate PPFD only in a 3×3 ft footprint. Use the PPFD map from the manufacturer and look at the numbers in the corners of the claimed coverage area, not just the center. For seedlings or clones that all live close together, smaller coverage is fine. For a full vegetable garden, size up rather than down. If you're working with a specific brand's panel and want to understand its real footprint, detailed brand guides like lordem grow light instructions or ferry-morse grow light instructions often include tested hanging height charts that are more realistic than the box claims.
Dialing in intensity: distance, brightness, and how to avoid light burn
Intensity is controlled by two levers: the distance from the light to the canopy, and the dimmer setting (if your light has one). Most quality LED grow lights in 2026 include a dimmer knob or daisy-chain dimming feature. Use it. Starting at 50–75% power and the maximum recommended hanging height gives your plants time to acclimate before you push intensity higher.
The target intensity at your canopy, again measured in PPFD, determines how much photosynthesis is actually happening. For reference, high-light crops need PPFD in the 500–1,000 µmol/m²/s range. Most home growers without a PAR meter work by observation, which is valid if you know the signs. Light stress looks like upward leaf cupping (the leaf edges curl up like a taco shell), bleaching or yellowing of the newest growth closest to the light, and in severe cases, crispy brown patches on leaf tips. If you see any of these, raise the light 4–6 inches or dial the dimmer down 10–20% and give the plant 2–3 days to recover.
Under-lighting is just as common as over-lighting and easier to miss. Signs include elongated, spindly stems reaching upward, large gaps between leaf nodes, and slow or stalled growth. If your plant is stretching, lower the light 2–4 inches or increase intensity by 10–15% on the dimmer. Move slowly with adjustments either direction, give the plant a few days to respond before making another change.
A practical intensity guide by plant type:
| Plant Type | Target PPFD (µmol/m²/s) | Starting Height (full power) | Signs of Too Much Light | Signs of Too Little Light |
|---|---|---|---|---|
| Seedlings / clones | 100–250 | 18–24 inches | Bleaching, wilting | Stretching, pale color |
| Low-light houseplants | 50–150 | 24–36 inches | Leaf curl, yellowing | Leggy growth, leaf drop |
| Herbs / leafy greens | 150–400 | 18–24 inches | Tip burn, cupping | Slow growth, small leaves |
| Fruiting vegetables | 500–1,000 | 24–36 inches | Brown spots, bleach | Poor fruit set, stretch |
Scheduling and timing: how many hours per day and growth-stage adjustments
Most plants need somewhere between 12 and 18 hours of light per day indoors, depending on the species and growth stage. A simple timer (mechanical or smart plug) is non-negotiable. Consistent photoperiods matter more than most people realize. Plants use light cycles to regulate hormone production and growth rhythms, so irregular on/off schedules create stress even if the total hours are correct.
The science behind scheduling involves something called DLI, or Daily Light Integral. DLI is calculated as: DLI (mol·m⁻²·day⁻¹) = 0. DLI = PPFD × hours × 0.0036 (mol·m⁻²·day⁻¹), matching the standard relationship described in an NDSU-hosted lighting slide deck blank" rel="noopener noreferrer">DLI is calculated as: DLI (mol·m⁻²·day⁻¹) = 0.. Wikipedia summarizes the blank" rel="noopener noreferrer">Daily Light Integral (DLI) as the daily total of PAR-range photons in mol·m⁻²·day⁻¹ and provides the PPFD-to-DLI relationship when PPFD stays constant over the day. 0036 × PPFD × light hours per day. For seedlings and young plants in commercial greenhouse research, a target of 10–12 mol·m⁻²·day⁻¹ DLI is considered a practical goal for healthy development. You can use this formula to check whether your setup is delivering enough, once you know your light's PPFD at canopy height. But if math isn't your thing, the schedule table below covers the practical recommendations for common situations.
| Growth Stage / Plant Type | Recommended Hours/Day | Light Schedule Example | Notes |
|---|---|---|---|
| Seedlings (first 2–3 weeks) | 16–18 hours | 6 AM – 12 AM | High hours compensate for lower intensity |
| Vegetative growth (most plants) | 14–16 hours | 6 AM – 10 PM | Consistent schedule matters most |
| Fruiting / flowering (day-neutral) | 12–14 hours | 7 AM – 9 PM | Reduce hours to shift energy to fruiting |
| Short-day flowering plants | 12 hours dark required | 8 AM – 8 PM | Must have 12 continuous dark hours to flower |
| Low-light houseplants | 10–12 hours | 8 AM – 8 PM | Too many hours can stress shade-adapted plants |
Photoperiod-sensitive plants like poinsettias, chrysanthemums, and certain cannabis strains require an uninterrupted dark period to trigger flowering. Even a brief light leak during the dark period, a phone screen, a hallway light under a door, can delay or prevent flowering. If you're growing photoperiod-sensitive plants, check your grow space for light leaks by standing inside it in the dark for 60 seconds before sealing it up.
For a broader look at scheduling logic across different light types and configurations, the general grow light instructions resource on this site covers photoperiod planning and timer setup in more depth, including how to handle multiple lights on staggered schedules.
Troubleshooting common setup mistakes and performance issues
Most problems with LED grow lights come down to a handful of repeatable mistakes. Here's how to diagnose and fix the most common ones quickly.
The light turns on but plants aren't growing well
First, check your hanging height and confirm the light is actually at full power (or check if the dimmer was left low during setup and forgotten). Then count your actual light hours, timers mis-set to 12-hour cycles when you intended 16 hours are more common than you'd think. If height and hours are correct, the light may simply be underpowered for the coverage area. Compare your light's PPFD map against the target values in the intensity table above.
Leaves are yellowing near the top of the plant
Yellowing near the light source, especially on new growth, usually means light stress rather than nutrient deficiency. Raise the light 4–6 inches and see if new growth comes in green over the next week. If the yellowing is uniform across the whole plant including lower leaves, it's more likely a nitrogen or watering issue unrelated to the light.
The light flickers or shuts off intermittently
Intermittent shutoff is almost always a thermal protection issue. The driver is overheating. Check that the fixture has adequate airflow around the heat sink, nothing should be touching or resting on top of the light. If you're running the light in a high-temperature environment (above 85°F / 29°C), add a small fan to move air across the driver. If the flickering happens immediately on startup, the issue is more likely a loose driver connection or a failing power supply.
One section of the light is dim or dead
Partial failure in LED panels usually means a failed LED string or a loose internal connection. If the light is under warranty, don't open it, just contact the manufacturer. If you're troubleshooting a specific brand's panel, brand guides like feit electric grow light instructions include model-specific warranty and repair steps that can save you a lot of back-and-forth with customer support.
Plants are wilting even though watering and temperature are fine
If your environment checks out but plants are wilting under the grow light, heat stress from the light itself is worth ruling out. Hold your hand at canopy height for 30 seconds. If it feels uncomfortably warm, your light is too close or your grow space needs more ventilation. LED lights run much cooler than HPS or fluorescent, but at close range in an unventilated space, radiant heat still accumulates. A small clip fan directed at the canopy (not blasting directly at leaves, but moving air through the space) usually solves this immediately.
If you're working through issues with a brand that has a specific control interface or app-based scheduling, checking the manufacturer-specific guide is always worthwhile before assuming the hardware is faulty. Resources like feit electric grow light instructions cover brand-specific quirks that aren't obvious from the general principles above.
Your next steps after setup
Once your light is hanging, your timer is set, and your plants are in place, give the setup 5–7 days before making any changes. Plants need time to acclimate to a new light source, and adjusting too quickly makes it impossible to tell what's working. Keep a simple log: write down your hanging height, dimmer setting, and hours per day on day one. When you make changes, note those too. After two weeks you'll have real data to work from instead of guessing.
From there, the main adjustment cycle is straightforward: if plants look great and are growing at the rate you expect, leave everything alone. If growth is slow or stretched, add intensity or hours. If you see stress symptoms, back off intensity or raise the height. Most home grow setups find their sweet spot within three to four weeks of initial setup, and after that it mostly runs itself.
FAQ
Do I need to run my LED grow light 24 hours a day to get faster growth?
No. Most plants respond better to a consistent 12 to 18 hour photoperiod, with a real dark period. Running 24/7 can reduce vigor and make flowering unreliable for photoperiod-sensitive crops, because plants use uninterrupted darkness to regulate hormones and flowering timing.
What should I do if my light has a dimmer or multiple power modes?
Start low and ramp. Use the maximum recommended hanging height plus a dimmer setting around 50 to 75% for the first week, then increase intensity gradually only after plants show steady, healthy new growth. If you change both height and dimmer at the same time, you will not know what caused improvement or stress.
How do I confirm whether my light is at full output if the brightness seems “weak”?
Check the dimmer knob position, the controller mode (some lights have multi-level presets), and whether the unit is plugged into the intended voltage outlet. Also verify you are using the manufacturer’s specified hanging height and that nothing blocks the fixture lens or reflector.
Is it better to place the LED higher with higher intensity, or lower with lower intensity?
Neither is automatically better, but both change the PPFD pattern. Higher placement often spreads light more evenly, while lower placement increases intensity and can create hotspot stress near the center. The safest approach is to start at the manual’s maximum height, then adjust using plant response (leaf cupping, bleaching, stretching) or the PPFD map if available.
My plants are stretching but the timer is set correctly. Could the light schedule still be wrong?
Yes. Confirm you are not mixing up light cycle settings on smart plugs or controllers (for example, 12 hours instead of 16). Also check for accidental night light leaks, even small ones like a hallway light under a door, because interruptions during the dark period can disrupt growth rhythms and flowering.
Can I use a smaller covered area claim from the box as my setup size?
Be cautious. Packaging coverage claims are often optimistic, especially at the edges. Use the PPFD map and focus on corner values, not just center intensity. If you want even results across a bed, consider sizing up or using multiple fixtures rather than relying on one light to cover the entire advertised footprint.
How close can I safely place an LED grow light to seedlings?
Use the manual as the baseline, but a practical starting point for most low-power seedling panels is roughly 12 to 18 inches above the tray. If you see bleaching or upward leaf cupping, raise the light 4 to 6 inches or reduce dimmer output immediately, then wait a couple of days to assess new growth.
What if the manufacturer’s mounting height is “maximum,” and my plants are still underperforming?
If you have already tested at or near the maximum recommended height and growth is slow, the issue is often insufficient total intensity or insufficient hours rather than excessive height. Increase dimmer in small steps (about 10 to 20%) or raise daily light integral by adding hours within the recommended photoperiod range.
How can I troubleshoot an LED light that turns off, flickers, or won’t stay on?
Treat it as a power and thermal issue first. Ensure airflow around the heat sink, remove anything touching the fixture, and avoid running it in very hot conditions. If it flickers immediately on startup, inspect for loose driver connections if the manual instructs you to, otherwise contact support rather than opening the unit.
Do I need a fan when using LED grow lights?
Often yes, but not always. LEDs run cooler than HPS, yet drivers can overheat in enclosed tents or humid areas with limited airflow. If your fixture feels uncomfortably warm at canopy height, or you notice frequent thermal cutoffs, add gentle airflow across the canopy space and improve ventilation around the driver.
How do I handle humidity and condensation around the light and driver?
Keep driver and outlet connection points away from drips and direct condensation. In tents, routes for water lines and watering practices matter, because a small amount of moisture over time can increase corrosion risk or create unsafe conditions. If your setup uses a tent, consider placing the driver where it stays dry and using a drip tray strategy.
Should I use one timer for all lights or individual timers per fixture?
Individual timers are safer when you have different plant needs, but a single timer works if all lights share the same schedule and your controller does not have conflicting preset modes. If you stagger photoperiods or dimmer changes, use separate controls so one plant group does not receive unexpected light during the other group’s “dark” period.
What’s the best way to adjust my setup without overreacting to one weird day of growth?
After any height or dimmer change, wait several days. Start with one variable at a time, keep a simple log (height, dimmer, and hours per day), and judge results based on new growth rather than older leaves. Most home setups stabilize their “sweet spot” within about 3 to 4 weeks.
How do I tell whether yellow leaves are caused by light stress or nutrient problems?
Light stress often appears on the newest growth closest to the fixture, and you may also see bleaching or crisping at the leaf tips. If yellowing is widespread, including lower leaves, or growth is otherwise uniformly weak, nutrients, watering, or root conditions are more likely. Use targeted changes, like raising the light 4 to 6 inches, and observe how new leaves come in.
Next Article
Feit Electric Grow Light Instructions: Setup, Placement, Troubleshooting
Step-by-step Feit Electric LED grow light setup, placement, schedule, and fixes for weak growth, yellowing, and no power