Set the Ferry-Morse KLIGHT-6 fixture 6 to 12 inches above your seedlings, run it for 16 hours a day using an external plug-in timer, and make sure you have pulled the styrofoam inserts off the bulb before you plug in. That covers the core setup. Everything below walks you through the full process from opening the box to dialing in your schedule and fixing problems if things go sideways.
Ferry-Morse Grow Light Instructions: Setup, Height, Timer

Marcus Tillman
23 Apr 2026
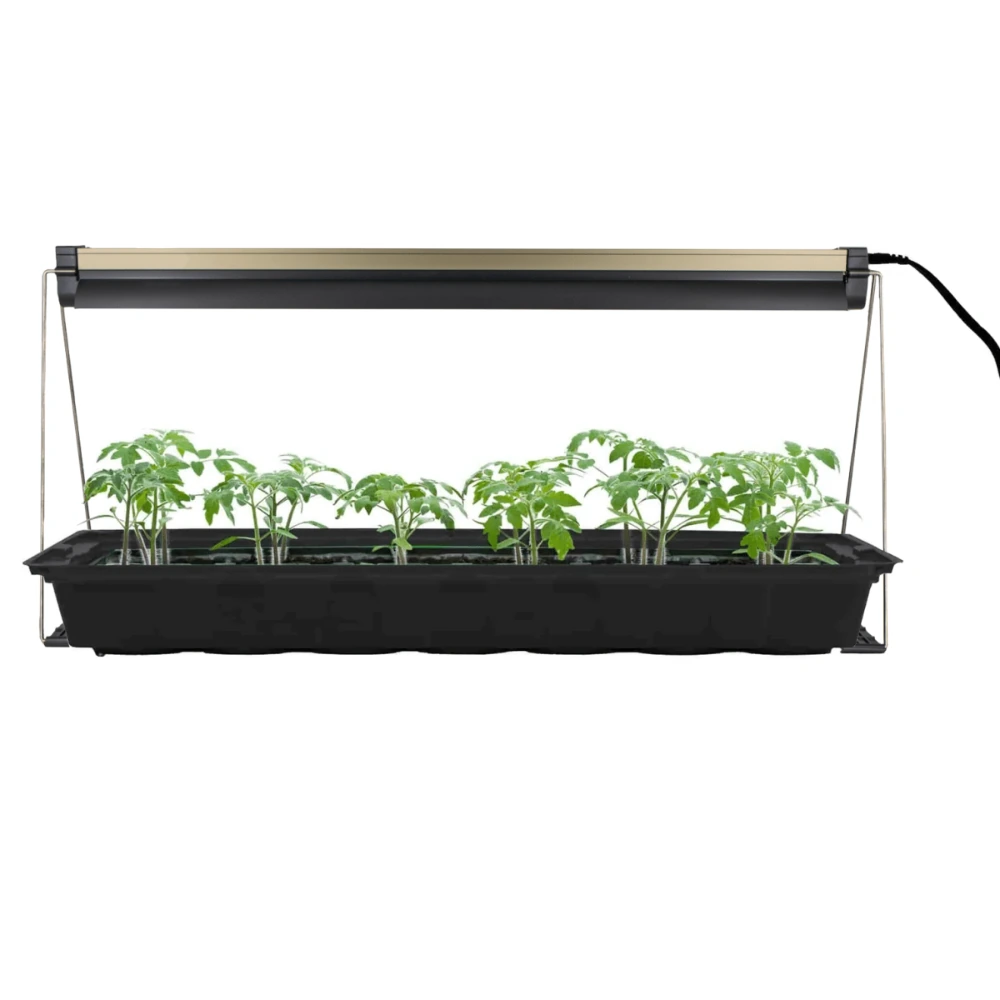
Figure out which Ferry-Morse grow light you have
The most common Ferry-Morse grow light kit is the KLIGHT-6, sold as the 'Ferry-Morse Indoor Grow Light Fixture with T5 Bulb, 24 x 11 in.' It ships as a 24-watt T5 fluorescent-style fixture measuring 24 inches long and 11 inches tall, and the box contains three things: the 24W T5 light, a stand, and a power cord. That's it. There is no built-in digital timer, no app, and no intensity dial on this fixture, so if you were expecting a programmable controller, you'll need a separate plug-in timer (more on that below).
Ferry-Morse also sells standalone grow light bulbs and connector cords as separate accessories, so double-check what you actually bought. If the box says KLIGHT-6 and contains the T5 strip fixture, this guide is exactly what you need. If you picked up just a replacement bulb or a connector cord, your setup steps are going to be different. The official product page and the instruction PDF both refer to the KLIGHT system, so look for that label on the box or in any included paperwork.
Before you dive in, also think about what you're growing. Ferry-Morse designed this light specifically for indoor seed starting, so it's optimized for trays of seedlings sitting right beneath it, not for large houseplants spread across a wide shelf. If you're starting tomatoes, peppers, herbs, or flowers from seed indoors, you're using it exactly as intended.
What's in the box and what to check before you start
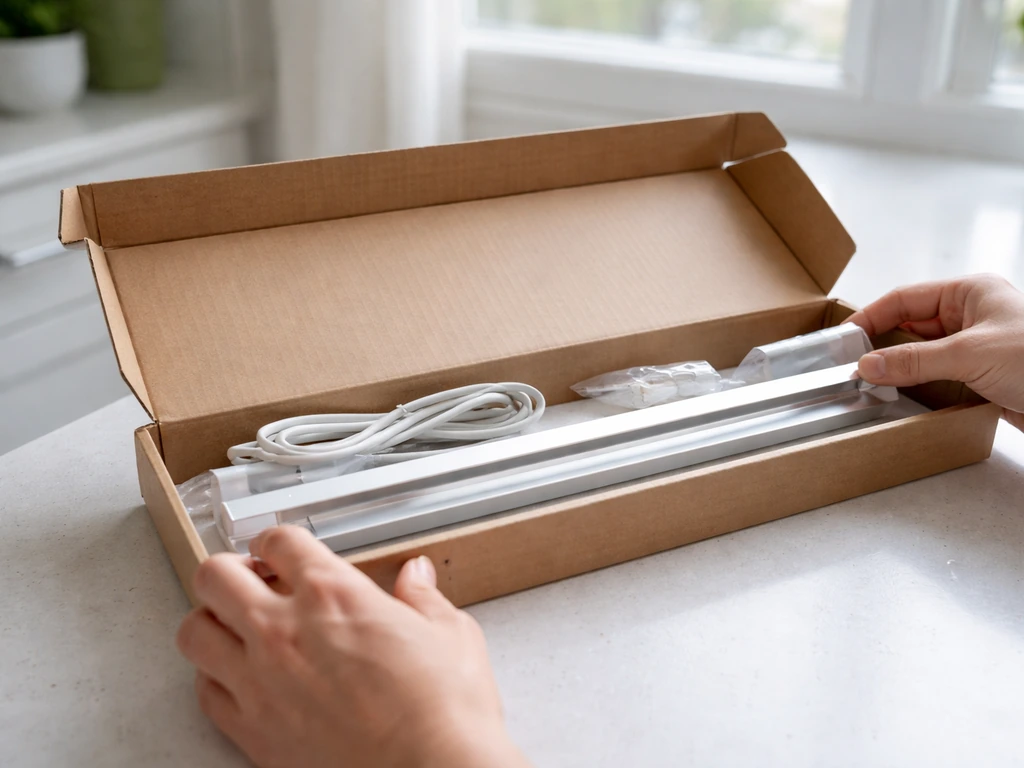
Open the box carefully and lay everything out on a table. Here's what you should find:
- T5 light strip with reflector (the bulb is already attached inside the reflector — you don't need to install it separately)
- Plastic end caps (these attach to the ends of the light strip)
- Stand(s) that insert into base plates and then into the holes on the plastic caps
- Power cord (with a keyed connector on one end)
- Any included paperwork or instruction sheet
The single most important pre-setup step that a lot of people skip: look at the T5 bulb inside the reflector and remove the styrofoam protective inserts before you plug anything in. They're there to protect the bulb during shipping, but leaving them on will block light and could potentially cause heat buildup. Pull them out and set them aside.
Check the power cord connector. One end plugs into your wall outlet, and the other end has a keyed connector that attaches to the light bar. Make sure none of the components have shipping damage, especially the bulb. A Reddit discussion about the Ferry-Morse KLIGHT-6 also reported cracked plastic after purchase, which is another reason to inspect components for shipping damage before using the light. T5 tubes are fairly durable but they can crack if the box got knocked around. If the bulb is cracked or broken, contact Ferry-Morse before proceeding.
How to assemble and mount the fixture
Assembly is straightforward and takes about five minutes. Here's the sequence:
- Remove the styrofoam inserts from the bulb/reflector area (if you haven't already).
- Attach the plastic end caps to both ends of the light strip.
- Slide the stand posts into the base plates, then press the base plate assemblies into the holes on the plastic end caps. The stand holds the fixture elevated above your seed tray.
- Set the assembled fixture on a flat, stable surface like a table, shelf, or seed-starting rack directly over your tray.
- Connect the power cord to the male side (the side with prongs) of the light bar connector. The official instructions specifically call this out: plug into the male prongs side, not the female socket side.
- Plug the other end of the power cord into your wall outlet or timer outlet strip.
The stand that comes with the KLIGHT-6 is designed to sit on top of a standard seed-starting tray setup, so the fixture sits a fixed height above your tray. As your seedlings grow taller, you'll need to raise the light. You can do this by setting the fixture on books, small wooden blocks, or a purpose-built grow light shelf rack. The 11-inch height of the fixture itself gives you some natural clearance to work with.
Mounting options beyond the basic stand
The included stand works well for a flat table setup, but here are a few other common placements that work with this fixture:
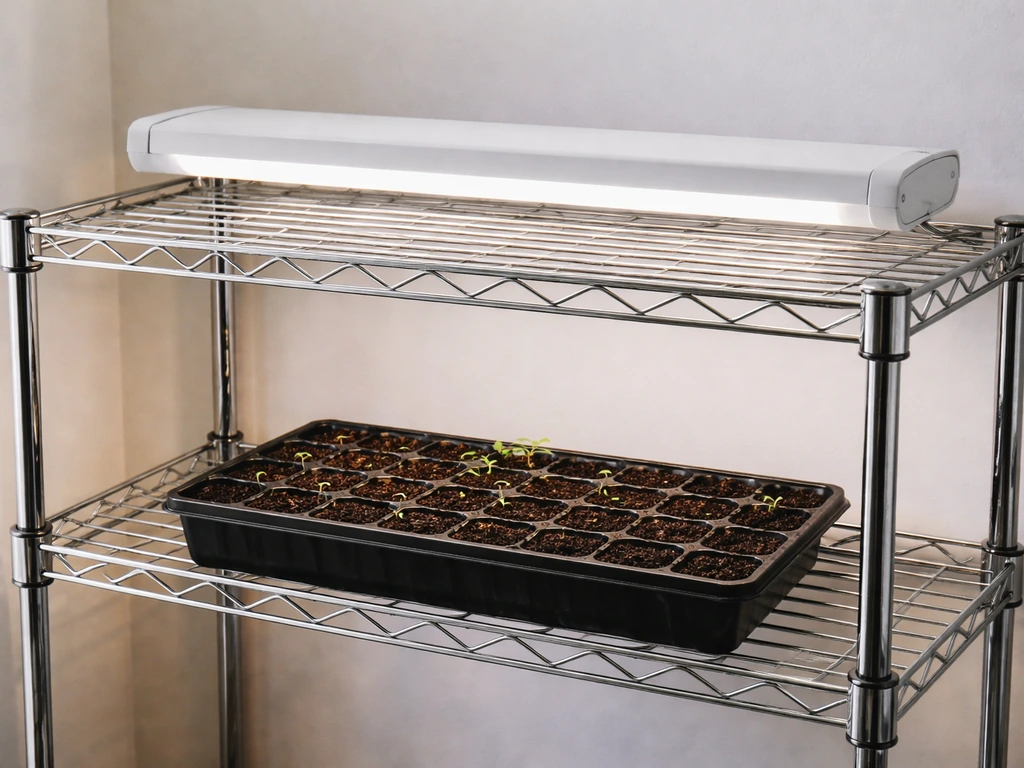
- Wire shelving rack: Rest the fixture on an upper shelf with your seed tray on the shelf below. This gives you easy height adjustments by moving the tray or using shelf risers.
- Adjustable grow light stand: Third-party adjustable stands (available at garden centers or online) let you raise the fixture incrementally as seedlings grow without moving the tray.
- Near a window: You can supplement weak winter light by placing the fixture above a tray on a windowsill, but the instructions explicitly warn against using this light in direct sunlight because the combined heat will dry out seedling roots.
- Grow tent: The 24-inch strip fits inside many compact grow tents. Mount it to the top crossbar using the caps or hook/loop straps. Keep it away from tent fabric to avoid any heat buildup on the material.
One hard rule from the official instructions: this light is for indoor household use only. Do not use it outdoors, do not immerse it in water, and do not wrap it in any insulating material. It also must not be used alongside a heat mat. The combination of bottom heat from a mat plus top heat from the light will overheat your seedlings and dry out their roots fast.
Wiring, plugging in safely, and setting up your timer
The KLIGHT-6 is a plug-in fixture, so there's no hardwiring involved. That said, there are a couple of safety points worth taking seriously. The instructions warn clearly that electric shock or fire can result from improper use, so take the connector step seriously: plug the power cord into the male prongs side of the light bar. The connector is keyed so it can only go in one way, but double-check before you push it in all the way.
For the timer: the KLIGHT-6 does not have a built-in timer. The instruction sheet simply says 'using a timer will help automate your light schedule' and leaves it at that. Led plant grow light instructions can help you pick the right timing and placement for consistent results. You'll need a basic plug-in mechanical or digital outlet timer, which costs around $10 to $15 at any hardware store or garden center. For more step-by-step guidance on setting the timer, mounting height, and troubleshooting, follow these grow light instructions. Plug the timer into your wall outlet, then plug the grow light's power cord into the timer's outlet. Set the on/off times on the timer itself.
A simple 24-hour mechanical dial timer works perfectly here. You don't need anything fancy. Just make sure the timer is rated for the wattage of your fixture (24 watts is well within the range of any standard outlet timer, which is typically rated for 1,000 watts or more).
How high to hang it and what coverage to expect
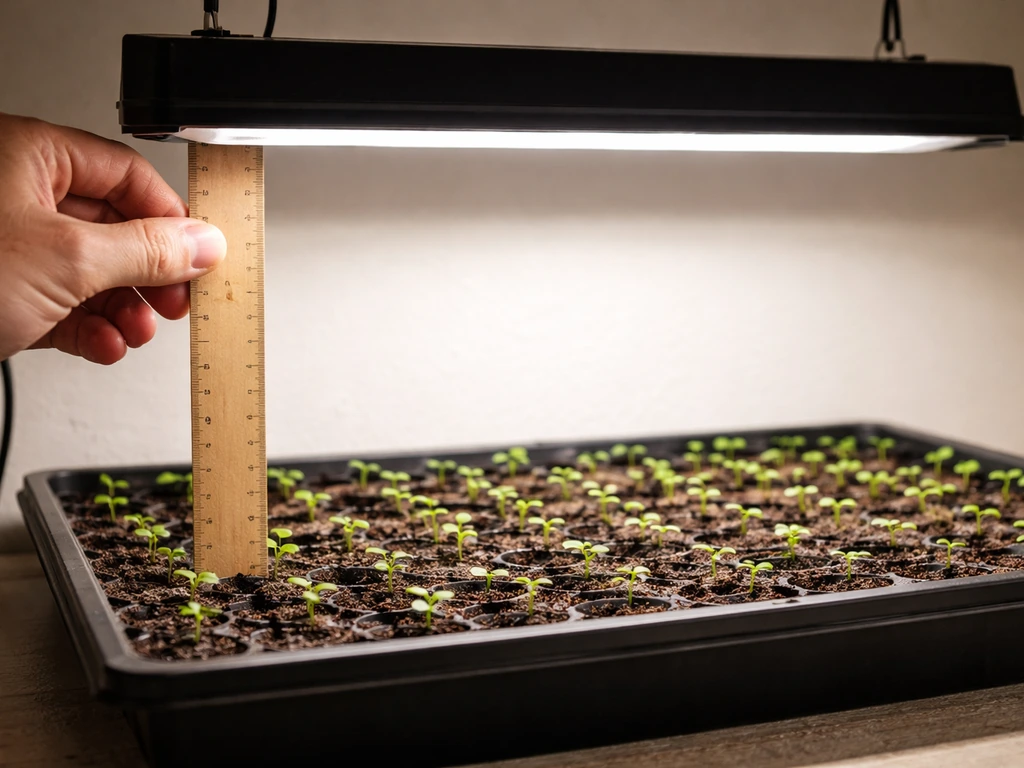
Ferry-Morse's official guidance is 6 to 12 inches from the top of your plants. That range sounds wide, but here's how to think about it in practice:
| Plant Type | Recommended Distance | Why |
|---|---|---|
| Seedlings (just sprouted) | 2 to 4 inches above the tray surface (seedlings are very short) | Maximizes intensity during the most light-hungry stage |
| Seedlings (1 to 3 inches tall) | 4 to 6 inches above leaf tips | Prevents stretching without burning tender new growth |
| Seedlings (3 to 6 inches tall) | 6 to 8 inches above leaf tips | Maintains good light as plants mature |
| Young transplants / general houseplants | 8 to 12 inches above leaf tips | Softer intensity is appropriate for established foliage |
| Low-light houseplants | 12 inches or more | Prevents light stress on plants adapted to low light |
The KLIGHT-6 puts out 1,100 initial lumens from a 24-inch strip. Ferry-Morse’s KLIGHT-6 product page lists 1,100 initial lumens output for the 24-inch strip fixture. That's a solid output for a seed-starting tray but not high-powered enough to replace a full-spectrum HID or high-output LED for large plants or fruiting crops. The 24-inch footprint covers a standard 10x20 seed-starting tray pretty well when positioned correctly. If you have a wider setup, you'll need more than one fixture.
As your seedlings grow, keep adjusting the height so the light stays in the 6-to-8-inch zone above the leaf tips. This is the number one maintenance habit that makes a difference between leggy, weak seedlings and stocky, healthy ones.
Setting the right schedule for your plants
The official KLIGHT instructions are direct about seedlings: they prefer 16 hours of light per day. That's your starting point if you're seed starting. Ferry-Morse's FAQ also references 12 to 16 hours as the general recommended range for indoor grow lights, which covers the full spectrum from low-light houseplants up through high-demand seedlings.
| Growing Stage / Plant Type | Daily Light Duration | Notes |
|---|---|---|
| Seeds (germinating) | 0 to 16 hours | Most seeds germinate in darkness; start the light once sprouts emerge |
| Seedlings (all types) | 16 hours on / 8 hours off | Standard seed-starting schedule per KLIGHT instructions |
| Herbs and leafy greens | 14 to 16 hours on | High light demand; keep schedule consistent |
| General houseplants | 12 to 14 hours on | Mimics a long natural day; use the lower end for low-light species |
| Low-light houseplants | 10 to 12 hours on | Too much supplemental light stresses shade-adapted plants |
Ramping up and seasonal adjustments
If you're starting seeds in late winter or early spring when outdoor days are short, run the full 16-hour schedule from the moment seedlings emerge. As days get longer in late spring (April and May in most of North America), you can begin tapering the timer down by about an hour every two weeks as you approach transplant time. This process, called hardening off the light schedule, helps plants transition to natural outdoor light cycles without shock.
In fall and winter, when you're using the light to maintain houseplants or start a new indoor round, stick to 14 to 16 hours and don't try to chase natural daylight patterns. The whole point of a grow light in winter is to compensate for what nature isn't providing. Set your timer consistently and leave it alone rather than adjusting it every week.
Fixing problems after setup
Seedlings are stretching tall and leggy
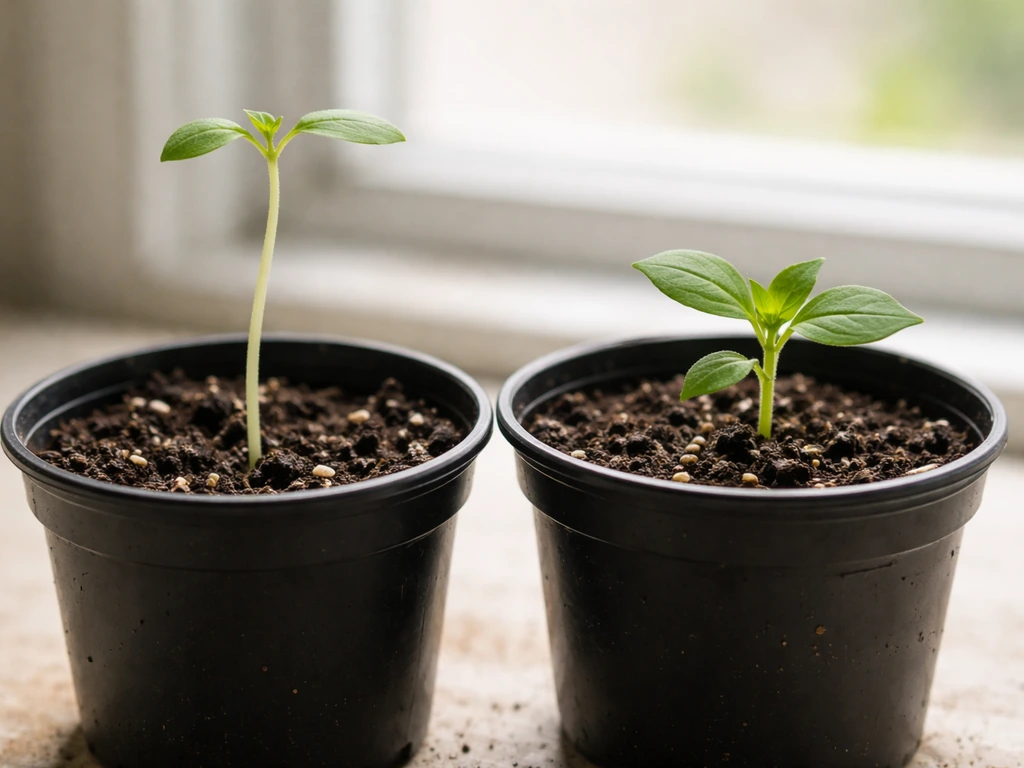
This is the most common problem and it almost always means the light is too far away. Seedlings stretch toward a light source when they're not getting enough intensity. Move the fixture down so it's closer to the leaf tips, targeting the 4-to-6-inch range. Also check your timer: if you're only running the light for 10 or 12 hours, bump it up to 16 hours. Leggy seedlings need both more proximity and more duration.
Leaf tips are bleaching or turning white/yellow
Bleaching or whitening at the leaf tips means the light is too close or running too long. Raise the fixture by 2 to 3 inches and see if the new growth looks normal after a few days. If you're also using a heat mat, stop. The KLIGHT instructions explicitly warn against combining the grow light with a heat mat because the combined heat dries out roots and can damage tender tissue. The T5 fixture does produce some heat, and heat mat heat adds on top of that.
Uneven growth across the tray
If plants directly under the center of the fixture are thriving but ones near the edges are stretching, you're seeing normal falloff from a single 24-inch strip. The KLIGHT instructions mention that the light direction can be adjusted, so try angling the reflector slightly if the design allows, but the more practical fix is to rotate your seed tray 180 degrees every few days so all the plants share equal exposure over time.
The light is flickering or not turning on
First, check the power cord connection at the light bar. The keyed connector on the KLIGHT must be plugged firmly into the male prongs side of the bar. A loose connection is the most common reason for flickering or no power. Unplug the power cord from the wall, reseat the connector at the light bar firmly, then plug back in. If it still flickers, try a different wall outlet to rule out a tripped circuit or faulty socket. If the light still won't come on and all connections are secure, the T5 bulb itself may have failed. Ferry-Morse sells replacement bulbs and connector cords separately.
Timer isn't cycling correctly
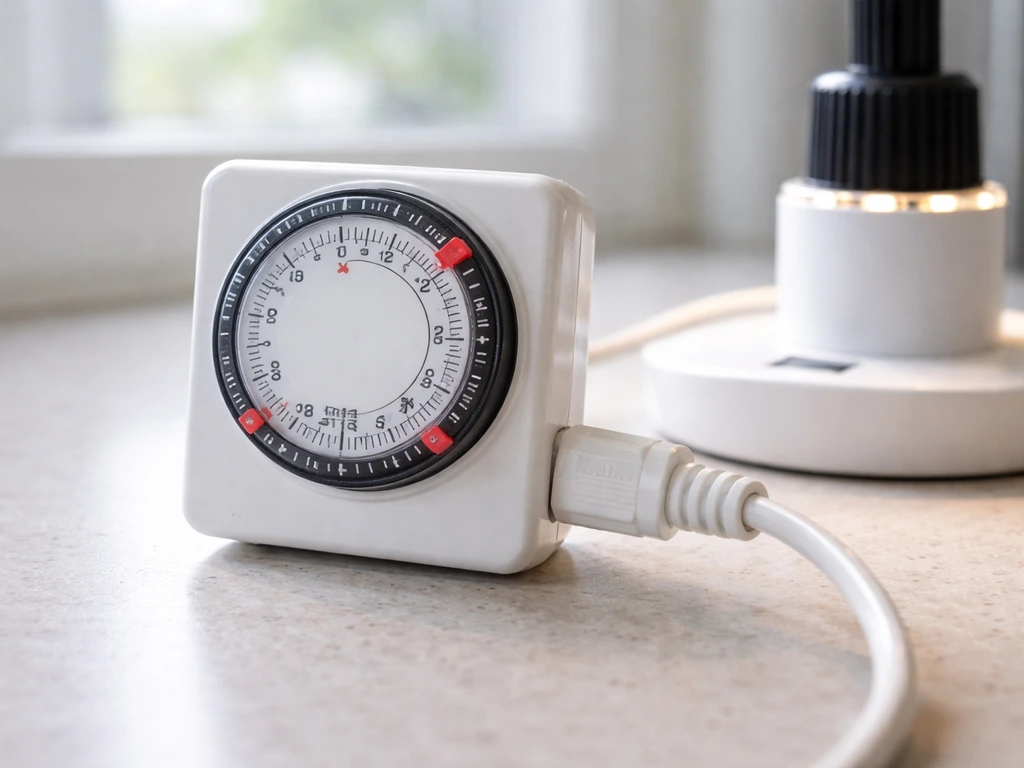
Mechanical dial timers have small plastic tabs that you push in or pull out to set on/off periods. Check that you've set the current time correctly on the dial (the arrow or pointer should point to the current time of day). Then verify that the on and off tabs are set for the right time blocks. Digital timers need the clock set correctly first, or the programmed schedule will fire at the wrong times. It's worth testing the timer by plugging in a lamp first so you can watch it cycle before trusting it with your grow light schedule.
Worried about heat
T5 fixtures run cooler than older HID or incandescent grow lights, but they do generate some warmth. Keep the fixture at least 4 to 6 inches above plants so air can circulate between the fixture and the tray. Never cover the fixture or wrap it in anything, as the instructions warn against insulating materials for exactly this reason. If you're in a small enclosed space like a grow tent, make sure there's a vent opening to allow heat to escape. Running your hand under the fixture after it's been on for an hour is a good sanity check: it should feel warm but not uncomfortably hot.
A note on other grow light brands and setups
The Ferry-Morse KLIGHT-6 is intentionally simple, which makes it a great starting point. If you're comparing it to other brands you may have researched, like Feit Electric, Vogek, Fecida, or Lordem grow lights, those fixtures often include built-in timers, multiple intensity levels, or dimmable controls. Vogek grow light instructions can also help you dial in mounting height and the right daily timer schedule for consistent results.
Lordem grow light instructions follow similar principles for setting mounting height and daily timer duration, but the exact steps depend on your specific model Lordem grow lights. If you are using Fecida grow lights, follow the Fecida grow light instructions for your specific model to set the right mounting height and daily timer schedule.
If you’re using a Feit Electric grow light, follow the specific Feit Electric grow light instructions for mounting distance and timer settings to match the lamp’s power and design. The Ferry-Morse doesn't have those features, so you'll rely entirely on your external timer and fixture positioning to control the light your plants receive. That's not a flaw, it just means your main adjustments are height and timer duration rather than button-press settings.
Once you've nailed down this basic setup, the principles carry over to any grow light system: get the height right for your plant type, run it on a consistent daily schedule, and adjust as the plants grow. The Ferry-Morse KLIGHT-6 is a solid, no-fuss option for seed starting, and if you follow the steps above, your seedlings should be compact, green, and ready to transplant on schedule.
FAQ
Can I plug the KLIGHT-6 into a power strip and then control it with the plug-in timer?
Yes, but only if the timer itself is rated for the fixture’s plug-in wattage (24 watts for KLIGHT-6). Also avoid plugging the timer into power strips with weak ratings, and keep the timer where it has airflow, since trapped heat can shorten mechanical timer life.
My seedlings are getting leggy, how do I know whether to adjust height or the timer first?
If you see stretching but the height seems correct, check the bulb has been run for the full 16-hour schedule and not interrupted by an incorrectly set timer clock (digital timers) or the current-time pointer (mechanical timers). Legginess usually comes from insufficient daily light or inconsistent on/off cycles, not from a small height mismatch alone.
Is it safe to wrap the KLIGHT-6 in insulation or use it with a heat mat to speed germination?
Do not do it. The fixture is meant for indoor household use and the instructions specifically call out not using insulating wrap, not immersing in water, and not combining with a heat mat. If you need bottom heat, use it separately at a different time, and monitor leaf and root-zone dryness.
What’s the best way to handle uneven light across a seed-starting tray, especially near the edges?
For a standard 24-inch strip over a 10x20 tray, you can usually get even coverage by rotating the tray every few days. If you have a wider or uneven setup (like flats of different heights), you may need two fixtures rather than angling one bar enough, because falloff at the edges can keep some plants light-stressed.
How can I tell the difference between “too close” and “not enough light” on this fixture?
If the fixture is too close you may see whitening or bleaching at leaf tips, then raise the light by 2 to 3 inches and reassess new growth after a few days. If it’s too far, you’ll usually get stretching, so lower it back toward the 4 to 6 inch target while keeping the run time at 16 hours.
Should I leave the timer set and the fixture plugged in continuously, or unplug it daily?
Use the timer as your only daily control, and avoid frequent manual unplugging. Consistent cycles matter because seedlings respond to regular light timing, and repeated power cuts can make some timers (especially mechanical types) drift or mis-set their switching points over time.
If the reflector can be angled, should I rely on that instead of rotating the tray?
Angle adjustments are limited by the fixture design, but the main practical fix is to move the plants rather than re-aiming the reflector repeatedly. Rotate the tray every few days so all seedlings spend time under the center portion of the strip, which tends to be strongest.
What are the most common mechanical timer mistakes when setting a 16-hour day?
Make sure the current-time pointer on the dial is set correctly before setting on/off tabs, and confirm the on period actually includes the full window you want (for example, 16 hours total). A very common mistake is setting only one tab set or forgetting to match AM/PM by visually checking the timer’s segments.
How should I test a digital plug-in timer before using it with the KLIGHT-6?
Digital timers require setting the clock correctly first, then programming the on/off events. After programming, do a dry run by plugging in a lamp and watching that the cycle matches your intended schedule, then swap the lamp back to the grow light once you confirm behavior.
If the light flickers or won’t turn on after checking the cord, when should I replace the bulb versus changing the timer?
Replace the T5 bulb if it’s cracked, broken, or the light still won’t illuminate after reseating the keyed connector and trying a different wall outlet. If only one side seems dim or the light output is dramatically reduced, replace the bulb before changing your height or schedule.
Next Article
Fecida Grow Light Instructions: Setup, Schedule, Tuning
Step-by-step Fecida grow light instructions for safe setup, correct placement, dialed intensity, smart schedules, fixes