If you just unboxed a Lordem grow light and the included instructions feel a little thin, you're not alone. Lordem makes a solid lineup of affordable LED grow lights, but their manuals are compact and sometimes leave out the "why" behind each step. This guide fills that gap. Whether you have the HL-0065-2, the A0134, the HL-003, the B1201, the A0158, or another Lordem model, the core setup process and controls are nearly identical across the range, so these instructions will get you running today.
Lordem Grow Light Instructions: Setup, Mounting, Controls

Marcus Tillman
10 Apr 2026
What Lordem grow lights are and what the manual actually covers
Lordem grow lights are compact, clip-on or freestanding LED plant lights designed for indoor use on desks, shelves, and windowsills. They're popular for houseplants, seedlings, herbs, and small vegetable starts. Most models run on 5V DC power (USB or a small adapter), which keeps them safe, low-wattage, and easy to place anywhere with an outlet or USB port. The A0134, for example, has 48 LEDs at a 4500K color temperature, which delivers a broad, plant-friendly spectrum without the harsh pink glow of older grow lights.
The official Lordem manual, which you can find online for models like the HL-0065-2, A0134, B1201, and A0158, typically covers five things: what's in the box, how to assemble the stand or mount, how to power on and use the controls, how to set the timer, and basic safety notes. What it usually skips is specific guidance on how high to position the light for your plant type, what timer setting to actually use for seedlings versus established plants, and what to do when something goes wrong. That's what this guide adds.
Unboxing, parts check, and what tools you need
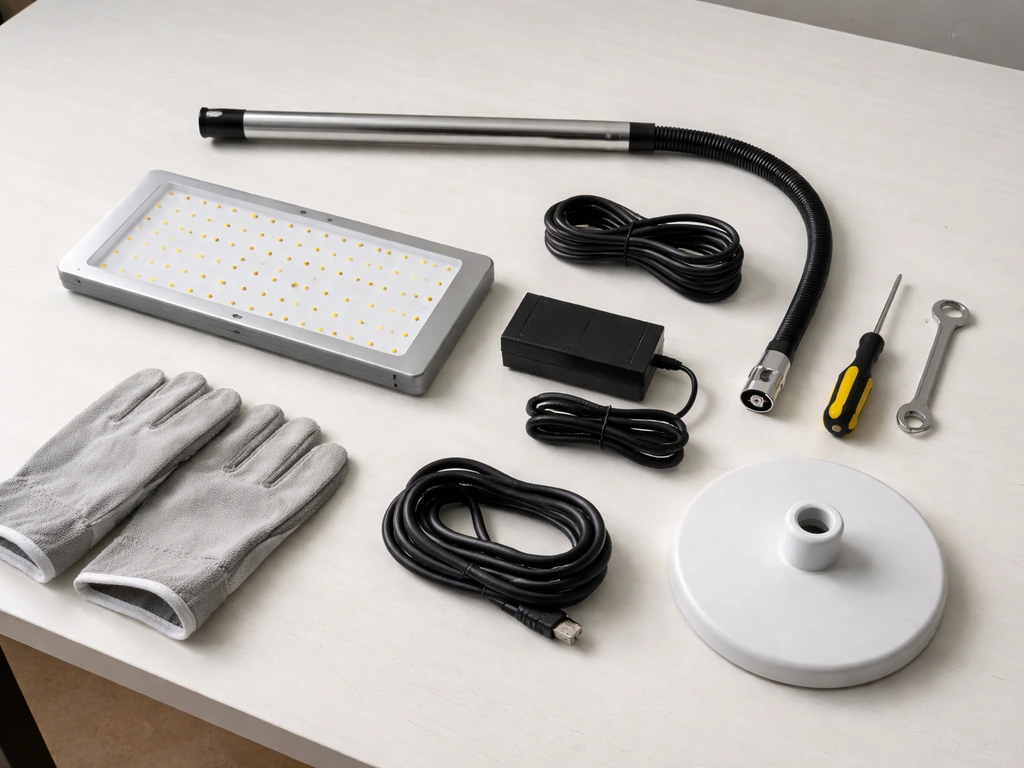
Before you touch a single button, lay everything out on a flat surface and compare it to the parts diagram in your model's manual (labeled something like "Contents of the LORDEM Grow Light Package" in the A0134 documentation). Most Lordem models ship with the same basic set of components.
- LED light head or panel
- Telescoping pole or gooseneck arm (model-dependent)
- Base or clamp (some models use a weighted pot clip, others a desk clamp)
- Power adapter or USB cable (5V DC)
- Instruction sheet
You do not need any tools to assemble a Lordem grow light. Everything is hand-tightened or press-fit. That said, keep a soft cloth nearby to avoid fingerprints on the LED panel, and if you're placing the base in a pot, have a small trowel handy to press it into the soil without disturbing roots. Check that the pole threads smoothly into the base before plugging anything in. If a piece feels forced, stop and re-seat it rather than stripping the fitting.
Step-by-step installation and mounting
The official setup steps from the HL-0065-2 user manual are a good baseline for the whole Lordem lineup: pick a location, assemble the base, set your height, then plug in. Here's how to do each step without guessing.
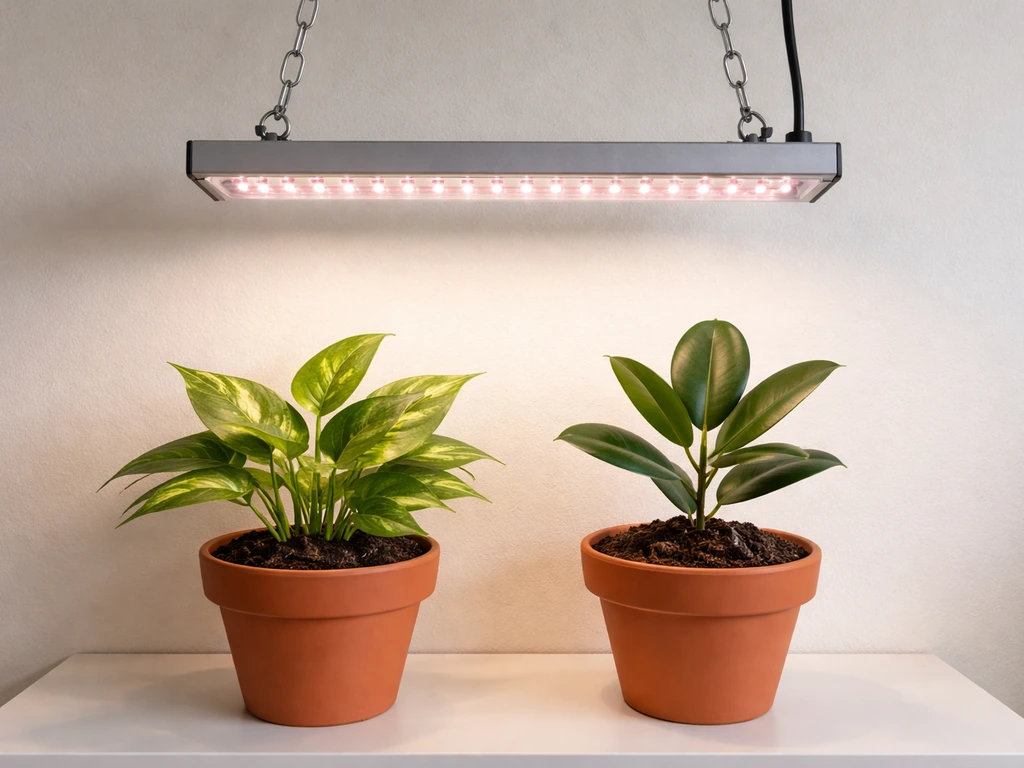
- Choose your placement: Lordem lights work on a desk beside a plant, clipped to a shelf edge, or inserted directly into a pot's soil. Desk or shelf placement is more stable and easier to reposition. Pot insertion is convenient for a single plant but tips over more easily on uneven soil, so make sure the base is fully seated and the soil is firm around it.
- Assemble the stand: For pole-style models, slide the pole into the base fitting and hand-tighten. For the HL-0065-2 and similar models, extend the telescoping rod to your starting height before final placement.
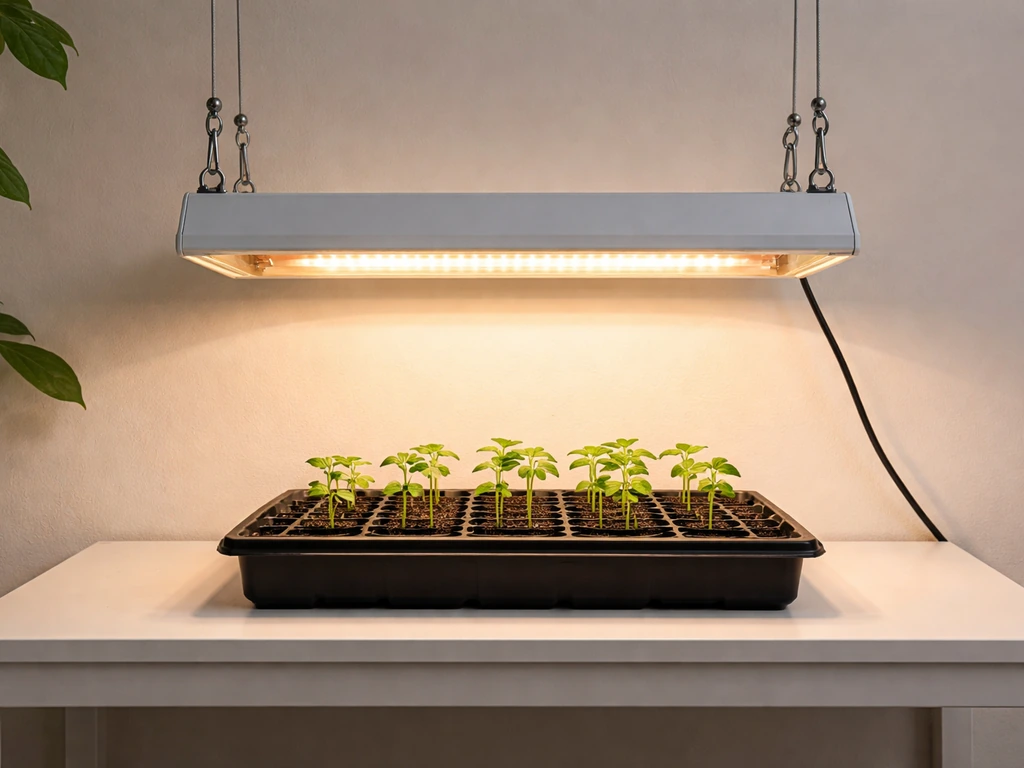
- Set your initial height: Start with the light head around 12 to 14 inches above the top of the plant canopy. The HL-0065-2 and A0134 adjust from 7.8 inches to 26 inches, while the HL-003 extends from 9.8 inches to 30.6 inches. Dial the telescoping section to your target height and lock it.
- Attach the light panel: On models where the head plugs into the arm or pole, press it firmly until it clicks or seats flush. A loose connection here causes flickering.
- Route the power cable: Run the USB or adapter cable down the pole and toward the outlet. Avoid draping the cord across leaves or over the pot rim where it could trap moisture.
- Plug in last: Always assemble the physical unit before connecting power. Plug into a standard outlet or USB port rated for 5V.
Powering on, first setup, and understanding the controls

Once plugged in, the light should come on automatically at its last-used setting, or default to 100% brightness if it's brand new. The control interface on Lordem models is simple: most have one or two buttons that cycle through brightness and timer options. Here's what each does.
The brightness button cycles through four levels: 25%, 50%, 75%, and 100%. The timer button cycles through three auto-shutoff durations: 4 hours, 8 hours, and 12 hours. Once you press the timer button and select a duration, the light will run for that period, then automatically shut off. Critically, the timer runs on a 24-hour cycle, meaning it will turn back on automatically the next day at the same time you first activated it. You don't need a separate smart plug or outlet timer. This is the built-in "set it and forget it" feature Lordem highlights across the B1201, HL-0065-2, and A0134 manuals.
For your very first session, press the timer button once (4H) just to confirm the light, timer, and controls all respond. If all three functions cycle correctly, you're good. Then set your actual schedule (more on that in the timing section below). One important note: if power is interrupted, the timer memory on models like the A0134 will resume the previous cycle once power is restored, so you don't have to reprogram after an outage.
Adjusting height, intensity, and coverage for different plants
This is where most beginners make mistakes, and it's also where Lordem's manuals are vaguest. The right combination of height and brightness depends on your plant type and growth stage. Getting it wrong means either burned leaf tips (too close, too bright) or stretchy, leggy growth (too far, too dim). Here's a practical starting framework.
| Plant Type / Stage | Recommended Height Above Canopy | Starting Brightness Level |
|---|---|---|
| Seedlings / germination | 14–18 inches | 25–50% |
| Leafy greens / herbs (vegetative) | 10–14 inches | 50–75% |
| Tropical houseplants (low-light types) | 12–18 inches | 25–50% |
| Succulents and cacti | 8–12 inches | 75–100% |
| Flowering plants / fruiting stage | 8–12 inches | 75–100% |
The A0158 manual is explicit about this: brightness level should be matched to the plant's current stage, from seedling through vegetative, flowering, and fruiting. Starting lower (25 or 50%) is always safer when introducing a plant to artificial light for the first time. Watch the leaves for three to five days. If new growth looks healthy and the color is consistent, your height and intensity are dialed in. If leaves are curling upward or showing light-colored patches at the center, raise the light or reduce brightness. If stems are elongating toward the light and growth looks thin, lower the light or increase brightness.
The HL-003 manual makes a good general point: keep the light close enough to be effective, but not so close that it overpowers the plant. For most desktop Lordem models, that sweet spot is between 10 and 16 inches for the majority of common houseplants and herbs. Adjust incrementally, not all at once. As plants grow taller, re-extend the telescoping pole to maintain your target distance rather than letting the canopy creep closer. The Lordem HL-003 telescoping height range is designed to adjust from 9.8 inches up to 30.6 inches for height-adjustable mounting As plants grow taller, re-extend the telescoping pole to maintain your target distance rather than letting the canopy creep closer..
Timing, scheduling, and how long to run the light
The built-in 4H/8H/12H timer covers most indoor growing scenarios. Choosing the right duration matters more than most beginners expect. Running the light too long stresses plants, and running it too short slows growth. Here's how to match timer settings to your plants.
| Plant Stage or Type | Recommended Daily Light Duration | Timer Setting to Use |
|---|---|---|
| Seedlings (first 2–3 weeks) | 14–16 hours/day | 12H (run twice, or supplement with a smart plug) |
| Vegetative stage / leafy plants | 12–14 hours/day | 12H |
| Flowering / fruiting plants | 8–12 hours/day | 8H or 12H depending on species |
| Low-light tropicals / maintenance | 8–10 hours/day | 8H |
| Succulents and cacti | 12–14 hours/day | 12H |
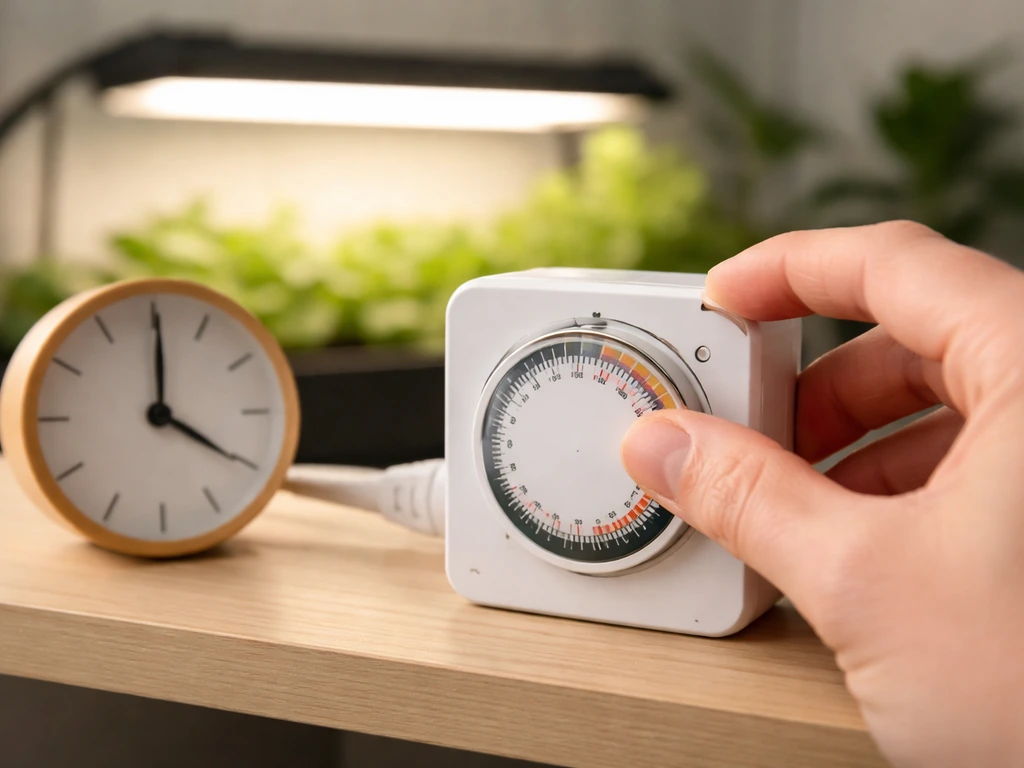
One thing worth understanding about Lordem's timer: when you press the timer button and select 12H, the light runs for 12 hours from that moment, then shuts off, then turns back on 12 hours after that. This creates a consistent on/off photoperiod without any manual intervention. Set it up at the time of day you want the light to come on (usually morning), and let the 24-hour cycle take over. For seedlings that need 14 to 16 hours of light per day, the 12H setting is the closest option available on the unit itself. If you need more precision, plug the Lordem into a simple outlet timer to extend coverage, which is a common workaround for seed starting.
If you're looking to compare Lordem's scheduling approach with other popular brands, the ferry-morse grow light instructions cover a similar built-in timer system and are worth reading if you're running multiple units with different plants.
Troubleshooting common issues and keeping the light running well
The light won't turn on
Check the power connection first. Lordem lights run on 5V DC, so if you're using a USB port, make sure it's an active powered port and not a data-only port on a hub. Try plugging directly into a wall adapter. If the light still doesn't respond, check that the panel is fully seated into the arm or pole connector. A loose panel-to-arm connection is the most common cause of a no-power situation on these models.
The timer isn't cycling correctly
If the light doesn't shut off after your selected interval, you may have accidentally skipped past the timer setting and left it in manual-on mode. Unplug the unit for 10 seconds, plug it back in, and re-select your timer duration by pressing the timer button until the correct interval indicator lights up. Remember, the timer memory feature (confirmed in the A0134 documentation) means the unit should resume its last timer setting after a power interruption, but a full reset (unplug and replug) clears the memory and lets you start fresh.
The light keeps tipping over
The A0134 manual flags this directly: if the unit tips, the base isn't properly weighted or placed. For pot-insertion models, press the base stake deeper into the soil and make sure the pot itself is heavy enough to counterbalance the pole and head. For desk-standing models, position the base on a flat, non-slippery surface and avoid extending the pole to maximum height with a heavy head, since that raises the center of gravity. A small rubber mat under the base helps a lot.
Plants are growing too slowly or look pale
This almost always means insufficient light intensity or duration. First, lower the light by 2 to 3 inches. Then increase brightness to the next level (for example, from 50% to 75%). If you're already at 75% or 100% and plants still look underwhelmed, extend your daily duration by switching from the 8H to the 12H timer setting. Give any change at least five to seven days before adjusting again, since plants respond slowly to light changes.
Leaf tips are burning or bleaching
Too much intensity at too close a distance. Raise the light by 3 to 4 inches and drop brightness from 100% to 75% or from 75% to 50%. Even though Lordem lights are low-wattage, placing them at the minimum height (7.8 inches) at full brightness can stress sensitive plants, especially seedlings and tropical houseplants. The fix is always to move the light up before reducing brightness, since distance has the bigger effect.
Keeping the LEDs clean and the unit lasting longer
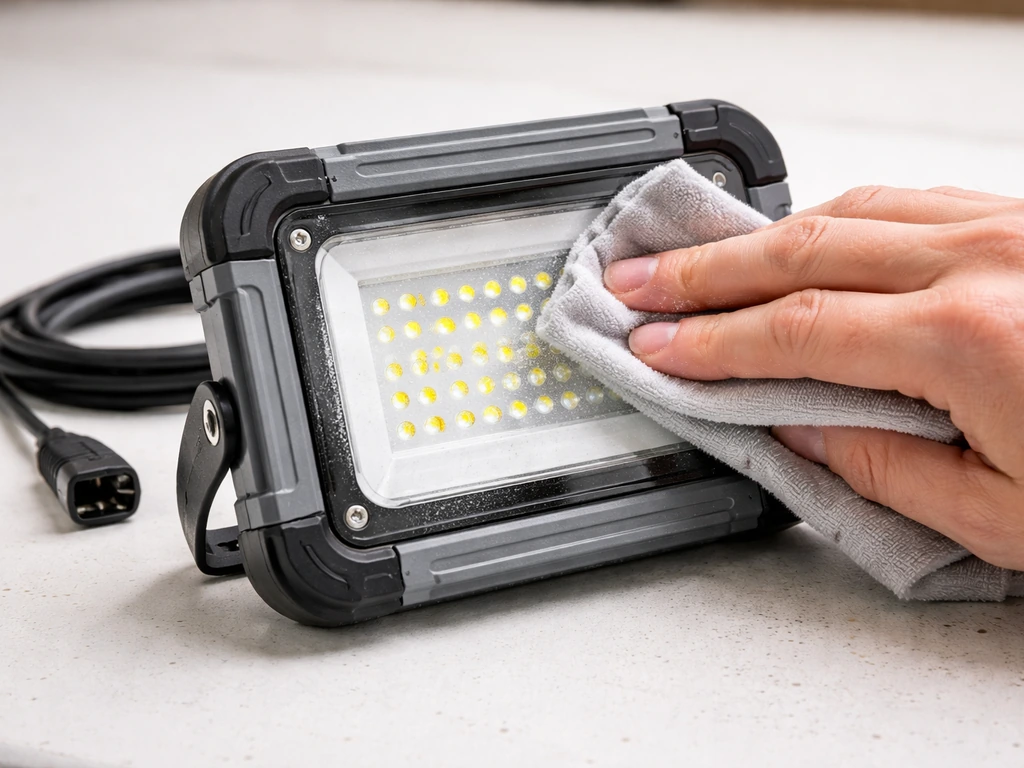
Dust on the LED panel cuts light output more than most people realize. Every two to three weeks, unplug the unit and wipe the lens and panel with a dry microfiber cloth. Never use water or spray cleaners near the electronics. Check the cable connection points for any sign of moisture, especially if the light is sitting over a plant that you mist regularly. Keep the cable away from wet soil at the base. That's genuinely all the maintenance these units need.
How Lordem compares to similar compact grow lights
Lordem sits in the same category as several other popular compact grow lights. The controls and timer logic are nearly identical across this market segment, which makes it easy to cross-reference if you're using more than one brand. The feit electric grow light instructions describe a comparable 3-level timer and dimming system, and if you're adding a second light for a larger shelf setup, understanding how both units handle their auto-cycles helps you synchronize them properly.
If you're newer to grow lights in general and want a broader grounding before diving into brand-specific details, reading through grow light instructions that cover universal setup principles can prevent a lot of early mistakes. And for LED-specific placement and spectrum guidance that applies to Lordem's LED technology, the led plant grow light instructions go deeper on how LED color temperature and placement angles affect plant response.
For those running a small grow room or multiple setups, the fecida grow light instructions are worth a look if you decide to scale up, since Fecida models offer more coverage area while using a similar control interface. And if you're comparing budget options side by side, the vogek grow light instructions cover another popular compact LED with a nearly identical timer-and-dimmer setup to Lordem's, which makes them interchangeable for most small-scale indoor setups.
Your quick-start checklist
- Unbox and verify all parts against your model's contents list.
- Assemble the pole and base by hand, no tools needed.
- Set initial height to 12–14 inches above your plant canopy.
- Plug in the power adapter or USB cable.
- Press the power/brightness button to confirm the light turns on.
- Press the timer button and select 8H or 12H based on your plant type.
- Set brightness to 50% for a new setup, then adjust after observing the plant for 5–7 days.
- Check the light daily for the first week: look for leaf burn, pale color, or stretching, and adjust height or brightness one step at a time.
- Wipe the LED panel every 2–3 weeks to maintain output.
FAQ
Do Lordem grow light instructions differ for USB power versus a wall adapter?
The controls behave the same, but use only a powered USB port (not a data-only port on a hub). If you notice flicker or inconsistent brightness, try a wall adapter and confirm the panel is fully seated in the connector before troubleshooting the timer.
Can I use the Lordem light on a smart outlet or plug timer, even though it has a built-in timer?
Yes as a workaround if you need more than 12 hours, but avoid stacking schedules. Set the Lordem unit to the longest built-in interval (12H) and let the outlet timer handle when power is enabled, so the internal 24-hour cycling does not fight your external schedule.
How do I reset the light to a known state if I’m not sure what setting it’s currently on?
Unplugging for about 10 seconds clears the “resume previous cycle” behavior. After plugging back in, do a quick test by pressing the timer once (4H) to confirm you can change intervals and that the light responds normally.
What height should I start with if my plants are very small seedlings?
Start at the safer end of the range, about 10 to 16 inches for most desktop setups, and begin at 25% or 50% brightness. Then adjust gradually over several days, because seedlings are more sensitive to heat and overintensity than mature houseplants.
The light looks bright, but my plants are still leggy, what’s the most likely cause?
Leggy growth usually means insufficient effective light, either because the light is too far away or the timer duration is too short. Move the light closer by 2 to 3 inches before increasing brightness, and give changes 5 to 7 days to show up.
My plants show light-colored patches or curling upward. Should I reduce brightness or raise the light first?
Raise the light first, then reduce brightness if needed. Distance has the bigger effect on LED intensity, so a vertical adjustment of 3 to 4 inches often fixes stress without dropping all the way to the lowest brightness.
Can I leave the light on continuously since it is low power?
It’s not recommended. Use the built-in 4H, 8H, or 12H cycles to create a consistent photoperiod. Continuous operation can stress plants and slow healthy development, especially for seedlings.
How often should I clean the LED panel, and what’s safe to use?
Unplug and wipe every two to three weeks with a dry microfiber cloth. Do not use water, sprays, or cleaners near the electronics, and keep the cable connection points dry, especially if you mist plants nearby.
What’s the best way to mount the base in soil so the pole stays stable?
Press the stake/base deeper into the soil and ensure the plant container provides enough weight to counterbalance the head. If the unit tips or wobbles, add weight to the pot (or use a rubber mat for desk setups) rather than extending the pole higher to “reach”.
The timer runs but it turns back on at a different time than I expected. Why?
The unit’s timer operates on a 24-hour cycle. If you set the interval at, for example, late afternoon, the light will return later the next day at the same relative time. To control the “morning” start, set the timer when you want the first on period to begin.
Next Article
LED Plant Grow Light Instructions: Setup, Placement, Timing
Step-by-step LED plant grow light instructions for setup, placement height, timing, intensity tuning, and troubleshootin