The short answer: for seedlings, you want a PPFD of 100–300 µmol/m²/s at canopy level, a light-to-seedling distance of roughly 2–6 inches for LEDs (or under 12 inches for fluorescents), and a daily schedule of 14–16 hours of light. Get those three things right and your seedlings will be stocky, green, and ready to transplant. Get them wrong and you end up with pale, leggy plants that fall over before they ever see the garden. This guide walks you through the whole setup from picking a light to flipping the timer on.
Seedling Grow Light Setup: Step-by-Step Guide for Beginners

Marcus Tillman
4 Apr 2026
Choosing the right grow light for seedlings
Seedlings do not need expensive, high-powered lights. They are in one of the lowest-demand stages of a plant's life, targeting a PPFD of just 100–300 µmol/m²/s. What they do need is consistent, even coverage at the right intensity. The type of fixture matters less than people think, but some options are genuinely more practical than others for seed starting.
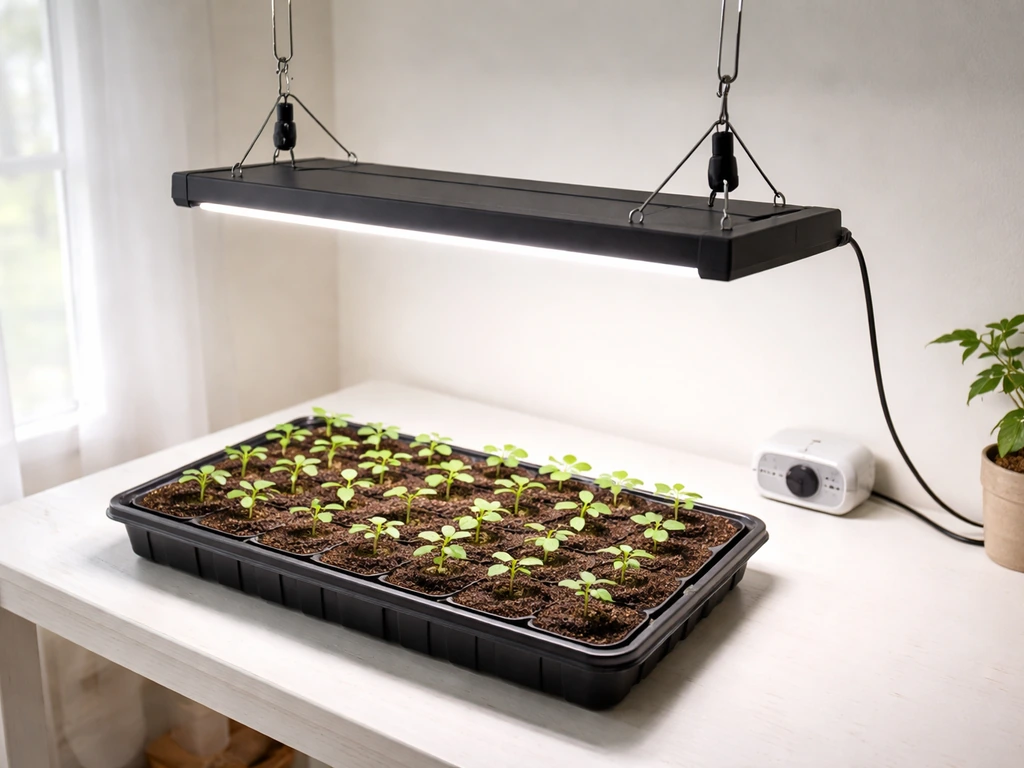
LED bar lights and LED panel lights are the most popular choice today, and for good reason. They run cool, are energy efficient, and most are adjustable in height, which is critical because you will be changing the distance constantly as seedlings grow. A basic two-bar or four-bar LED setup covering a standard 10x20-inch seedling tray costs between $30 and $80 and does the job well. If you want a broader understanding of how to build out a larger system, the principles in a full LED grow setup apply here too, just scaled down.
Fluorescent shop lights (T5 or T8 tubes) are still a legitimate option, especially if you already have them. The catch is that they produce lower PPFD, so they need to hang very close to the seedlings (under 12 inches, ideally under 6 inches) and run longer to hit your daily light target. One research-backed estimate puts the runtime at about 22 hours per day just to reach an adequate DLI for sun-loving plants using standard shop lights. That is a lot to ask of a fixture and your electricity bill, so if you are buying new, go LED.
Avoid incandescent bulbs. They produce too much heat and the wrong spectrum distribution for seedling growth. Cheap screw-in 'grow bulbs' sold at hardware stores are similarly weak, fine for keeping a houseplant alive but not enough for germinating tomatoes or peppers from seed. Standard LED bulbs are not designed for horticulture either, even if marketed as 'daylight' spectrum. Stick with a purpose-built horticultural LED or fluorescent fixture.
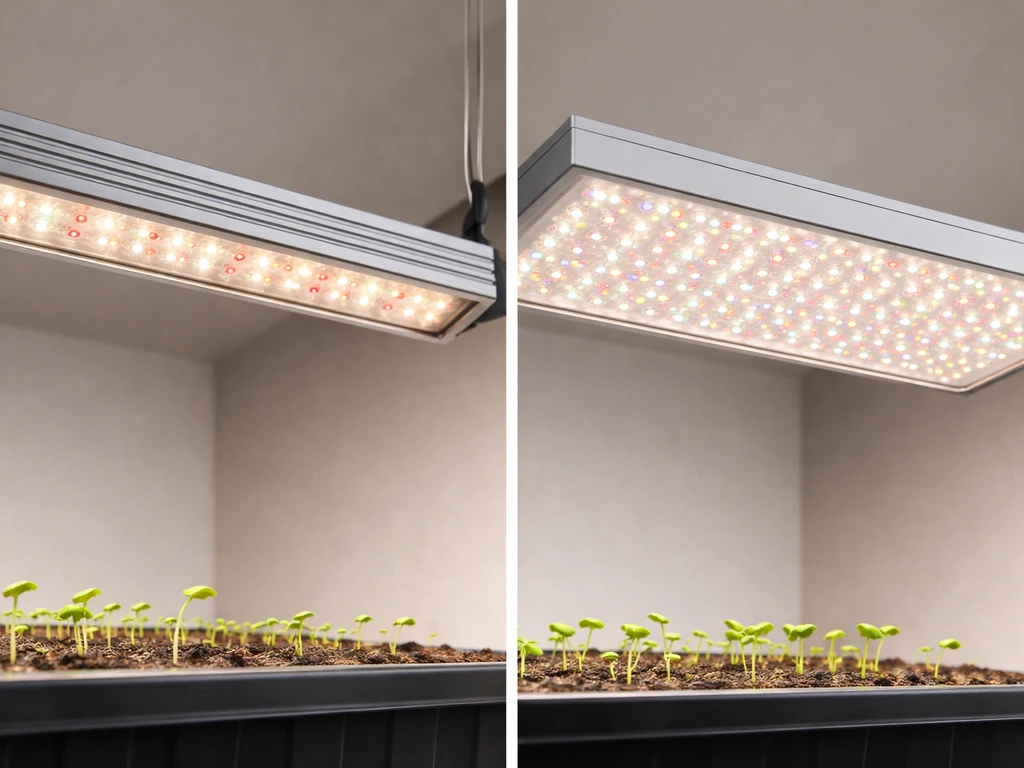
On spectrum: blue-rich light (roughly 400–500nm range) promotes compact, bushy seedling growth by keeping internode spacing tight. Most quality horticultural LEDs already lean toward a full spectrum with adequate blue, so you do not need to obsess over this. The bigger failure point for most home growers is light quantity, not spectrum. Getting enough intensity and duration is far more important than chasing a specific color ratio.
Sizing coverage and intensity for your seedling area
Before you buy anything, measure your seedling area. A single standard 10x20-inch nursery flat is the most common unit, and most seedling-specific LED bars are designed around it. If you are running multiple trays or a full shelf, multiply accordingly. A single-bar LED rated for a 10x20-inch footprint will not adequately cover two trays side by side, no matter what the box says.
For intensity, the target is 100–300 µmol/m²/s PPFD at the seedling canopy. The most reliable way to verify this is with a PAR meter or a smartphone PAR app (less accurate but usable for ballparking). A PAR meter (or similar sensor) reports PPFD as micromoles of photons per square meter per second (µmol/m²/s), which is a practical way to quantify how much usable light reaches the canopy. Do not rely on the fixture's wattage or lumen rating to judge actual intensity at canopy level. A 45-watt LED bar 4 inches above a tray delivers a very different PPFD than the same light hung 12 inches up. Measure at the plant, not at the box.
DLI (Daily Light Integral) is the total amount of light your seedlings receive in a day. The target for most seedlings is around 12 mol/m²/day. You can calculate it using this formula: DLI = PPFD × hours × 0. 0036.
So if your light delivers 200 µmol/m²/s at canopy and you run it for 16 hours, your DLI = 200 × 16 × 0. Virginia Tech Extension’s DLI example shows how PPFD and photoperiod hours translate into DLI using worked numbers like 200 µmol·m−2·s−1 for 16 hours [200 µmol/m²/s at canopy and you run it for 16 hours](https://www. pubs. ext.
vt. edu/content/pubsextvt_edu/spes/spes-720/spes-720. html). 0036 = 11.
52 mol/m²/day. That is just about right. If your PPFD is on the lower end (say 150), bump hours to 18 to compensate.
One practical thing people overlook: light intensity drops off quickly toward the edges of a fixture's footprint. If you are using a single bar light over a full tray, the plants in the center will get more light than those at the corners. This causes uneven growth. Either accept that and rotate trays every few days, or use two bar lights positioned off-center above the tray to fill in the edges.
Mounting, height, and placement best practices
Height adjustability is non-negotiable. Seedlings start out tiny, maybe half an inch tall, and within two to three weeks they can be 3–4 inches tall. Your light needs to move with them. If your fixture is fixed in place, you will either burn young seedlings or end up with leggy older ones as you try to use a single height for the whole grow-out period.
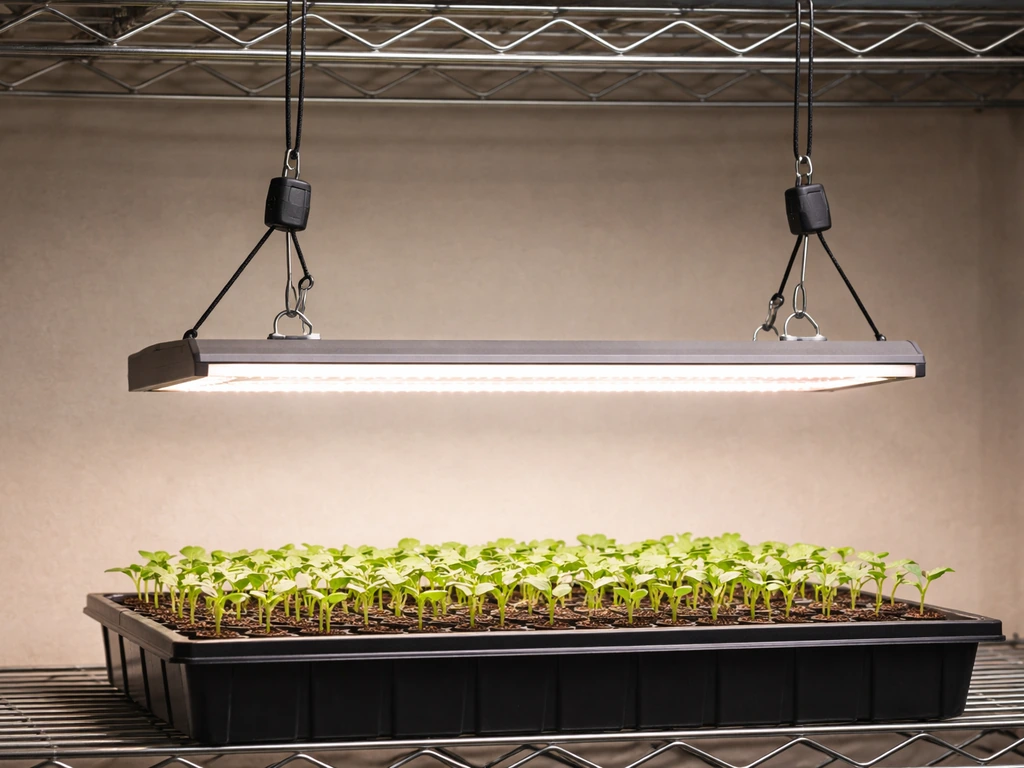
For LED bar and panel lights, start at about 4–6 inches above the seedling canopy for most full-spectrum horticultural LEDs. As seedlings grow, raise the light to maintain that 4–6 inch gap. For fluorescent T5 or T8 fixtures, start at 2–4 inches and do the same. The exact starting distance depends on your specific fixture's output, which is why measuring with a PAR meter or app at least once is worth it.
For mounting, the simplest option is a wire shelving unit with the light hung from the shelf above using adjustable rope ratchets or zip ties threaded through S-hooks. Rope ratchets cost about $8–12 for a pair and let you raise the light in small increments without tools. If you are growing on a table or countertop, a small light stand or a DIY PVC frame with cross-bars works well. The key is that you can raise the light quickly and easily without dismantling anything.
Place the light directly above the trays, centered over the canopy. Angled lighting creates hot spots on one side and shadows on the other. If you are using a heat-generating fixture (like a high-wattage HID or a less efficient older LED panel), leave more room for airflow and consider the advice in a guide on air cooled grow light setup to manage heat buildup in an enclosed space. For most modern low-wattage LED seedling bars, heat is rarely a serious issue.
Keep cords organized and away from water. Seedlings need frequent watering, and a power strip or extension cord sitting on the shelf below a dripping tray is a hazard. Mount the power strip on the side of the shelving unit, run cords up and away from the tray area, and use a ground-fault circuit interrupter (GFCI) outlet if one is available.
Setting the daily schedule and adjusting as seedlings grow
Start with 14–16 hours of light per day for most seedlings. This range works for the majority of vegetable and flower seedlings, including tomatoes, peppers, basil, marigolds, and brassicas. Use a simple mechanical or digital outlet timer, set it to turn on in the morning and off in the evening, and let it run. You do not need to babysit it.
A consistent schedule matters more than a perfect one. Seedlings respond to light cycles, and interrupting the dark period or running lights at random times stresses the plants and makes it harder to diagnose problems. Set the timer once and leave it.
As seedlings develop their first true leaves (typically one to two weeks after germination), you can begin nudging the schedule. If you started at 14 hours, move to 16. If growth looks strong and compact, stay where you are. The goal is to hit that 12 mol/m²/day DLI target, and increasing hours is the easiest way to compensate if your fixture is putting out lower PPFD.
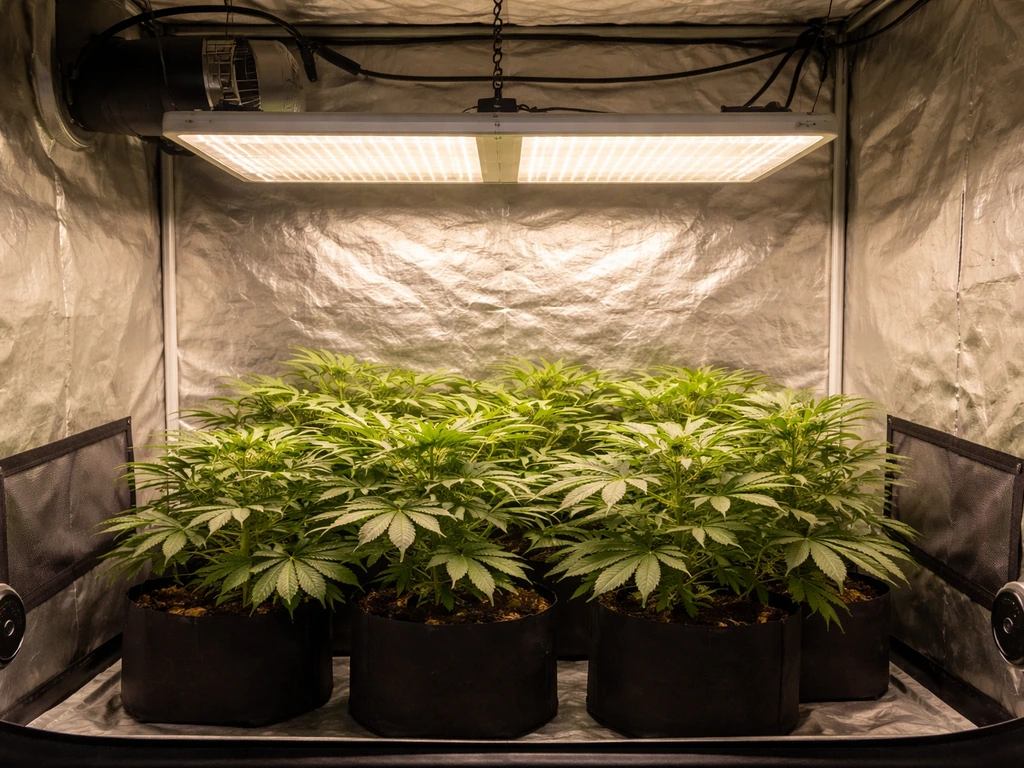
When it is time to transition seedlings to outdoor conditions or to a higher-intensity growing environment, do it gradually. If you are hardening off for outdoor planting, start with 1–2 hours of outdoor exposure per day and increase over 7–10 days. If you are moving seedlings under a more powerful fixture (like a full-canopy light for a vegetative grow), reduce hours slightly at first and watch for bleaching or stress before ramping back up. The same logic applies whether you are transitioning herbs, vegetables, or something like cannabis, where the cannabis grow light setup requirements diverge significantly from seedling stage once flowering begins.
Preventing common problems (leggy, stretching, heat, uneven growth)
Leggy seedlings are the most common complaint, and almost every case comes down to one of two things: not enough light intensity or the light is too far away. Seedlings stretch toward light when they are not getting enough of it. The fix is almost always to lower the light, increase hours, or both. Switching to a higher-output fixture is the nuclear option and rarely necessary if you address placement first.
Heat stress looks different. Seedlings under too much heat (or a light that is too close and too intense) will show bleached or white patches on the top leaves, curling edges, or wilting even when the soil is moist. If you touch the top of your seedlings and they feel warm, your light is too close or your grow space has poor air circulation. Raise the light 2 inches, add a small fan for air movement, and reassess in 24 hours.
Uneven growth across a tray usually means uneven light distribution. The plants in the bright center grow faster than those at the edges. Rotate your trays 180 degrees every 2–3 days to even things out. If rotation is not practical, add a second light source to fill in the dark zones.
Light leaks during the dark period are mostly a concern if you are growing plants with specific photoperiod sensitivity (like certain flowers or fruiting vegetables). For standard seedling trays, a few minutes of ambient room light will not usually cause harm. But if you notice strange growth patterns or premature flowering in plants that should not be flowering, check whether your dark period is actually dark.
One more preventable mistake: placing seedlings too close to a window alongside your artificial light. Natural light and artificial light can add up to more than your seedlings need, and the angle of window light will cause everything to lean. Either use artificial light only, or place the window to the side and reduce artificial light hours to compensate.
Troubleshooting and fine-tuning based on what you see
The best diagnostic tool you have is the seedlings themselves. Here is how to read what they are telling you:
| What you observe | Likely cause | Fix |
|---|---|---|
| Tall, thin stems, leaning toward light | Insufficient PPFD or light too far away | Lower light 1–2 inches; add 1–2 hours to schedule |
| Bleached or white patches on top leaves | Light too close or too intense | Raise light 2 inches; check canopy temp |
| Yellowing lower leaves, slow growth | Low DLI (not enough total daily light) | Increase hours or lower light to boost PPFD |
| Uneven tray (tall center, short edges) | Uneven light distribution | Rotate trays every 2–3 days; add second light |
| Wilting despite moist soil, curling edges | Heat stress or low humidity | Raise light, add fan, check room temperature |
| Seedlings look fine but growth is very slow | DLI too low for the species | Check PPFD with meter; recalculate DLI and adjust hours |
When you make an adjustment, give it 48 hours before judging the result. Plants respond slowly to environmental changes. Making two changes at once (lowering light and adding hours, for example) makes it harder to know which one fixed the problem. Change one variable at a time when you can.
If you have a PAR meter or app, take readings at multiple spots across the tray: center, each corner, and midpoints along each edge. This tells you the actual uniformity of your setup. A reading spread of more than 2x from center to corner (say 250 µmol/m²/s in the center vs. 80 µmol/m²/s at the corners) is too uneven. Adjusting height, spreading bar lights further apart, or adding reflective material (white foam board or mylar) around the tray can improve uniformity significantly.
Different plants also have meaningfully different needs. Leafy greens and herbs are comfortable at the lower end of the 150–300 µmol/m²/s range and tend to do well with less fuss. Tomatoes, peppers, and other fruiting plants push toward the higher end of seedling PPFD even in the early stage. Tropical plants like alocasia have their own specific considerations, and if you are also running those in the same space, it is worth checking out a breakdown of alocasia grow light requirements before assuming one setup works for everything on the shelf.
Succulents are an extreme example: they can handle very high light and actually do poorly under the longer duration and moderate intensity that suits most seedlings. If you have succulents sharing a shelf with your seed-starting trays, they likely need either a separate zone or a different schedule. There is a more detailed look at this in a piece on succulent grow light setup that is worth reading before you mix plant types under the same fixture.
Finally, if you are using an older or larger fixture that generates significant heat, temperature management becomes part of your fine-tuning. High-output HPS or CMH setups used for seed starting (uncommon but it happens) benefit from ducted cooling, which is covered thoroughly in a guide on cool tube grow light setup for enclosed or hot environments.
Quick setup checklist and next steps
Before you flip your timer on for the first time, run through this checklist. These are the things most people skip that cause the most problems later.
- Measure your seedling area and confirm your light covers it with adequate overlap (no dark corners).
- Hang the light at 4–6 inches above an empty tray and take a PPFD reading at center and all four corners with a PAR meter or app. Target: 150–250 µmol/m²/s for most vegetable seedlings.
- Confirm the light is mounted level and centered over the tray, not angled.
- Set your timer for 14–16 hours on, 8–10 hours off. Choose a consistent on/off window and do not change it randomly.
- Plug everything into a GFCI outlet. Route all cords away from the watering area.
- Check that the light can be raised at least 6 inches from its current position (you will need that room as seedlings grow).
- Place a small fan nearby to keep air moving. This prevents heat pockets and strengthens seedling stems.
- Mark your calendar to raise the light every 3–5 days as seedlings gain height, maintaining the 4–6 inch gap.
- After 7 days, assess growth. Stocky stems and true leaves emerging = correct setup. Tall, leaning stems = lower the light or add hours.
That is the whole setup. Most people overcomplicate this. The biggest wins come from getting the light close enough, running it long enough, and adjusting height consistently as plants grow. A $40 LED bar, a $10 timer, and a pair of rope ratchets will do more for your seedlings than a $200 light hung 18 inches up and left on for 10 hours a day.
Once your seedlings are up and thriving, you will naturally start thinking about the next stage: moving them to a larger grow space with more powerful lighting. When that time comes, the full walkthrough in a broader LED grow setup guide will give you a solid starting point for scaling up without starting from scratch.
FAQ
Can I leave the grow light on 24 hours instead of using a timer schedule?
Yes, but only if you can keep the plants within the target PPFD. If you run 24 hours, the easiest way is to lower intensity so you still land near the same DLI (about 12 mol/m²/day). Otherwise you risk heat/bleaching and faster drying, especially with lights set close to the canopy.
Do I need a horticultural-specific LED, or will any “daylight” LED light work for a seedling grow light setup?
White LED grow lights and daylight-labeled LEDs can work, but the reliable factor is whether the fixture can deliver the needed PPFD at your canopy distance. If you cannot measure with a PAR meter or app, treat wattage and lumen claims as marketing and start higher than expected only after you verify distance and intensity.
Is it better to center the light over the trays, or is angled lighting okay for better coverage?
For most home setups, yes: keep the tray centered under the light and use mechanical height adjustment so you maintain a consistent 4 to 6 inch (LED) or 2 to 4 inch (fluorescent) gap. If you must adjust placement, do it by moving the entire fixture higher or lower, not by aiming it off-angle, since angled light creates uneven edge intensity.
How can I prevent seedlings from growing unevenly across the tray, especially if I cannot use a PAR meter?
With LED bars, a common mistake is assuming the “rated footprint” means uniform intensity everywhere in that area. If you do not rotate trays, expect faster growth in the center. A practical fix is to rotate 180 degrees every 2 to 3 days, or add a second bar spaced to overlap the intensity zones.
What should I change first if seedlings get leggy, light distance or light hours?
Not necessarily. Seedlings can tolerate the same DLI with different PPFD and photoperiod combinations, but stress signals differ. If your plants look leggy, you usually need more PPFD (lower the light) and or a modest schedule increase, rather than doubling hours instantly. Use one adjustment at a time and give 48 hours before judging.
How do I tell whether my seedling grow light setup is causing heat stress, not just too much light?
A simple rule is to avoid very close-to-ceiling “heat traps.” If the underside of the light feels hot, improve airflow and raise the fixture slightly, then reassess 24 hours later. For modern low-wattage LED bars it is usually not severe, but enclosed shelves and high-output fixtures can still create hot spots.
Can I use reflective material around the shelves to boost light without buying a stronger fixture?
You can use reflective materials, but keep them clean and positioned so they do not create glare that encourages uneven growth. White foam board works well around the sides of a shelf, while reflective mylar can boost intensity but may also increase harsh glare. Start by adding reflectors to the sides first, then measure or observe edge growth.
Should I run the same PPFD and schedule during germination as I do after seedlings sprout?
For germination, many growers can start with the same setup, then adjust once sprouts emerge. If you start too intense too early, you may get stalled growth or uneven emergence. If you are unsure, begin at the lower end of the intensity range, keep the light consistent, and raise intensity or hours after the first true leaves appear.
What if I have succulents or other plants on the same shelf as my seedling trays?
If you share a shelf with plants that have different light preferences, do not assume one schedule fits all. Succulents are a common conflict, they usually prefer different duration and often need separation. The most practical approach is a separate zone or a dedicated schedule that matches the strictest requirement.
Can I use natural window light alongside my grow lights to reduce electricity use?
Yes, but don’t rely on a window’s contribution. Window light angle changes during the day and can add enough intensity or photoperiod variation to confuse diagnosis when seedlings stretch or lean. If you use a window nearby, either turn off supplemental lighting during daylight hours, or keep seedlings on artificial light only and place the window to the side.
How strict do I need to be about the light cycle, and what counts as “interrupting the dark period”?
Use the timer for consistent on and off times, and keep the dark period uninterrupted. A practical habit is to choose a schedule that matches when you can check seedlings in daylight, and set the timer once. If you must troubleshoot, pause changes to the timer and only adjust one variable.
What are the most common “symptom-to-fix” patterns when adjusting a seedling grow light setup?
A quick diagnostic is to compare signs. Leggy, pale growth that persists usually points to insufficient PPFD at canopy or light set too high. Bleached or white patches on top leaves, curling edges, and warm leaf surfaces suggest too much intensity or heat. Address the likely cause by lowering the light slightly for leggy plants, or raising it plus improving airflow for bleaching.
Next Article
LED Grow Setup Guide: Build, Install, and Optimize
Build a led grow setup step by step: choosing lights, mounting, spacing, ventilation, timers, scheduling, and troublesho