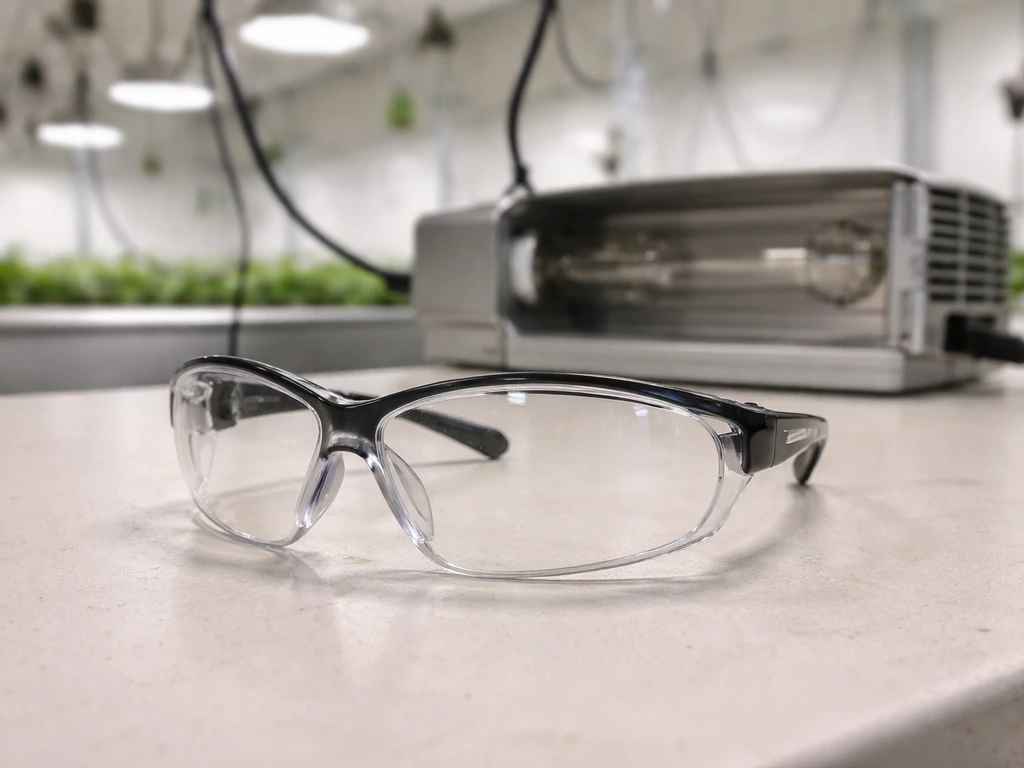
Method Seven Operator HPS Plus is a pair of grow room glasses, not a light fixture or ballast. If you searched for this phrase expecting a light system, that's the first thing to clear up: Method Seven makes specialty eyewear for growers working under HPS lighting. The Operator HPS Plus lenses are made to Carl Zeiss Vision standards, block 100% UV, and use notch-filtering technology to balance out the intense yellow-orange cast HPS lights throw, so you can actually see your plants' true color and health while you're in the room. Once you understand what the glasses do and how to use them safely alongside your HPS setup, you can get your whole system dialed in properly.
Method Seven Operator HPS Plus Setup and Grow Room Glasses Guide

Marcus Tillman
16 May 2026
What 'Method Seven Operator HPS Plus' Actually Is
Method Seven is a brand that makes lens-filtered eyewear specifically for indoor growers working under high-intensity discharge lighting. The Operator HPS Plus is their mid-range HPS-specific model. The lenses are polycarbonate, built to Carl Zeiss Vision standards, and have a coating (sometimes listed as a Tri-Flection or similar silver-type coating) that cuts down on glare and harsh reflections inside a reflective grow tent or room. The listings for the Operator HPS Plus indicate the lenses are polycarbonate made to Carl Zeiss Vision standards and claim 100% UV protection, with some coatings such as Tri-Flection Methane Silver to help reduce glare Tri-Flection or similar silver-type coating. The key function is spectral filtering: HPS lights emit a very heavy yellow-sodium spike that washes out other colors, making it nearly impossible to diagnose leaf issues, spot pests, or assess plant color accurately. These glasses filter that spike so green, red, and other color signals come through clearly.
The 'Plus' variant typically adds extra UV protection and enhanced coating compared to the base Operator model. If you saw 'Cultivator HPS Plus' in your searching, that's a step up in the same line, with similar Carl Zeiss Vision lens construction. Either way, these are safety and visibility tools, not grow-light hardware. You wear them when you're in the room with the HPS on, and you take them off when the lights are off. They're not optional if you spend more than a few minutes under a 400W or higher HPS: the UV output from HPS lamps is real, and prolonged unprotected exposure in a reflective room is genuinely bad for your eyes.
Figure Out Exactly What HPS Hardware You Have
Before you touch anything or worry about setup, identify your gear. HPS systems have four main components: the ballast, the bulb, the reflector or hood, and the timer. Get the wattage of each piece matched up before you do anything else, because running mismatched hardware is the single fastest way to fry a lamp or trip a breaker.
Check the Ballast
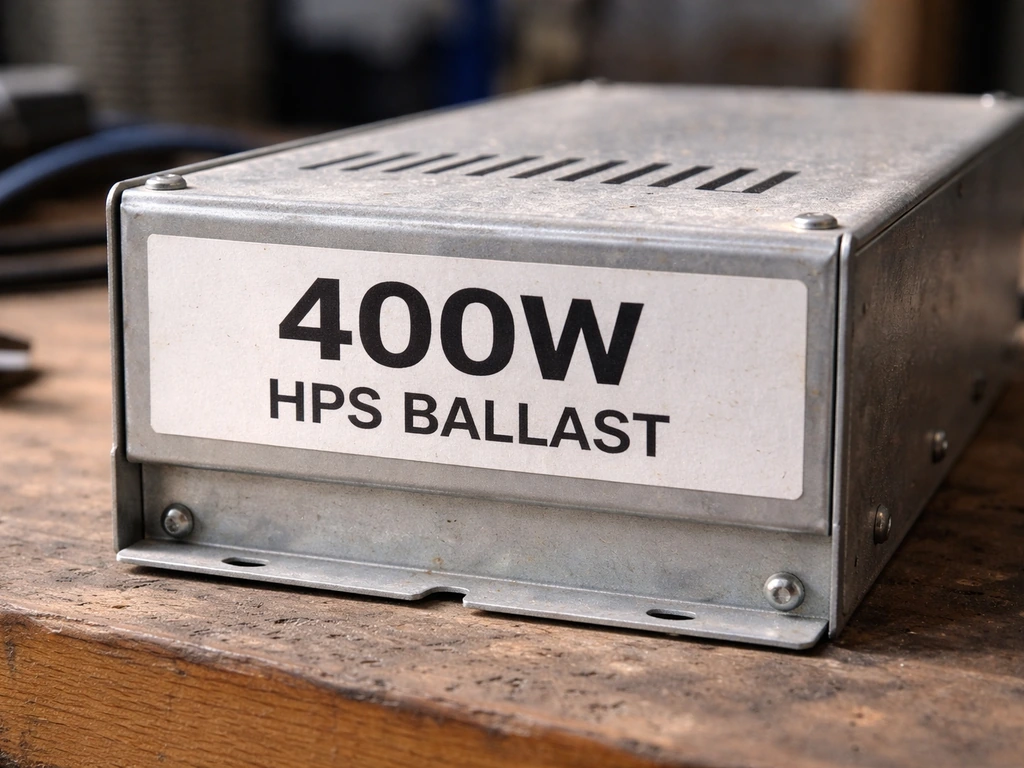
The ballast is the heavy box (magnetic) or smaller unit (digital/electronic) that regulates power to the lamp. It will have a wattage rating printed on it: 250W, 400W, 600W, or 1000W are the most common in home grows. Write that number down. Also note whether it's magnetic or digital. Magnetic ballasts run hotter, hum audibly, and produce more heat. Digital ballasts run cooler, quieter, and are more efficient, but they have different failure modes and can sometimes cause radio interference or flicker with incompatible lamps. If you have a switchable or dimmable digital ballast, check which wattage setting it's currently on before installing a new lamp.
Check the Bulb
The HPS bulb must match the ballast wattage exactly. A 600W ballast needs a 600W HPS lamp. Running a 400W lamp on a 600W ballast will overdrive it, cause premature failure, and potentially create a fire or safety hazard. Check the wattage printed on the base of the lamp or the original packaging. Also check the base type: most grow-room HPS bulbs use a Mogul (E39) base, but some smaller lamps use a medium base (E26/E27). If the base doesn't fit your reflector's socket, you need an adapter or a different lamp, not a forced fit.
Check the Reflector, Wiring, and Timer
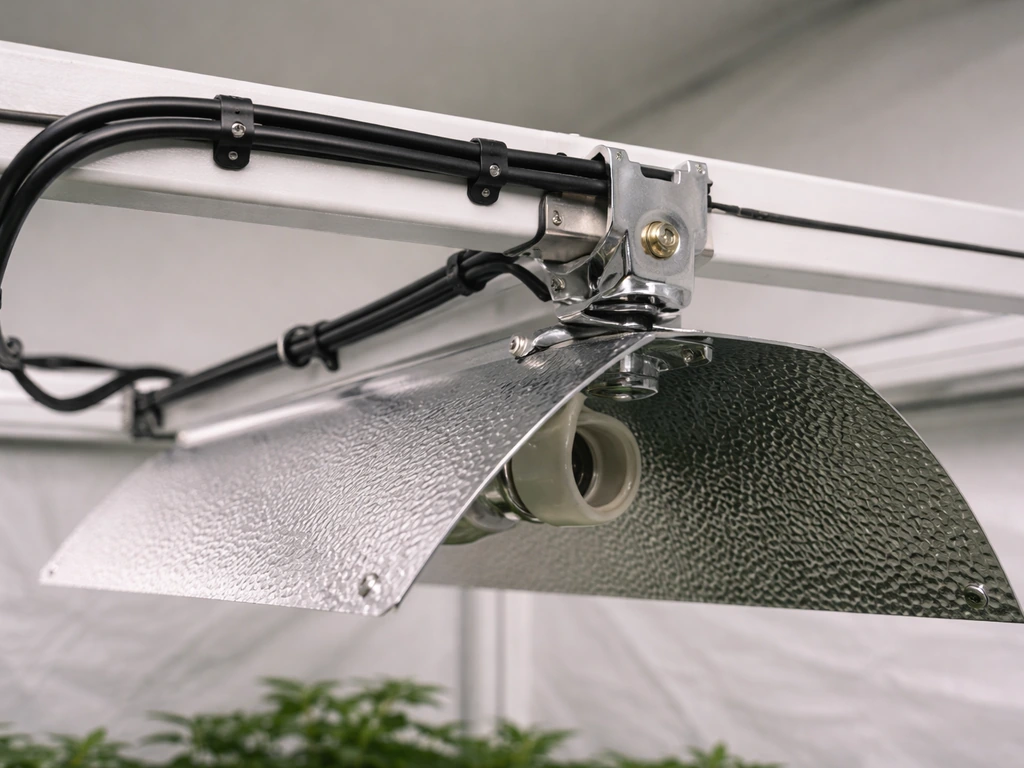
The reflector or hood focuses light downward onto your canopy. Hoods are rated by the wattage they can handle: a hood rated for 600W should not be used with a 1000W lamp without explicit manufacturer approval, because the extra heat can warp or crack the hood, melt wiring, or damage the reflective coating. Check the wiring connecting your ballast to the hood for any cracked insulation, burn marks, or loose connectors, especially at the socket end. For timers, use a heavy-duty mechanical or digital timer rated for at least 15 amps. A 1000W HPS on a standard 120V circuit draws roughly 9–10 amps, so a 15A timer gives you safe headroom. For anything over 750W or if you're running multiple lights, consider a 240V setup with a 20A circuit.
Safe Glass Use and Heat Management in the Grow Room
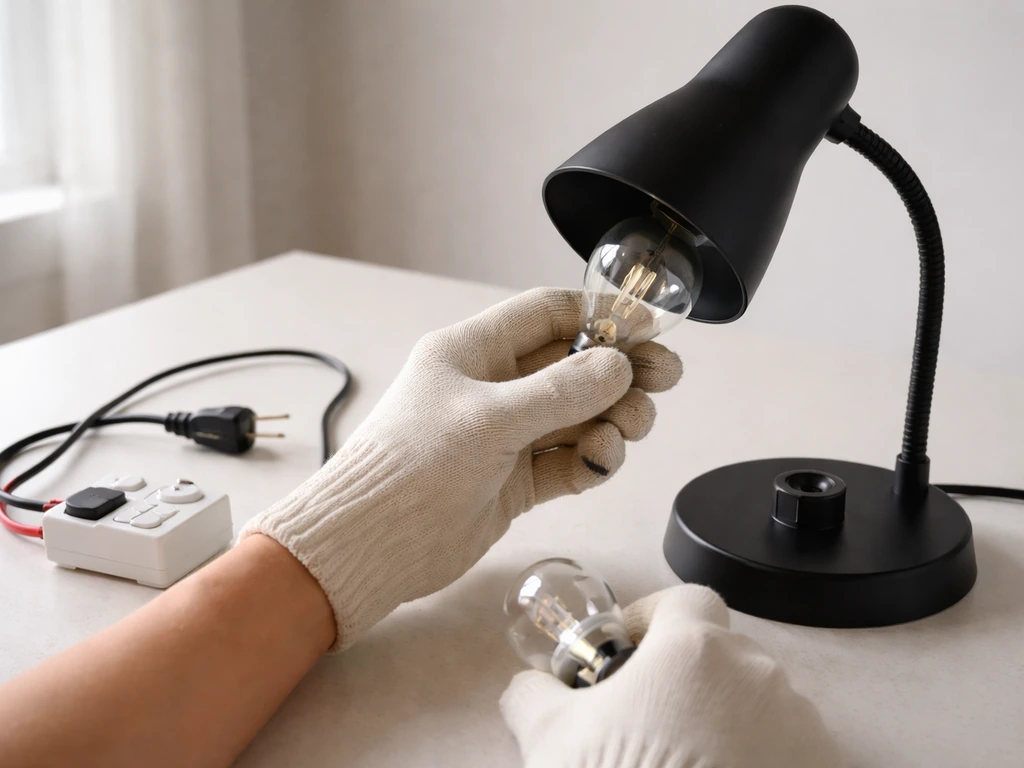
Your Method Seven Operator HPS Plus glasses are the primary personal protection tool here. Put them on every single time the HPS is running and you're in the room, without exception. HPS lamps emit UV radiation that bounces off reflective walls, mylar, or white poly sheeting and hits your eyes from angles you don't expect. The polycarbonate lenses in the Operator HPS Plus block 100% of that UV, and the spectral filtering makes it possible to see what you're actually doing. Don't substitute regular sunglasses: standard tinted lenses don't have the right spectral notch filter and may actually cause your pupils to dilate wider, letting in more of the harmful spectrum.
For the room itself, HPS lamps generate significant radiant heat. A 600W HPS produces roughly 600W of heat in addition to the light output, and a 1000W system in a small tent can spike temperatures dramatically within minutes. The glass component most relevant to heat management is often a glass-panel or air-cooled hood with a glass shield between the lamp and the canopy. If your hood has a glass panel, keep it clean: dust and resin buildup on the glass reduces light transmission and causes the glass to absorb more heat than it should, which can crack it. Wipe it with a clean, dry cloth whenever it's cool and the system is powered down.
Clearance rules are non-negotiable. Keep all flammable material at least 18 inches from the lamp and reflector. Keep the lamp at least 12 to 24 inches from the plant canopy depending on wattage (more on exact distances in the placement section below). Make sure there's at least 6 inches of clearance between the top of the reflector and any ceiling, tent roof, or frame. If you're in a tent, run an inline fan pulling air through an air-cooled hood and exhausting out of the tent to keep lamp temperatures manageable.
Step-by-Step HPS Setup and Installation
- Turn off and unplug everything before starting. Never handle an HPS lamp or wiring with the ballast energized.
- Mount your reflector or hood using rope ratchets or adjustable hangers attached to a solid overhead support: a tent's top frame, a ceiling-mounted hook through a joist, or a purpose-built light rail. Make sure it can hold at least twice the weight of the hood and ballast combined.
- Screw in the HPS lamp with clean hands or a clean cloth. Oils from your skin can cause hotspots on the lamp envelope. Tighten the lamp firmly into the socket but don't over-torque it.
- Connect the reflector to the ballast using the manufacturer's power cord. Do not use extension cords between the ballast and reflector unless the manufacturer explicitly allows it, as voltage drop can cause starting problems.
- Position the ballast outside the growing area if possible, or at least on the floor away from the plant canopy. Ballasts generate heat and should not sit on top of plants or on surfaces that can't handle sustained warmth.
- Plug the ballast into your heavy-duty timer. Set the timer outlet to 'off' before plugging in the ballast.
- Set your timer schedule (see the scheduling section below), then plug the timer into your wall outlet or power strip rated for the load.
- Turn on the ballast manually for the first test run. The lamp will not reach full output immediately: expect a 3 to 5 minute warm-up period before it reaches full brightness. This is normal for all HPS lamps.
- Put on your Method Seven Operator HPS Plus glasses before looking at or working near the lamp once it's lit.
- Check that the lamp is running stable and not flickering after 5 minutes. If it is flickering or cycling off, see the troubleshooting section.
Getting the Height and Coverage Right
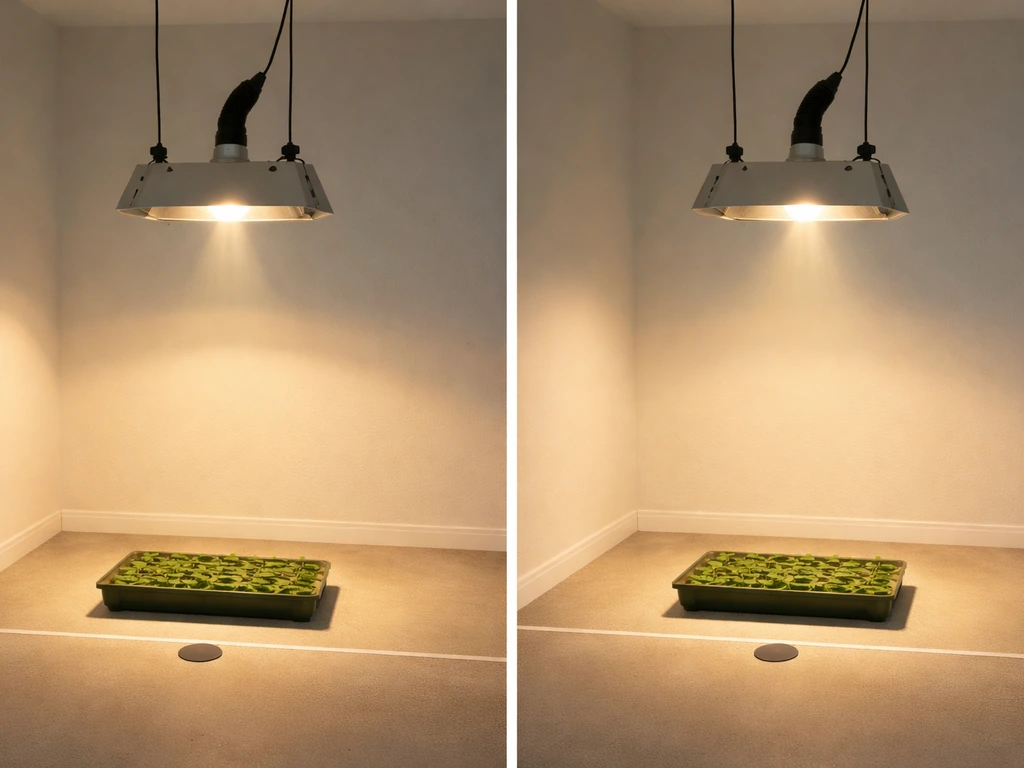
Light intensity drops off fast as distance increases, so getting your lamp height right is one of the highest-impact adjustments you can make. Start with these baseline distances from the top of the canopy to the lamp, then adjust based on your plants' response over the first 24 to 48 hours.
| Ballast Wattage | Seedling/Clone Height | Vegetative Stage Height | Flowering Stage Height | Approximate Coverage Area |
|---|---|---|---|---|
| 250W | 20–24 inches | 16–20 inches | 12–16 inches | 2 x 2 ft |
| 400W | 24–30 inches | 18–24 inches | 16–20 inches | 3 x 3 ft |
| 600W | 30–36 inches | 20–28 inches | 18–24 inches | 4 x 4 ft |
| 1000W | 36–48 inches | 24–36 inches | 20–28 inches | 5 x 5 ft |
These numbers assume a reflective room or tent, adequate airflow keeping heat reasonable, and an air-cooled hood on the higher-wattage setups. If you don't have an air-cooled hood on a 600W or 1000W system, add 6 to 8 inches to every measurement above as a safety buffer against heat stress.
The simplest field test for distance: hold the back of your hand at canopy level under the lamp for 30 seconds. If it's uncomfortable, the lamp is too close. Your plants will tell you quickly too: leaf margins that curl upward or bleaching of the uppermost leaves means the lamp is too close. Slow, stretchy growth with long internodal gaps between leaf sets means the lamp is too far away. Use your rope ratchets to fine-tune in 2-inch increments and check every day for the first week.
Coverage is also a factor. If you have a 4x4 foot grow space but only a 400W lamp, the corners of the space will be noticeably dimmer than the center. You can partially compensate with good reflective walls, but don't expect a 400W to light a 4x4 at the same intensity as a 600W. Match your wattage to your space using the table above, and remember that more coverage from a single lamp always beats trying to patch underpowered corners with secondary lighting.
Setting a Reliable Light Schedule
HPS photoperiods are straightforward once you understand that consistency matters more than perfection. Light duration should be measured per 24-hour period, and your plants need the same schedule every day. Irregular on/off times confuse photoperiod-sensitive plants and can trigger premature flowering or hermaphroditism in species sensitive to light interruptions during the dark period.
- Seedlings and clones: 18 hours on, 6 hours off. Give them as much light as possible to establish roots and early growth.
- Vegetative stage: 18 hours on, 6 hours off. Maintain this until plants are roughly half the final height you want, since they'll continue to stretch during early flowering.
- Flowering stage (photoperiod plants): 12 hours on, 12 hours off. The 12-hour uninterrupted dark period is critical. Any light leaks or interruptions during the dark window can significantly delay or prevent flowering.
- Autoflowering plants: 18 to 20 hours on works well throughout their entire life cycle, regardless of photoperiod.
Set your timer so the lights run during the coolest part of the day if your grow room has temperature problems. In summer, running lights at night dramatically reduces cooling demands. If temperature isn't an issue, schedule the lights to be on when you're home and awake: it's easier to catch problems if you can see your room during the lit period.
One critical rule for HPS timers: never configure a timer that turns the light off and back on within less than 15 minutes. HPS lamps need to cool down completely before they can restart reliably. Electronic Design also emphasizes that HID lamps require a warm-up and that shorter-than-designed restart cycles can reduce lamp life HPS lamps need to cool down completely before they can restart reliably. Hot-restarting an HPS lamp (power cycling it before it cools) causes the lamp to fail to re-strike and can shorten its life significantly. After the lamp turns off, it needs roughly 10 to 15 minutes of cool-down before the arc tube pressure drops enough to allow a clean restart. If your power goes out and comes back on mid-cycle, the lamp may not come back on immediately: wait 15 minutes and it should re-strike normally. Electronic ballasts handle this better than magnetic ones, but neither likes rapid cycling.
Avoid changing your photoperiod schedule abruptly. If you need to shift your light window by several hours, do it gradually over several days (1 to 2 hours per day) rather than making a sudden jump. Sudden big changes can stress plants and cause hermaphroditism in sensitive strains.
Troubleshooting Common HPS Problems
Lamp Won't Turn On
First, check the obvious: is the timer actually set to 'on' and is it receiving power? Is the ballast's power switch on? Confirm the lamp is fully seated in the socket. If all of that checks out and the lamp still won't fire, try a different bulb. If the new bulb works in the same hood, your original lamp is dead. If the new bulb also fails in the same hood but works in a different setup, the problem is the ballast, the ignitor, or the wiring to the socket. Ignitor failure is a common cause of no-start problems and is often overlooked: if replacing the lamp doesn't fix a no-start, the ignitor is the next component to suspect, followed by the ballast itself.
Lamp Flickers or Cycles On and Off
Flickering or repeated on-off cycling usually means one of three things: the lamp is near end of life, the ballast capacitor is weak, or there's a loose connection somewhere in the circuit. Check all wire connections at the socket and ballast first. If the connections look good, try a fresh lamp. If the fresh lamp also flickers in the same socket, the ballast capacitor is likely failing and the ballast needs to be serviced or replaced. An aging lamp that cycles on, runs for a few minutes, then shuts off is a classic end-of-life symptom: HPS lamps are typically rated for 18,000 to 24,000 hours, but their output and reliability degrade noticeably after 10,000 to 12,000 hours of use. Keep track of your bulb hours and replace proactively.
Dim Output
If the lamp turns on but seems noticeably dimmer than before, check the lamp age first. HPS lamps lose output gradually, and a lamp that's been running for 12 months or more in an 18-hour-on schedule may have 6,000 to 8,000 hours on it, putting it well into the dim-output zone. Also check the reflector's glass panel and inner surface for dust, grime, or fogging: a dirty reflective surface can easily cost you 20 to 30% of delivered light before you even consider the lamp's condition. Clean the reflector with a damp cloth when cool and the system is powered down. If the lamp is new and output is still low, verify the ballast is set to the correct wattage (if it's a dimmable digital ballast).
Tripped Breaker or No Power to the Room
A tripped breaker usually means you're drawing more current than the circuit can handle, or there's a short somewhere in the system. Calculate the total load on the circuit: a 1000W HPS on 120V draws roughly 9 to 10 amps. Add fans, pumps, and any other equipment on the same circuit. If you're approaching or exceeding the breaker's rating (typically 15 or 20 amps for residential circuits), redistribute loads across multiple circuits. If the breaker trips immediately when the ballast turns on, suspect a short in the ballast wiring or socket. If it trips after a few minutes, you're likely overloading the circuit.
Overheating: Room or Equipment
If your room is running hot (above 85°F at canopy level), the first fix is airflow. An inline fan exhausting hot air out of the space is non-negotiable for any HPS setup over 250W. Size your fan to exchange the room air at least once per minute: a 4x4x7 foot tent has roughly 112 cubic feet of volume, so you need at least a 112 CFM rated fan, and in practice a 200 to 400 CFM fan gives you better results with room to spare. If the ballast itself feels dangerously hot to the touch, check that it has at least 6 inches of clearance on all sides for convective cooling, and consider moving it outside the grow space entirely. A magnetic ballast that's burning hot to the touch and producing a strong electrical smell needs to be powered down immediately and inspected before further use.
Maintenance Schedule to Keep Everything Running
- Replace HPS bulbs every 10,000 to 12,000 hours of use, or roughly every 12 months on an 18-hour-on schedule, even if the lamp is still working. Output degrades long before the lamp completely fails.
- Clean the reflector's glass panel and reflective interior every 4 to 6 weeks when the system is powered down and cool.
- Inspect all wiring connections at the socket and ballast every 3 months for heat discoloration, cracking, or looseness.
- Check your timer's accuracy monthly: analog timers can drift, and a 15-minute shift in your dark period accumulates into a significant disruption over weeks.
- Log your lamp hours in a notebook or phone note every time you change a bulb so you always know where you are in the lamp's life cycle.
- Keep your Method Seven Operator HPS Plus glasses stored in their case when not in use to protect the lens coatings from scratching or contamination.
HPS vs Other Light Types: Where HPS Fits
HPS is still one of the most effective options for flowering-stage indoor grows, particularly for growers who want high intensity over a large canopy without the upfront cost of a high-end LED system. The tradeoffs are heat output and electricity consumption. If you're running a small space and want to keep things simple and low-budget, a basic CFL setup handles seedlings and early veg well without the heat management overhead. A cheap CFL grow light setup can be a good option for seedlings and early veg when you want to avoid the higher heat and electrical demands of HPS. For larger veg and flowering, HPS delivers proven results, but you'll need the airflow and safety gear (including your grow room glasses) to manage it safely. If you are planning a solar panel grow light setup, you will also want to plan power draw, runtimes, and safe heat management around your light system grow room glasses. Full LED setups have become more competitive in recent years and produce far less heat, which simplifies a lot of the management work, but quality LED systems still cost significantly more upfront than an equivalent HPS rig. If you're looking for a full led grow setup instead of HPS, the key differences are efficiency, heat management, and how to size the light for your canopy Full LED setups. T5 setups are excellent for seedlings and clones but don't have the intensity to replace HPS for mid-to-late flowering. Knowing where HPS excels helps you decide whether to build around it or complement it with other light types as your grow operation grows. When you’re putting together an HPS grow light setup, the practical choices (components, wiring, and schedule) matter as much as the lamp itself.
FAQ
Can I use Method Seven Operator HPS Plus instead of installing proper HPS lighting hardware?
No, Method Seven Operator HPS Plus are specifically filter-lens eyewear for HPS environments, they do not replace the HPS bulb, ballast, reflector, or timer. If you want better light performance, you address lamp wattage, hood/reflector condition, and lamp-to-canopy distance separately from eye protection.
Do I only need the glasses while inspecting plants, or also during installation and adjustments?
You should still wear them during setup and adjustments while the lamp is energized, because UV and glare are present whenever the HPS is on, including when you are not “working on the canopy.” Also keep your reflective surfaces clean and avoid staring directly at the lamp, the glasses help vision but do not make looking at the light safe.
Will these glasses be useful if I switch from HPS to LED later?
Yes, they’re designed for the HPS spectral problem, but they are still eye protection in general grow-room conditions with high glare and reflected radiation. For LEDs, you may get less of the “yellow-sodium washout” benefit, but the anti-glare and UV-blocking aspects can still be useful if your room has intense reflective surfaces.
Should I keep wearing them even after the lights are off?
Avoid leaving them on in the dark or outside the grow room as if they were standard sunglasses, the primary benefit is correcting the HPS lighting environment. Treat them like PPE, put them on when the HPS is running and remove them once lights are off.
If the glasses make colors look clearer, does that mean my HPS output is healthy?
Don’t rely on brightness alone. If you notice faster leaf yellowing, bleaching, or difficulty spotting early pest damage, your lamp optics may be failing (dirty reflector glass, worn lamp hours, or wrong wattage pairing), the glasses improve color perception but they cannot compensate for a physically underperforming light system.
What should I check to prevent HPS lamp rapid cycling if I use a smart timer or power switch?
Not exactly, if your timer can accidentally create rapid cycling (off then on again within roughly 15 minutes), the lamp may fail to re-strike or it may shorten life. You still need to confirm the timer programming and any automation, like smart plugs, have a minimum-off duration.
Do the glasses help detect when a dimmable ballast is set to the wrong wattage?
If you run a dimmable digital ballast, confirm the wattage setting matches the lamp rating before starting, because the glasses do not tell you that the lamp is being underdriven or overdriven. Running the wrong setting can also shift heat output and intensities, affecting plant response and potentially lamp life.
Can I substitute regular tinted sunglasses for quick checks under HPS?
No, normal sunglasses typically do not include the specific spectral notch filtering and may still allow enough harmful UV and glare for prolonged exposure, especially in reflective tents where light bounces from multiple angles. If you want “something for quick checks,” the correct eyewear is still the safer choice.
How often should I clean the hood glass if I’m using air-cooled equipment?
If your hood has a glass panel, cleaning is part of maintaining delivered light and heat handling, a dusty or resin-coated panel can both reduce output and increase cracking risk. Use a dry method when hot, clean only when cool and powered down, and avoid abrasive cleaners that can haze the glass.
If canopy temps are high but my plants look colorful through the glasses, what should I adjust first?
Wearing the glasses does not remove heat stress risk. If canopy temperatures are high, fix airflow first (adequate exhaust and intake), then re-check hood clearance and lamp distance, because scorching signs can appear even if plant colors look “better” through filtered lenses.
After a power outage, how long should I wait before assuming my HPS will not restart?
If you hit a blackout mid-cycle, the lamp may not restart immediately after power returns. Plan on waiting about 15 minutes after shutdown before expecting reliable re-strike, then re-check that the ballast and ignitor are functioning if it still does not fire.
What does it mean if I still get clear plant color but my HPS lamp flickers?
If your lamp flickers, the root cause is often electrical (loose connection, failing ignitor/capacitor, or end-of-life lamp), not the eyewear. The glasses may make it easier to see plant effects, but they cannot troubleshoot circuit instability.
Should I troubleshoot for light issues before using the glasses to diagnose plant problems?
Yes. If you’re troubleshooting because you can’t see color accurately, first ensure your hood is clean and your delivered light is correct, then verify your lamp-to-canopy distance and lamp health. If you already have correct equipment and still see poor color diagnostics, the glasses are a good tool, but they are not a substitute for fixing the light delivery.
Do I still need an inline fan if I’m using a glass shield hood?
If the hood relies on air-cooling and you leave the system airflow off or reduced, lamp and hood heat can rise quickly, increasing the chance of warping, melted insulation, or cracked glass. Eye protection helps you see and protect your eyes, but it does not make a missing exhaust safe.
Can I just raise or lower the lamp until it “looks right,” regardless of clearance?
Measure lamp distance to the top of the canopy and use incremental adjustment based on plant response, because reflective rooms change effective intensity. Also re-check clearance rules, the correct distance with insufficient overhead or reflector clearance can still create heat or safety problems despite using the right glasses.
Next Article
T5 Grow Light Setup: Step-by-Step Guide for Indoor Plants
Step-by-step t5 grow light setup for indoor plants, placement, spacing, intensity, timing, safety, and troubleshooting.
