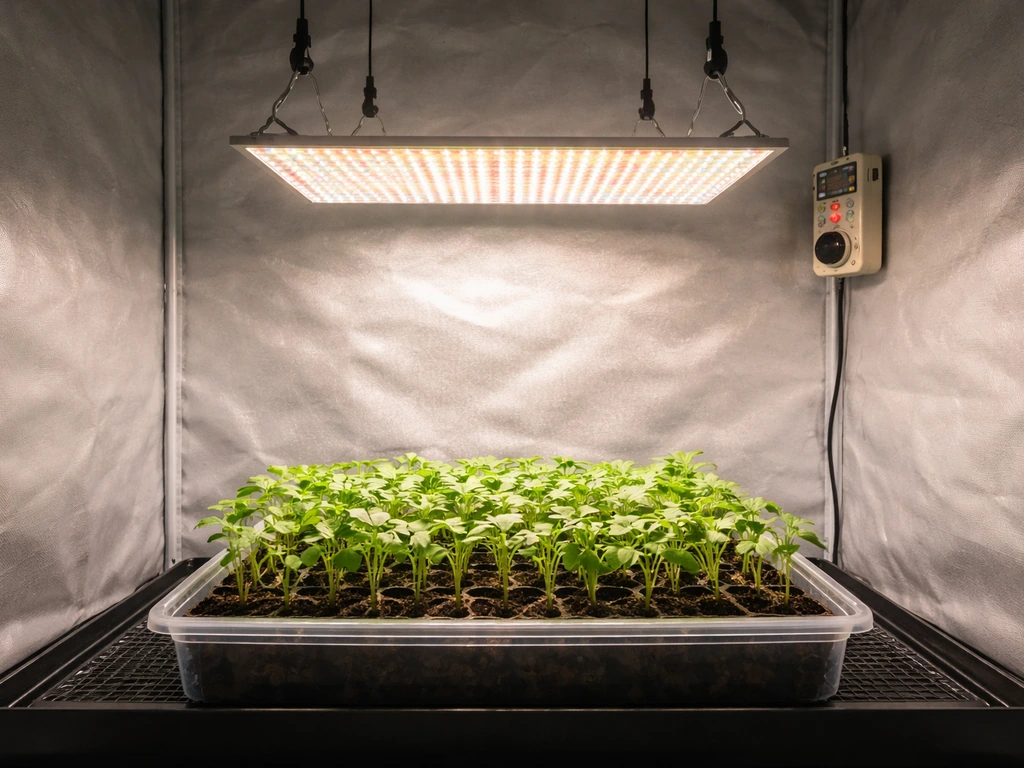
Hang your grow light at 24 inches above seedlings, run it for 16 to 18 hours a day at 25 to 50 percent dimmer power, then drop the height and increase intensity as plants mature into veg (12 to 18 inches, 400 to 600 µmol/m²/s, 18 hours on) and flowering (8 to 12 inches from canopy, 12 hours on). That is your Schedule 1 starting point. Below is exactly how to mount the light safely, dial in the intensity, and know what to change after your first week.
How to Hang Grow Lights Schedule 1: Setup Guide

Marcus Tillman
13 May 2026
Choose the right hanging height and spacing for your grow light
Height is the single biggest lever you have over light intensity. The closer the light, the more PPFD (photosynthetic photon flux density, measured in µmol/m²/s) hits the canopy. Too close and you bleach leaves; too far and plants stretch toward the light. Get this right before you even think about timers.
Mars Hydro recommends 24 inches (60 cm) for seedlings on their TS600, and that number holds up well across most mid-range LED panels. Spider Farmer publishes a similar stage-based chart for their SF and SE series. Use those manufacturer charts as your first reference because they are calibrated to the actual output of your specific fixture. If you do not have a chart, use these as a working baseline:
| Growth Stage | Hanging Height (above canopy) | Target PPFD | Dimmer Setting |
|---|---|---|---|
| Seedling / Clone | 24 in (60 cm) | 100–300 µmol/m²/s | 25–50% |
| Vegetative | 12–18 in (30–45 cm) | 400–600 µmol/m²/s | 50–75% |
| Flowering / Fruiting | 8–12 in (20–30 cm) | 600–900 µmol/m²/s | 75–100% |
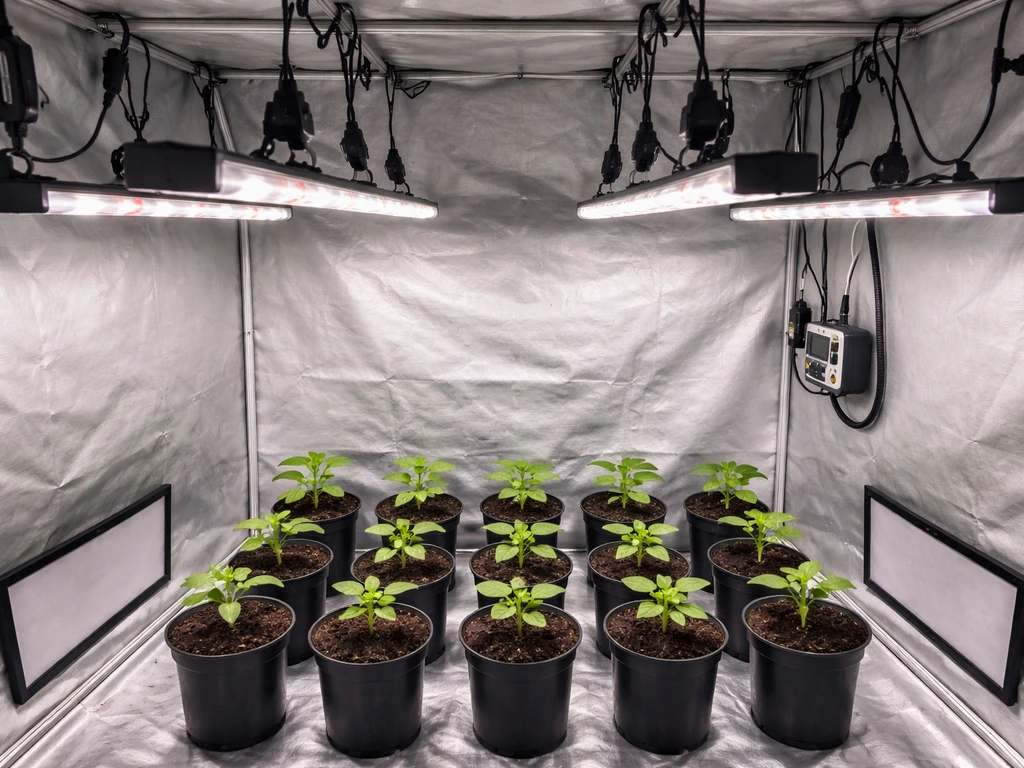
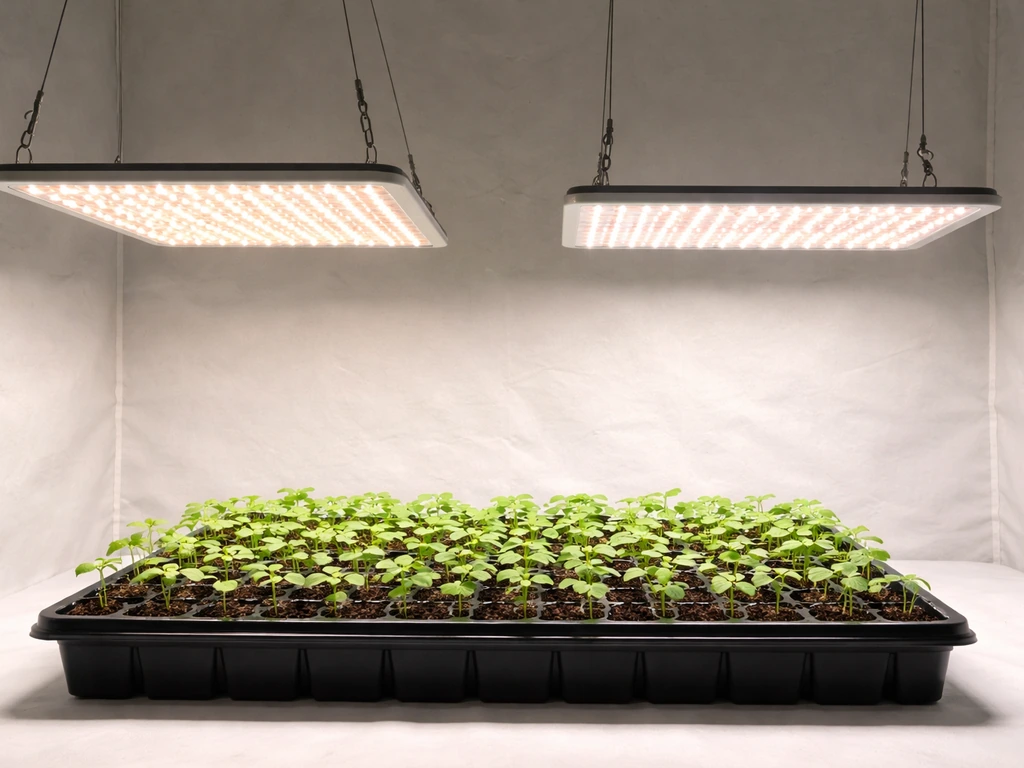
Spacing between multiple lights matters too. Aim for coverage overlap of about 20 to 30 percent so you do not end up with dark spots between fixtures. A single 200 to 300W LED panel typically covers a 2x4 ft footprint for veg and a 2x2 ft footprint at full flowering intensity. If your tent is 4x4, that means two panels or one larger 500W+ unit. When in doubt, measure with a PAR meter app like Photone (free on iOS and Android) by taking readings at canopy level across a grid of at least four points and averaging them. That grid average is what your plants actually experience, not the peak number in the center.
One clearance rule that gets overlooked: Spider Farmer's SE-series manual explicitly calls for at least 1 inch of space between the top of the light and the ceiling or roof of your grow area. Ignoring this traps heat right above the fixture and degrades the driver faster than almost anything else.
Set up mounting hardware safely (cords, ratchets, hooks, and pulleys)
Most LED grow lights ship with a pair of adjustable ratchet hangers, and those are genuinely the easiest and safest option for beginners. They clip to the tent's crossbars or ceiling hooks, hold the light cable, and let you raise or lower the fixture in seconds without tools. Here is how to do it right from the start.
- Install ceiling hooks or tent crossbar clips rated for at least double the weight of your light. A 200W LED panel typically weighs 5 to 10 lbs; use hardware rated for 20 lbs minimum.
- Thread the ratchet hanger rope through the hanging points on the light fixture's frame, not through the driver housing. The frame is structural; the driver is not.
- Clip both ratchet hangers to the ceiling mount points before releasing the full weight. Uneven hanging is a common reason lights tilt and create uneven coverage.
- Route the power cord so it is not supporting any of the light's weight. Drape it along the tent pole or use a small zip tie to keep it secure. NICREW's instruction manual specifically calls for a 'drip loop' on every cord connection, which means forming a downward curve in the cord before it reaches the outlet so water cannot run along the cord into the socket.
- Keep the power cord away from any metal frame edges that could cut through the insulation over time.
- Once hung, gently push the light side to side to test that both hangers share the load evenly and nothing shifts.
If you are hanging from a ceiling joist instead of a tent, use a proper hook with a locking gate (carabiner-style) screwed directly into the joist, not into drywall. Drywall anchors are not reliable for something that will swing slightly every time you open a door. For growers who want easy height adjustment on a more permanent ceiling setup, a single-rope pulley system with a cleat works well and keeps the cord tidy.
Download your fixture's user manual before you mount anything. Mars Hydro posts all their manuals on a dedicated download page, and Spider Farmer includes installation safety details in the SE-series PDF. These manuals include weight ratings, cord length specs, and any model-specific clearance requirements that generic guides cannot cover.
Determine a grow light intensity routine using distance and dimming
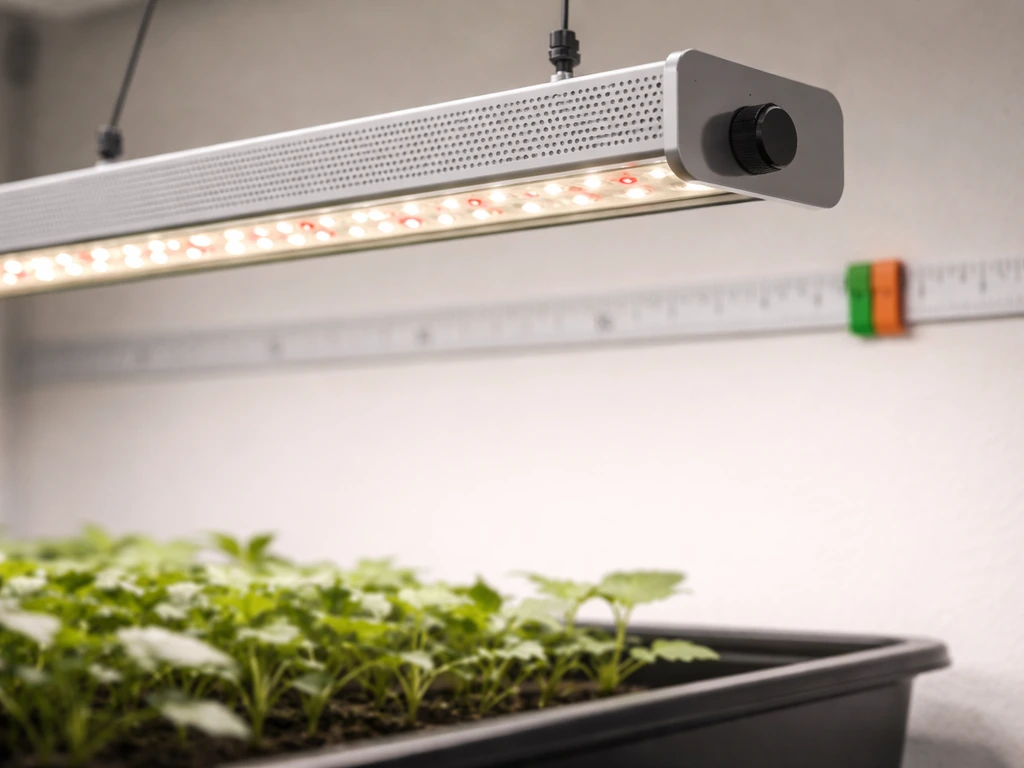
Distance and dimming work together. You can hit the same PPFD target by moving a light closer at low power or keeping it higher at full power. For beginners, start with manufacturer height recommendations and use the dimmer to fine-tune. Do not crank a light to 100 percent and then hang it high to compensate. Running a light at 70 to 80 percent at the correct height is more efficient and produces less heat stress than blasting it at maximum.
Mars Hydro's official guidance sets the dimmer at 25 to 50 percent for seedling to pre-veg stage. That is intentionally conservative because seedlings have thin cell walls and can bleach within hours under full intensity. Once plants have their first true leaves and start pushing into the vegetative stage, step the dimmer up to 50 to 75 percent and lower the light to 12 to 18 inches. In flower, go to 75 to 100 percent at 8 to 12 inches depending on how your plants respond.
To actually verify your intensity instead of just guessing, use the Photone app or a dedicated quantum meter like the Apogee MQ-500 (which measures from 0 to 4000 µmol/m²/s with around 5 percent calibration uncertainty). Hold the sensor at canopy level, take readings in the center and at four corners of your grow space, and average them. If your average PPFD is well below 400 µmol/m²/s during veg, your light is too high or too dim. If leaves closest to the light look washed out or the tips are curling upward, back off either by raising the light a few inches or dialing down the dimmer by 10 percent increments.
One thing worth knowing: lux readings from a standard phone light meter do not translate reliably to PPFD because the conversion factor changes depending on your light's spectrum. LED grow lights with strong red and blue peaks give wildly different lux-to-PPFD ratios than white LEDs or fluorescents. Always measure in PPFD (µmol/m²/s) if you want numbers you can actually act on.
Create a daily lighting schedule for seedlings vs mature plants
Think of Schedule 1 as your "set it and observe" starting point for the first week. You are not locking this in forever; you are giving plants a known baseline so that any stress symptoms you see later have a clear cause you can adjust. Here is the stage-by-stage breakdown.
Seedlings and clones (first 1 to 3 weeks)

Run lights for 16 to 18 hours per day. If you are wondering how long to use a grow light each day, follow the stage guide below and keep the photoperiod consistent how long to use grow light. UMN Extension specifically recommends 16 to 18 hours for seedlings, and UNH Extension notes that sun-loving plants may need up to 22 hours under lower-output fixtures to hit a strong enough daily light integral (DLI). For most modern LED panels at the heights listed above, 16 to 18 hours is sufficient. Keep the light at 24 inches and the dimmer at 25 to 50 percent. Use a mechanical or digital outlet timer and set it consistently: for example, on at 6am, off at 11pm. The exact hours do not matter much at this stage as long as they are consistent every day.
Vegetative stage (weeks 3 through however long you want)
Stay at 18 hours on and 6 hours off. Drop the light to 12 to 18 inches above the canopy and step the dimmer up to 50 to 75 percent. Target 400 to 600 µmol/m²/s at canopy level. This long photoperiod keeps most plants in active growth mode. Tomatoes, peppers, herbs, and leafy greens can stay on this schedule until you want them to flower or fruit.
Flowering and fruiting stage
Switch to 12 hours on and 12 hours off for short-day (long-night) plants. OSU Extension explains that short-day plants flower when the uninterrupted dark period exceeds roughly 12 hours, so the 12/12 split is the standard trigger for those species. For plants that flower regardless of day length (tomatoes, most peppers, herbs), you can stay at 16 to 18 hours or drop to 14 hours to slightly reduce heat load. Bring the light to 8 to 12 inches from the canopy and run the dimmer at 75 to 100 percent, targeting 600 to 900 µmol/m²/s.
DLI (daily light integral) ties photoperiod and intensity together into one number that tells you the total PAR photons your plants received over the day. Apogee defines DLI as the integral of PPFD over the photoperiod duration. A vegetable seedling typically needs 12 to 20 mol/m²/day; a fruiting tomato wants 20 to 30 mol/m²/day. If you know your average PPFD and your hours-on, you can calculate rough DLI: PPFD × hours × 3600 ÷ 1,000,000. This links directly to how you set your schedule, which is covered more deeply in the full-spectrum grow lights scheduling guide in this series. If you want the full picture, the full-spectrum grow lights scheduling guide in this series explains how to fine-tune your hours-on and dimmer settings by plant stage.
Adjust your schedule based on what plants actually do (monitoring and troubleshooting)
Check your plants at the same time each day for the first two weeks after setting Schedule 1. You are looking for four specific signals that tell you whether your height, intensity, or photoperiod needs a tweak.
| What You See | What It Means | What to Change |
|---|---|---|
| Stems stretching tall and thin toward the light | Not enough intensity or light is too far away | Lower the light 2 to 3 inches OR increase dimmer by 10% |
| Leaf tips curling up or leaves look washed out / pale in the center | Too much intensity or light too close | Raise light 2 to 3 inches OR reduce dimmer by 10% |
| Leaves clawing downward (tips pointing down) | Possibly heat stress or nitrogen toxicity; check temperature at canopy | Raise light, improve airflow, check nutrient levels |
| Slow growth, small pale leaves | Light too far or photoperiod too short | Lower light, add 1 to 2 hours to the on-period, verify timer is actually working |
| Plants not flowering despite maturity | Photoperiod too long for short-day plants | Switch to 12/12 and ensure complete darkness during off hours |
One important thing about stretching: once a seedling stem stretches, it does not shrink back. UNH Extension is direct about this: adding more light will stop further stretching but it cannot undo the elongation that already happened. This is why starting at the right height and intensity from day one matters more than correcting it later. If you have a stretched seedling, bury the stem deeper on next transplant and get the light in the right position going forward.
Seasonal changes affect your indoor setup more than most beginners expect. If you are growing through winter in a cold climate, your ambient room temperature can drop several degrees at night, which slows plant metabolism and makes your current schedule feel less effective even though nothing changed. In summer, the reverse happens: heat builds up under the light faster, and you may need to raise the fixture or shorten the on-period by an hour to keep canopy temperature below 82 to 85°F. Check canopy temperature with a cheap infrared thermometer and aim to keep it in the 72 to 80°F range during the light period. If your room gets extra natural light through a window in spring and summer, that passive light adds to your DLI and can push short-day plants toward early flowering if the dark period gets interrupted.
Re-check height every week. Plants grow. A light that was at 18 inches last Monday can be effectively at 10 inches by the following Monday if a plant has been pushing up 1 to 2 inches per day in veg. Set a reminder to measure and adjust.
Common mistakes and quick fixes when lights are hung or timed wrong
Most grow light problems trace back to a small list of repeat offenders. Here is what to check first before you assume something is wrong with the plants themselves.
- Light hung too high from the start: The most common beginner mistake. It looks "safer" to hang high, but it produces stretched, leggy seedlings within the first week. Fix: lower to the stage-appropriate height immediately and verify with a PPFD reading.
- Light hung too low at full power: Causes tip bleaching, upward leaf curl, and heat stress at the canopy. Fix: raise 2 to 3 inches at a time and allow 24 hours between changes to see the plant's response.
- Uneven coverage across the canopy: One side of the tent gets 600 µmol/m²/s, the other gets 200. Fix: center the light directly above the grow space, and if you have multiple lights, space them evenly. Take a grid of PPFD readings to confirm.
- Wrong photoperiod for the plant type: Trying to flower a short-day plant on an 18-hour schedule will not work. Fix: research your specific plant's day-length requirement. When in doubt, 12/12 triggers flowering in most photoperiod-sensitive plants.
- Starting at 100 percent intensity on day one: Young seedlings cannot handle full power. Fix: always begin at 25 to 50 percent dimmer output, especially for the first two weeks.
- Inconsistent timer or no timer at all: Manually switching lights on and off leads to irregular photoperiods, which stresses plants and can cause re-vegging in flowering plants. Fix: use a programmable digital outlet timer and double-check that it actually turns on and off at the right times for the first few days.
- Not adjusting height as plants grow: Plants grow up into the light zone within days during veg. Fix: measure canopy-to-light distance weekly, not monthly.
- Ignoring heat buildup: Running a light at full power in a sealed space without airflow raises canopy temperature above 85°F and causes heat stress symptoms that look like light burn. Fix: add an inline fan, confirm at least 1 inch of clearance above the fixture, and check canopy temperature with a thermometer.
Your first week's checklist after setting Schedule 1: confirm the light is at the correct height for the current plant stage, verify your timer is cycling correctly by checking it at the expected on and off times, take a PPFD reading at canopy level to confirm intensity is in the right range, and note the canopy temperature mid-session. If everything checks out and plants still look off after five to seven days, that is the right time to start changing one variable at a time, starting with height. If you are using a LilyEve Grow Turn Ampoule, follow the label and adjust how often to use it based on your plant stage and results over a week. Keep a simple log (even just phone photos with dates) so you can see trends rather than guessing from memory. From there, you can layer in more advanced schedule optimization, which the vegetable grow light timing guide in this series covers for specific crops.
FAQ
What if my Schedule 1 starts with the seedlings too tall and they already started stretching?
Treat Schedule 1 as the baseline going forward, but don’t expect “fixing” to reverse elongation. Raise the new fixture height to match the seedling stage immediately (24 inches, dimmer in the lower band) and, at the next transplant, bury more of the stem if the plant type allows. Also verify your timer and PPFD first, because inconsistent light hours can worsen stretching even if height looks correct.
Can I use the same Schedule 1 for multiple plant types in the same tent?
Usually not perfectly, because PPFD targets and photoperiod triggers differ by stage and crop. If you must mix crops, prioritize the most light-sensitive (often seedlings or short-day flowering plants) and choose an intermediate dimmer setting, then use position within the tent (higher intensity where plants tolerate it). If one group needs 12/12 for dark-trigger flowering, you generally need separate timing or separate areas.
Do I need to dim the light if I am already hanging it at the correct height?
Not always, but it’s safer for beginners. Height and dimmer both affect PPFD, so a correct height with a full-power setting can still overshoot and bleach leaves. Use the manufacturer stage settings first, then confirm with a PPFD measurement at canopy level and adjust dimmer in 10 percent steps rather than making large jumps.
What should I do if my tent ceiling or frame makes 24 inches impossible for seedlings?
If you cannot achieve the recommended height, you must compensate with dimmer and verify with PPFD. Start by lowering power to the bottom end of the seedling range, then measure at multiple canopy points. Avoid guessing based on distance alone, because different fixtures change the PPFD per inch.
How close can I put the light to the canopy without burning leaves?
“Too close” depends on your fixture and plant sensitivity, but the practical rule is to use PPFD targets and watch for specific symptoms. If leaves near the lamp look washed out, or tips curl upward despite adequate watering and airflow, increase height a few inches or reduce dimmer by about 10 percent. Ceiling clearance still matters for heat and driver life.
Does a cloudy window day count as part of the schedule for DLI?
Only if the light actually reaches the canopy during the same hours your grow light runs. Passive daylight can raise total photons, which may push some short-day plants toward earlier flowering if the uninterrupted dark period gets interrupted. If you rely on window light, keep your dark period fully dark and measure canopy PPFD on both clear and cloudy days.
My phone PAR app says a number that looks wrong. What’s the right way to measure for Schedule 1?
Don’t trust lux-to-PPFD assumptions. Use an app-based PPFD tool only if it is designed for that job, and still verify with a known quantum meter when possible. Take readings at canopy height across at least four points, average them, and compare the average to your target ranges (veg around 400 to 600 µmol/m²/s for Schedule 1).
Do I need to worry about light cycles on power outages or smart-plug failures?
Yes, because plants respond to the timing, not just total hours. If power fails or a smart plug glitches, your dark period may get interrupted, especially for short-day plants. Use a timer that reliably maintains schedule, and after any outage, check that the lights return to the intended on/off times immediately and consistently.
How do I adjust Schedule 1 if my canopy temperature is above 85°F?
First, confirm airflow and heat removal, then reduce light stress by raising the fixture slightly or lowering dimmer. If you have to shorten runtime, do it by reducing hours only after confirming that the photoperiod is still within your stage needs. Aim for canopy temperature roughly in the 72 to 80°F range during the light period, since higher heat can increase transpiration stress and reduce effective growth even if PPFD is correct.
If my PPFD average is on target, why are seedlings still looking pale or weak?
PPFD is only one variable. Check for nutrient availability, watering consistency, and airflow, since seedlings can appear washed out or stressed from issues other than light intensity. Also confirm that you are measuring at true canopy level (not above it) and that your dimmer setting corresponds to the actual output, because some dimmers behave nonlinearly near the low end.
Should I change only one variable after the first week, or can I adjust height and dimmer together?
For troubleshooting, change one variable at a time so you can attribute the result. Start with height adjustments (because it has the biggest effect on PPFD), then reassess PPFD readings and plant response 2 to 4 days later. Once you’re dialed in, small paired adjustments are fine, but during the first tuning week keep it methodical.
How often should I re-measure PPFD after setting Schedule 1?
Re-check at least weekly, and also after any change in dimmer, fixture position, or room conditions that affects cooling or humidity. Because plants can grow 1 to 2 inches per day in active veg, the effective light distance can shift faster than you might notice visually, making weekly PPFD checks a practical minimum.
Next Article
How to Use Full Spectrum Grow Light Schedule 1
Set full spectrum grow lights Schedule 1 with correct mounting height, coverage, and photoperiod for seedlings to flower