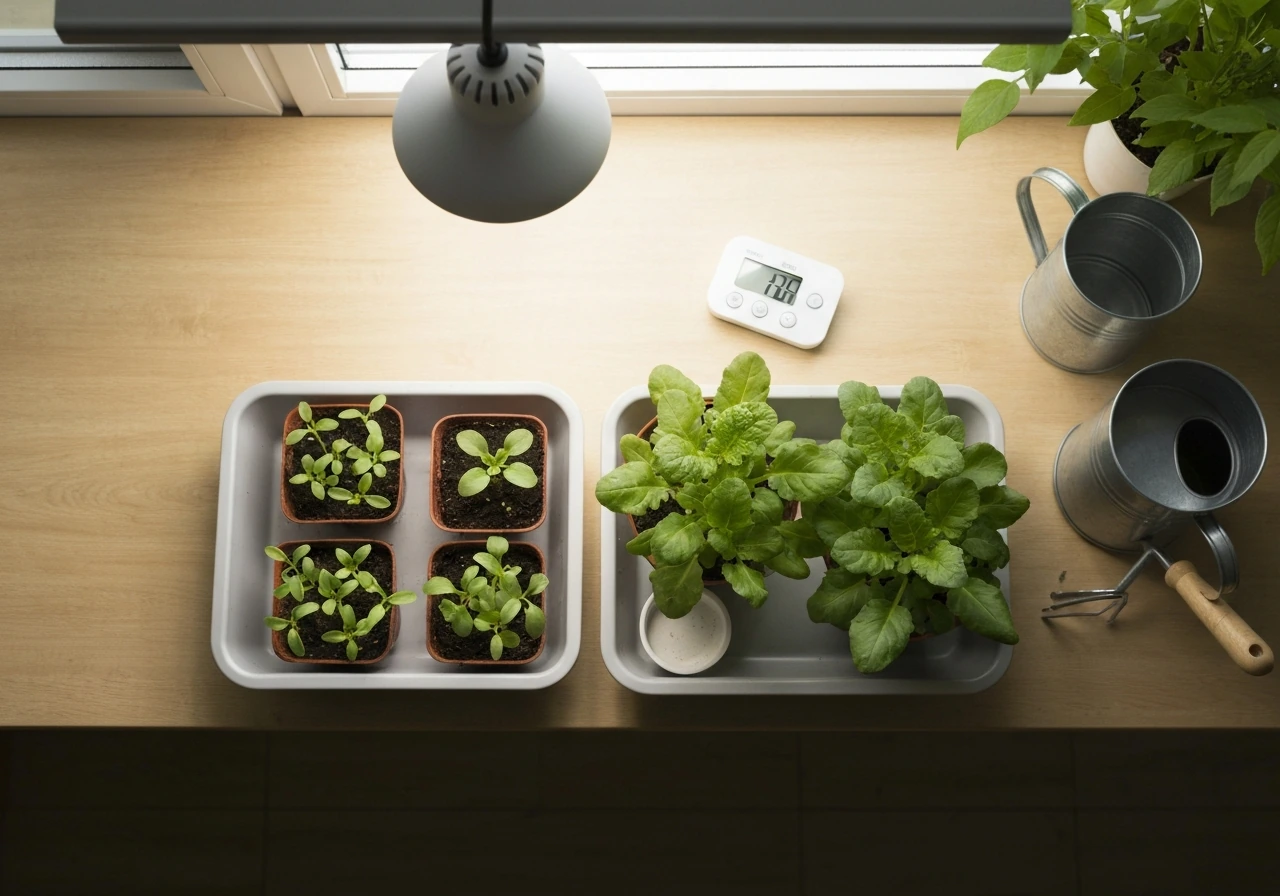
Yes, LED grow lights absolutely work for vegetables, and they are currently the best option for most home growers. Modern full-spectrum LEDs produce the right wavelengths for photosynthesis, run cooler than older HID or fluorescent fixtures, use less electricity, and last tens of thousands of hours. The key is not whether LEDs work, it is whether you set them up correctly. Wrong height, wrong schedule, or wrong intensity will get you weak, leggy plants no matter how good your light is. This guide walks you through every decision, from picking the right fixture to dialing in your daily routine.
How to Use a Grow Light for Vegetables Indoors (LED Guide)

Marcus Tillman
13 Apr 2026
Do LED grow lights work for vegetables?
LED grow lights work extremely well for vegetables, including leafy greens, herbs, tomatoes, peppers, cucumbers, and more. The science is straightforward: plants use light in the photosynthetically active radiation (PAR) range of 400 to 700 nanometers, and quality LED fixtures are designed specifically to deliver energy in that range. Researchers measure usable light output using photosynthetic photon flux density, or blank" rel="noopener noreferrer">PPFD (micromoles per square meter per second), rather than just wattage, because wattage tells you how much electricity the bulb uses, not how many useful photons actually reach your plants. A 45-watt LED built for plant growing can outperform a 100-watt household bulb by a huge margin in terms of real PPFD delivered to the canopy.
The other metric worth knowing is daily light integral, or DLI, which is expressed in moles of photons per square meter per day (mol·m⁻²·d⁻¹). DLI is simply the total photon dose your plants receive over a full day, combining how intense the light is (PPFD) and how many hours it runs (photoperiod). University of Florida IFAS research found that red-leaf lettuce performs well at a minimum DLI of about 6.5 to 9.7 mol·m⁻²·d⁻¹, while most young vegetable plants benefit from a target DLI of 8 to 12 mol·m⁻²·d⁻¹. LEDs can consistently hit those targets day after day, indoors, with no reliance on weather or seasons. That reliability is exactly why they have replaced fluorescents in most serious home setups.
Choosing the right LED grow light and what specs matter
The grow light market is full of misleading marketing, so here is what actually matters when you shop. Skip the watt comparisons on the box and focus on these real specs instead.
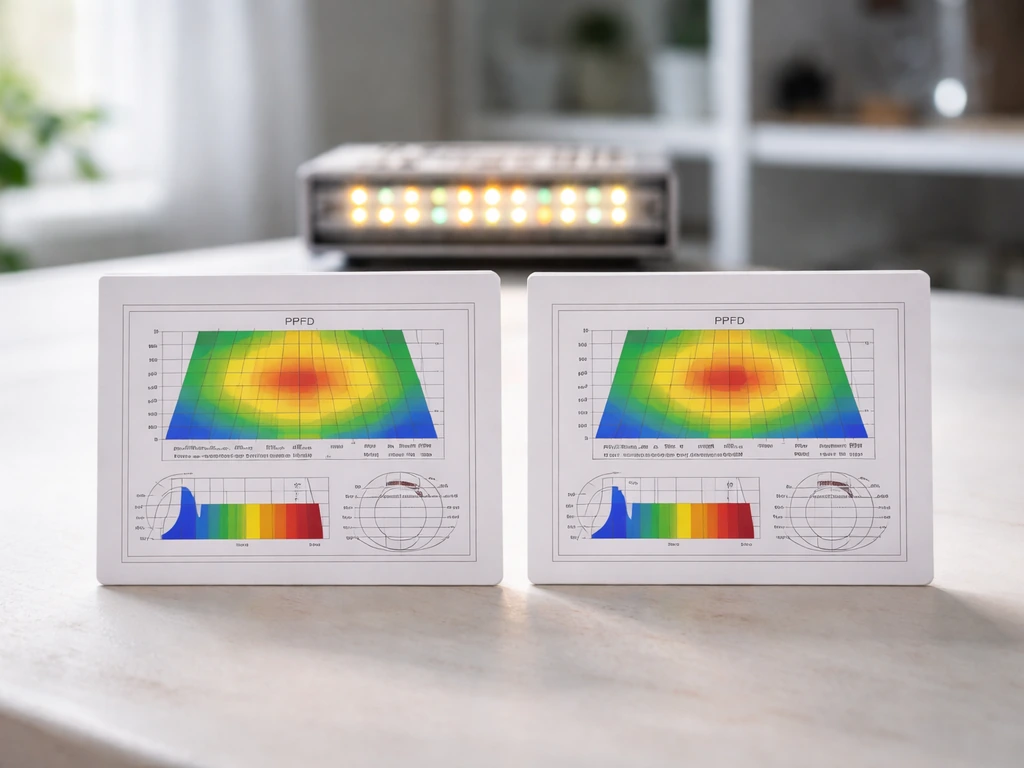
- PPFD at canopy level: Look for lights that publish a PPFD map showing output at the mounting height you plan to use. For leafy greens, you want roughly 200 to 400 µmol·m⁻²·s⁻¹ at canopy. For fruiting plants like tomatoes or peppers, aim for 400 to 600+ µmol·m⁻²·s⁻¹.
- Coverage area: Most fixtures list a recommended coverage footprint. A 2x2 ft (about 0.37 m²) grow tent needs a light rated for that footprint at the wattage you plan to run, not a larger tent's light dimmed way down.
- Full spectrum output: Look for fixtures with a spectrum covering 400 to 700 nm. Some include far-red (700 to 750 nm) for better fruiting. Avoid blurple (purple-pink) lights that only emit red and blue, as they make it harder to spot plant health problems and deliver uneven photosynthetic coverage.
- Dimmer control: Being able to reduce intensity is a real advantage, especially for seedlings. A fixture you can run at 50% for young plants and ramp up later is much more versatile than a single-output light.
- Heat output and cooling: LEDs run cool relative to HPS or metal halide, but cheap LEDs with poor drivers still generate heat. Check that the fixture has an aluminum heat sink or active cooling fan if it is over 100 watts.
- Build quality and driver: Meanwell and Inventronics are reputable driver brands. They matter for longevity and stable output.
For a beginner growing lettuce, spinach, or herbs in a 2x2 ft space, a quality fixture in the 45 to 65 true-watt range (draw from the wall, not an inflated 'equivalent' number) is a solid starting point. For a 4x4 ft space growing tomatoes or peppers, you are looking at 200 to 300 true watts of a quality LED. If you are just getting started and want to understand how a full spectrum grow light schedule changes as your plants develop, that knowledge will help you shop for a light with the dimming and spectrum flexibility to support different stages.
Placement: height, distance, and coverage for veggie canopies
Getting the height right is probably the single most impactful adjustment you can make. Too high and your plants stretch and become leggy from light starvation. Too low and you risk bleaching, tip burn, or heat stress. Distance from the canopy directly changes the PPFD your plants receive, because light intensity drops off rapidly as you move the fixture further away (following the inverse square law). A light that delivers 600 µmol·m⁻²·s⁻¹ at 12 inches may only deliver 150 at 24 inches.
| Plant Type | Recommended PPFD (µmol·m⁻²·s⁻¹) | Typical Starting Height Above Canopy |
|---|---|---|
| Seedlings / clones | 100 to 250 | 24 to 36 inches |
| Leafy greens (lettuce, spinach, kale) | 200 to 400 | 18 to 24 inches |
| Herbs (basil, cilantro, parsley) | 200 to 350 | 18 to 24 inches |
| Fruiting vegetables (tomatoes, peppers, cucumbers) | 400 to 600+ | 12 to 18 inches |
These are starting points, not absolutes. Always adjust based on what your plants tell you (more on that in the troubleshooting section). Keep in mind that coverage area and spacing between fixtures matters as much as height. If you are running multiple lights in a larger space, the spacing between them affects how evenly PPFD is distributed across the canopy. Overlapping coverage zones from two smaller lights often gives you more even distribution than one large light centered in the space. If you are setting up a multi-light system, getting the hanging height and spacing right from the start saves a lot of repositioning later.
Use an adjustable rope ratchet or pulley system to hang your light so you can raise or lower it in minutes. Zip-tie mounts and fixed-height hangers make it nearly impossible to fine-tune distance as your plants grow, which is frustrating and avoidable. As your canopy rises toward the light, plan to raise the fixture incrementally to maintain your target distance.
Setting a lighting schedule for seedlings vs leafy greens vs fruiting plants
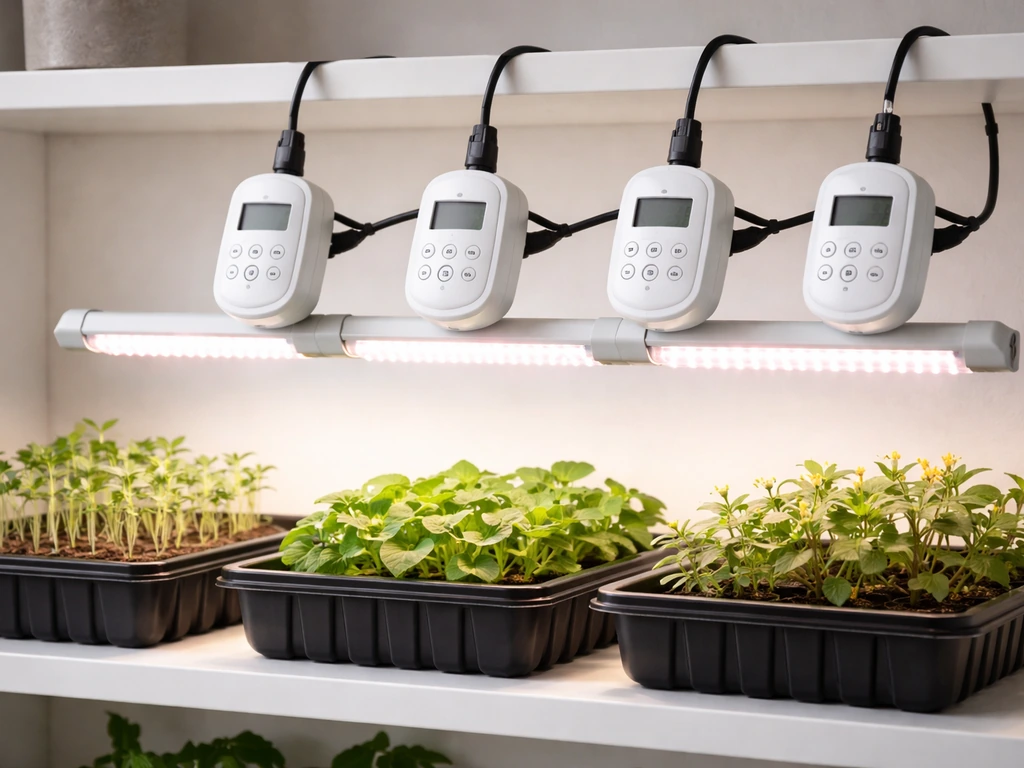
Photoperiod, meaning how many hours per day you run your lights, is the other half of your DLI equation alongside intensity. Different vegetable types have different light needs, and getting the schedule wrong is a very common reason indoor gardens underperform. Use a digital outlet timer, not a manual dial timer, because even small daily drifts in timing can disrupt plant cycles. Always give your plants a true dark period. Running lights 24 hours a day does not help and can actually stress most vegetable species.
Seedlings (weeks 1 to 3)
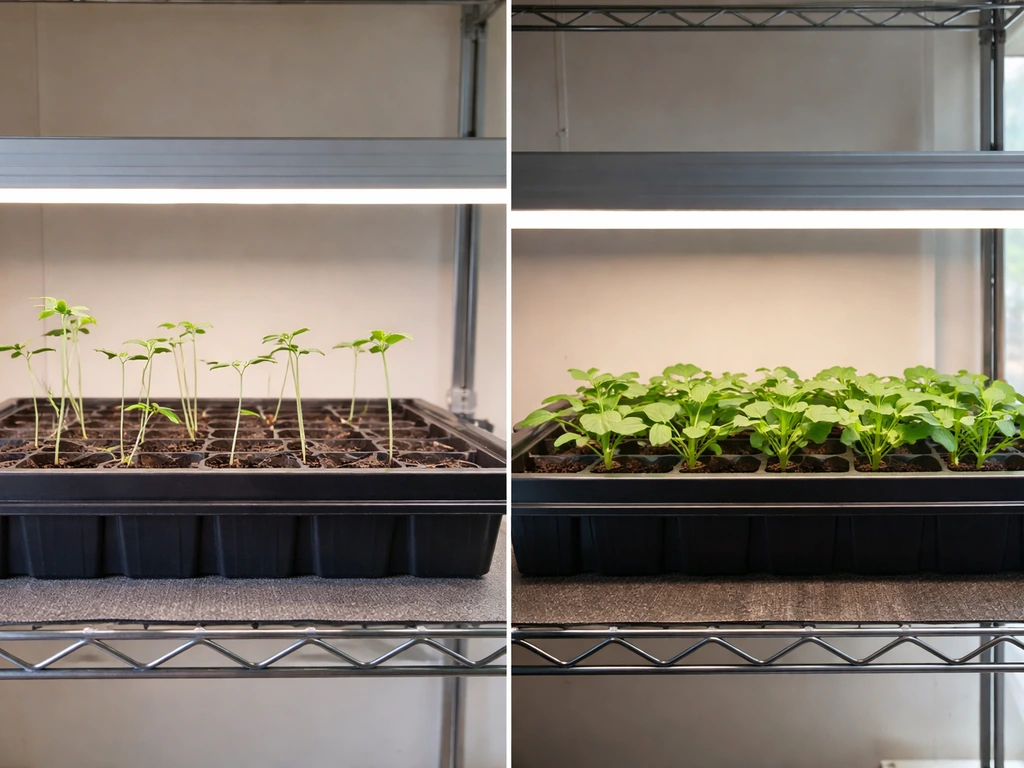
Start new seedlings at lower intensity and longer photoperiod rather than blasting them with high PPFD. A target of 14 to 16 hours on, 8 to 10 hours off works well. Aim for 100 to 200 µmol·m⁻²·s⁻¹ at canopy level. At 16 hours and 150 µmol·m⁻²·s⁻¹, you are delivering roughly a DLI of 8.6 mol·m⁻²·d⁻¹, which falls right in the sweet spot of the 8 to 12 mol·m⁻²·d⁻¹ target for young plants that University of Florida IFAS research identifies as beneficial. Keeping intensity modest at this stage prevents stem bleaching and encourages compact, stocky growth.
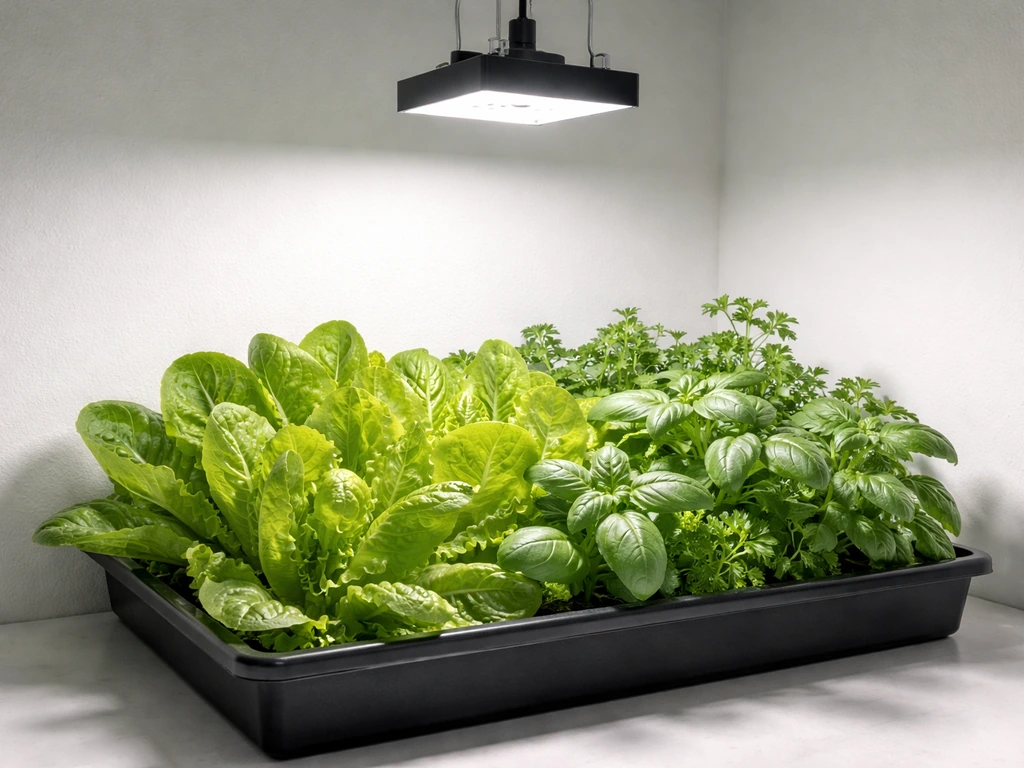
Leafy greens and herbs (ongoing)
Lettuce, spinach, kale, Swiss chard, basil, and most culinary herbs are what growers call day-neutral or long-day plants. They thrive on 14 to 16 hours of light per day at moderate intensity. Red-leaf lettuce, for instance, does well hitting that 6.5 to 9.7 DLI range, which you can achieve easily at 14 to 16 hours with a fixture delivering 200 to 250 µmol·m⁻²·s⁻¹ at canopy. These plants do not need intense light, and running them at lower PPFD for longer is often better than cranking up intensity and shortening the day. For a deeper look at how many hours to run your grow light depending on what you are growing, that resource breaks down the math by crop type.
Fruiting vegetables (tomatoes, peppers, cucumbers, squash)
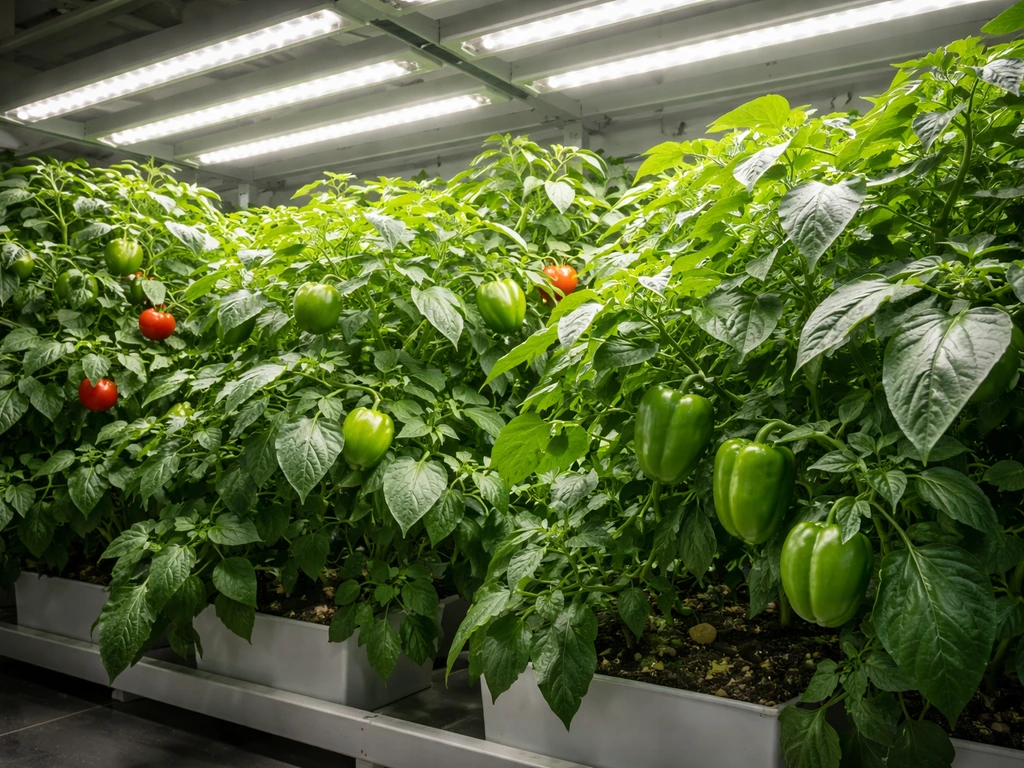
Fruiting crops are hungry for light. They need higher PPFD (400 to 600+ µmol·m⁻²·s⁻¹) and longer photoperiods, typically 16 to 18 hours per day during vegetative growth. Once plants begin flowering, some growers shift to 12 to 14 hours to encourage fruit set, particularly with tomatoes and peppers. DLI targets for fruiting crops are considerably higher than for leafy greens, often 20 to 30+ mol·m⁻²·d⁻¹ in commercial settings, though home growers can get decent results in the 15 to 20 range with good fruit set. The point is: do not try to grow tomatoes on a lettuce schedule. Understand how often to use your grow light for each specific crop and treat the schedule as adjustable, not fixed.
How to test and adjust intensity (signs your plants need more or less light)
The best tool for measuring what your plants are actually receiving is a PAR meter or quantum sensor, which reads PPFD in µmol·m⁻²·s⁻¹ at canopy level. If you are serious about growing vegetables indoors, even an entry-level PAR meter (around $30 to $80) is worth the investment. You hold it at plant height, point it at the light, and read the PPFD directly. Some LED manufacturers publish PPFD maps showing intensity at different heights across the fixture footprint, which helps you understand how evenly light is distributed and where the hot spots are. The University of Missouri Extension recommends checking that your fixture delivers useful PAR output and using PPFD maps or a quantum sensor to evaluate delivery to plants, rather than relying on wattage alone.
If you do not have a meter yet, your plants will tell you a lot. Here is how to read the signs:
| Symptom | What It Usually Means | Quick Fix |
|---|---|---|
| Tall, stretched stems between nodes (etiolation) | Not enough light (PPFD too low or light too far) | Lower the fixture 2 to 4 inches or increase dimmer setting |
| Leaves curling upward, bleaching, or whitish tips | Too much light (PPFD too high or light too close) | Raise the fixture 2 to 4 inches or reduce dimmer setting |
| Leaves pale green or yellow uniformly | Possibly low light but also check nutrients; reduce competing issues first | Raise light slightly and check fertilizer schedule |
| Edges of leaves brown or crispy (tip burn on lettuce) | Heat stress or high VPD near light, or light intensity too high | Raise fixture, improve airflow, check temp near canopy |
| Slow growth overall but plant looks healthy | Likely low DLI: increase hours or intensity incrementally | Add 1 to 2 hours to photoperiod or lower fixture slightly |
| Plants flowering early (before you want them to) | Photoperiod too short or light leak during dark period | Extend photoperiod, check for light leaks in grow space |
When adjusting, change one variable at a time: either move the light or change the schedule, not both simultaneously. Give plants 3 to 5 days to respond before making another change. This kind of systematic approach is what separates growers who figure things out from those who keep spinning their wheels.
Some specialized grow light products, like the Lilyeve grow turn ampoule, have their own usage frequency considerations that differ from standard panel fixtures. If you are using a branded product with specific dosing or cycling instructions, follow those guidelines alongside the general principles here.
Common mistakes and troubleshooting indoor veggie grow light setups
These are the mistakes I see most often, and they account for probably 80% of the problems beginners run into.
- Running lights at fixed height for the whole grow: Plants grow. A light at 24 inches above a 2-inch seedling is too far when that plant is 10 inches tall and now only 14 inches from the fixture. Check and adjust height weekly.
- Using household wattage as the quality benchmark: A 'full spectrum' 10-watt bulb from a hardware store is not a grow light. It will not deliver the PPFD vegetables need. Invest in a fixture designed for plant production.
- No timer, or an inaccurate timer: Inconsistent photoperiods stress plants and can trigger premature bolting in leafy greens or irregular fruiting in tomatoes. Use a programmable digital outlet timer and verify it is accurate.
- Ignoring heat buildup near the canopy: Even cool-running LEDs in a small enclosed tent can raise ambient temps significantly. Target 65 to 80°F (18 to 27°C) at plant level. Use a thermometer at canopy height, not just on the tent wall.
- Treating all vegetables the same: Seedlings, leafy greens, and fruiting crops have genuinely different PPFD and DLI needs. Running a fruiting-crop schedule on lettuce will often cause tip burn and bolting.
- Underestimating how much light fruiting crops need: Tomatoes and peppers indoors with low light will grow but not fruit well. If you cannot deliver at least 400 µmol·m⁻²·s⁻¹ to fruiting plants, consider focusing on leafy greens instead until you upgrade your setup.
- Uneven coverage from a single small light: One small light over a wide tray creates a bright center and dark edges. Plants at the edges etiolate toward the center. Use an appropriately sized fixture or add a second light.
- Confusing spectrum color with quality: A light that looks white or pink to the eye does not tell you about its PPFD output. Always look for published PPFD data or test with a meter.
- Not providing a true dark period: Some growers leave lights on 20+ hours thinking more is always better. Most vegetables need at least 6 to 8 hours of darkness. Respect the dark period.
A simple setup checklist and next-step routine
Here is the practical checklist I would hand to someone starting their first indoor vegetable setup today. Work through it in order before you plant anything.
- Choose a fixture with published PPFD data and a coverage rating that matches your actual grow space footprint.
- Install adjustable rope ratchet hangers so you can reposition the light easily as plants grow.
- Set starting height based on your plant type: 24 to 36 inches for seedlings, 18 to 24 inches for leafy greens, 12 to 18 inches for fruiting crops (adjust after observing plant response).
- Program a digital outlet timer: 14 to 16 hours on for leafy greens and seedlings, 16 to 18 hours for fruiting crops in vegetative stage.
- Place a thermometer at canopy height and verify the temperature stays between 65 and 80°F during the light period.
- If you have a PAR meter or PPFD app, take a reading at canopy level at the start and record it. Aim for your target PPFD range for the crop type you are growing.
- Label your plants and start date so you can track growth rate and correlate it to your light settings.
Once your grow is running, maintain a simple weekly routine. Raise the light as the canopy grows to maintain your target distance. Check plant color and stem spacing every few days for signs of too much or too little light. Adjust photoperiod in 1 to 2 hour increments if growth is too slow or if plants are showing stress. Keep a short log of changes so you are not guessing what you changed and when. Over a few grows, you will build an intuition for what your specific setup delivers and what your specific crops prefer, and that knowledge compounds fast.
Growing vegetables under lights is genuinely learnable and rewarding. The key is treating your first grow as a calibration run: get your light in the right zone, set a reasonable schedule, watch closely, and adjust methodically. You do not need to get everything perfect on day one. You just need to avoid the big errors above and keep making small, informed corrections. Your second grow will be noticeably better than your first, and your third better still.
FAQ
Do I need a full-spectrum LED, or will any grow light work for vegetables?
For best results, use an LED designed for growing (ideally labeled as full-spectrum or optimized for PAR). “White” shop LEDs can grow plants, but they often deliver a less usable balance of wavelengths and a lower PAR output than fixtures built for vegetables. If you cannot verify PPFD, prioritize a grow-specific model over generic lighting.
How do I know if my light is too strong or too weak if I do not have a PAR meter?
Look at new growth. Too strong often shows bleaching, pale or scorched leaf edges, and leaf tip burn while plants remain short and stressed. Too weak usually causes long internodes, droopy or thin stems, and darker green but slower, stretched growth. Make changes one step at a time (height or schedule) and wait 3 to 5 days.
What distance should I start with for canopy height?
Start with your fixture’s recommended hanging height if available, then fine-tune using PPFD if you have a meter. As a practical rule, assume intensity drops quickly with distance, so you should be able to move in small increments. Recheck after every reposition because even small height changes can shift delivered PPFD enough to alter growth rate.
Can I run my grow light on a dimmer or lower setting instead of changing height?
Yes, dimming or lower output can be a good way to fine-tune intensity without stressing plants via large height changes. Use it as a separate variable from height, change only one at a time, and document the setting. If your fixture is not designed to be dimmed safely, avoid improvising with incompatible controllers.
Should I include a fan and ventilation when using a grow light for vegetables?
Yes, airflow is important even though the light is the main variable. A fan helps strengthen stems, reduces stagnant humid air that can contribute to fungal issues, and helps prevent heat buildup near the canopy. If you see wilting on a hot day, it can be a combined light and airflow problem, not just an intensity issue.
Do vegetables need a “night” period, or can I do 24/7 light?
Most vegetables benefit from a real dark period, even if they are growing fast under lights. Constant illumination can increase stress and disrupt normal growth cycles. A common approach is 14 to 16 hours on for many greens, and 16 to 18 hours for vegetative fruiting crops, then adjust based on plant response.
Is it better to increase hours or increase intensity to reach the right DLI?
Start by keeping photoperiod within crop-appropriate ranges and adjust intensity in smaller steps, because very long days can be as stressful as high intensity for many vegetables. Use DLI as your target, but treat it as a balance: if you must choose, moderate intensity with a correct schedule usually gives more predictable results than pushing hours toward 20+.
How often should I adjust the grow light after seedlings sprout?
Plan on checking every few days, then adjust once you see a pattern rather than reacting to one day. Change one variable at a time, then wait 3 to 5 days to evaluate. Raise the light as the canopy rises so you maintain your intended distance and PPFD.
What’s the right schedule difference between leafy greens and fruiting vegetables?
Leafy greens and many culinary herbs typically do well with a moderate photoperiod, often around 14 to 16 hours per day, at moderate intensity. Fruiting crops generally need higher PPFD and longer days during vegetative growth (commonly 16 to 18 hours), and some growers shorten toward 12 to 14 hours when flowering starts to support fruit set.
How can I make sure multiple lights are evenly covering a larger grow space?
Use overlapping coverage zones rather than trying to rely on one centered light. If you have a PAR meter, check the PPFD at several points across the canopy to confirm uniformity. Uneven coverage usually shows up as varied stem length and leaf color in different sections of the bed, even when the lights are the same model.
Will a higher-watt fixture always produce better results for vegetables?
Not reliably. Wattage measures electricity use, not how much usable light reaches your plants. Two fixtures with similar wattage can deliver very different PPFD. If you cannot measure, base decisions on true fixture specs and, ideally, verify with PPFD at canopy height.
Do I need to measure at canopy level, and how do I do that correctly?
Yes, measure where the leaves actually are, not at the base of the plant or at the fixture height. Hold the PAR meter at canopy height, level the sensor properly, and take readings across the area if you are using multiple plants or a multi-light setup. This helps you avoid chasing the wrong number.
My plants look fine, but growth is slow. What should I try first?
First verify your photoperiod is correct for the crop, then check whether the light distance matches your plan. Increase intensity gradually (via height or dimming) or adjust the schedule in 1 to 2 hour increments, but change only one variable and wait several days. If growth is slow while leaves are light-colored, the issue is often too low intensity rather than too much water or fertilizer.
Next Article
How Long to Use Grow Light: Daily Hours by Plant Stage
Daily grow light hours by plant stage, how to adjust intensity, placement, timing, and fix leggy or burned plants safely