If you see 'Schedule 1' on your grow light controller, it means a saved daily ON/OFF time program, usually the first of two or more programmable slots. You set what time the light turns on, what time it turns off, and the controller repeats that every day automatically. The full-spectrum part just describes the LED's light output, which covers the wavelengths plants actually use from blue through red. Put them together and you're building a timed, stage-matched lighting routine that tells your plants when it's day and when it's night.
How to Use Full Spectrum Grow Light Schedule 1

Marcus Tillman
29 Apr 2026
What 'Full Spectrum Grow Lights Schedule 1' Usually Means
Different brands name their schedule slots slightly differently, but the concept is the same across most modern controllers. In the AC Infinity IONGRID ecosystem, Schedule Mode has a Schedule 1 and Schedule 2, each with an ON clock time and an OFF clock time. The controller runs the light at your chosen brightness during the ON window, then drops it to your configured minimum level (or fully off at level 0) during the OFF window. If you activate both Schedule 1 and Schedule 2 together (labeled Schedule 1+2 in the AC Infinity manual), the unit uses blank" rel="noopener noreferrer">the earlier ON time and the earlier OFF time across both programs. That combined mode is useful if you want split photoperiods, but for most growers a single Schedule 1 is all you need.
TrolMaster's Hydro-X system takes the same idea a step further. Its Schedule 1 equivalent includes a 'Sun R/S time' function that slowly ramps brightness up at the start of the day and ramps it down at the end, simulating sunrise and sunset. It also ties into temperature sensors so the light can auto-dim if the canopy gets too hot. Mars Hydro lights that use a remote dimmer or controller don't always use 'Schedule 1' branding, but they follow the same logic: you pick on/off times and an intensity level for each stage.
One thing that trips people up with AC Infinity specifically: if your light appears to stay faintly on during the OFF window, check your minimum level setting. Levels run from 0 to 10, and if your minimum level is set to anything above 0, the light stays dimly on even in the OFF period. Setting minimum level to 0 powers the device fully off during that window.
How to Place Your Full Spectrum Grow Light
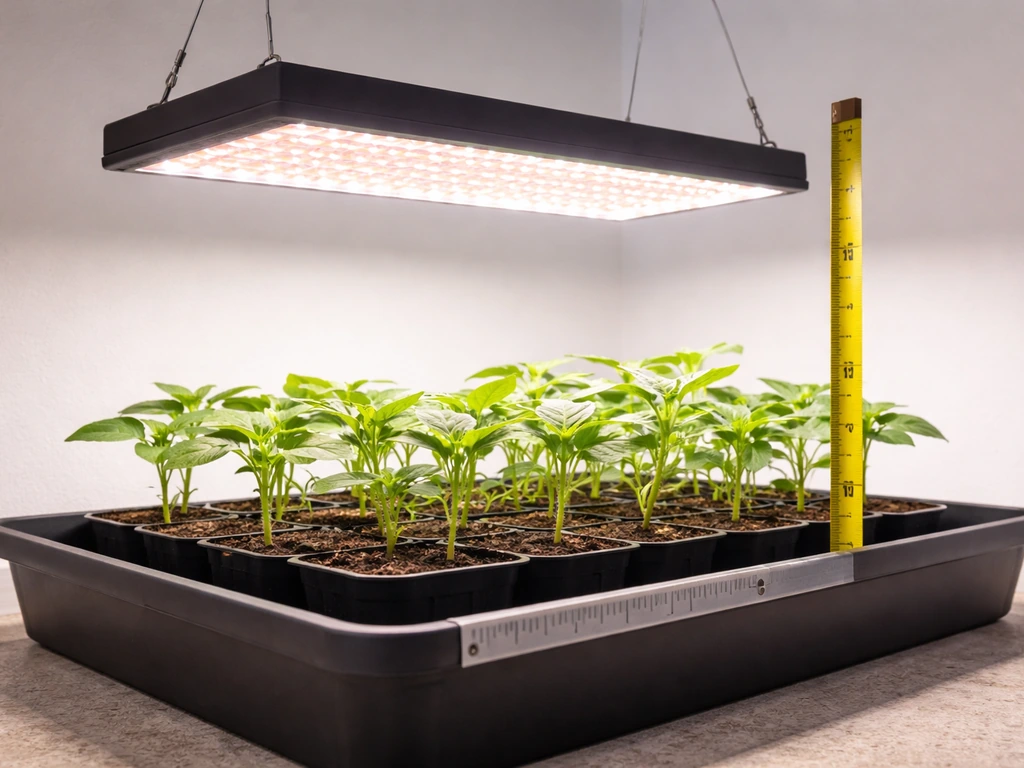
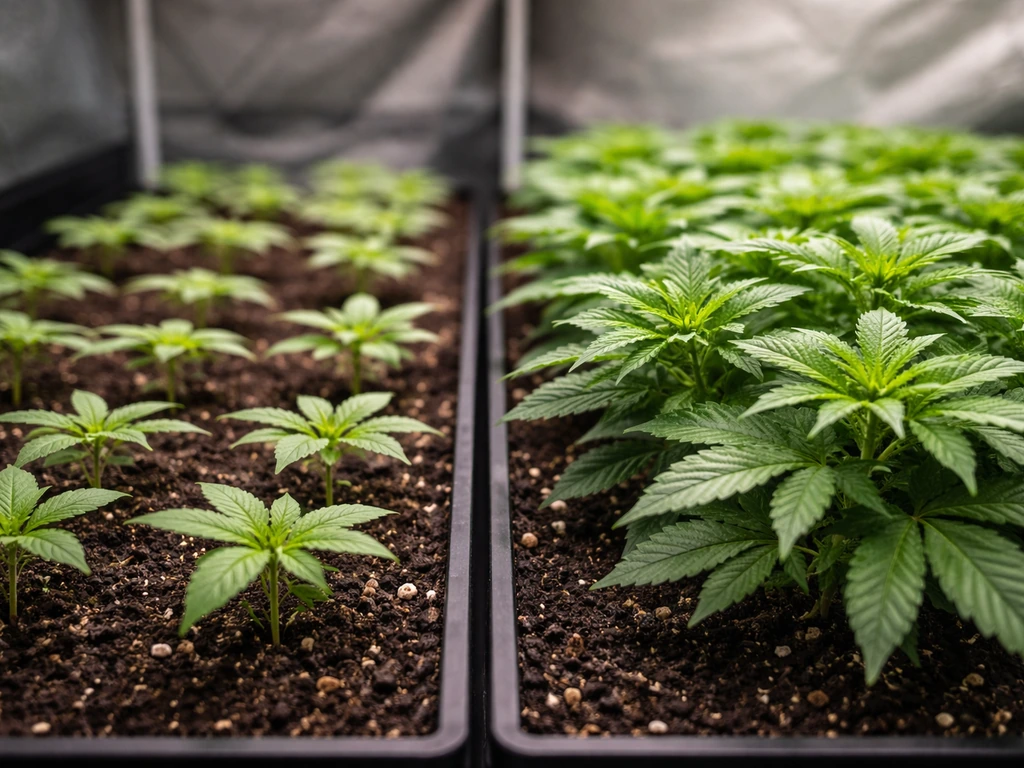
Placement is where most beginners make their biggest mistake, either hanging the light too low and burning plants or hanging it too high and getting stretchy, weak growth. Height, angle, and coverage area all interact, and the goal is delivering the right light intensity (measured in PPFD, micromoles per square meter per second) evenly across the whole canopy.
Starting Heights by Stage
Use these as your starting point. Always start at the higher end and only move the light down gradually once you confirm the plants are handling it well.
| Growth Stage | Starting Height Above Canopy | Target PPFD Range |
|---|---|---|
| Seedlings / Propagation | 24 inches (60 cm) | 100–300 µmol/m²/s |
| Vegetative Growth | 18 inches (45 cm) | 300–600 µmol/m²/s |
| Flowering / Fruiting | 12–16 inches (30–40 cm) | 600–900+ µmol/m²/s |
These numbers follow the inverse square law: move the light twice as far from the plant and you get roughly a quarter of the intensity. That's why a few inches of height adjustment makes a bigger difference than you'd expect. If you have a PPFD meter or a phone app with a PAR sensor, use it to confirm your canopy reading. If you don't have one, the height guides above are a reliable starting point based on consistent grower reports.
Center vs. Offset Positioning and Coverage
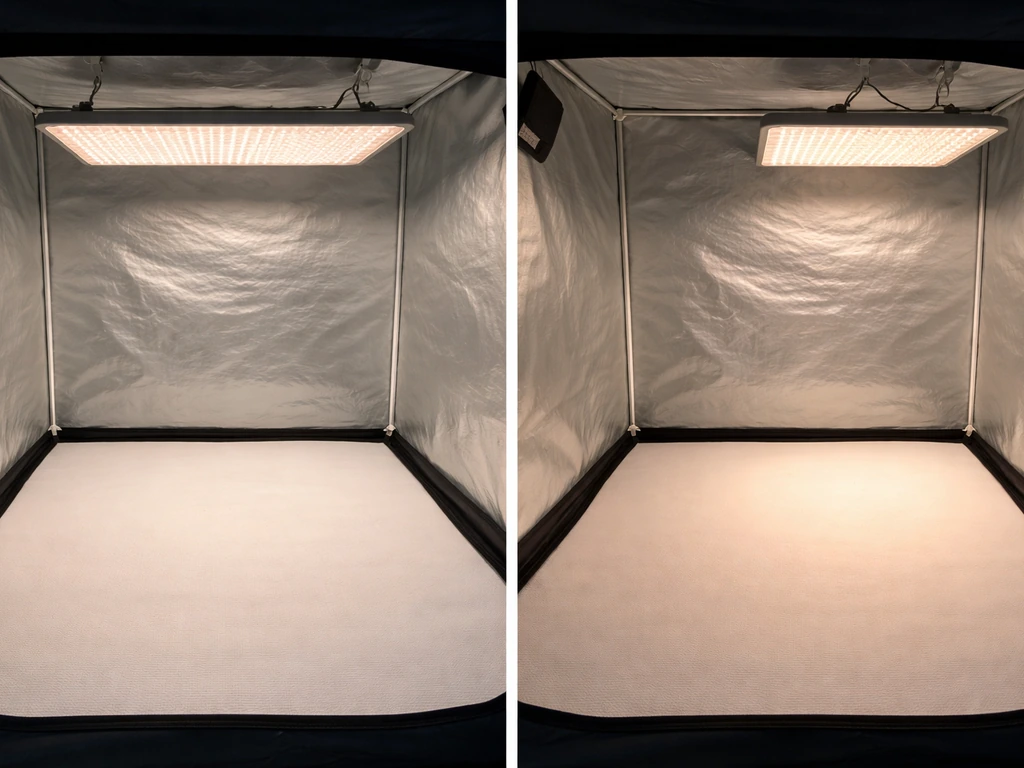
Mount the light directly centered over the grow area whenever possible. Off-center positioning creates intensity hotspots under the fixture and dim zones at the edges, which means uneven growth across your canopy. If you're covering more than one plant and using a single fixture, aim for a mounting height that spreads the light footprint to cover the full canopy edge-to-edge rather than concentrating intensity in the middle. Manufacturer coverage specs (usually listed for a given wattage) assume a specific mounting height, so if you hang the light lower to hit higher PPFD, the footprint shrinks and the edges of your grow area get less light.
Most panel-style full-spectrum LEDs are designed to hang level and flat. Tilting the fixture can help push light into corners of an oddly shaped space, but it creates one side of the canopy that's significantly closer to the light than the other. If you do tilt, check both the closest and farthest edges with a PPFD reading and adjust until they're reasonably balanced.
Building Your Schedule: Hours, Ramping, and Photoperiod Targets
Once the light is at the right height, your Schedule 1 program is really about two things: how many hours per day the light runs (photoperiod) and how you introduce and adjust that intensity over time (ramping). Get both right and your plants stay in the right growth mode at the right time.
Choosing Your Photoperiod
An 18-hour on / 6-hour off schedule works for most vegetables, herbs, and plants in vegetative growth. It qualifies as a long-day photoperiod (13+ hours), which keeps many plants growing leaves and structure rather than triggering flowering. For photoperiod-sensitive plants like cannabis, 18 hours on during veg is the standard, then switching to exactly 12 hours on / 12 hours off triggers flowering. The 12-hour uninterrupted dark period is what actually initiates the flowering response, so keep the OFF window completely dark with no light interruptions. General houseplants and seedlings are usually happy with 14–16 hours of light per day.
Ramping Up Intensity (Don't Go Full Power from Day One)
New seedlings and clones can't handle full intensity right away. Start at 30–40% of your fixture's maximum output and increase by about 10% every few days as plants develop. This mirrors the 'ramp up intensity in steps' approach recommended for propagation. If your controller supports a sunrise/sunset ramp like TrolMaster's Sun R/S time, enable it. Even a 15–30 minute ramp at the start and end of the day reduces shock and is gentler on both plants and the fixture. If your controller doesn't support ramping, manually dimming down for the first week or two accomplishes the same thing.
DLI (Daily Light Integral) is the metric that ties your PPFD and your hours together. It's calculated as PPFD multiplied by your photoperiod in seconds, divided by one million. For seedlings, target a DLI of around 6–12 mol/m²/day. For vegetative growth, aim for 15–25 mol/m²/day. Flowering plants in full production can use 25–40 mol/m²/day or more depending on the crop. If you're hitting the right DLI, the balance between intensity and duration is working.
Adjusting Your Schedule for Each Growth Stage
Seedlings and Propagation
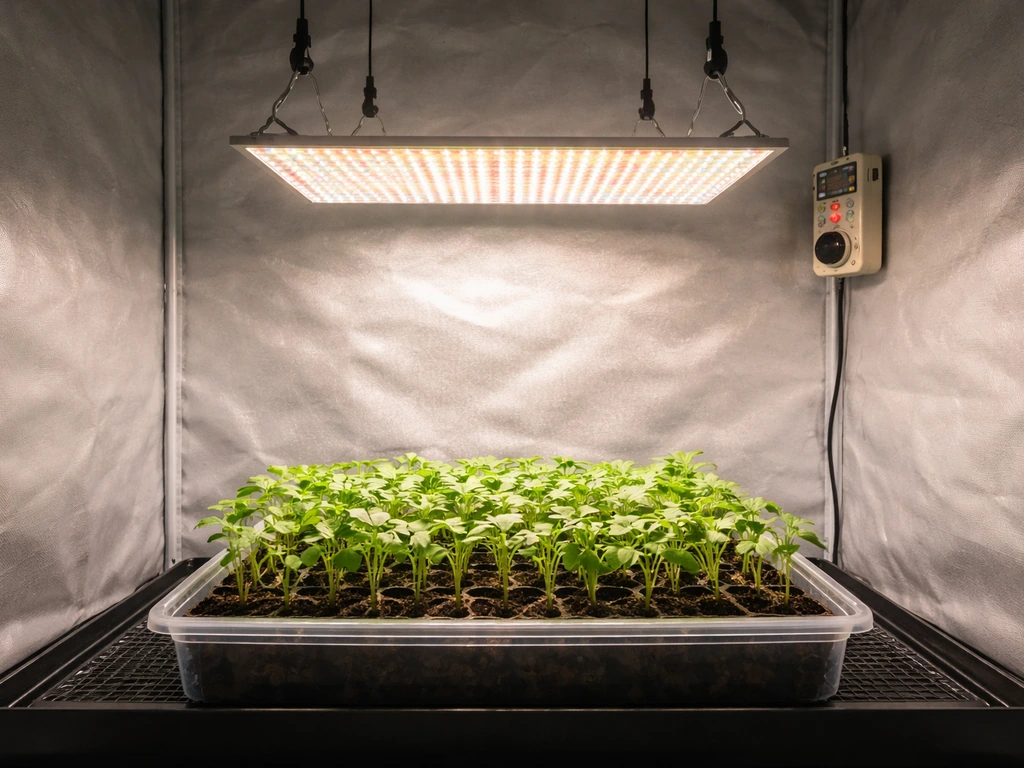
Seedlings are delicate and easy to stress. Keep the light at 24 inches, run it at 30–50% power, and aim for 14–16 hours per day. Target PPFD at the canopy of around 100–300 µmol/m²/s. At this stage you want enough light to prevent stretching toward the source (legginess) without overwhelming young root systems and leaves. If you see seedlings reaching and bending toward the light, they need more intensity or a slightly lower mount height. If the seed leaves are cupping or curling down, back off intensity first before moving the light.
Vegetative Growth
This is when plants build their structure, so they need more light. Drop your mount to around 18 inches, bring intensity up to 60–80%, and run 18 hours on. Target 300–600 µmol/m²/s at the canopy. Watch the top leaves closely during the first few days after any intensity or height change. If the newest growth looks pale, washed out, or starts to bleach, the light is too close or too intense. Move it up 2–4 inches and reassess after 24–48 hours.
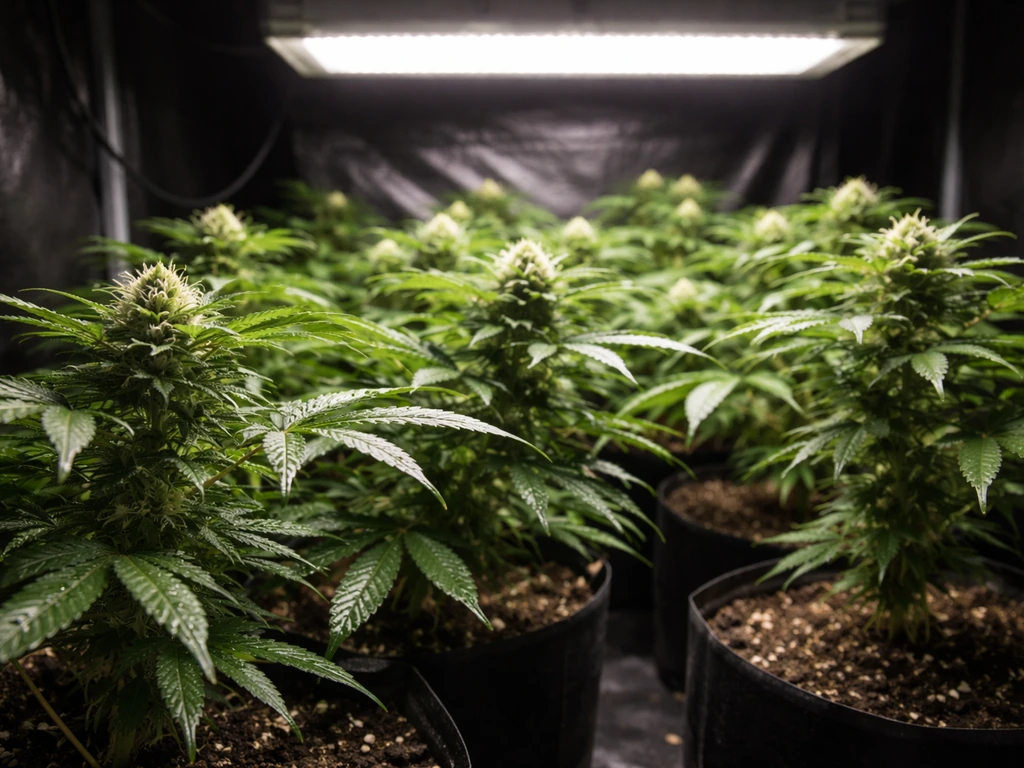
Flowering and Fruiting
Flowering plants can handle and benefit from higher PPFD, 600–900+ µmol/m²/s depending on species. Lower the light to 12–16 inches and push intensity to 80–100%. For photoperiod-sensitive plants, flip your Schedule 1 to 12 hours on and 12 hours off, and make sure nothing is interrupting the dark period. For Lilyve Grow Turn Ampoule, follow the label directions for how often to use and adjust based on your plant stage and the light schedule you run Lilyve Grow Turn Ampoule how often to use. For vegetables like tomatoes or peppers that aren't photoperiod-sensitive, you can keep 16–18 hours of light while increasing intensity to drive fruiting.
General Houseplants
Most tropical houseplants sit comfortably at 12–16 hours, moderate intensity (40–60%), and a hanging height of 18–24 inches. They're rarely trying to flower on a schedule you control, so consistency matters more than hitting precise PPFD targets. Set your Schedule 1 to turn on when you wake up and off at night so the plant's cycle aligns with your household rhythm.
Common Mistakes and How to Fix Them
Most problems with grow lights come down to the same handful of errors. Here's how to identify and correct them.
- Leggy, stretching growth: The light is too far away or intensity is too low. Plants are reaching for more light. Lower the fixture by 2–4 inches or increase intensity by 10–15%, then wait 48 hours.
- Bleaching or pale top leaves: The light is too close or running at too high an intensity. Move it up by 3–6 inches or reduce intensity to 60–70%. Bleached leaves won't recover, but new growth should come in healthy.
- Uneven canopy (some plants thriving, others struggling): The light is off-center or the footprint is too small for the grow area. Recenter the fixture and raise it slightly to spread the coverage footprint.
- Light appearing to stay on during the OFF window: Check your controller's minimum level setting. In AC Infinity units, set the minimum level to 0 to ensure the light fully powers off during the scheduled OFF period.
- Slow growth despite correct hours: You may be hitting the right photoperiod but not enough PPFD. Try lowering the light 2 inches and running for a week before adjusting further. Also check that the full-spectrum output hasn't degraded if the fixture is older.
- Schedule not triggering correctly: Confirm the controller's internal clock is set to the correct current time. AC Infinity and TrolMaster both rely on accurate system time to execute ON/OFF schedules. A clock drift of even a few minutes per week can throw off your photoperiod over time.
- Heat stress alongside light symptoms: If the canopy feels noticeably warm when you hold your hand at plant level, the heat is compounding any light stress. Improve airflow before adjusting height, since moving the light up helps but doesn't solve a ventilation problem.
Safety, Heat, and Energy: What to Know Before You Switch It On
Full-spectrum LEDs run cooler than HID lights, but they still generate real heat, and that heat matters for both plant health and electrical safety. Mars Hydro's TS Series manuals, for example, include explicit do-not-exceed temperature limits for fixture operation. Running a light in a small, poorly ventilated space can push ambient temperatures high enough to trigger thermal shutdowns or shorten LED lifespan significantly. Keep your grow space at or below 85°F (29°C) at canopy level. If it's consistently warmer than that, add an exhaust fan before anything else.
On the electrical side, plug grow lights into a dedicated circuit or a properly rated power strip rated for continuous load. Grow lights often draw close to their rated wattage continuously during the ON window, and an undersized power strip or overloaded circuit is a fire hazard. If you're running the light 18 hours a day at 200W, that's 3.6 kWh per day, roughly $0.40–$0.65 per day at average US electricity rates, depending on your area. Factor that into your setup cost.
Quick Setup Checklist
- Set your controller's internal clock to the correct current time before programming Schedule 1.
- Enter your ON time and OFF time in Schedule 1 based on the photoperiod for your current plant stage (16h for veg, 12h for flowering, 14–16h for seedlings and houseplants).
- Set minimum level to 0 in the controller settings if you want the light fully off during the OFF window.
- Hang the light at the correct starting height for your stage: 24 inches for seedlings, 18 inches for veg, 12–16 inches for flowering.
- Set intensity to 30–50% for seedlings, 60–80% for veg, and 80–100% for flowering. Do not start at full power.
- Enable sunrise/sunset ramping if your controller supports it, or manually reduce intensity for the first 5–7 days when transitioning to a new stage.
- On day one, put your hand at canopy level after 10 minutes of running. If it feels hot, raise the light or improve ventilation before leaving it unattended.
- Check plants after 48–72 hours for stretching (light too far or dim) or bleaching/cupping (light too close or bright) and adjust height by 2–4 inches at a time.
- Confirm the grow space stays below 85°F (29°C) at plant height with ventilation running.
- Plug the fixture into a dedicated outlet or properly rated power strip, not an overloaded extension cord.
The relationship between placement and scheduling is tighter than it looks at first. If you're also working out the optimal total hours for a specific crop, the question of how long to run a grow light overall is worth digging into separately, since DLI targets change as plants mature. A quick rule of thumb is to use a photoperiod that matches the plant stage, then adjust from there using DLI and PPFD readings how often to use grow light. In general, you want to set your photoperiod so you meet the right DLI for your crop and growth stage, rather than using a one-size-fits-all number how long to run a grow light overall. And if you're specifically setting up lights for vegetables, the intensity and photoperiod needs for fruiting crops like tomatoes and peppers differ enough from leafy greens that a targeted look at vegetable-specific grow light settings is worth your time. But for getting Schedule 1 working today, the numbers and steps above are enough to get started and troubleshoot as you go. If you want to dial in the right hours and intensity, follow this guide on how to use a grow light for vegetables for stage-by-stage settings.
FAQ
Why does my light look like it stays on dimly during the Schedule 1 OFF time?
Check the controller’s “minimum level” or “dimmer” setting first. If it is above 0, Schedule 1 will keep the LEDs at that low intensity even during the OFF window, which looks like the light never truly turns off.
How do I prevent Schedule 1 from turning the light on at the wrong time (especially if my schedule crosses midnight)?
Verify the controller timezone and that the ON and OFF times are set on the same 24-hour clock format the device uses. If the schedule crosses midnight (for example ON at 8 PM, OFF at 6 AM), some controllers can interpret it differently, so confirm by watching the actual behavior for one full cycle.
If I turn on Schedule 1 and Schedule 2 together, which one controls the ramp and brightness?
Run Schedule 1 in combination with your desired dimming level only if the controller applies intensity during the ON window. If you enable multiple schedules or modes, the device may take the earlier ON and earlier OFF times across programs, which can shorten or extend the effective dimmed period.
Can I change Schedule 1 during the flowering dark period, and is it safe for photoperiod plants?
Yes, but do it deliberately. Decide whether you want a strict dark period (for photoperiod-triggered plants) or a gentler ramp. If your controller supports sunrise/sunset ramp, use it because it still respects a full dark interval, while manual “quick toggling” can create unwanted light leaks into the dark window.
Should I use Schedule 1 on the controller, or should I use a smart plug timer instead?
Use one schedule source, not multiple. For example, if the grow light has its own controller schedule, avoid also timing power through a smart plug, because power cycling can interrupt the light’s ramping and may prevent the controller from reaching stable output.
What should I do if I change brightness in Schedule 1 but plants suddenly bleach or look pale?
Re-check height after you change intensity. If you increase power, the canopy can reach your target PPFD with less distance, so staying at the same mounting height may overexpose the top growth. A practical approach is to adjust height first in small steps, then confirm PPFD (or plant response) within 24 to 48 hours.
How do I know Schedule 1 hours are truly right if my plants look mostly fine?
Don’t rely only on time, confirm DLI and PPFD at the actual canopy height, especially in early growth. Leaves adapt and can “look okay” while PPFD is still off, so validate measurements before assuming your schedule is correct.
If I don’t have a PPFD meter, how can I troubleshoot whether my Schedule 1 intensity and height are correct?
If you cannot measure PPFD, use plant cues with caution: stretching or leaning suggests too little intensity or too much distance, while curling, dark spotting, or bleaching suggests too much intensity or too close a mount. Then make small adjustments, and wait at least a day before changing again.
Does a sunrise/sunset ramp affect the dark period, and how do I ensure flowering still triggers correctly?
Most controllers allow ramps only within the ON window. To protect flowering, ensure the OFF window is fully dark and that the ramp ends before the OFF time, not during it.
If my plants stall, should I reduce hours or reduce intensity in Schedule 1?
Schedule 1 is a daily repeat, so “duration” is simply the ON minus OFF window (or the controller’s interpretation when crossing midnight). If your plants are stressed, adjust photoperiod in small increments and watch DLI changes, since cutting hours can reduce total daily light quickly even if intensity stays the same.
Next Article
LilyEve Grow Turn Ampoule How Often to Use Indoors
Find how often to use LilyEve Grow Turn Ampoule indoors, with schedules by stage, safe amounts, and fix tips for under/o