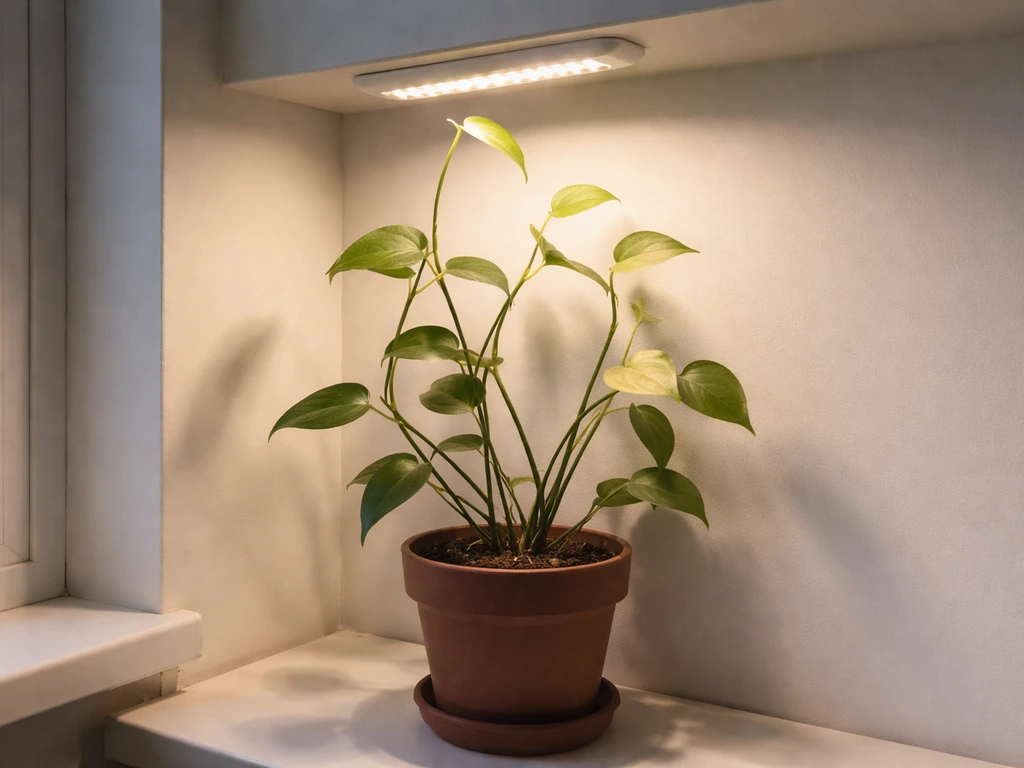
The single biggest improvement most indoor growers can make right now is adjusting light height and daily schedule, not buying new equipment. If your plants are stretching toward the light, it's too far away or on too few hours. If leaves are bleaching or curling under, the light is too close or too intense. Most LED grow light problems come down to those two variables, and once you dial them in, everything else gets easier.
LED Grow Light Tips: Choose, Set, and Troubleshoot Fast

Marcus Tillman
23 Apr 2026
How to choose the right LED grow light setup
The spec that actually matters is PPFD (Photosynthetic Photon Flux Density), measured in micromoles per square meter per second (µmol/m²/s). Ignore lumens entirely: lumens measure brightness for human eyes, not the 400–700 nm photon range plants use for photosynthesis. When you're shopping, look for a light that lists PPFD values at a specific hanging height, not just wattage.
Here are the PPFD ranges you want to hit by plant stage. These numbers come up consistently across horticultural research and commercial grower guides, so they're a solid target regardless of brand:
| Growth Stage | Target PPFD (µmol/m²/s) | Typical Use Case |
|---|---|---|
| Seedlings / Cuttings | 100–300 | Germination trays, propagation, clones |
| Vegetative growth | 300–600 | Leafy greens, herbs, houseplants in active growth |
| Flowering / Fruiting | 600–900 | Tomatoes, peppers, cannabis, heavy bloomers |
Beyond PPFD, check the coverage area listed in the spec sheet, but treat it skeptically. A light marketed as covering a 4x4 ft space at flowering intensity may only cover 3x3 ft at the PPFD you actually need. When in doubt, size up slightly rather than stretching one fixture too thin.
For spectrum, a full-spectrum white LED with some red and blue enhancement is the most versatile option for general indoor gardening. Blue-heavy spectrum works well for seedlings and compact vegetative growth. If you're specifically growing flowering plants long-term, look for a light with a stronger red component or one that lets you adjust spectrum. If you want to go deeper on fixture types and how LEDs compare to other technologies, the led grow light guide and grow lights guide sections of this site break that down in more detail. If you want a deeper fixture-by-fixture setup checklist, the led grow light guide is a helpful related option to compare against your current plan.
One more thing on buying: check that the driver and components carry a UL or ETL listing (verified by the UL mark on the driver itself, including the word LISTED and a control number). LED drivers that meet the ANSI/UL 8750 standard have been tested for electrical safety. UL notes that ANSI/UL 8750 is the relevant standard for LED equipment used in lighting products and covers important compliance and update considerations for LED driver and equipment use ANSI/UL 8750 standard. This matters more than brand name when you're running lights 12–18 hours a day in a humid growing environment.
Placement and height: getting the light where it helps
Height is the easiest dial you have. Moving a light closer doubles or quadruples intensity (roughly following the inverse square law), and moving it up drops intensity fast. Most panel-style LED grow lights have manufacturer-recommended hanging heights, and those are a good starting point, but you should adjust based on how your plants actually respond. If you want a broader look at placement, height, and intensity tradeoffs, the indoor grow light guide is a good related option to compare against your current plan.
General starting heights for a typical mid-range panel LED:
- Seedlings and clones: 24–36 inches above the canopy to keep PPFD in the 100–300 µmol/m²/s range
- Vegetative plants: 18–24 inches above the canopy
- Flowering plants: 12–18 inches above the canopy, depending on the light's output and your target PPFD
These are starting points, not hard rules. A high-output commercial fixture might need to stay 30+ inches away even during flowering to avoid bleaching. A budget bar light might need to come closer than 12 inches to hit adequate PPFD for fruiting crops. Watch the plants, not just the ruler.
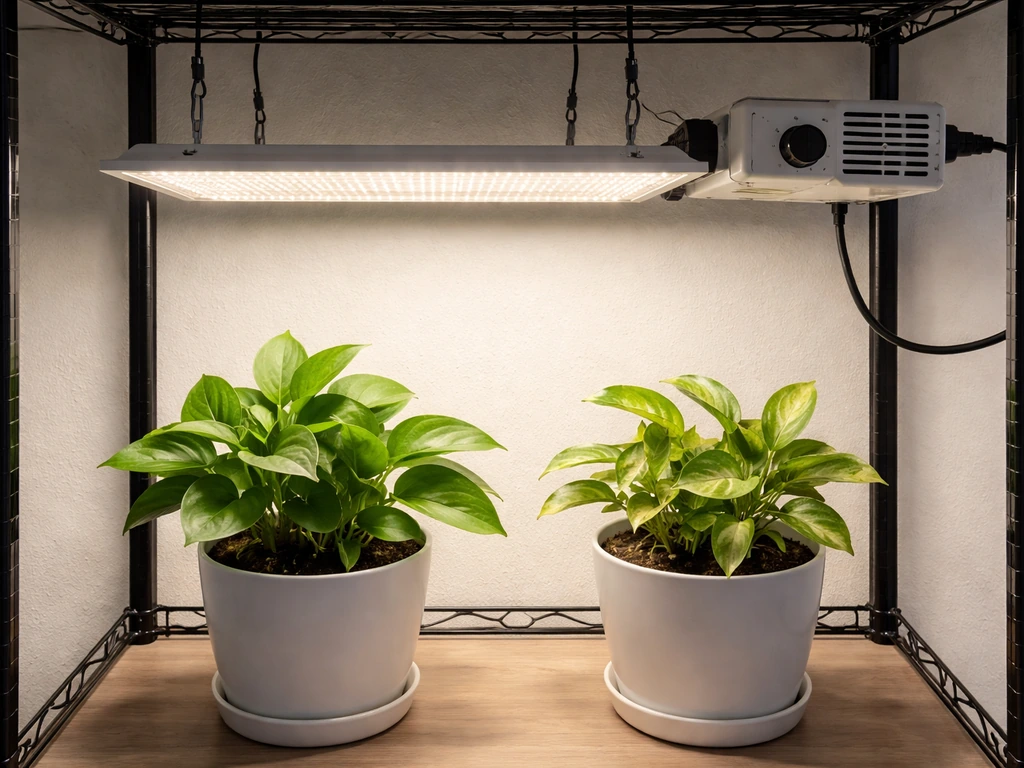
For coverage, a single panel typically illuminates a cone or rectangle of light that fades at the edges. If you're growing in a tent or reflective space, white or Mylar walls bounce lost light back into the canopy and meaningfully improve edge coverage without any additional equipment. If you're growing on an open shelf, you're losing a significant portion of your light to the room.
To check coverage evenness, take a simple lux reading with your phone (a free lux meter app works for this) at several points across the canopy at the same height. The HLG lux-to-PPFD conversion tool can help you estimate actual PPFD from those lux readings. You're looking for reasonably consistent readings across the center and edges. A wide variance (say, 3x brighter in the center than the corners) means you either need to raise the light, add a second fixture, or rearrange plants to put the most light-hungry ones in the center.
Setting intensity and avoiding common mistakes
If your light has a dimmer, don't default to 100%. Most plants don't need maximum intensity, and running full blast creates unnecessary heat and can damage plants that haven't been acclimated. Start at 50–75% intensity and raise it gradually over one to two weeks. This matters because jumping from low natural light (or darkness) straight to high PPFD can cause photoinhibition, where photosystem II in the plant becomes overwhelmed and starts underperforming. You'll see it as yellowing, pale patches, or stalled growth even under what should be good light.
The most common intensity mistakes worth avoiding:
- Running full intensity on seedlings: they only need 100–300 µmol/m²/s and extra intensity just causes stress or heat damage
- Not adjusting intensity when you lower the light: if you move the fixture 6 inches closer, either dim it or watch for burn signs
- Using wattage as a proxy for intensity: a 100W blurple panel and a 100W quality full-spectrum bar are not equivalent at the canopy
- Ignoring hot spots: the center of many LED panels is significantly brighter than the edges, so rotate plants weekly if they're all under one fixture
- Never checking the canopy temperature: if the top leaves feel noticeably warm to the touch, your light is too close or the room is too warm
On heat: quality LED fixtures run much cooler than HPS or T5s, but they still produce heat, especially at full power. Keep ambient grow space temperature between 70–85°F (21–29°C) with the lights on. If you're seeing heat stress symptoms (upward leaf curl, crispy tips) and the canopy temperature is over 85°F, raise the light, add a small fan for air circulation, or dial down the dimmer.
Daily schedule and photoperiod timing tips
The concept behind scheduling LED grow lights is DLI: Daily Light Integral. DLI is the total amount of PAR photons delivered to a plant over a full day, expressed in mol/m²/day. It combines PPFD (intensity) and photoperiod (hours on) into one number. You can hit the same DLI with a brighter light on fewer hours, or a dimmer light on more hours. Both approaches work.
Here's the practical takeaway from DLI: if your light is mounted higher or running at lower intensity, you need to run it longer each day to hit the same total light dose. UNH Extension tested a commercial LED bar mounted 20 inches above seedlings and found it needed roughly 16 hours per day at that height to deliver an adequate seedling DLI. Drop the same light to 10 inches and you'd need fewer hours. This is why height, intensity, and schedule are all connected.
Recommended daily photoperiods by plant type:
| Plant Type / Stage | Lights On Per Day | Notes |
|---|---|---|
| Seedlings | 14–18 hours | More hours compensate for lower intensity or higher mounting |
| Vegetative herbs and greens | 14–16 hours | Most prefer a true dark period |
| Tropical houseplants | 12–14 hours | Many are adapted to consistent 12-hour tropical days |
| Long-day flowering plants | 16–18 hours | Need extended light to initiate or sustain bloom |
| Short-day flowering plants | 12 hours on / 12 hours off | Any light leak during the dark period can interrupt flowering |
Use a mechanical or digital outlet timer. Manual schedules drift, and inconsistent light cycles are one of the most underrated causes of slow growth and delayed flowering. Set your timer and leave it alone. One caution: DLI above 20 mol/m²/day can cause tip burn in sensitive varieties like butterhead lettuce, so more light is not always better for delicate crops.
For photoperiod-sensitive flowering plants, light discipline during the dark period is critical. Even a brief light leak from a phone screen, a cracked door, or a status LED can disrupt the flowering trigger. If you're growing in a tent, check the zipper seams for light leaks with the tent closed and the room dark.
Troubleshooting: stress signals, dimming issues, heat, and coverage
Plants tell you a lot if you know what to look for. Here's a quick diagnostic guide for the most common LED-related problems:
| Symptom | Likely Cause | Fix |
|---|---|---|
| Stretching / leggy stems | Light too far away, too dim, or too few hours | Lower the light, increase intensity, or add daily hours |
| Pale yellow or white patches on upper leaves | Light too close or PPFD too high (bleaching / photoinhibition) | Raise the light or dial down the dimmer |
| Upward leaf curl on top leaves | Heat stress or intensity too high | Raise the light, add airflow, check canopy temperature |
| Slow growth across the whole plant | DLI too low: not enough total daily light | Increase hours, lower the light, or raise intensity gradually |
| Uneven growth (tall center, flat edges) | Hot spot in center of coverage, edges underlit | Raise light to spread beam, rotate plants, add reflective walls |
| Flowering stalls or won't start | Wrong photoperiod for plant type, or light leaks during dark | Check timer, verify correct schedule, inspect for light leaks |
| Crispy leaf tips | High DLI on sensitive crops, or heat stress | Reduce hours slightly or raise the light |
On dimmer issues specifically: if your LED driver has a dimmer and the light flickers at low settings, that's usually a driver compatibility issue rather than a bulb problem. Some budget drivers don't dim smoothly below 30–40% capacity. If you need lower intensity for seedlings, try raising the fixture height instead of pushing the dimmer to its minimum.
Glare is worth mentioning for home setups. Looking directly at grow lights, even briefly, is uncomfortable and potentially harmful. If your grow area is in a shared living space, angle the light slightly or use a tent to contain the glare. This is a comfort and safety issue, not just an aesthetic one.
Plant-type specific guidance: seedlings, houseplants, and flowering crops
Seedlings
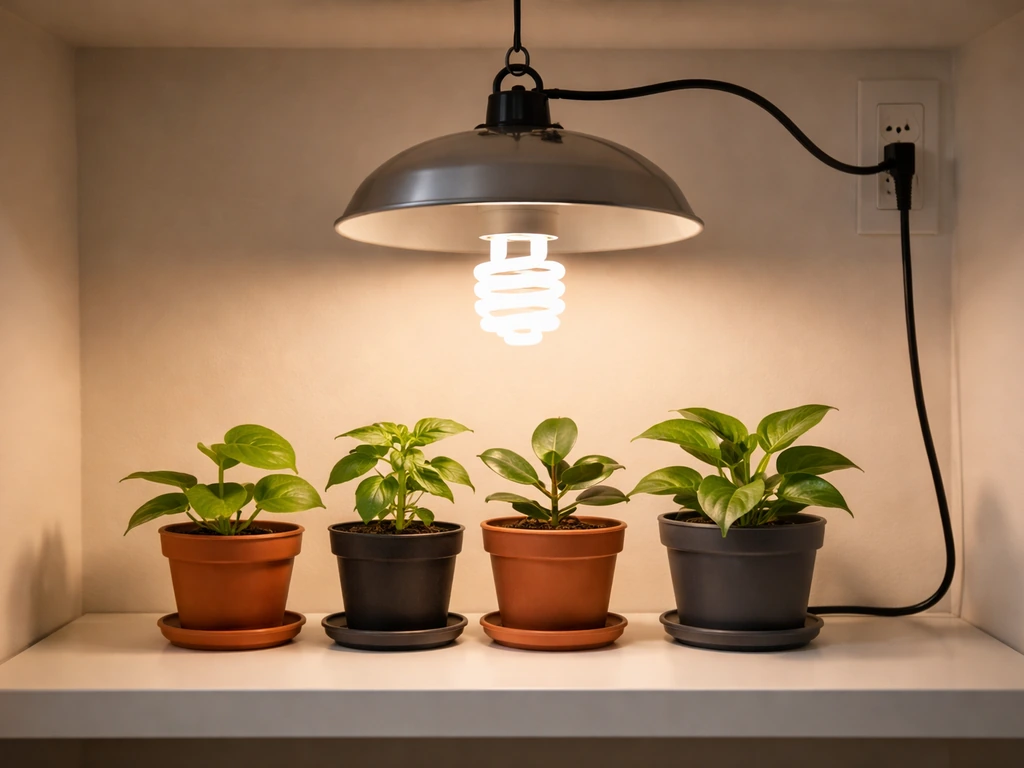
Seedlings need gentle, consistent light, not high intensity. Start with 100–200 µmol/m²/s and a 16-hour photoperiod. Blue-heavy spectrum keeps seedlings compact and prevents the stretching that makes transplanting harder. Keep the light high enough that you never see pale or bleached cotyledons (first seed leaves). As they develop true leaves and you move toward transplant, you can gradually increase intensity to ease the transition to brighter conditions.
Houseplants
Most tropical houseplants (pothos, monsteras, peace lilies, ferns) are adapted to lower light conditions and do fine at 100–250 µmol/m²/s for 12–14 hours a day. The goal for houseplants under grow lights is usually supplemental support through darker months, not maximum growth. A simple full-spectrum bar light on a timer at moderate intensity is all most houseplants need. Succulents and cacti are the exception: they want higher PPFD, 300–500 µmol/m²/s, and can handle 14–16 hours if needed.
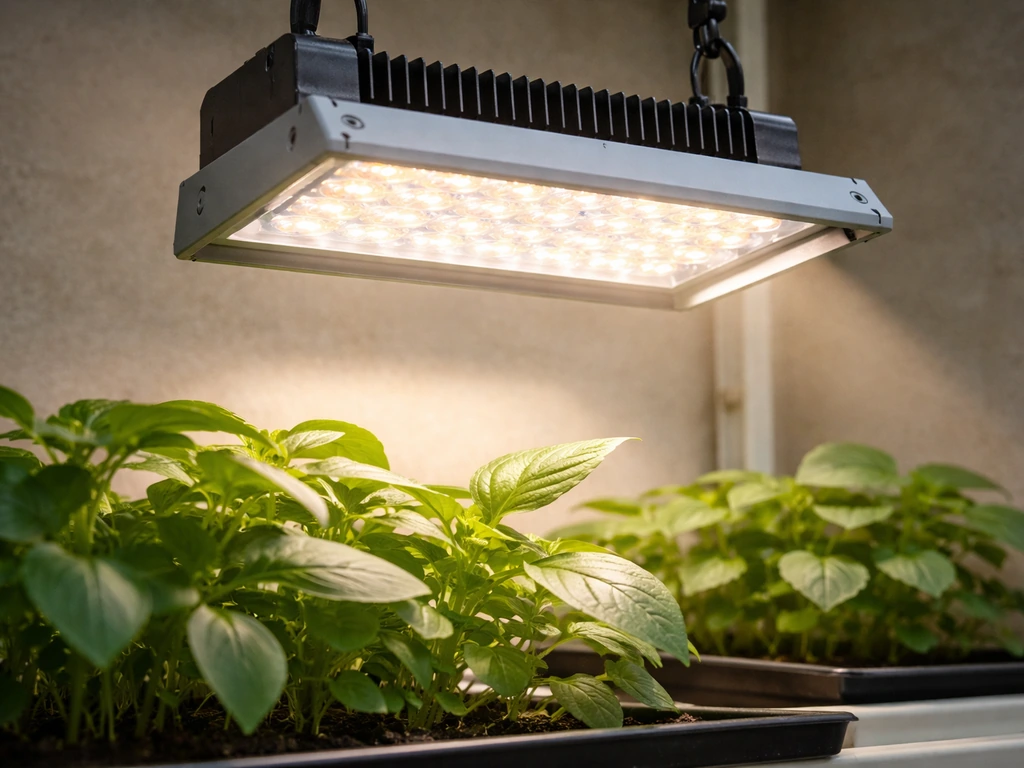
Flowering and fruiting crops
Tomatoes, peppers, cannabis, and similar crops are the most light-hungry plants you'll grow indoors. They want 600–900 µmol/m²/s during flowering, which means a higher-output fixture, closer placement, and careful heat management. Proper thermal management from your fixture actually allows closer placement without damage, since a well-cooled LED panel runs much cooler at the lens than a cheaper one. For these crops, a PAR meter (or the Photone app with a diffuser) is worth using to verify you're actually hitting target PPFD across the full canopy, not just in the center.
Maintenance and measuring success
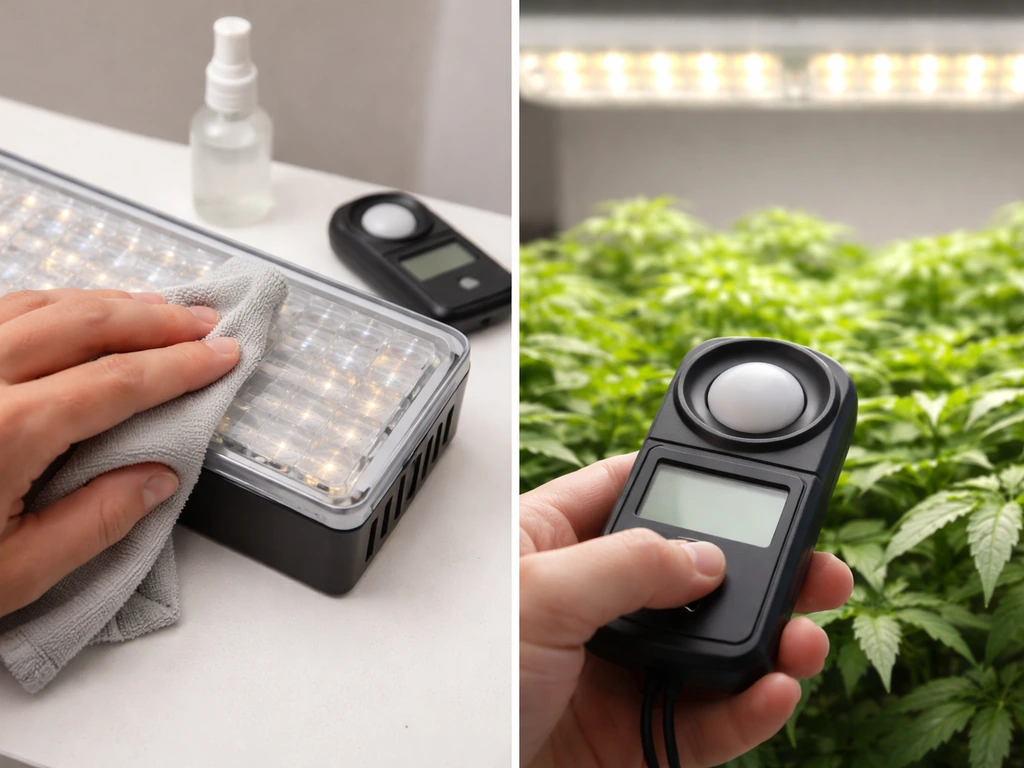
LED fixtures are low-maintenance but not zero-maintenance. Dust and debris on the lens or diffuser can meaningfully reduce the light output that reaches your plants, and lens clouding is a real issue in humid grow environments. Every few weeks, wipe down the light panel with a soft dry cloth when the light is off and cooled down. Check the driver (the brick-shaped component) for dust buildup around ventilation slots and clean it gently. Inspect the lens for any clouding or residue.
Over time, LED output does decline gradually, a process called lumen depreciation. A fixture running at full power for two or three years may be delivering noticeably less PPFD than it did when new, even if it still looks bright to your eyes. This is why it's worth doing a quick spot-check with a lux meter or PAR app every few months, especially if your plants seem to be growing more slowly than usual despite no other changes.
To measure success simply and without expensive tools, check three things:
- Internode spacing: healthy vegetative plants should have tight, compact node spacing. Wide gaps between leaves on the same stem mean the plant is stretching for more light.
- Leaf color: deep green, glossy leaves in most species indicate good light and nutrition. Pale green or yellow upper leaves under grow lights usually point to intensity problems.
- Growth rate: keep a loose journal of plant height or canopy diameter week to week. A vegetative plant under good LED coverage should show visible new growth every 5–7 days.
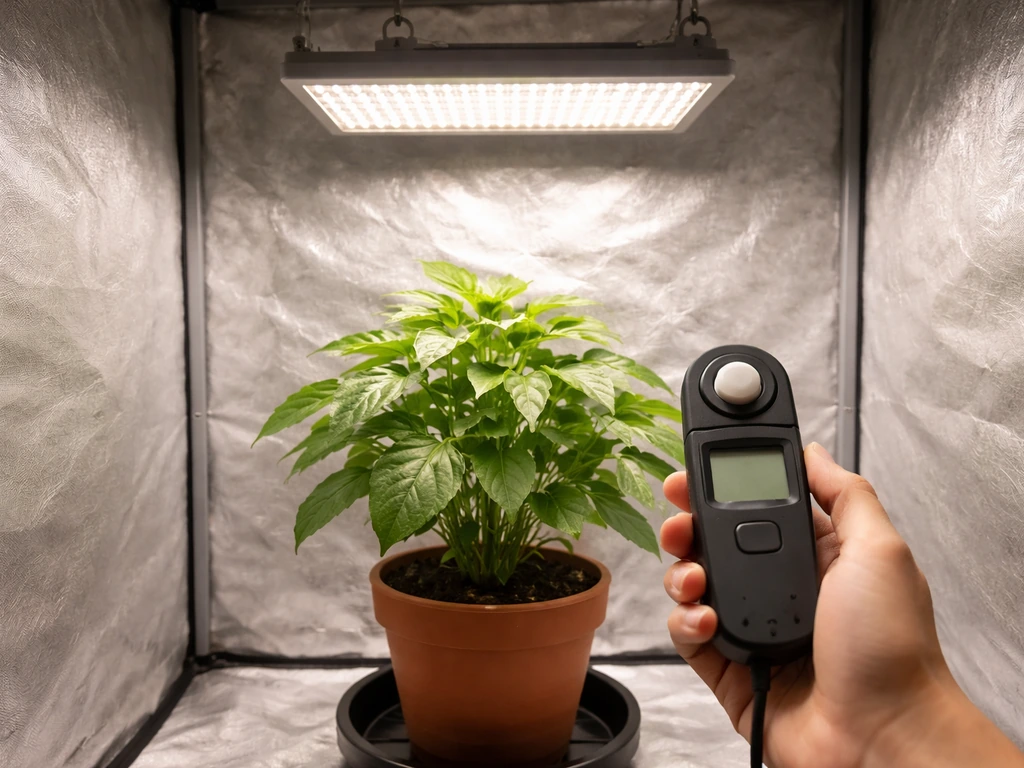
If you want to go further, the Photone app (with the required diffuser for accuracy) gives you a real PPFD reading with just your phone. It's not as precise as an Apogee quantum sensor, but it's accurate enough to confirm you're in the right ballpark and that your coverage is reasonably even. Take readings at the center and at four corners of your canopy at the same height and compare them. If the edges are less than half the center reading, raise the light or add reflective material to the walls.
LED grow lights are genuinely one of the more forgiving technologies for indoor growing once you understand a few core principles. If you want the full explanation behind how grow lights work, use this grow light explained guide to connect the specs to what your plants actually see. Get your PPFD range right for the plant stage, set a consistent timer, keep the light at the right height, and check your plants every few days. If you want a deeper, start-to-finish overview of fixture choices and setup, this cfl grow lights guide is a useful related option to compare against your LED plan. Most problems show up early and are easy to correct before they do serious damage. Start simple, watch the plants, and adjust from there. If you still have questions after dialing in height, schedule, and PPFD, see the led grow lights faq for common troubleshooting and setup details.
FAQ
Can I rely on wattage instead of PPFD when choosing led grow light tips for my setup?
Yes, but only if you keep the key variables consistent. Use the same hanging height and photoperiod when comparing, and compare PPFD at your canopy level (not headline wattage). If the fixtures use different beam angles or lens designs, their edge PPFD can vary a lot even when center PPFD looks similar.
When should I re-measure PPFD after changing light height or intensity?
A good rule is to measure after the plants have fully adjusted to the current height and dimmer for 3 to 7 days, because symptoms can lag behind the light change. Then verify PPFD at the canopy at the same time of day each check, so heat and plant water status do not skew your readings.
What should I do if my LED grow light flickers when dimmed low?
If your dimmer reduces output but causes flicker at low settings, it can stress plants and complicate your troubleshooting. First try raising the fixture height to reach the target PPFD at a higher dimmer percentage, then re-run your schedule ramp. If flicker persists, replace the driver or choose a fixture with smoother dimming down to your needed range.
How can my PPFD be right but plants still show heat stress or bleaching?
If PPFD is correct but plants still show bleaching or edge scorching, the issue is often heat, glare, or uneven coverage. Check canopy temperature near the stressed areas, increase air circulation, and confirm the hottest spot is not directly under a hotspot lens. Also verify that your lux/PPFD readings were taken at the same height as the effective canopy.
Does using reflective walls change the PPFD and DLI targets I should aim for?
For a typical tent, yes. Reflective walls mostly help recover light that would otherwise be wasted, but they also increase the effective intensity at the edges. Recheck edge PPFD after adding reflective material, because you may be able to raise the fixture or shorten the photoperiod to stay within your target DLI.
How accurate are phone lux or Photone readings for led grow light tips?
Watch out for using a phone lux app without the right diffuser and without taking readings at equal height across the canopy. If you cannot standardize measurement conditions, use the app only for relative comparisons (center versus corners) and confirm absolute ballpark with a PAR meter when possible.
What are the most common causes of delayed flowering even when the timer is set correctly?
Start by verifying your daily schedule, then confirm that your room and tent are truly dark. Remove night lights, cover status LEDs on electronics, and check for leaks with the tent zipped and the room lights off. For photoperiod flowering plants, even brief stray light during the dark period can disrupt timing.
Is it safe to increase PPFD quickly once I dial in the light height?
Generally yes, but plan a gradual increase. If you move plants closer or raise the dimmer abruptly, photoinhibition can show up as yellowing or stalled growth even though PPFD is within the “right” range for the stage. Use a step schedule (about 10 to 20 percent PPFD increases every 3 to 4 days) and reassess after a week.
Do taller plants in the same pot need different led grow light tips for placement?
Yes, especially with plants that vary in height. The more vertical variation you have, the more uneven your canopy PPFD becomes, since LED intensity drops with height. Consider topping, trellising, or adding a second fixture so the tallest and shortest plants experience the intended PPFD band.
What’s the best way to fix uneven coverage across the canopy?
A practical approach is to measure center and corners, then adjust coverage before changing intensity. If edges are less than half the center, raise the light slightly to improve spread only if heat is not limiting, or add a second fixture and keep both at the same hanging height. Avoid just lowering the light for edge plants, because that often over-stresses the center.
How often should I clean the lens and driver for LED output consistency?
Clean on a predictable cycle, for most home grows every 2 to 4 weeks. If you run high humidity, have dust from fans, or notice lens clouding, you may need more frequent wiping. Always clean when the fixture is off and cool, and avoid solvents that can haze lenses or damage diffusers.
How do I choose between full-spectrum and blue or red enhanced LEDs for different growth problems?
Keep in mind that some “full-spectrum” fixtures can be very blue-heavy or very red-heavy in practice. If you see excessive stretching, consider adding more blue or reducing the time to ramp upward. If you see weak flowering, look for a fixture with more red and consider spectrum adjustment features if available.
Next Article
CFL Grow Lights Guide: Setup, Sizing, Safety, Troubleshooting
Step-by-step CFL grow lights guide: sizing, placement, safety, photoperiod, and fixes for weak growth and stretching.