The right grow light for your setup comes down to three things: what you're growing, how much space you have, and what stage your plants are in. Get those three answered and the rest of the decisions fall into place pretty quickly. This guide walks you through every step, from picking the right light type to dialing in your schedule and fixing problems when they show up.
Grow Lights Guide: Choose, Set Up, and Troubleshoot

Marcus Tillman
6 Apr 2026
Start here: match your light to your goal and space
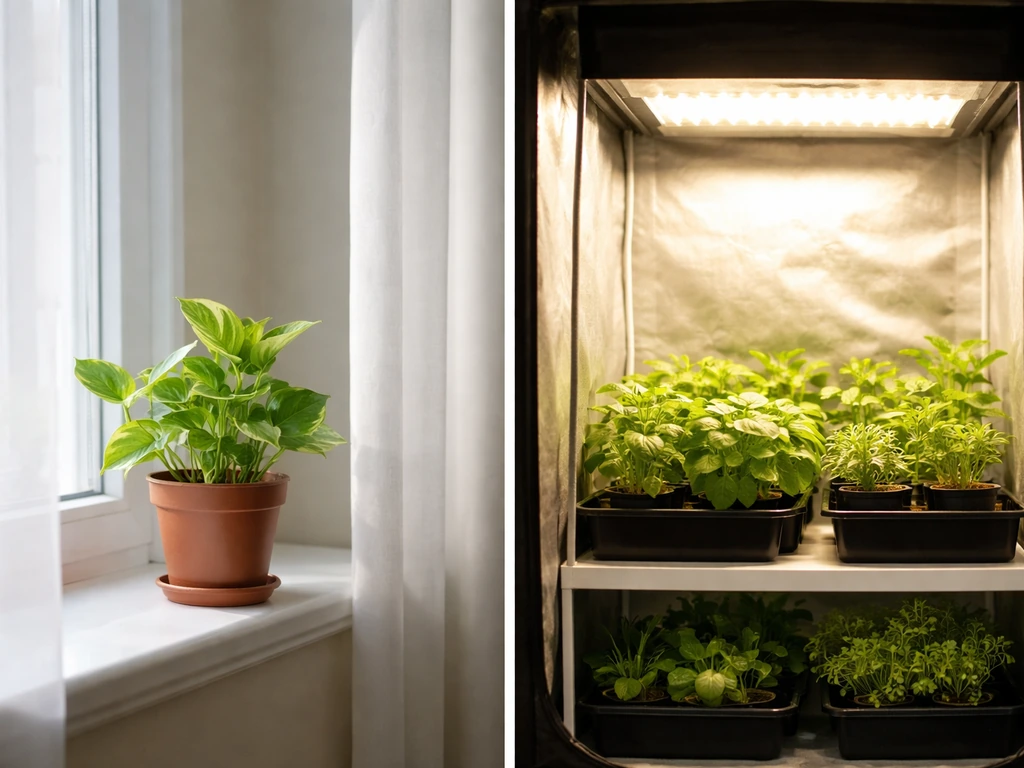
Before you look at a single product page, get clear on what you're trying to grow and where. A single pothos on a windowsill has completely different needs than a 4x4 tent full of fruiting tomatoes. These are the questions worth answering first:
- What are you growing? Seedlings and leafy greens need less intensity than fruiting herbs, peppers, or tomatoes.
- How much space do you have? Measure your grow area in square feet. A 2x2 ft shelf is 4 sq ft. A typical grow tent is 4x4 ft (16 sq ft).
- Is this a supplement to window light or the only light source? Full-replacement lighting needs longer schedules and more intensity.
- What's your budget? Entry-level LEDs start around $30–50 for small spaces; quality full-spectrum panels for a 4x4 tent run $150–400.
A good rule of thumb from Oklahoma State University Extension: plan for roughly 25 watts of actual LED power per square foot of grow space. So a 2x2 shelf (4 sq ft) needs about 100 W of true LED draw. A 4x4 tent needs around 400 W. Use that as your anchor number when shopping, and you won't end up with an underpowered light wondering why nothing's growing.
If you're just starting out and want a broader orientation on how artificial lighting works alongside natural light, the grow light explained primer is a good read before diving into specs. It covers the fundamentals without overwhelming you.
LED vs fluorescent vs HPS: which type actually makes sense
There are three main grow light technologies you'll run into, and they're not equally useful for every situation. Here's the honest breakdown.
LED (light-emitting diode)
LED is where most growers should start in 2026. Modern full-spectrum LEDs are energy-efficient, run cool, last 50,000+ hours, and cover seedlings through flowering stages well. The main caveat: cheap LEDs lie about their wattage. A light marketed as "1000W" might only draw 100 W from the wall. Always check the actual draw (sometimes listed as "true wattage" or "actual power"). The led grow light basics article goes deeper on how to read those spec sheets without getting burned by inflated claims.
Fluorescent (T5, T8, CFL)
Fluorescent lights, especially T5 panels, are excellent for seedlings, clones, and low-light houseplants. They run cool, are easy to find, and are cheap upfront. The downside is they don't penetrate the canopy well, so they're not ideal for fruiting plants or anything taller than about 12 inches. CFL bulbs (compact fluorescents) work in a pinch for single plants on a budget. If you're specifically working with fluorescents and want setup guidance, the cfl grow lights guide covers placement and scheduling for that format specifically.
HPS (high-pressure sodium)
HPS lights produce intense, penetrating light that's great for flowering and fruiting. They've been the standard in commercial growing for decades. The downsides are significant for home growers though: they run very hot (requiring ventilation), use more electricity, and the bulbs need replacing every 12–18 months. Unless you're running a large tent (4x4 or bigger) and already have ventilation sorted, HPS is probably more complexity than it's worth compared to modern LEDs.
| Feature | LED | Fluorescent (T5/CFL) | HPS |
|---|---|---|---|
| Best for | All stages, all plant types | Seedlings, clones, low-light houseplants | Flowering and fruiting, large spaces |
| Energy efficiency | High | Medium | Low |
| Heat output | Low | Low | High |
| Upfront cost | Medium–High | Low | Medium |
| Running cost | Low | Medium | High |
| Lifespan | 50,000+ hours | 10,000–20,000 hours | 12,000–24,000 hours |
| Ideal space size | Any | Small–Medium | Medium–Large |
| Canopy penetration | Good–Excellent | Low | Excellent |
For most readers here, LED is the right call. The efficiency and low heat make setup and troubleshooting much simpler, especially in smaller spaces.
The specs that actually matter (and how to read them)
Grow light marketing is full of numbers that sound impressive but don't tell you what you actually need to know. Here are the specs worth paying attention to.
True wattage
This is the actual power the light draws from the wall, not a "equivalent" or "marketing" wattage. It's the number that lets you calculate energy costs and coverage. If a product page doesn't list true draw watts, skip it or dig deeper into the specs before buying.
Spectrum and color temperature
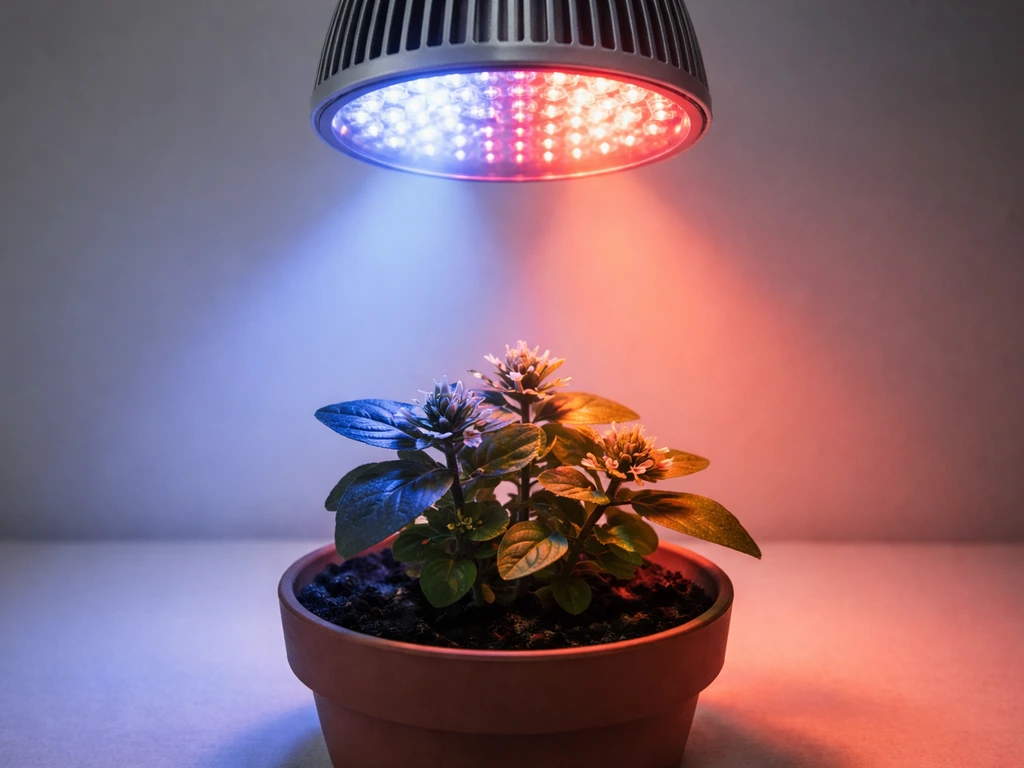
Plants use blue light (around 400–500 nm) for vegetative growth and red light (630–700 nm) for flowering and fruiting. A "full-spectrum" LED covers both, which is why it works across stages. Color temperature in Kelvin is a rough guide: 5000–6500K (cool white/blue-white) is better for seedlings and leafy growth; 2700–3000K (warm white) leans toward flowering. Most quality full-spectrum LEDs include both ranges, so you don't need to swap fixtures between stages.
PPFD and DLI
PPFD (photosynthetic photon flux density) measures how much usable light actually hits your plant canopy, expressed in micromoles per square meter per second (µmol·m−2·s−1). This is the most honest measure of light intensity at the plant level. [DLI (daily light integral) combines PPFD with the number of hours the light runs](https://www. pubs.
ext. vt. edu/content/dam/pubsextvt_edu/spes/spes-720/SPES-720. pdf), giving you total light delivered in a day.
Virginia Tech Extension gives a clear example: a PPFD of 200 µmol·m−2·s−1 running for 16 hours per day adds up to a meaningful DLI that you can use to hit target ranges for different plant types. Low-light houseplants thrive around a DLI of 5–10; seedlings want 10–15; fruiting plants often need 20–30 or higher. For a deeper look at how to apply these numbers, the indoor grow light guide walks through practical DLI targets by plant category.
Coverage area
Manufacturer coverage claims are almost always made at a specific hanging height and assume uniform distribution, which rarely happens in practice. Use the 25 W per square foot rule as your reality check. A light claiming to cover 4x4 ft but only drawing 120 W from the wall is undersized for that area for anything other than seedlings.
Dimming capability
A dimmable light is a genuine advantage. It lets you run at lower intensity for seedlings (which burn easily at full power) and ramp up as plants mature. It also gives you a way to fix minor heat and intensity issues without moving the fixture. Not essential, but worth the small premium.
Placement, height, and spacing for real results
Getting the placement right matters as much as picking the right light. Too close and you burn leaves; too far and plants stretch toward the light and grow weak. Here's how to approach it.
How high to hang your light
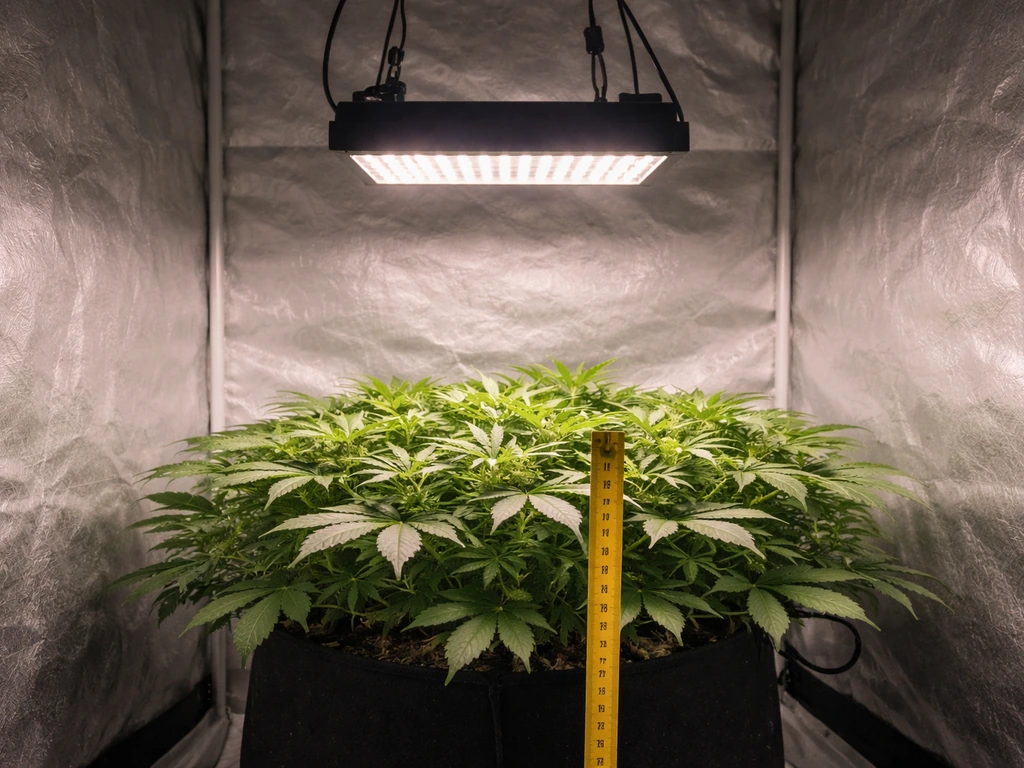
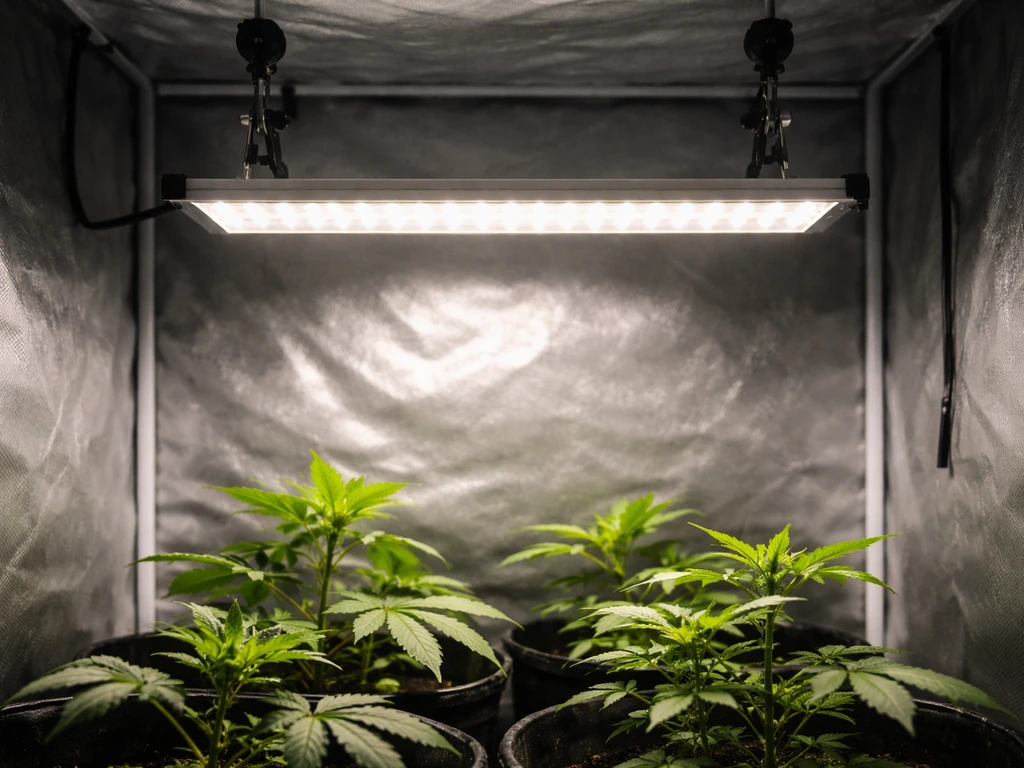
Oklahoma State University Extension points to roughly 16 inches from the canopy as a common starting distance for LED fixtures, though this varies by light intensity. As a general guide: seedlings do well with LEDs hung 24–30 inches above the tray (or dim the light if you can); vegetative plants prefer 18–24 inches; fruiting plants under high-output LEDs can handle 12–18 inches once established. Always check the manufacturer's chart for your specific fixture, then use the hand test: hold your hand at canopy level for 30 seconds. If it feels uncomfortably warm, raise the light.
Spacing and coverage
Single plants or small clusters are easy, but when you're filling a shelf or tent, even coverage matters. Light intensity drops off toward the edges of any fixture's beam. If you're using a reflector-style light, the beam angle (often 90–120 degrees) determines how wide the footprint is at a given height. Wider angles spread light thinner; narrower angles concentrate it. For shelves, positioning one fixture centered above the tray works for most setups under 2x2 ft. For 4x4 tents, a single high-output panel centered at the right height usually covers the footprint if it's sized correctly. Multiple smaller lights on a shelf should be evenly spaced, not clustered in the center.
Reflective surfaces help more than you'd think
If you're growing on a shelf or in a cabinet, lining the walls with white foam board or Mylar reflective sheeting can bounce 80–95% of stray light back onto your plants. It's a cheap upgrade that effectively gives you more usable light from the same fixture. Grow tents already have this built in, which is one of their underrated advantages.
How long to run your lights: schedules and photoperiods
The number of hours your light runs each day is just as important as the intensity. This is called the photoperiod, and getting it right depends on what you're growing and what stage it's in.
Recommended schedules by plant type
- Low-light houseplants (pothos, ferns, snake plants): 10–12 hours per day
- Medium-light houseplants and herbs (basil, mint, lettuce): 14–16 hours per day
- Seedlings and clones: 16–18 hours per day
- Vegetative fruiting plants (tomatoes, peppers): 16–18 hours per day
- Flowering/fruiting stage: 12 hours per day (triggers flowering in many species)
University of Missouri Extension recommends 16–18 hours of daily light for houseplants that receive little or no outdoor light. That range covers most indoor setups where the grow light is the primary source. If your plants get some window light too, you can trim the supplemental light schedule down by a few hours. Plants also need a dark period, so don't run lights 24/7 thinking more is better. It stresses most plants and disrupts their natural cycles.
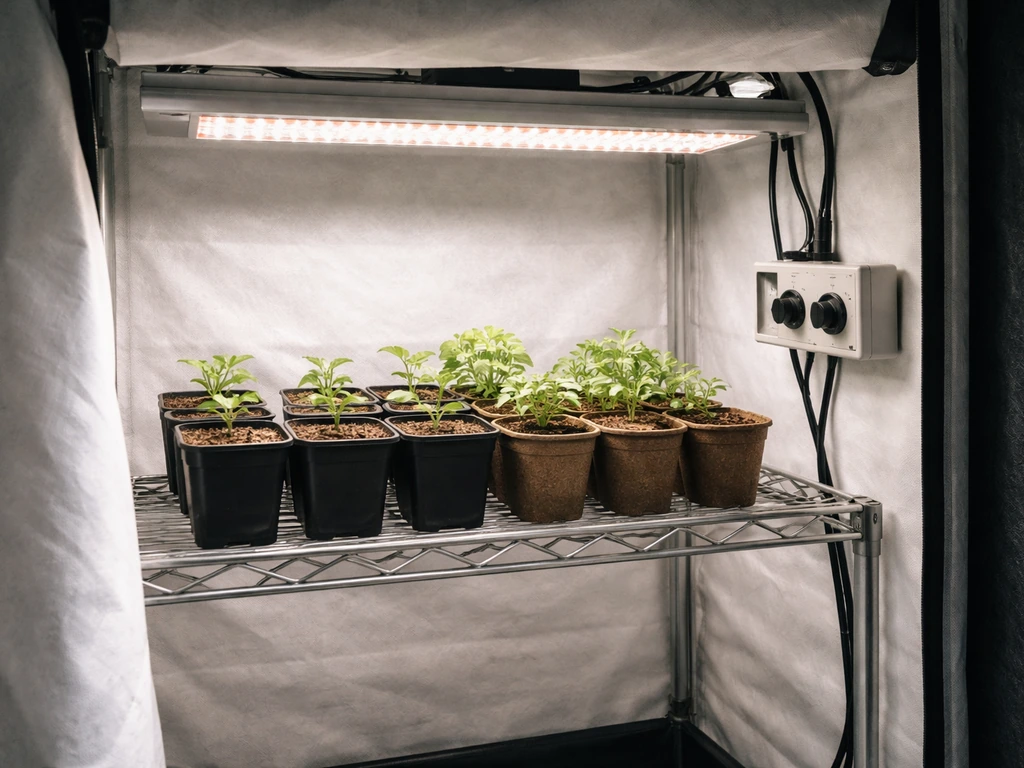
Use a timer, not your memory
A basic plug-in mechanical timer costs under $10 and is one of the most important things you can add to any grow setup. Inconsistent light schedules stress plants and produce uneven results. Set your timer to match your target photoperiod and don't touch it unless you're intentionally changing stages. Digital timers with multiple on/off settings are useful if you want to run lights during daytime hours for aesthetics or temperature management. For more scheduling strategies and how to use dimmers alongside timers, the led grow light tips article has practical advice on combining those tools effectively.
Photoperiod and DLI together
Remember that photoperiod affects your DLI. If your light is at a lower PPFD (say 150 µmol·m−2·s−1), you can compensate by running it longer. If it's high-output and close to the canopy, a shorter schedule might be enough. This is why a dimmable light gives you so much flexibility: you can hit your DLI target by adjusting either intensity or duration rather than physically moving the fixture every time.
Buying checklist: what to get, what to skip, and what to budget
Use this checklist before pulling the trigger on any light. It works for beginners buying their first fixture and for anyone upgrading an existing setup.
Before you buy: confirm these
- Measure your grow space in square feet. Multiply by 25 to get minimum true wattage needed.
- Check the listing for actual draw watts (wall watts), not equivalent or claimed watts.
- Look for a PPFD map or coverage chart showing intensity at your intended hanging height.
- Confirm the spectrum: full-spectrum (with both blue and red coverage) for most uses.
- Check if the fixture is dimmable — especially important for seedlings.
- Verify the hanging hardware is included or budgeted separately.
- Read reviews specifically for heat complaints — a hot LED at close range will damage plants.
- Budget for a timer separately if the fixture doesn't include one.
What to avoid
- Any light that only lists "equivalent" or "replaces X watts" without specifying actual draw.
- Blurple (purple/red-blue only) LEDs — full-spectrum is more versatile and easier to diagnose problems under.
- Cheap lights with no brand support or return policy — if a diode fails early, you're stuck.
- Oversized lights in small spaces without dimming — you'll have no way to reduce intensity for seedlings.
- Lights with no listed PPFD or coverage data — you can't verify if they'll actually work for your plants.
Budget ranges to expect
| Budget Range | What You Get | Best For |
|---|---|---|
| $20–50 | Small LED panels or CFL setups, 40–80 true watts | Single houseplants, herb seedlings, small shelves |
| $60–120 | Entry full-spectrum LED bars or panels, 100–150 true watts | 2x2 shelves, seedling trays, low-light herbs |
| $150–250 | Mid-range full-spectrum LEDs with dimming, 200–300 true watts | 3x3 tents, vegetative herbs, medium shelf setups |
| $300–500+ | Quality full-spectrum LEDs with PPFD data, 400–600 true watts | 4x4 tents, fruiting plants, serious indoor growing |
If you're still trying to figure out which features matter most for your specific use case, the led grow light guide breaks down feature prioritization by plant type and setup, which is useful when you're comparing two or three shortlisted fixtures.
Troubleshooting: what's going wrong and how to fix it
Most grow light problems have one of three causes: too much light, too little light, or wrong timing. Here's how to diagnose and fix the most common issues.
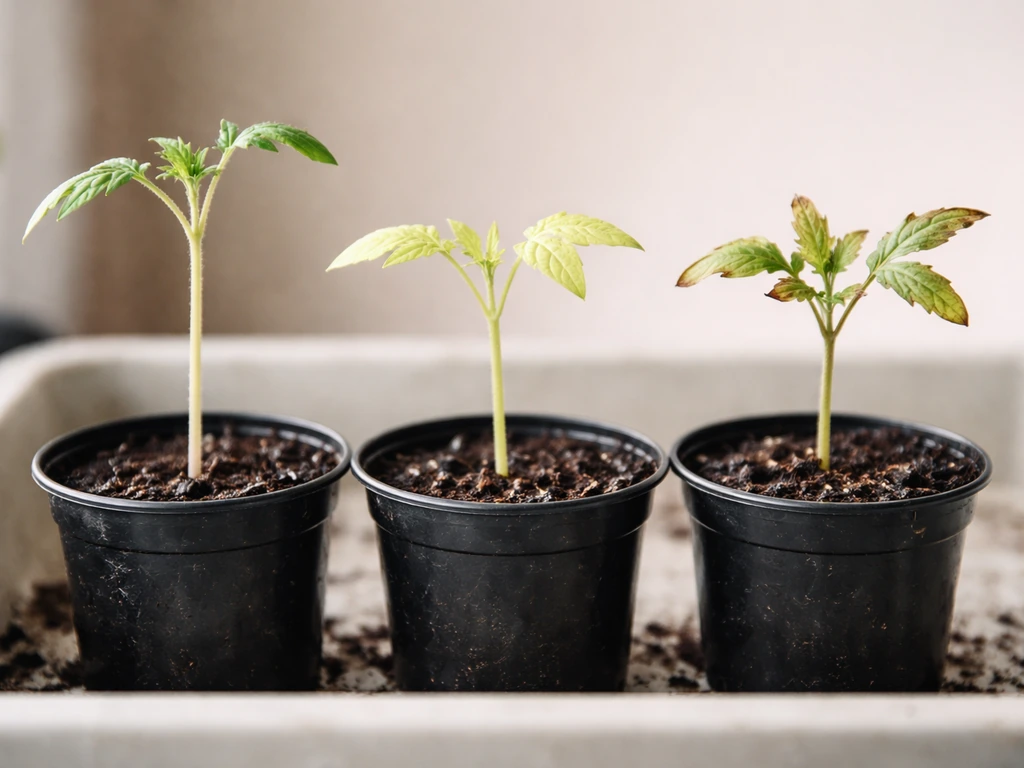
Leggy, stretched plants
If your seedlings or young plants are growing tall and spindly with long gaps between leaf nodes, they're not getting enough light intensity. Either your light is too far away, too underpowered for the space, or running for too short a schedule. Fix: lower the light by 2–4 inches at a time, increase schedule by 1–2 hours, or both. Check that your fixture's true wattage is adequate for the grow area using the 25 W/sq ft rule.
Pale new growth or yellowing leaves
This can signal light deficiency (especially in new growth at the top of the plant), but also check for nutrient issues first since pale leaves are a common sign of nitrogen deficiency too. If the rest of your growing conditions are dialed in, try increasing light intensity or extending your schedule by 2 hours. If you're already at 16–18 hours, focus on reducing the hanging distance instead.
Burnt, bleached, or crispy leaf tips
Light burn shows up as bleached or yellowed patches on the top leaves closest to the fixture, or crispy brown leaf tips. The fix is to raise the light by 3–4 inches and see if new growth comes in healthy over the following week. If you have a dimmable light, reduce intensity to 70–80% rather than physically moving the fixture. Don't try to fix heat burn by shortening the photoperiod, distance and intensity are the right levers here.
Slow or stalled growth
Slow growth with otherwise healthy-looking plants usually means your DLI is too low. Either your PPFD is too weak for the plant's needs or the schedule is too short. Cross-check your setup: measure or estimate PPFD at canopy level (many fixture manufacturers publish PPFD maps) and multiply by your photoperiod hours. If your DLI is below the target for your plant type, extend the schedule or lower the fixture. The led grow lights faq covers common slow-growth scenarios with specific adjustments depending on plant type.
Algae, mold, or damping-off near seedlings
This isn't directly a light problem, but light duration and placement contribute. Running lights too long (over 18 hours) can keep humidity elevated in a closed space. Poor air circulation combined with high light intensity near soil creates warm, moist conditions that mold loves. Fix: reduce the schedule to 16 hours maximum, ensure you have a small fan moving air, and avoid misting the soil surface. Keep your light height consistent so intense hotspots don't concentrate heat at the soil level.
Quick diagnostic reference
| Symptom | Likely Cause | First Fix |
|---|---|---|
| Tall, spindly stems | Too little light intensity or duration | Lower fixture 2–4 inches or extend schedule |
| Pale or yellowing new growth | Light deficiency (or check nutrients) | Increase intensity or add 2 hours to schedule |
| Bleached/crispy top leaves | Light too close or too intense | Raise fixture 3–4 inches or dim to 70–80% |
| Slow growth, healthy color | DLI too low | Extend photoperiod or lower fixture height |
| Mold near soil surface | Heat/humidity buildup | Reduce schedule, improve airflow |
| Uneven growth across tray | Poor light distribution | Center fixture, add reflective walls, check beam angle |
Your next steps
If you're starting from scratch: measure your space, apply the 25 W/sq ft rule to shortlist fixtures, pick a full-spectrum LED with dimming capability, grab a plug-in timer, and start with the light 24 inches above your canopy. Run 16 hours for seedlings and vegetative growth, check plants after the first week, and adjust height or schedule based on what you see. Most indoor grow setups take one to two weeks of small adjustments before they're dialed in, so don't panic if the first week isn't perfect.
If you're upgrading an existing setup: start with the troubleshooting table above to identify what's going wrong, then work backward to figure out if the issue is fixture size, placement, or schedule. Often it's a combination of light being too far away and the schedule being too short, which is an easy fix without buying anything new.
For anyone who wants to go further into advanced scheduling, spectrum optimization, and multi-stage setups, the indoor grow light guide expands on the principles covered here with more detail on managing multiple fixtures and larger growing areas. Start simple, observe your plants closely, and adjust one variable at a time. That's genuinely the fastest way to grow well indoors.
FAQ
How do I know if a “full-spectrum” LED actually has the blue and red coverage my plants need?
Look for published emission details, not just the label. Ideally the specs mention separate output bands or a spectrum chart, and they specify both a cooler white (often 5000 to 6500K) and warmer white (often 2700 to 3000K) component. If the page only says “full spectrum” with no spectrum or no Kelvin breakdown, treat it as a risk and rely more on PPFD/DLI or verified measurements instead.
Is 25 watts per square foot always the right number for LED grows?
It’s a starting anchor for typical LEDs, but it can overshoot or undershoot depending on fixture efficiency, optics, and how evenly the light spreads. If your plants show persistent stretching, you likely need more real output at the canopy. If you see consistent leaf bleaching at the top edges, you may be overdoing intensity even if watts per square foot looks correct.
What if my plant is taller than the “recommended hanging height” for the fixture?
Plan for the plant to grow into the light rather than expecting a fixed distance forever. Use either a dimmable fixture you can lower early and ramp, or a schedule where you start at a safer distance and reduce height gradually. If you cannot adjust the height, choose a fixture designed for that grow height, or use multiple fixtures to avoid a hot spot near the top canopy.
Can I use one light for seedlings and later flowering plants without changing anything?
You often can, but only if the fixture is strong enough and you can dim it. Seedlings are more sensitive to high intensity, so running the same fixture at full power can cause stress even if it works later. A practical approach is dim to a safer level for the first week or two, then increase intensity or reduce distance as plants establish.
Do I need to worry about light “color temperature” if I’m already using a full-spectrum LED?
Color temperature still matters as a clue to the balance of cooler versus warmer components, but it doesn’t replace PPFD/DLI. Two fixtures with the same Kelvin rating can deliver very different usable intensity at the canopy. Use Kelvin to sanity-check the blend, then confirm performance via PPFD maps, real draw watts, and how plants respond.
My light is dimmable, should I adjust by intensity or by extending the schedule?
If you can choose, start by using intensity changes for fine-tuning and keep photoperiod near the plant’s typical range to avoid excess heat and humidity issues. Extending hours can help reach DLI when intensity is limited, but running far beyond common indoor photoperiods can create more mold and algae risk in enclosed spaces. A good rule is to adjust one lever at a time and watch leaf color, spacing between nodes, and any signs of tip burn over a week.
What photoperiod should I use if I have some natural window light too?
Treat the grow light as supplementation, then shorten the artificial hours so total daily light stays in the right range. Practically, start with a slightly reduced schedule and observe for stretching or darkening. If plants are getting longer gaps between nodes, increase grow light time modestly. If leaves bleach or curl toward the light, reduce hours first before changing height.
Is the hand-on-canopy “warmth test” reliable?
It’s a useful quick check, but it’s not precise because LED warmth varies by fixture design and ambient temperature. Use it as a trigger to raise or dim the light when you feel uncomfortably warm conditions at canopy level. If you want accuracy, rely on manufacturer height guidance and, ideally, measured PPFD at the canopy.
How often should I replace LED fixtures, and what about LEDs “degrading”?
LEDs don’t usually need replacement like HPS bulbs, but output can slowly decline over time. Instead of replacing on a calendar, watch for performance drift, especially if you notice slower growth even when your schedule and height are unchanged. If you can, periodically re-check PPFD or compare plant response to earlier batches, then adjust intensity or height if necessary.
What should I do if only the center of my plants looks healthy and the edges look pale or stalled?
That pattern usually means the fixture’s distribution is uneven or the footprint is smaller than you think. Confirm your spacing and mounting height, then verify whether you truly sized the light for the entire growing area. For shelves, a centered single fixture is fine for small trays, but for larger areas or angled reflectors you may need multiple evenly spaced lights rather than one light for everything.
How do I estimate DLI if I don’t have PPFD numbers from the manufacturer?
Without PPFD you are guessing, but you can still make an educated move by focusing on real draw watts, height, and plant response over a week. If you can’t find PPFD maps, consider borrowing or buying a basic PPFD meter for a one-time calibration at canopy level. Once you have even one PPFD reading for your exact setup, you can compute DLI using your photoperiod and then adjust confidently.
Can too much light look like “nutrient issues,” and how can I tell the difference?
Yes. Light stress often shows up as bleaching, crispy tips, or damage concentrated near the top canopy, while deficiencies usually start with gradual pale growth patterns and often affect new leaves. A fast diagnostic is to adjust only light distance or intensity for several days and see if the pattern changes in new growth. If you see immediate improvement after correcting light exposure, it was likely intensity related rather than soil nutrition.
What’s the biggest mistake people make when setting up their first grow light?
Most beginners either skip the true wattage check or they assume the coverage claim matches their actual hanging height. The fix is to shortlist based on actual draw power, then confirm the height and distribution, and start slightly more conservative on intensity for the first week. After you observe node spacing and leaf color, you can dial up rather than starting too strong and trying to recover stressed plants.
Next Article
Innova Grow Light Instructions: Setup, Use, and Troubleshooting
Step-by-step Innova LED grow light instructions: setup, mounting, distance, schedules, intensity, and fast troubleshooti