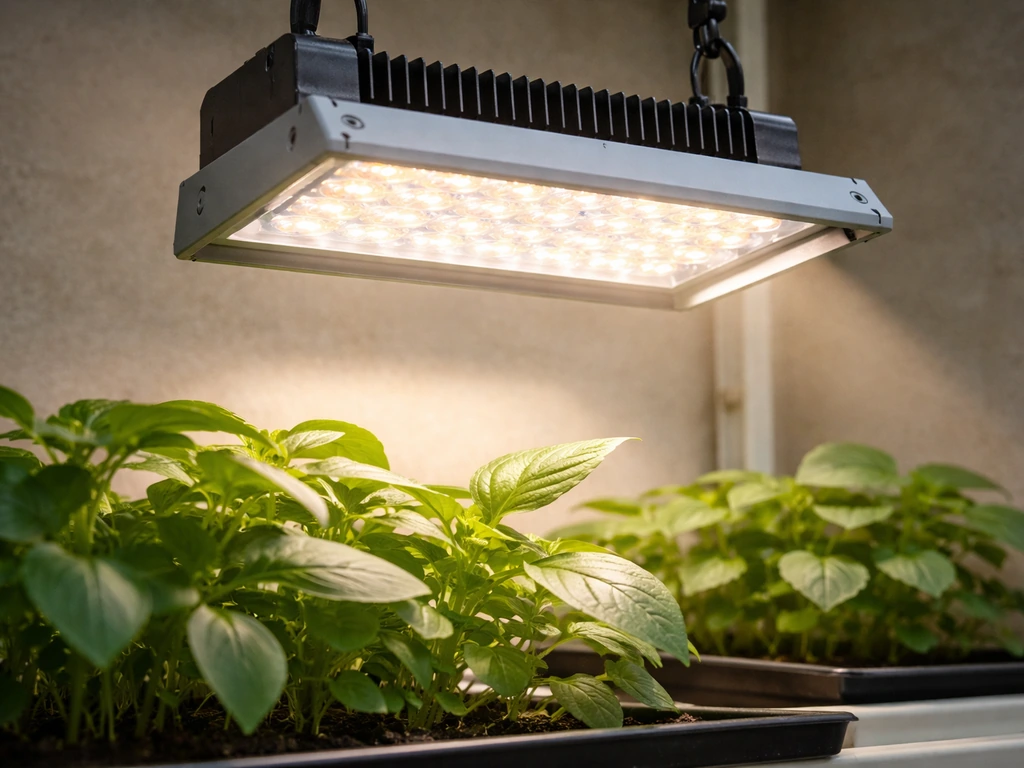
For most small indoor setups, a 100–200W full-spectrum LED panel positioned 18–24 inches above your plants, running 14–16 hours a day for seedlings or 12 hours for flowering plants, will get you healthy growth without burning or legginess. For PPFD starting targets by growth stage, common guidance is vegetative crops around 400 to 600 and flowering or fruiting crops around 600 to 900 µmol/m²/s PPFD starting target ranges by growth stage. If you want the best results, follow led grow light tips for height, intensity, and daily timing LED panel. The tricky part is matching the light's actual output (PPFD) to your plant type, sizing it correctly for your grow space, and knowing the warning signs when something's off. This guide walks you through every step, from picking the right light to a checklist you can use on day one. If you're using a LED grow light for the first time, this guide can also help you choose the right setup and avoid common mistakes led grow light guide. Use the tips in this cfl grow lights guide to pick the right intensity, spectrum, and placement for consistent, healthy results. If you want to understand the basics before you shop, a grow lights guide is a helpful starting point for comparing fixtures by output and coverage This guide walks you through every step.
LED Grow Light Basics: Setup, Placement, Settings, and Fixes

What LED grow lights are and why they actually work
Plants photosynthesize using light in the 400–700 nanometer range, called photosynthetically active radiation (PAR). LED grow lights are designed to emit light concentrated in that PAR window, which means you're delivering photons plants can actually use rather than wasting energy on wavelengths they can't. Unlike incandescent or fluorescent bulbs, modern LEDs convert electricity into useful plant light very efficiently, produce relatively little heat for their output, and last tens of thousands of hours.
The reason LEDs outperform older technology for indoor growing comes down to two things: spectrum control and efficiency. You can tune LED panels to output specific wavelengths that drive photosynthesis and flowering, and you waste far less energy as excess heat. If you want a quick, step-by-step grow light explained approach, focus on PPFD and DLI so you can dial in the intensity and timing tune LED panels. A decent modern LED panel draws far fewer watts than an HID or fluorescent setup delivering the same plant-usable light output. That's why LED grow lights have become the default choice for home growers, whether you're growing seedlings on a windowsill shelf or running a proper vegetable tent.
Key shopping specs that actually affect plant growth
Most LED product listings are packed with numbers, but only a handful of them tell you whether a light will actually grow healthy plants. Here's what to focus on and what to ignore.
PPFD, not lumens
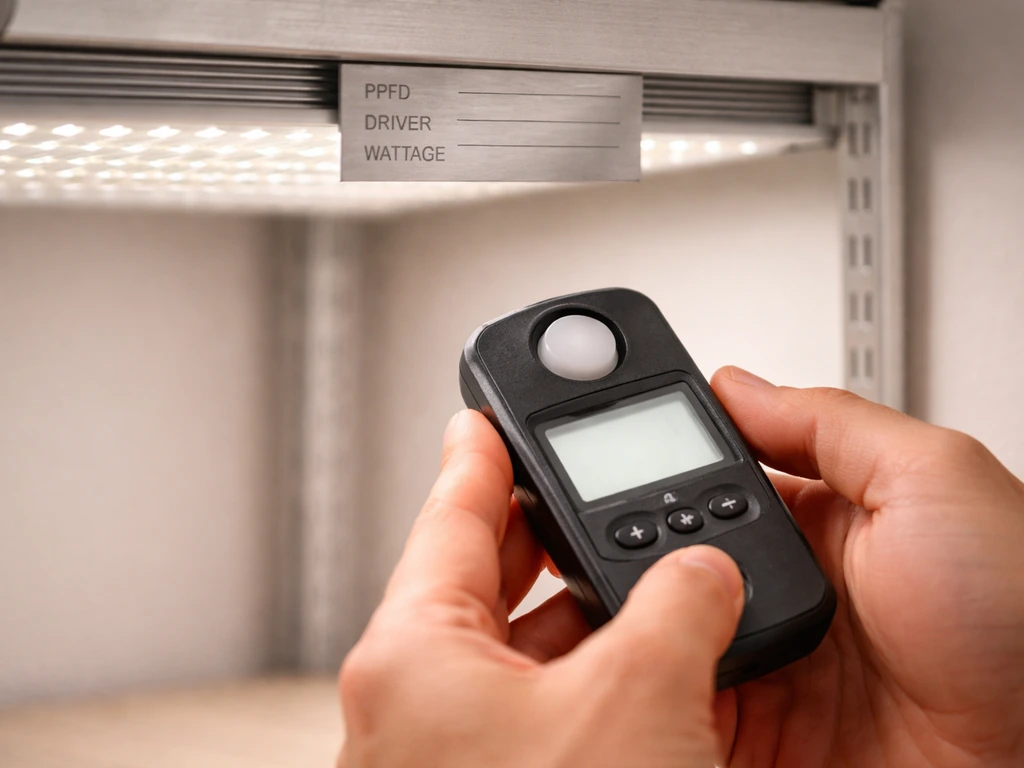
Lumens measure how bright a light looks to the human eye, not how useful it is for plants. The number you want is PPFD (photosynthetic photon flux density), measured in micromoles per square meter per second (µmol·m⁻²·s⁻¹). This tells you how many photosynthetically useful photons are hitting a surface every second. Look for PPFD maps from manufacturers that show readings at different heights across the coverage area, not just a single center-point peak number. A reputable brand will provide a PPFD grid.
| Plant Stage / Type | Target PPFD (µmol·m⁻²·s⁻¹) |
|---|---|
| Seedlings / cuttings | 100–300 |
| Leafy greens / herbs | 200–400 |
| Vegetative stage (tomatoes, peppers, cannabis) | 400–600 |
| Flowering / fruiting stage | 600–900 |
| High-light crops (advanced growers) | 900–1,200+ |
Daily Light Integral (DLI)
DLI is the total amount of PAR light your plants receive over a full day, and it ties PPFD directly to your schedule. You calculate it as: PPFD × seconds in photoperiod ÷ 1,000,000. For example, a light delivering 400 µmol·m⁻²·s⁻¹ for 16 hours gives a DLI of about 23 mol·m⁻²·day⁻¹, which is solid for leafy greens. For example, canopylumen provides example PPFD and DLI targets by crop and growth stage to help plan lighting setups. Most vegetables want a DLI between 20 and 30; seedlings and low-light houseplants are happy at 10–15. Keeping DLI in mind helps you tune both intensity and schedule together rather than guessing.
Actual wattage and driver quality
Ignore "equivalent watts" claims entirely. Look at the actual power draw from the wall, which the product should list in the specs. A light drawing 100W actual is a 100W light, full stop. Driver quality matters because cheap drivers run hot, flicker, and fail early. Lights using Meanwell or similar-quality drivers are worth paying slightly more for. Also check whether the driver supports dimming, which lets you start seedlings at lower intensity and ramp up as plants grow.
Spectrum
For most home growers, a full-spectrum white LED panel is the practical choice. These cover the full PAR range and support every growth stage without swapping lights. Some panels let you boost blue or red channels separately, which is useful but not essential. Avoid lights sold purely on high red LED counts without proper full-spectrum coverage as they often produce weak, elongated plants and limited vegetative growth.
Choosing the right light size for your grow space
Coverage area claims on LED product pages are almost always optimistic. A light marketed as covering a 4x4 foot tent might only deliver adequate PPFD across a 3x3 foot zone for flowering plants. A reliable rule of thumb for vegetable and flowering crops is to target about 30–50 actual watts per square foot of grow space. For seedlings and leafy greens, you can get away with 20–30 watts per square foot.
| Grow Space | Recommended Actual Wattage (Vegetables/Flowering) | Recommended Actual Wattage (Seedlings/Greens) |
|---|---|---|
| 1x1 ft (small shelf) | 30–50W | 20–30W |
| 2x2 ft | 120–200W | 80–120W |
| 2x4 ft | 240–400W | 160–240W |
| 3x3 ft | 270–450W | 180–270W |
| 4x4 ft | 480–800W | 320–480W |
When in doubt, buy slightly more light than you think you need rather than less. You can always dim a stronger light; you can't fix an underpowered one without buying another fixture. If you're starting with seedlings and plan to grow them through to harvest, size for the flowering or fruiting stage from day one.
Placement: height, angle, and getting rid of hotspots
Height is the single most adjustable variable you have for controlling PPFD at the canopy. Moving a light closer doubles intensity roughly following the inverse square law, so small changes matter a lot. These starting distances work for most panels at full power:
| Plant Stage | Starting Height Above Canopy | Notes |
|---|---|---|
| Seedlings / cuttings | 24–36 inches | Or dim to 50% and hang closer |
| Vegetative growth | 18–24 inches | Adjust based on stretch or stress signs |
| Flowering / fruiting | 12–18 inches | Watch for light burn on upper leaves |
| Succulents / low-light houseplants | 24–36 inches | Many houseplants want low PPFD |
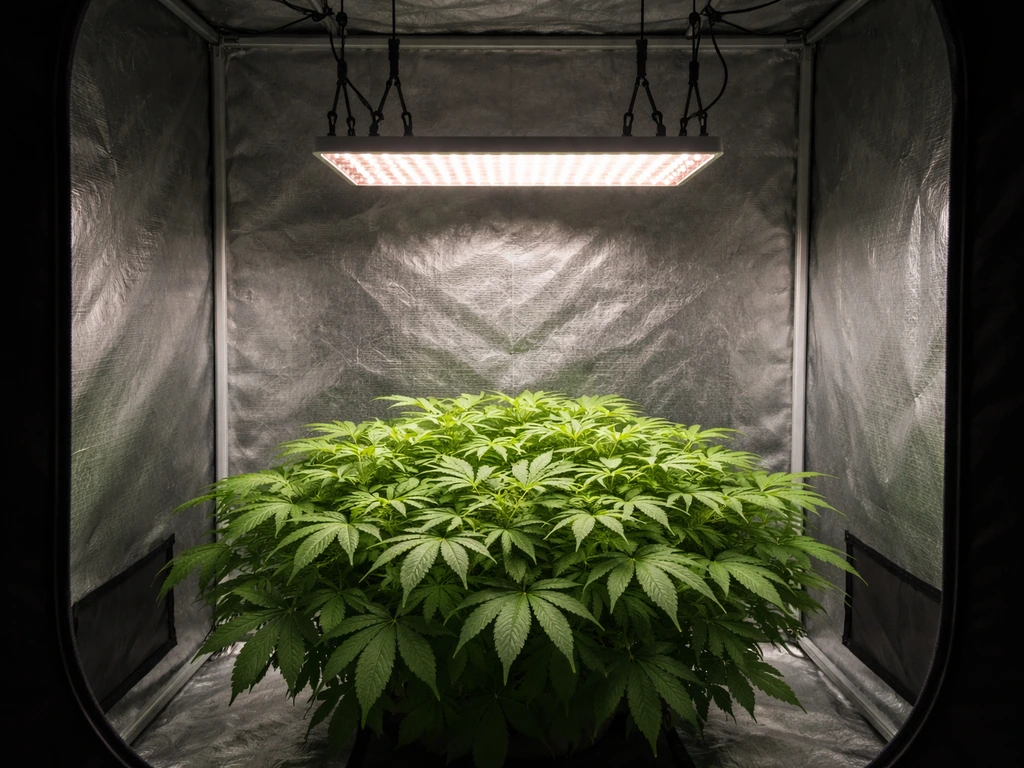
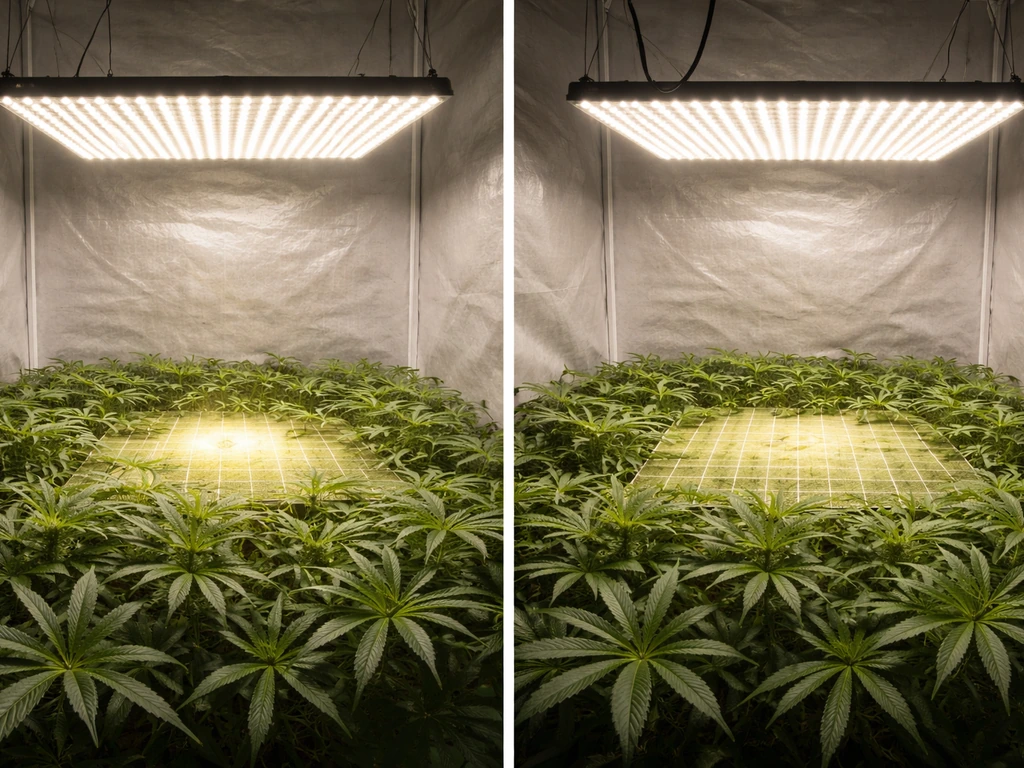
Always raise or lower based on what your plants are telling you, not just these numbers. Hotspots happen when a single light is centered over a small canopy and the plants directly under it receive far more intensity than plants at the edges. To reduce hotspots, hang the light at the upper end of the recommended range, use reflective walls (white paint or Mylar in a tent works well), and if you're running multiple lights, overlap their coverage zones slightly rather than spacing them too far apart.
Angle matters less with LED panels than it did with HID lights, since LEDs emit directionally. Keep panels horizontal and level unless you're deliberately side-lighting lower growth in a tall canopy. For most home setups, flat and centered is the right call.
Spectrum: what to target at each growth stage
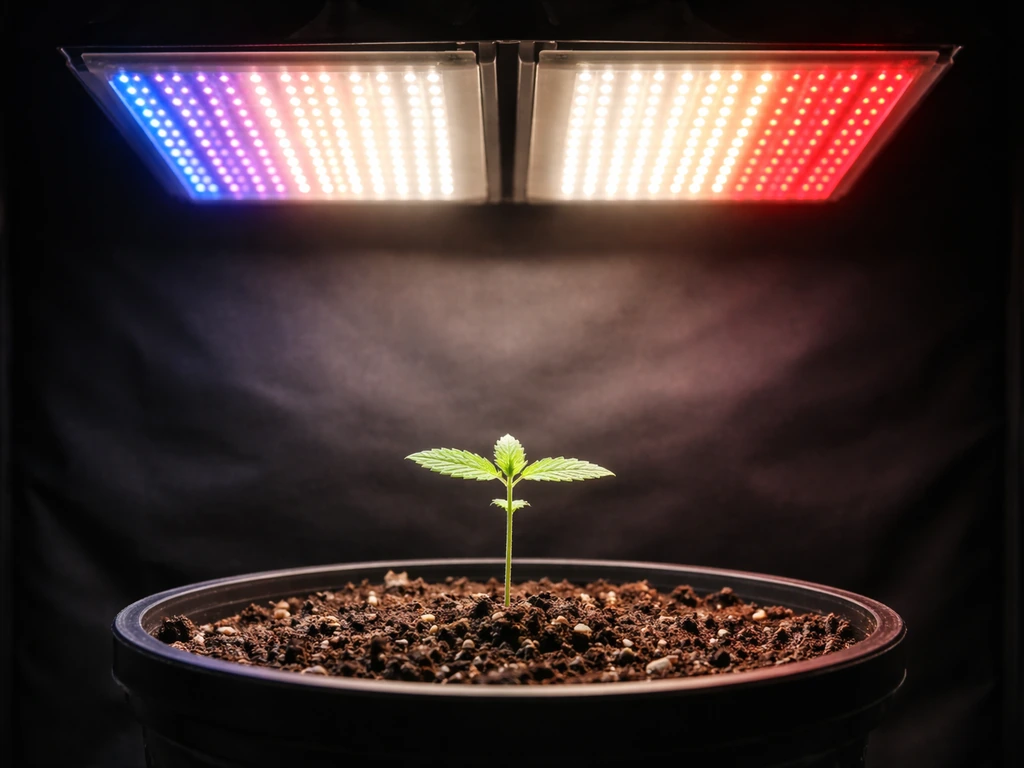
Blue light (roughly 400–500 nm) drives compact, bushy vegetative growth and is especially important for seedlings. If you shortchange seedlings on blue light, they stretch toward the source and get leggy fast. Red light (roughly 600–700 nm) supports flowering, fruiting, and stem elongation in controlled amounts. Far-red (700–800 nm) can accelerate flowering in some plants, though most home growers don't need to chase this unless they're growing photoperiod cannabis or specialty crops.
Here's how to apply this practically with a full-spectrum panel:
- Seedlings and cuttings: full spectrum at lower intensity (or blue-channel emphasis if your light supports it), 24–36 inches away
- Vegetative stage: full spectrum at moderate intensity, 18–24 inches away, 16–18 hours of light
- Flowering and fruiting: full spectrum with red-channel boost if available, 12–18 inches away, 12 hours of light for photoperiod plants
- Leafy greens and herbs: full spectrum at moderate intensity, no need to switch spectrums, just maintain consistent schedule
If you're using a single fixed-spectrum full-spectrum panel (which most entry-level lights are), don't stress about optimizing channels. A quality full-spectrum panel covers all stages adequately. Spectrum switching becomes important when you're dialing in production grows, not when you're learning the basics.
How long to run your lights: schedules, timing, and ramping up
Most plants fall into one of two categories: day-neutral (they don't care much about light cycle length) or photoperiod (they flower based on hours of darkness). Knowing which type you're growing determines your schedule.
| Plant Type | Recommended Daily Light Hours | Notes |
|---|---|---|
| Seedlings (all types) | 16–18 hours | High blue, lower intensity |
| Leafy greens and herbs (day-neutral) | 14–16 hours | More hours = faster growth up to a point |
| Tomatoes, peppers (vegetative) | 16–18 hours | Day-neutral; more light = more growth |
| Tomatoes, peppers (fruiting) | 12–14 hours | Not strictly photoperiod but fewer hours helps fruiting |
| Photoperiod cannabis (veg) | 18 hours on / 6 off | Standard vegetative schedule |
| Photoperiod cannabis (flower) | 12 hours on / 12 off | Triggers and maintains flowering |
| Autoflowering plants | 18–20 hours | Don't depend on dark period to flower |
Use a mechanical or smart outlet timer and set it once. Consistency matters more than the exact number of hours. Irregular schedules stress plants and can trigger premature flowering in photoperiod types. Set your lights to run during the daytime hours if possible so the grow space is cooler at night when lights are off.
Ramping up intensity with new plants
Plants moved from lower light (a nursery, a windowsill, or propagation) need time to adapt to higher intensity. Start at 50% power or hang the light at the top of the recommended range for the first week. Increase intensity or lower the fixture by a few inches every 3–5 days while watching for stress signs. This ramp-up is especially important for plants that started under fluorescents or natural window light.
Troubleshooting common problems and dialing things in
Most grow light problems show up in the plants before anything else. Here's how to read the signs and fix them quickly.
Signs your light is too far away or too weak
- Seedlings stretching tall and thin toward the light (etiolation)
- Lower leaves yellowing faster than expected
- Slow growth overall with pale, washed-out coloring
- Flowering plants not setting buds or producing small, airy flowers
- Plants leaning hard to one side
Fix: Lower the light by 2–3 inches or increase intensity by 10–20%. Check again after 3–5 days. If you're already at the minimum recommended height and the problem persists, you may simply need a more powerful light for your space.
Signs your light is too close or too intense
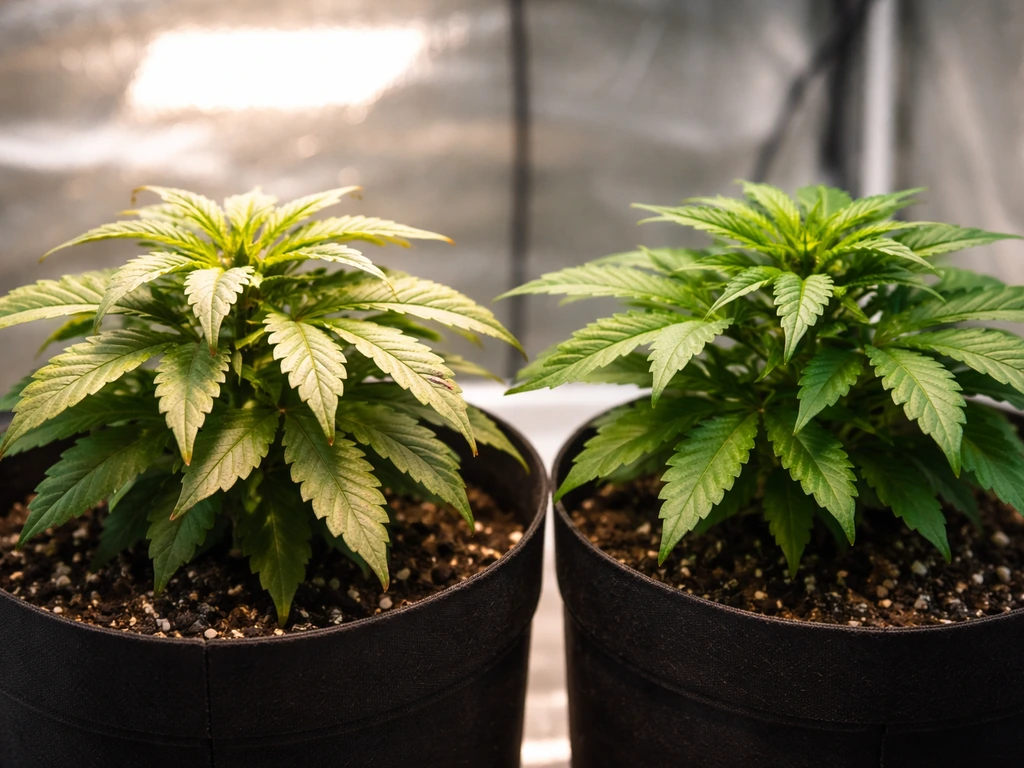
- Bleached or white patches on the tops of leaves closest to the light
- Leaf edges curling upward (taco-ing)
- Crispy brown tips on upper leaves
- Plants appear stunted despite healthy lower growth
- Excessive wilting during the light cycle even with adequate watering
Fix: Raise the light 3–6 inches or reduce intensity by 15–20%. Light burn on the tops of leaves is the most common beginner mistake, and it's completely preventable by following the height guidelines and ramping up gradually.
Heat problems
Quality LEDs run much cooler than HID lights, but they still generate heat. If your grow space exceeds 85°F (29°C) consistently, growth slows and plants stress. Check that your light's heat sink has adequate airflow around it, and add a small fan if needed. LED drivers mounted externally often run hot to the touch, which is normal, but the driver should never be enclosed in an airtight space.
Uneven canopy coverage
If outer plants look great but center plants are burning, raise the light. If center plants look great but outer plants are stretching, either lower the light, add a second fixture, or use low-stress training to spread the canopy. Reflective walls make a meaningful difference in edge coverage, especially in tents.
Safety basics and your quick-start setup checklist
LED grow lights are generally safer than HID setups, but there are real risks worth taking seriously: electrical overload, heat near flammable materials, eye damage from intense light, and water exposure to electrical components.
Safety rules to follow from day one
- Never look directly into an LED grow light at full power without UV-blocking grow room glasses. Even non-UV LEDs are intense enough to cause eye strain or damage over time.
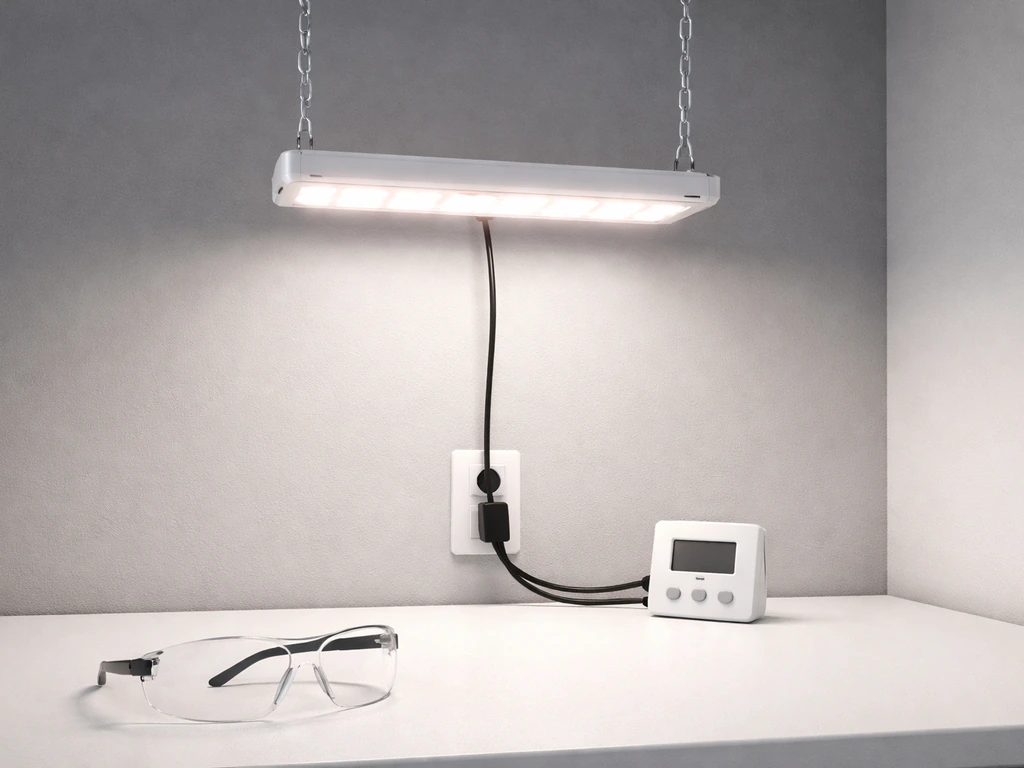
- Plug your light into a grounded outlet and avoid daisy-chaining power strips. A 200W LED draw is real, and cheap extension cords are a fire risk.
- Keep all electrical connections, timers, and drivers away from water sources and irrigation systems.
- Leave at least 6 inches of clearance around the driver and heat sink for airflow.
- Check hanging hardware (hooks, ratchet hangers, wire) every few weeks. Fixtures are heavier than they look and a fall can destroy plants, lights, and start fires.
- Don't run lights in fully sealed, airtight spaces. Heat and humidity need somewhere to go.
Quick-start installation checklist
- Confirm your grow space dimensions and calculate the actual wattage you need (30–50W per sq ft for vegetables, 20–30W for seedlings and greens).
- Mount your hanging hardware (ratchet hangers work best) and hang the light at the top of the recommended height range for your plant stage.
- Plug into a grounded outlet through a mechanical timer. Set the timer to your schedule before turning the light on.
- Set intensity to 50–70% if your driver supports dimming. If not, compensate by hanging higher.
- Turn the light on with no plants present and verify it powers on correctly, then check for any unusual smells or flickering.
- Place plants in the grow space and observe them for 24–48 hours before making any adjustments.
- After one week, check for any stretch, bleaching, or wilting and make one change at a time (height or intensity, not both at once).
- Log your settings (height, intensity %, daily hours) in a notebook or phone note. You'll thank yourself later when troubleshooting.
- Put on grow room glasses every time you work under the light at full power.
A simple starter plan for the first two weeks
Days 1–3: Light at 50% intensity, hung at maximum recommended height. Timer set to 16 hours on, 8 off for seedlings and greens, or 18/6 for vegetative plants. Observe daily. Days 4–7: If no stretch or stress signs, raise intensity to 70% or lower the light by 2 inches. Days 8–14: Move to full intensity or target height for your plant stage. From here, adjust only when plants tell you something is wrong. Keep the schedule locked and consistent.
Getting LED grow lights right is mostly about starting conservatively, reading your plants, and making small adjustments one at a time. If you still have questions about running and tuning your lights, this led grow lights faq covers the basics step by step. The specs and numbers matter, but the real skill is learning what healthy growth looks like under your specific setup. Once you've dialed in height, intensity, and schedule for one grow, the next one gets much easier.
FAQ
How can I tell if a light’s coverage claim is real if there’s no PPFD map?
If your listing only includes lumens or “equivalent watt” style claims, it is hard to know plant impact. For led grow light basics, prioritize PPFD (ideally a PPFD grid at multiple heights) and power draw from the wall. If the brand does not provide PPFD maps or the driver wattage spec, treat coverage claims as marketing and plan for extra distance or extra fixtures.
What safety steps should I take for LED drivers, timers, and water exposure?
Water and electricity is a serious combination. Do not run the driver inside the grow tent and keep all electrical connections above splash range. If you need a safer setup, place the driver outside the humid area, use drip loops on cords, and ensure any timer or power strip is rated for the environment you’re using (especially in small tents).
Should I size my light for seedlings needs, or for the final flowering stage?
Start with the plant stage you actually have today, not the stage you hope to reach. If you’re growing seedlings for a full cycle, the article guidance recommends sizing for flowering from day one. Practically, that means you either run the fixture at reduced intensity early (the ramp plan) or keep it at the upper recommended height so you do not overdrive young plants.
When should I adjust DLI versus adjusting height or intensity?
DLI matters most when you are changing photoperiod or moving between vegetative and flowering schedules. If you notice slow growth or persistent stress, check your timing first, then intensity. A common mistake is keeping intensity high while also increasing hours, which can push DLI too far for the plant stage.
Can I use any dimmer or smart plug to run a dimmable LED grow light?
Flicker and dimmer compatibility are often overlooked. If you have a dimming feature, confirm it works with the driver and dimming method the manufacturer specifies (some lights do not dim well with every aftermarket controller). If you see unstable growth or you notice buzzing, avoid random dimming hardware and instead use the light’s supported dimming control.
What’s the best way to use two LED panels in the same tent without hotspots?
Yes, but you need to treat it like multi-zone lighting, not two lights with perfect symmetry. Overlap the zones slightly and keep the fixture spacing so the canopy receives even PPFD across the whole area. If you see center versus edge differences, change height before adding more lights.
If plants look stressed, how do I decide whether to move the light or change intensity?
Distance is your strongest quick lever, but do not use “distance alone” if your dimming is available. The article notes intensity roughly changes quickly with height, so small adjustments help. If your problem is widespread (whole canopy pale or uniformly stressed), use intensity. If it’s localized (tops burning or only edges stretching), use height and placement first.
My plants are stretching. Is that usually a spectrum problem or an intensity/height problem?
Most beginner “stretch” issues are caused by insufficient blue or insufficient intensity at the canopy. Since entry-level full-spectrum panels cover stages, the fix is usually intensity and height plus a gradual ramp. If stretching is strong even at the recommended height and schedule, consider that your light may not be delivering adequate PPFD across the canopy.
How hot should the driver or heat sink get, and when is heat a problem?
Driver heat is normal, but enclosed heat is not. If the driver is warm to the touch, that can be expected, but it should not be trapped in a sealed box or pressed against flammable material. Ensure airflow around the heat sink and keep clearances as the manufacturer recommends.
What is the quickest correction for leaf-top burn without overcorrecting?
Watch your plants for the first week, then refine slowly. The article’s ramp plan starts at lower intensity and increases only if there are no stress signs. If you are already past that and plants show burn, the fastest safe correction is to raise height or lower intensity, then reassess after several days because plant response is not instant.
How strict does my light schedule need to be for photoperiod plants?
For photoperiod plants, inconsistent darkness can trigger early flowering. If possible, run lights on during the daytime so nights are cooler and more stable. If your timer ever fails or you frequently interrupt power, use a more reliable timer and avoid opening the tent during the dark period.
What should I do if my grow room temperature stays above 85°F (29°C)?
If you are consistently above about 85°F (29°C), growth slows and plants stress even when the light is correct. The action step is to improve airflow and reduce ambient heat, not to just raise or lower the light. Add a fan for heat-sink airflow and consider exhausting the tent to manage temperature.
LED Grow Light Tips: Choose, Set, and Troubleshoot Fast
Practical led grow light tips to choose, place, schedule, and troubleshoot for healthy indoor plants, from seedlings to