The Keelixin LXGL-008 is a 30W full-spectrum LED grow light with onboard controls for power, color mode, brightness, and a built-in timer. You set it up by plugging it into a standard AC110V–240V outlet, checking the fixture for damage, then using the four control buttons to choose your light mode, dial in brightness, and set a repeating daily timer at 4, 8, or 12 hours. That's really the core of it. If you've lost the manual or the instructions feel unclear, everything below walks you through each step and fills in the placement and troubleshooting details the manual skips. If you're specifically looking for the Yoyomax Grow Light manual, check the model number on your unit and look for the matching PDF or printed guide. If you also own an LBW grow light, the LBW grow light manual can clarify any differences in controls and timer behavior compared with the LXGL-008.
Keelixin Grow Light Manual: Setup, Controls, Testing & Fixes

What the Keelixin grow light is and what the manual covers
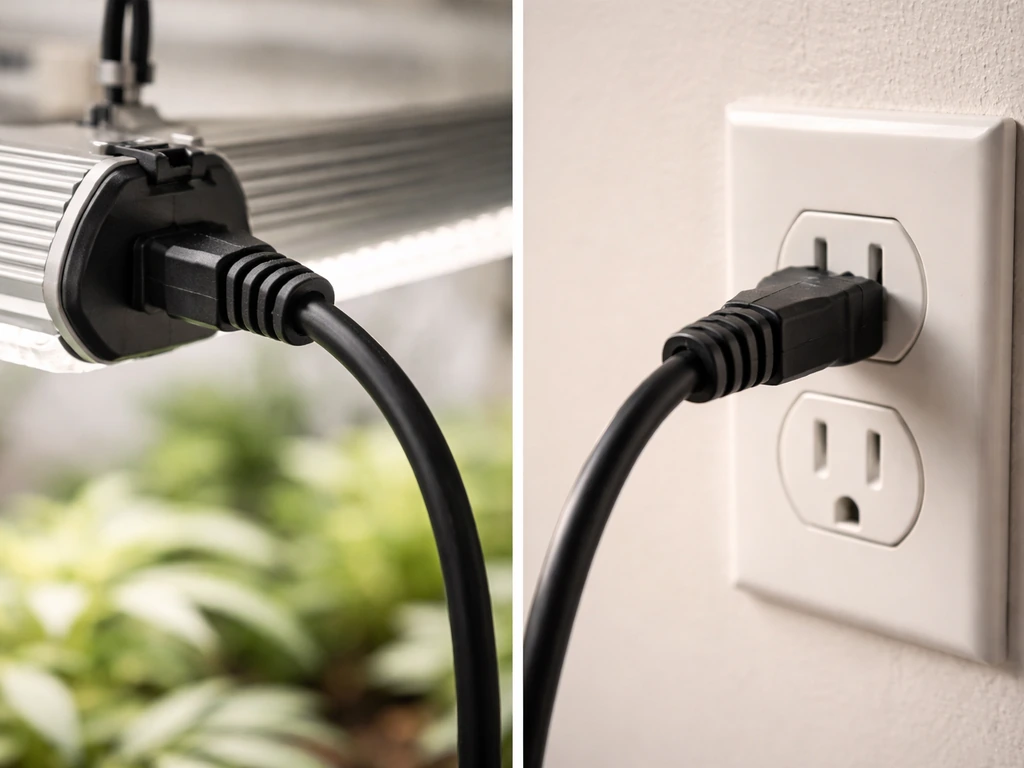
The main documented Keelixin model is the LXGL-008, marketed as a Full Spectrum LED Plant Grow Light. It covers a spectrum of blank" rel="noopener noreferrer">380–780 nm, which spans from near-UV through visible red, blue, and white, into near-infrared. That range is genuinely useful across most plant growth stages. The fixture runs at 30W and blank" rel="noopener noreferrer">accepts any standard household voltage between 110V and 240V, so you don't need a special outlet or power converter.
The printed manual is thin. Inside you'll find the model name, basic specs, a product accessories list, operating instructions for the control buttons, the timer behavior, a short precautions section, and after-sales guidance. What it doesn't cover in much detail: how far to hang it from your plants, what schedule to use for seedlings versus mature plants, or any real troubleshooting. That's frustrating but common with budget grow lights, and it's exactly why this guide exists. If you also need the Leoter grow light manual, look for the model-specific instructions for your exact unit and controls.
The accessories list in the manual keeps it simple: one grow light and one user manual. There's no separate driver box, external power supply, or extra cables to track down, which makes setup genuinely plug-and-play.
Unboxing, mounting, and your first power-on
Before you do anything else, take the fixture out of the box and look it over. The manual specifically tells you to verify you have the complete unit and that it isn't damaged before plugging it in. Check the housing, the light heads, and the power cord for any cracked plastic, bent connectors, or frayed wiring. If you find anything, don't power it on.
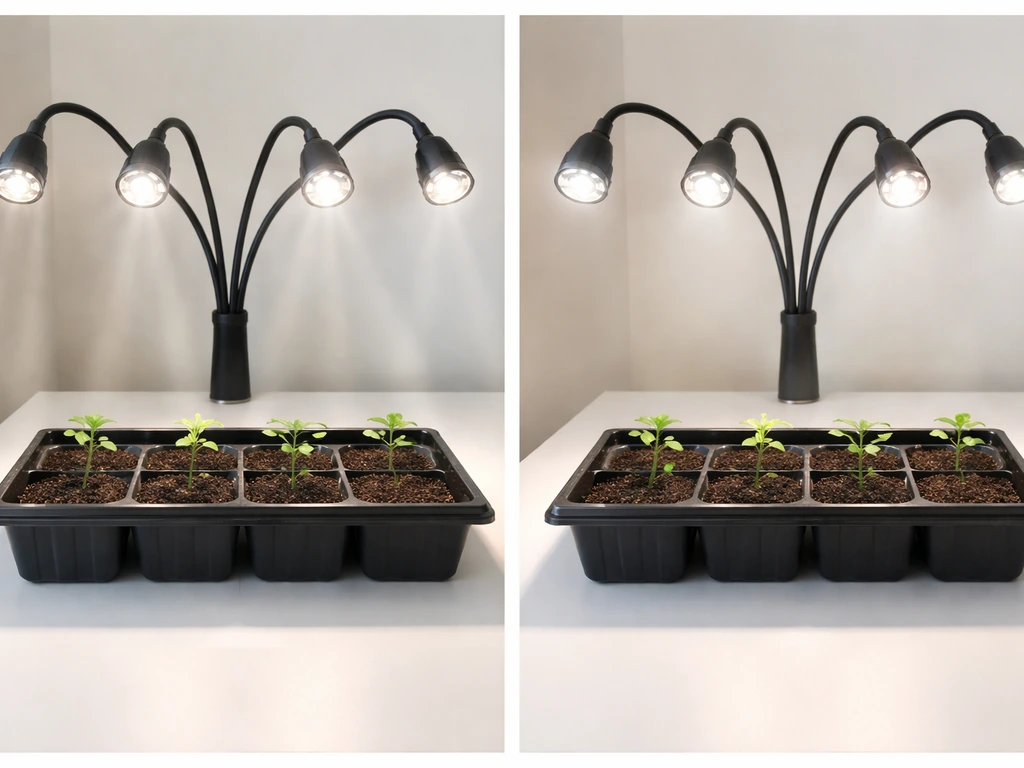
Mounting the fixture
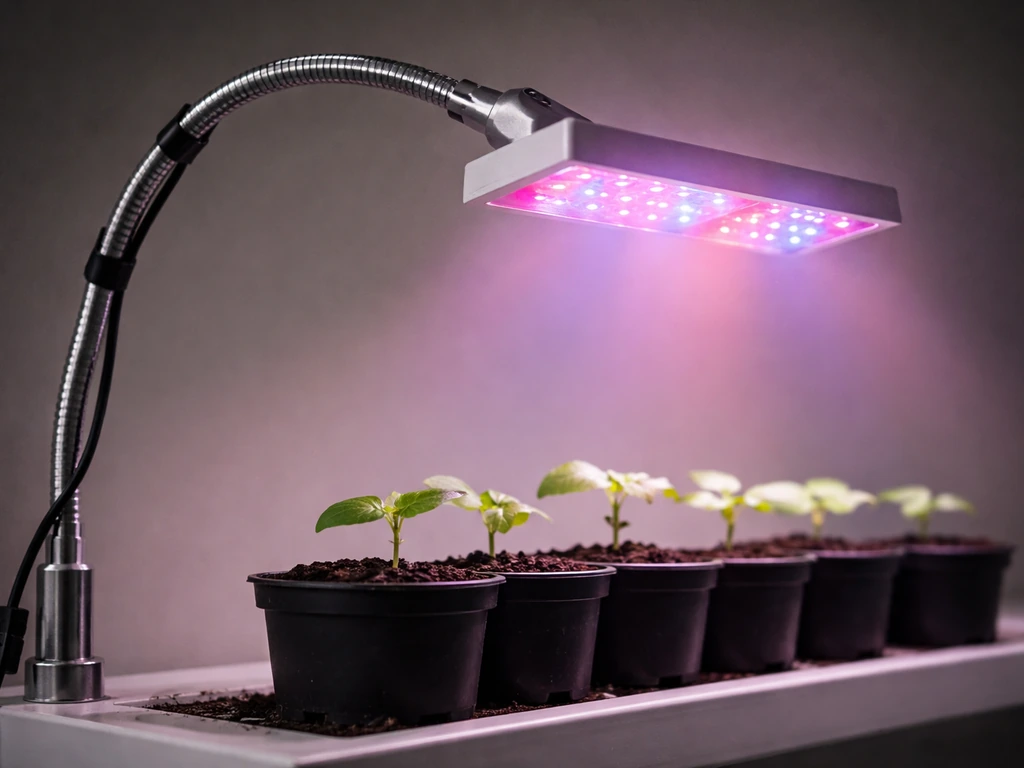
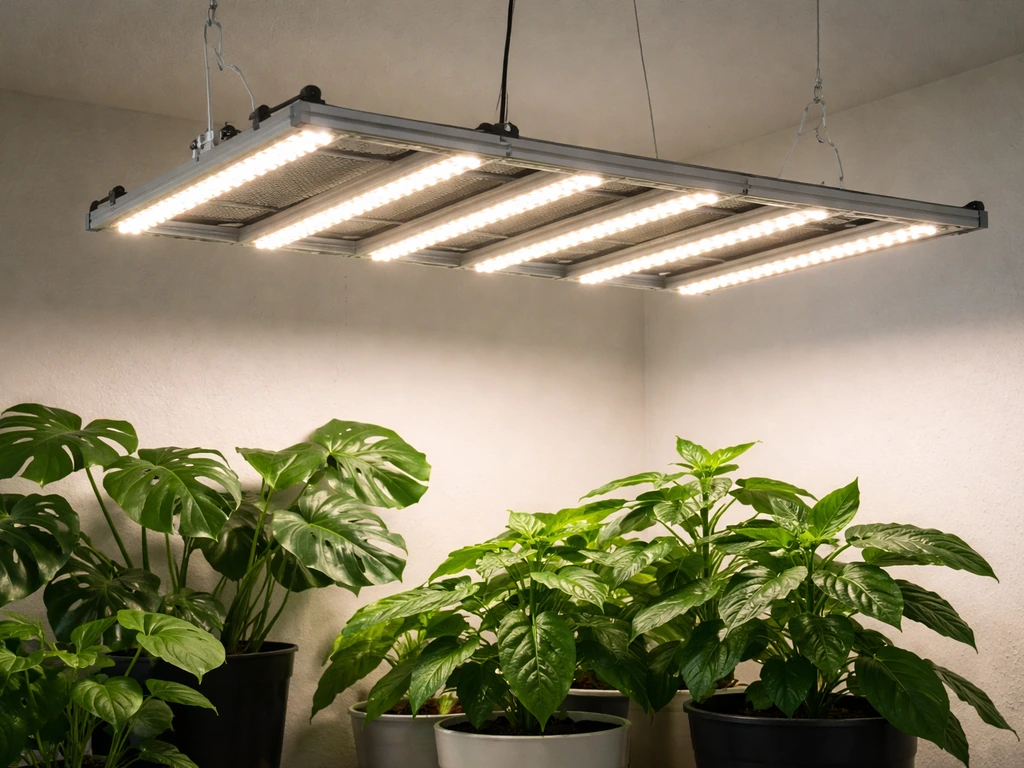
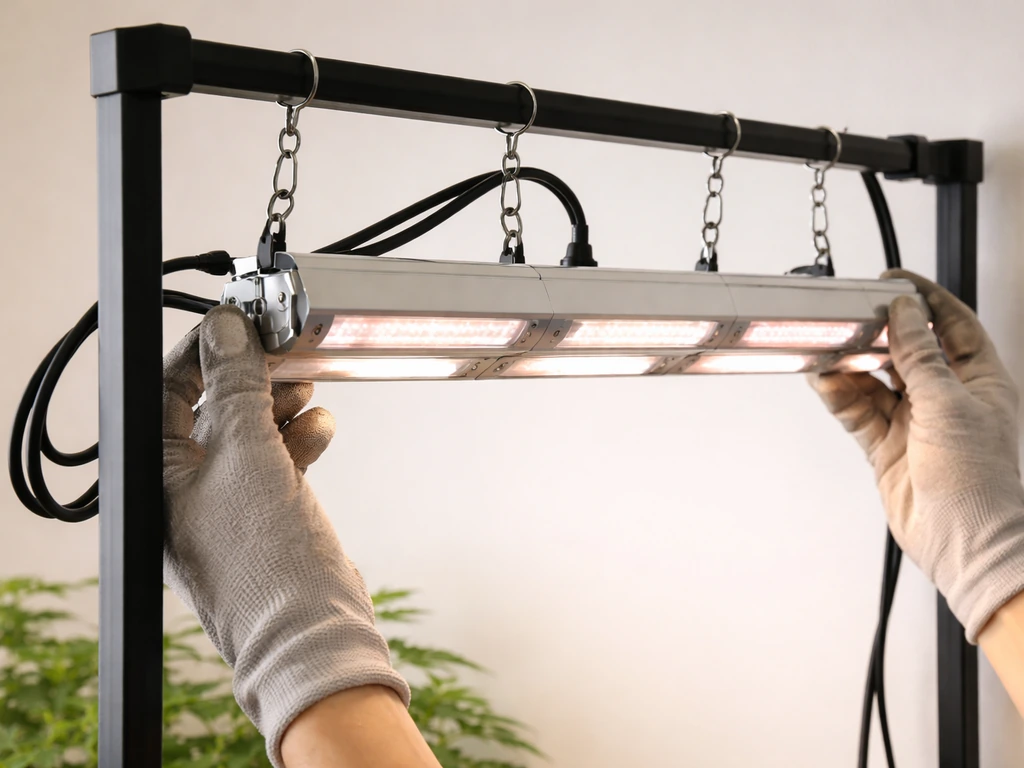
The LXGL-008 is a multi-head bar or strip-style fixture. Most Keelixin lights in this category include a hanging hook, clip mount, or adjustable gooseneck depending on the variant you received. Position the fixture so it points down at your plant canopy and can be raised or lowered easily as your plants grow. You'll be adjusting height regularly, so a simple hook-and-adjustable-cord setup beats anything permanently fixed. Make sure whatever you're hanging it from can hold the weight securely.
Powering on for the first time
Plug the cord into a standard outlet. The fixture should respond immediately when you press the Switch Button. All five light heads can be controlled together or in divided groups using that same button. Once it's on, you'll see the LEDs light up. Don't stare directly into the LEDs even briefly, they're genuinely bright and can cause eye discomfort. Do a quick visual check that all heads are illuminated, then move on to setting your mode and brightness.
Using the controls: modes, brightness, and the timer
The LXGL-008 has four main controls: a Switch Button, a Color Change Button, a Brightness Button, and a Timer Button. Here's exactly what each one does.
Switch Button
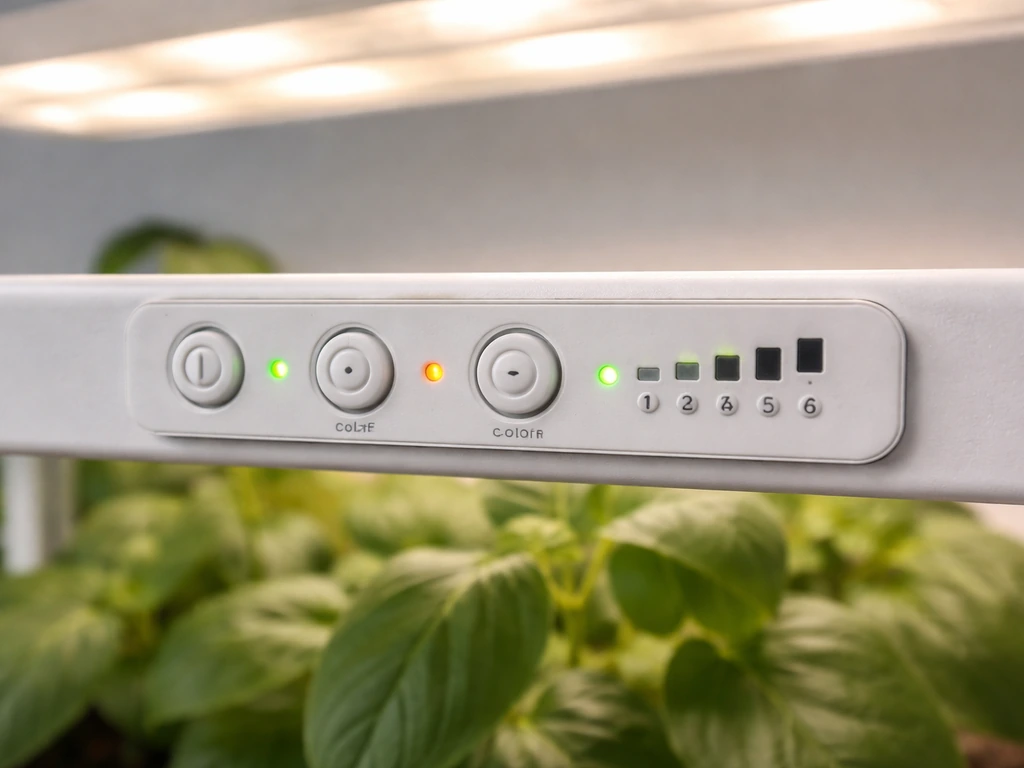
This turns the unit on and off. It also lets you control the five light heads individually or as a group. If you only want to light part of your grow area, this is how you do it.
Color Change Button
Pressing this cycles through three spectrum modes: red plus blue only, warm white only, and red plus blue plus warm white combined. For most plants through most growth stages, the combined red, blue, and white mode is your best starting point. It gives the broadest spectrum and takes advantage of everything the fixture can produce. Red-only modes can be useful late in a flowering cycle, and the warm white mode is gentler for low-light plants or seedlings that need less intensity.
Brightness Button
Short presses cycle through 10 brightness levels. Each press either steps up or steps down the output, cycling continuously. Start lower than you think you need, especially with seedlings or if you're moving a plant from a lower-light environment. Jumping straight to 100% is one of the most common ways to stress or burn plants that aren't acclimated.
Timer Button
This is the most useful button for day-to-day operation. Each press cycles through three timer durations, confirmed by a blue indicator light flashing to show your selection:
- First press: 4 hours (blue indicator flashes for 4H)
- Second press: 8 hours (blue indicator flashes for 8H)
- Third press: 12 hours (blue indicator flashes for 12H)
- Fourth press: timer cancelled
Once you set a duration, the timer runs a 'circular memory' cycle: the light will automatically turn on and off at the same time every day, repeating without you having to reset it. The deviation is about 3 to 5 minutes per cycle, which is close enough for plants. The critical thing to know: the timer memory only works if the outlet stays powered. The manual is clear on this, 'Do not turn off the power supply to maintain the timer function's memory.' If you flip the outlet switch or the breaker trips, the timer resets and you'll need to set it again.
No app or remote needed
The LXGL-008 uses onboard buttons only. There's no app pairing, no remote control, and no Bluetooth or Wi-Fi documented in the manual. If you picked up a different Keelixin model that came with a remote or controller box, the button logic will be similar but you'll want to refer to any included paperwork specific to that variant.
Placement and positioning: height, distance, and angle
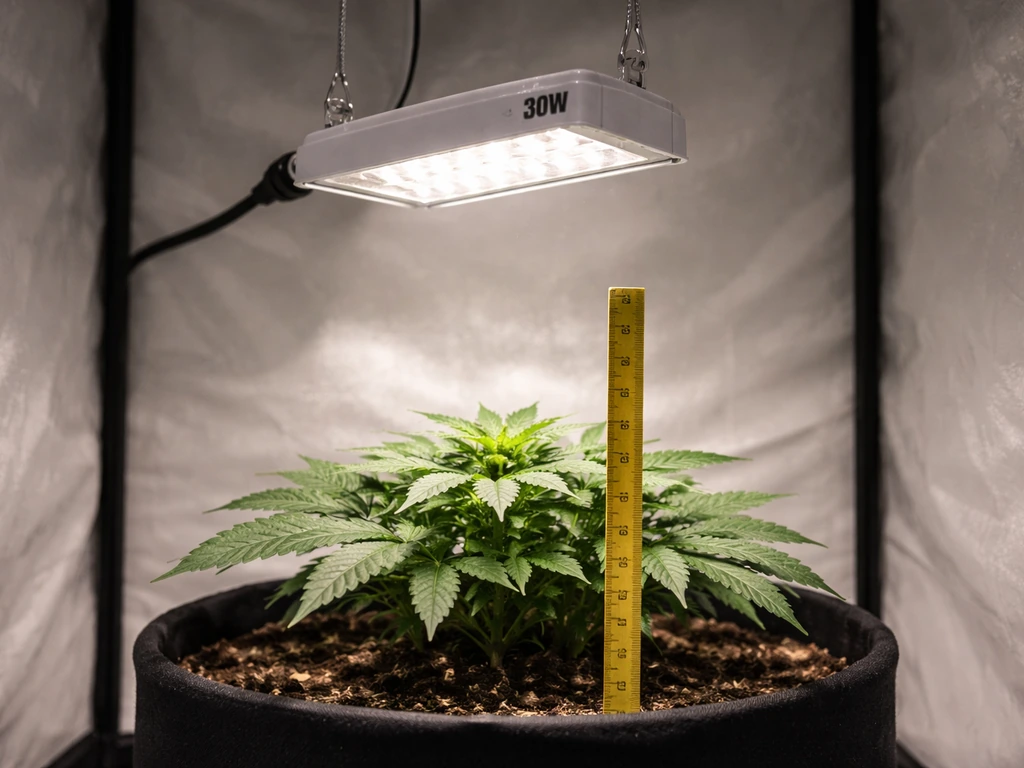
The Keelixin manual doesn't give explicit height recommendations, which is honestly one of its biggest gaps. But there are solid general rules for a 30W LED fixture like this, and they work well in practice.
| Growth Stage | Recommended Height Above Canopy | Brightness Level |
|---|---|---|
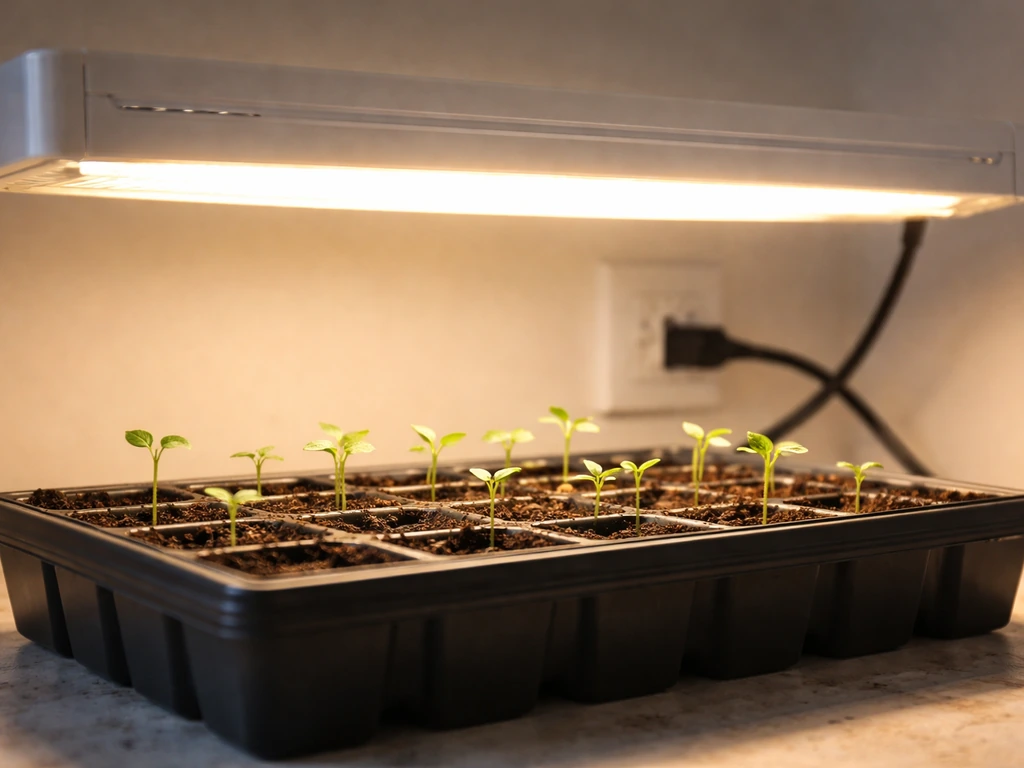
| Seedlings / germination | 18–24 inches (45–60 cm) | 30–50% (levels 3–5) |
| Vegetative growth | 12–18 inches (30–45 cm) | 60–80% (levels 6–8) |
| Flowering / fruiting | 8–14 inches (20–35 cm) | 80–100% (levels 8–10) |
| Low-light houseplants | 20–30 inches (50–75 cm) | 20–40% (levels 2–4) |
These are starting points, not hard rules. The real test is watching your plants. Leaves curling upward or showing pale, bleached patches usually means the light is too close or too intense. Slow, leggy growth where stems stretch toward the light (called etiolation) means the light is too far away or too dim. Adjust in 2-inch increments and give plants a few days to respond before making another change.
For coverage, a 30W fixture works well over a small footprint, roughly 1.5 to 2.5 square feet for light-hungry plants, or up to about 4 square feet for low-demand houseplants. If you have multiple plants spread across a wider area, consider angling the outer light heads slightly outward to spread coverage, or pick up a second fixture for larger setups.
Keep the fixture reasonably level for even coverage across your canopy. If one side of your plant tray is consistently darker, rotate your pots every few days or tilt the fixture slightly toward the underlit area.
Light schedules: how many hours depends on what you're growing
The Keelixin timer gives you three built-in options: 4, 8, or 12 hours. Here's how to match those to what you're growing.
| Plant Type / Stage | Daily Light Hours | Best Timer Setting |
|---|---|---|
| Seedlings (first 1–2 weeks) | 14–16 hours | 12H timer + manual top-up, or use a separate outlet timer |
| Vegetative herbs (basil, mint, parsley) | 14–16 hours | 12H setting daily |
| Fruiting vegetables (tomatoes, peppers) | 16–18 hours in veg, 12 in flower | 12H for veg; reduce manually for flowering |
| Low-light houseplants (pothos, snake plant) | 8–10 hours | 8H setting |
| Succulents and cacti | 10–12 hours | 12H setting at lower brightness |
| Flowering stage (most plants) | 12 hours on, 12 off | 12H setting |
If you need more than 12 hours per day, the onboard timer alone won't cover it. In that case, plug the fixture into a cheap mechanical or digital outlet timer set to your target schedule, and leave the Keelixin's onboard timer turned off. If you're also using a ghodec grow light, check the ghodec grow light manual for model-specific timer and control guidance before you dial in your schedule. This is a common workaround that works well and costs very little.
Consistency matters as much as total hours. Plants respond to light cycles as a signal, so aim for the light to come on and go off at the same time every day. The circular memory timer handles this automatically as long as the power isn't interrupted. If you want to replicate grow light automation in more complex setups, the stationeers grow light IC code approach is a good place to look for logic and timing patterns.
Troubleshooting common problems
The manual doesn't include a troubleshooting section, so here's what to do when things go wrong.
Light won't turn on
Check the outlet first. Plug something else into the same socket to confirm it has power. Then check the cord connection at the fixture. If the outlet is live and the connection is secure but nothing happens, try pressing the Switch Button once firmly. If it still won't respond, don't try to open the unit, the manual explicitly says not to disassemble it. Contact Keelixin support or the retailer.
Flickering or strobing
Flicker is almost always a power issue. Check that the cord is fully seated at both ends. If you're using an extension cord or power strip, try plugging directly into the wall instead, some lower-quality power strips cause voltage instability. If flickering continues on a direct outlet connection, the driver or internal circuitry may be failing and you should stop using the fixture.
Overheating or very hot to the touch
LED fixtures run warm but shouldn't be uncomfortably hot to a brief touch on the housing. If the fixture feels extremely hot, first check ventilation. The manual specifies use in a well-ventilated room, and cramped grow tents or enclosed spaces with poor airflow accelerate heat buildup. Give the fixture at least 6 inches of clearance above and around it. If overheating persists in a ventilated space at normal brightness levels, reduce the brightness setting or run the light for shorter sessions while you troubleshoot.
Dim output or one head not lighting
If the overall output looks dimmer than before, check the brightness level first, it's easy to accidentally step it down. Cycle through all 10 brightness levels to confirm you're at maximum. If one of the five heads isn't lighting, press the Switch Button to cycle through the divided control options, you may have accidentally switched one head off.
Uneven coverage or shadows across your plant tray
Raise the fixture a few inches. Counter-intuitively, moving a light higher spreads the beam wider and reduces hot spots. Also check that all five heads are angled consistently. If the outer heads are pointing too far outward, reposition them to aim more directly downward at the canopy. Rotating pots every two to three days also evens out any remaining variation.
Timer not repeating or resetting
If the timer isn't running its daily cycle, the most likely cause is a power interruption. Any break in power clears the memory. Check that your outlet stays live 24 hours a day and that no one is switching it off at the wall. Once you restore continuous power and reset the timer, it will resume the daily cycle.
Safety and maintenance
Heat and ventilation
Run the Keelixin in a well-ventilated space. LED lights are efficient but still generate heat, and an enclosed space with no airflow will shorten the fixture's lifespan and can stress plants. A small fan running in the same space makes a real difference, it benefits your plants too by strengthening stems and improving air circulation around leaves.
Eye safety
Don't look directly at the LEDs when they're on, even for a moment. The intensity, especially with the blue spectrum diodes active, can cause temporary discomfort or afterimages. If you need to work under the light for more than a quick adjustment, turn it off first or use UV-blocking glasses. The manual notes that children under 16 should be supervised around the fixture.
Water and environment
Keep the fixture away from water, rain, and snow. The manual is explicit: do not immerse the light in water and keep it away from fire or heat sources. When watering plants directly below the light, be careful not to splash the fixture. If you use a misting system, position the light so mist doesn't regularly contact the housing.
Cleaning
Disconnect power before cleaning, every single time, no exceptions. Once unplugged, wipe the housing and LED lenses with a dry or slightly damp cloth. Dust on the lens surface noticeably reduces light output over time, especially in the enclosed environments many indoor growers use. A quick wipe-down once every few weeks keeps output consistent.
Storing the fixture
If you're storing the Keelixin for an extended period, the manual gives one specific instruction: if storage exceeds 6 months, power it on periodically for a while to keep the LEDs and internal components in good working order. Think of it like running a car engine occasionally during a long winter.
When to call for help
If the fixture malfunctions and the basic troubleshooting above doesn't resolve it, contact Keelixin support or the retailer where you bought it. The manual is direct about this: do not attempt to disassemble the unit yourself. There's nothing user-serviceable inside, and opening the housing voids any warranty and creates a safety risk.
Where to start right now
If you just unboxed the light and want to get going today, here's the fast-start sequence:
- Inspect the fixture for any physical damage before plugging in.
- Hang it 18–24 inches above your plants as a starting point.
- Plug into a live outlet that stays powered continuously.
- Press the Switch Button to turn it on. Confirm all heads are lit.
- Press the Color Change Button until you reach red + blue + warm white mode.
- Use the Brightness Button to set to about 50–60% (levels 5–6) if you have seedlings, or 70–80% for established plants.
- Press the Timer Button once or twice to select your target duration (8H or 12H for most plants).
- Watch your plants for 3–5 days and adjust height or brightness based on how they respond.
From there, fine-tune based on what you see. Stretching stems mean more light or less height. Pale or curled leaves mean back off on intensity or raise the fixture. Most plants will show you clearly within a week whether the setup is working. The Keelixin is a straightforward light once you know what the buttons actually do, and now you do.
If you're comparing grow light setups across brands or looking for guidance that applies more broadly, the same placement and scheduling logic covered here applies to other budget LED fixtures. Setups for models like the LBW, Lxyoug, Ezorkas, Ghodec, and Leoter lights follow similar principles, with small differences in their control interfaces and timer behavior. If you are using an Lxyoug grow light, the Lxyoug grow light manual will help you match its button and timer behavior to your setup.
FAQ
Can I use the Keelixin grow light manual settings with a plant timer app or smart plug?
Yes, but only if the smart plug keeps power continuously through the day. The LXGL-008’s timer uses outlet power, so turning the smart plug off and on can clear the timer memory and force you to re-set it daily.
Do I need to use the onboard timer, or can I set my own schedule?
You can bypass it by using an external outlet timer and leaving the Keelixin’s timer function set to off (or simply not used). This is especially important if you need more than 12 hours per day, because the onboard options are limited.
What does the “circular memory” timer mean in practical terms?
It schedules the light to turn on and off at the same times each day once you pick 4, 8, or 12 hours. Expect a small daily drift (minutes), so for sensitive growers who track exact photoperiod timing, you may prefer an external outlet timer.
If the light flickers, is it safe to keep using it?
If flickering continues after plugging directly into a wall outlet and confirming the cord is fully seated, stop using it. Persistent flicker suggests driver or internal circuitry instability, and continuing use can worsen failure.
How can I tell if I’m using the right brightness level without burning seedlings?
Start at a low setting, then raise output gradually using the brightness button. Look for warning signs like leaf bleaching or strong upward curling, those usually mean intensity is too high for the current acclimation period.
Should I run the fixture longer but dimmer, or shorter but brighter?
In most cases, shorter and appropriate intensity is safer than pushing brightness high. If you must trade off, increase duration only after plants show stable growth, and make changes gradually so you can separate light-stress from schedule changes.
Do the color modes affect heat or power consumption?
Color modes change which LED wavelengths are active, and that can affect perceived brightness and heat load. If you notice higher warmth in one mode, reduce brightness or shorten runtime, and ensure the fixture stays in a well-ventilated area.
Can I control only part of the light if I have multiple plants in one area?
Yes. The switch function can control the five heads either together or in divided groups. Cycle using the switch button if some heads are off, and use divided operation to avoid over-lighting plants closer to the fixture.
What’s the safest way to clean the lenses?
Unplug the fixture every time before cleaning. Use a dry or slightly damp cloth, avoid soaking, and remove dust periodically because lens grime can noticeably reduce output over weeks.
Is it okay to leave the grow light on 24 hours a day?
The LXGL-008 onboard timer is limited to 4, 8, or 12 hours, and running continuously is not addressed as a default. If you want near-constant lighting, use an external schedule setup and monitor plant stress, because many plants need dark periods for healthy development.
What mounting height should I aim for if the manual has no exact recommendation?
Use plant response as your guide and adjust in small steps. If growth is leggy, raise intensity by lowering the fixture or increasing brightness, if leaves bleach or curl upward, move it higher or reduce brightness.
Can I hang the fixture over a humid tent or near misting?
Keep it away from regular mist contact and avoid splashes. In enclosed, high-humidity setups, prioritize airflow (for example, a small fan) and ensure at least several inches of clearance around the housing to manage heat.
Leoter Grow Light Manual: Setup, Controls, and Troubleshooting
Leoter grow light manual guide for setup, controls, hanging height, schedules, troubleshooting, and maintenance tips.