Good grow light positioning comes down to one thing: getting the right amount of light to your plant's canopy, evenly, without frying the tops or leaving the edges in the dark. For most indoor gardeners using LED grow lights, that means hanging the fixture at the correct height, aiming it so the beam covers your whole growing area, and dialing in intensity so your plants get what they need without stress. Everything else is fine-tuning.
How to Position Grow Lights: LED Height, Angle, Spacing
Marcus Tillman
12 Apr 2026
What good positioning actually achieves
Before you start moving things around, it helps to know what you're aiming for. Positioning a grow light well achieves four specific outcomes: strong, compact growth (no stretching); even light across the whole canopy (no bright spots or dark corners); enough cumulative light delivered per day to support your plant's stage; and no heat or light stress at the tops of your plants.
The measurement that ties all of this together is DLI, or Daily Light Integral. DLI is the total amount of photosynthetically active light your plants receive over a full day, measured in mol·m⁻²·d⁻¹. It's not just about how bright your light is right now, it's about how much light accumulates over the hours you run it. Iowa State Extension describes DLI as a "cumulative measure" delivered over the day, not a momentary reading. This matters for positioning because simply hanging a light at a generic height won't tell you whether your plants are actually getting enough light. The goal is always a target DLI, and your mounting height, fixture output, and photoperiod all work together to hit it.
For most indoor plants, a DLI below 10 mol·m⁻²·d⁻¹ starts to hurt quality. Michigan State University research on floriculture crops found that when DLI drops below that threshold, plant quality drops measurably and production time increases. So if you want compact, healthy plants, the setup goal is clear: get your canopy DLI into the right range for your plant type, distributed evenly, without creating hotspots.
Mounting height and distance: the numbers that matter
There's no single magic number for how high to hang a grow light, because it depends on your fixture's output, the plant's light needs, and whether you're in a seedling, vegetative, or flowering stage. That said, here are practical starting points that apply to most LED grow lights used for indoor plants.
| Plant type / stage | Suggested starting height above canopy | Target PPFD range at canopy |
|---|---|---|
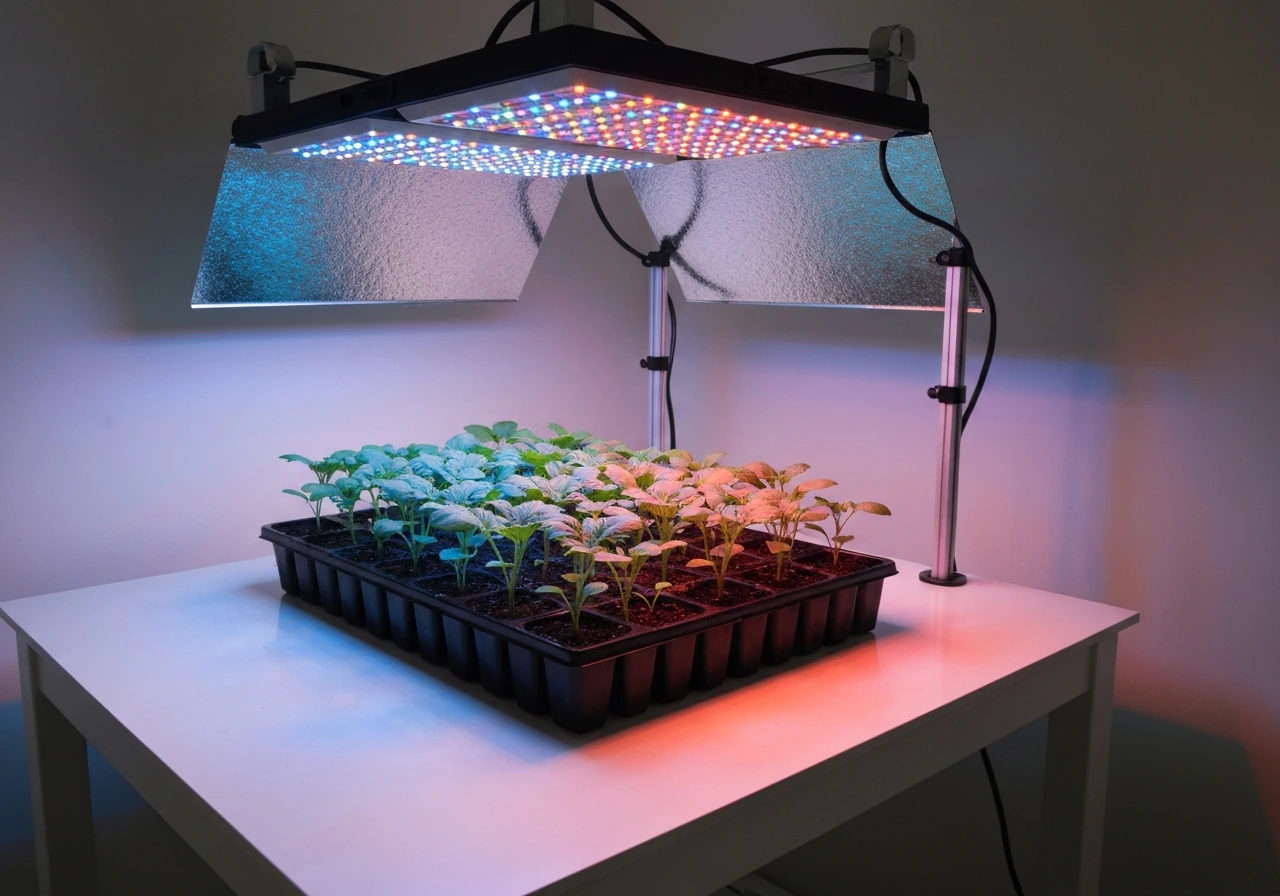
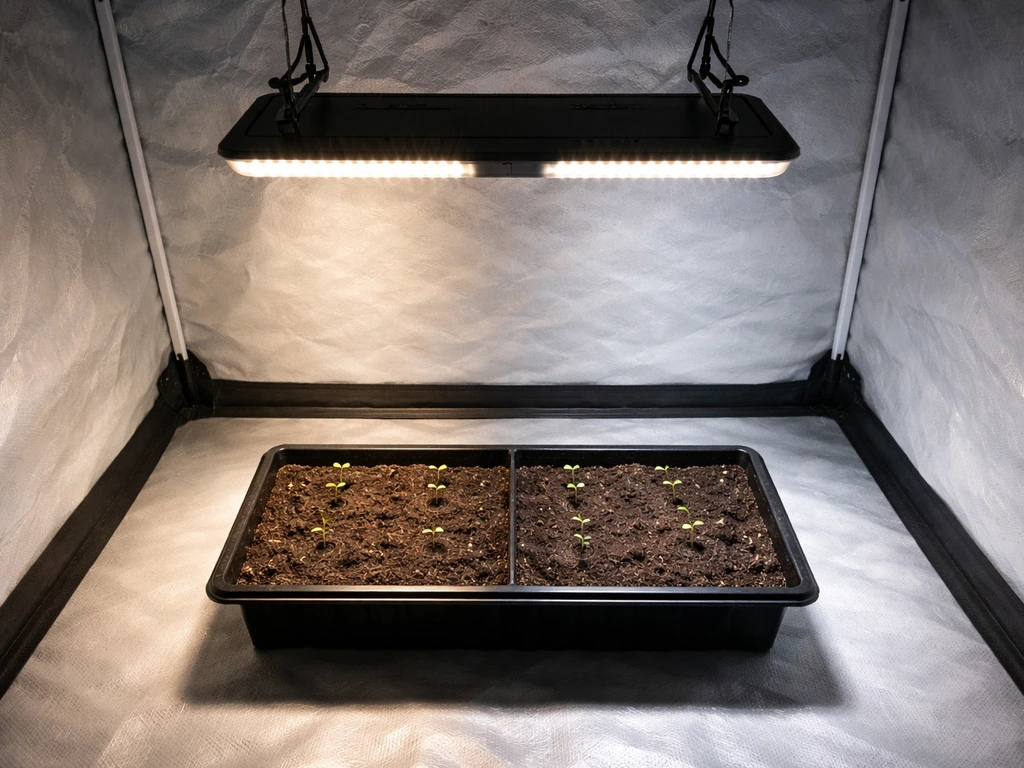
| Seedlings / cuttings | 60–90 cm (24–36 in) | 100–300 µmol·m⁻²·s⁻¹ |
| Low-light houseplants | 45–75 cm (18–30 in) | 50–200 µmol·m⁻²·s⁻¹ |
| Leafy greens / herbs | 30–60 cm (12–24 in) | 200–400 µmol·m⁻²·s⁻¹ |
| Flowering / fruiting plants | 20–45 cm (8–18 in) | 400–1,200 µmol·m⁻²·s⁻¹ |
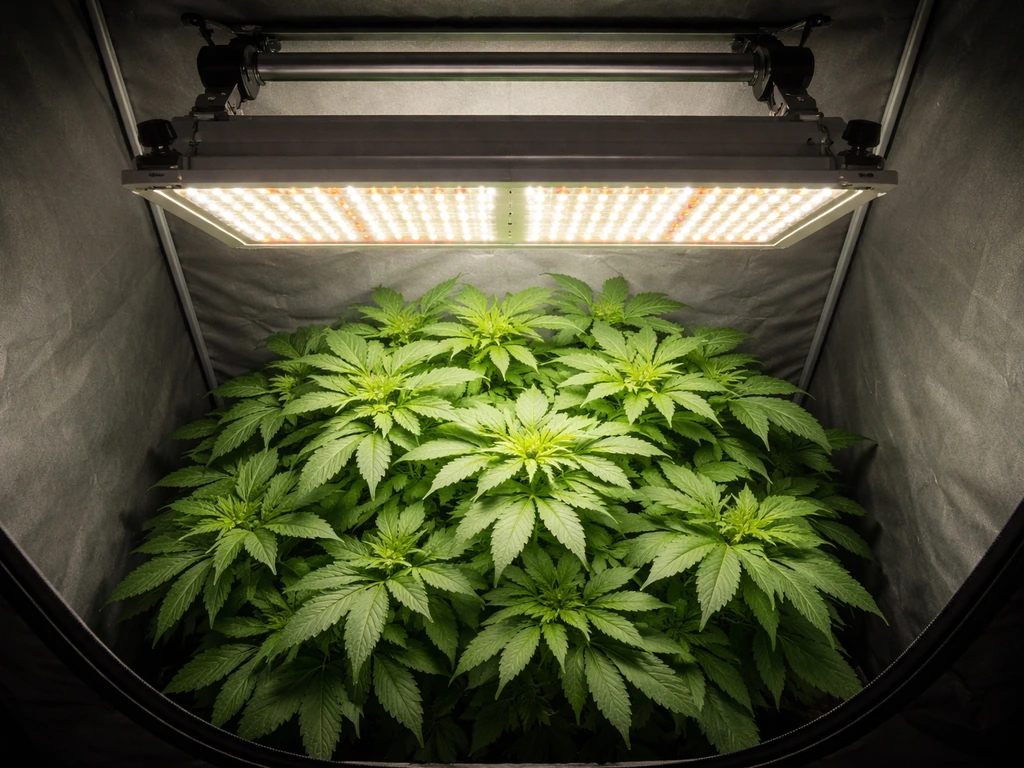
| Cannabis / high-demand crops | 30–60 cm (12–24 in) with dimming | 600–1,000+ µmol·m⁻²·s⁻¹ |
The University of Maine Extension gives 400–1,200 PPFD as a useful range for indoor flowering and fruiting plants, which lines up well with real-world LED setups. These are canopy-level targets, meaning you measure at the top of your plants, not at the fixture itself. Height adjustments of just a few centimeters can shift your PPFD values significantly. Testing of the Mars Hydro FC-E6500, for example, showed that raising or lowering the fixture by a couple of centimeters was enough to bring maximum PPFD into a target range, which tells you the relationship between distance and intensity is not linear or forgiving. Small moves matter.
Always start higher than you think you need to, especially with new plants or a new fixture you haven't measured before. You can always lower the light later. Going too close first is how you end up with bleached leaves you can't undo.
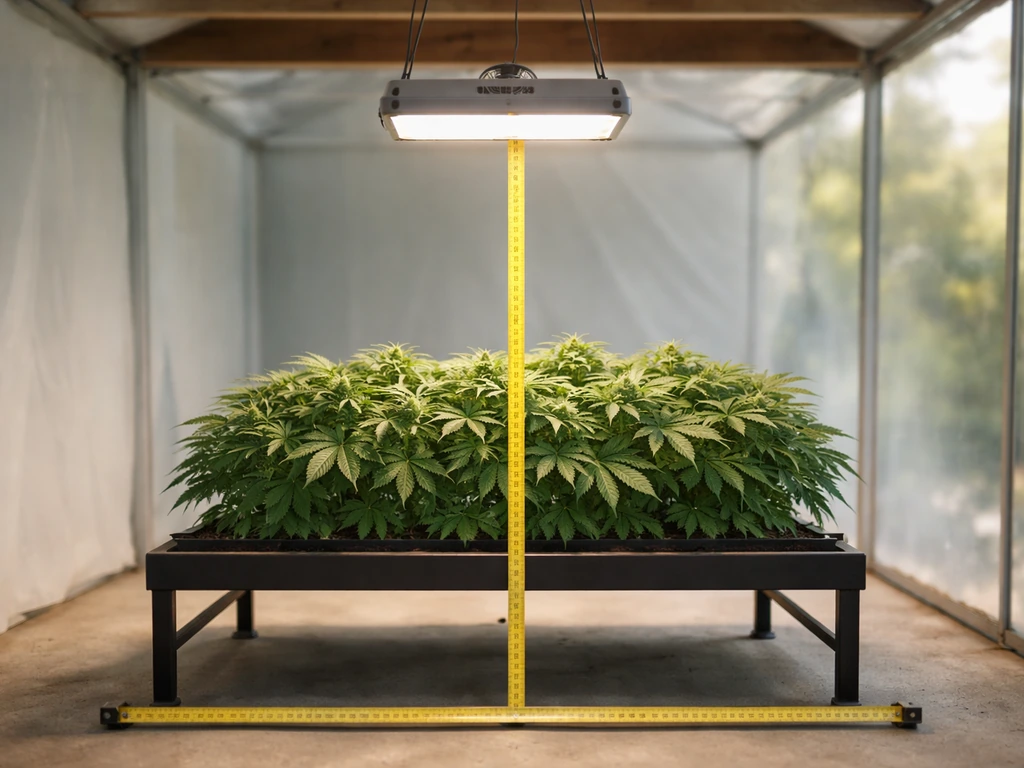
How to measure the distance correctly
Measure from the underside of the fixture (or the bottom of the reflector/diffuser if there is one) down to the top of your plant's canopy, not to the pot rim or the floor. Use a tape measure every time you adjust, because eyeballing it leads to inconsistency. If you have multiple plants at different heights, measure to the tallest plant, since that's the one closest to the light and most at risk of stress.
Angle, spread, and getting even coverage
Most LED grow lights hang flat and point straight down, which is fine for a single plant or a small cluster. But the moment you're covering a wider area, uneven coverage becomes a real problem. The center of the light footprint is almost always brighter than the edges, and if you're not accounting for that, your outer plants are getting less light than your center plants.
The professional way to diagnose this is to build a PPFD map. Apogee Instruments describes the process as dividing your growing area into a grid and measuring PPFD at the center of each grid section with a quantum sensor. For most home setups, a simple 3x3 or 4x4 grid works fine. Measure all your grid points, note where the low spots are, and then adjust the fixture position (or add a second light) to fill in the gaps. LuxGrow recommends grid spacing of 0.5–1 meter for greenhouse setups, and a similar approach works for indoor tents or shelves.
If you're covering an area larger than your single fixture is designed for, raising the light will spread the beam wider but reduce peak PPFD. Lowering it concentrates the output but shrinks the footprint and creates a brighter hotspot in the center. The FC-1000w test data from Coco For Cannabis shows this classic center-to-edge drop-off clearly: it's not a flaw, it's just how focused LED fixtures behave. Knowing that, you can decide whether to raise the light for more even spread or add a second fixture to cover the footprint properly.
For bar-style LED fixtures (the kind with multiple LED bars rather than a single puck), you have more flexibility to spread the bars apart or angle them slightly outward to improve edge coverage. Check your manufacturer's documentation for recommended bar spacing at different heights. If you're running multiple fixtures in a larger space, daisy chaining grow lights is often the most practical way to extend coverage without running separate power cables to each unit.
LED-specific factors: dimming, output, and heat
LED grow lights behave differently from older fluorescents or HPS fixtures, and positioning decisions have to account for that. The most important difference is that modern dimmable LEDs let you control intensity independently of mounting height. This is a huge advantage, but it also means you have two variables to manage at once: how high the light is hanging and what percentage you've got the dimmer set to.
Mars Hydro describes this directly in their hanging height and dimming guidance: the dimmer percentage corresponds to your maximum PPFD output, so your distance choice and dimmer setting need to work together. A light at 50% dimming at 40 cm behaves very differently than the same light at 100% dimming at 70 cm, even if the canopy PPFD ends up similar. The difference is beam spread and heat at the fixture. When you need high PPFD close to plants (like during flowering), it's usually better to hang closer and dim slightly rather than crank to 100% at a distance.
Heat is a real concern with high-output LEDs, even though they run much cooler than HPS. If your hand feels uncomfortably warm after 30 seconds held at canopy level directly under the fixture, the light is too close. LED fixtures still generate heat at the driver and diodes, and that heat rises. Check the temperature at canopy level with a thermometer: ideally you want 70–85°F (21–29°C) in the grow zone. Above 90°F consistently causes stress regardless of light intensity.
Bleaching from LEDs is purely a light intensity issue, not a heat issue. If the tops of your plants turn white or yellow-white and the damage is worst at the very tips closest to the light, your PPFD at canopy is too high. The Pro Grow UFO user guide specifically recommends using the manufacturer's PPFD chart to set fixture height before running plants, specifically to avoid giving them too much light too soon. This is especially easy to do when plants grow up toward a fixed-height fixture: the light that was fine at 45 cm last week may be too intense now that the canopy is 10 cm taller.
If your LED grow light has a dimmer, use it during the first week with any new plant or new setup. Start at 50–75% output, watch the plant for 3–5 days, then increase gradually. This approach is much safer than starting at full blast and hoping nothing burns.
The adjust checklist: measure, observe, tweak
This is the actual workflow I'd follow when setting up any grow light from scratch. It's not complicated, but skipping steps is how you end up guessing and getting inconsistent results.
- Start with your target PPFD. Look up what your plant type needs at its current stage (seedling, veg, flowering). Use the ranges in the table above as a starting point if you don't have a species-specific reference.
- Set your hanging height using the manufacturer's chart or the table above. Start at the higher end of the recommended range.
- Set your dimmer to 75% if your light is dimmable. Never start at 100% with plants you haven't measured for yet.
- Measure PPFD at canopy level at the center point and at each corner of your growing area. If you don't have a quantum sensor, use a calibrated PPFD app with your phone camera as a rough check (not perfectly accurate, but better than nothing).
- Check that your center-to-edge variation is within about 20–30% of the center value. If your center reads 600 and your corners read 200, you have a distribution problem, not just an intensity problem.
- Observe plants for 3–5 days. Look for stretch (needs more light or closer placement), bleaching (too close or too intense), or uneven growth across the canopy (coverage issue).
- Tweak one variable at a time: height or dimmer, not both at once. Lower the light to increase PPFD, or raise it to spread coverage. Increase dimmer to boost intensity without changing spread.
- Remeasure after any adjustment. Don't rely on feel. A 10 cm height change can shift your peak PPFD by hundreds of micromoles.
If you want a deeper walkthrough of the full installation process beyond just positioning, the guide on how to set up grow lights covers mounting hardware, wiring, and timer configuration in detail.
Troubleshooting by what you're seeing
If your plants are telling you something is off, here's how to read the symptoms and fix the position.
Leggy, stretching growth
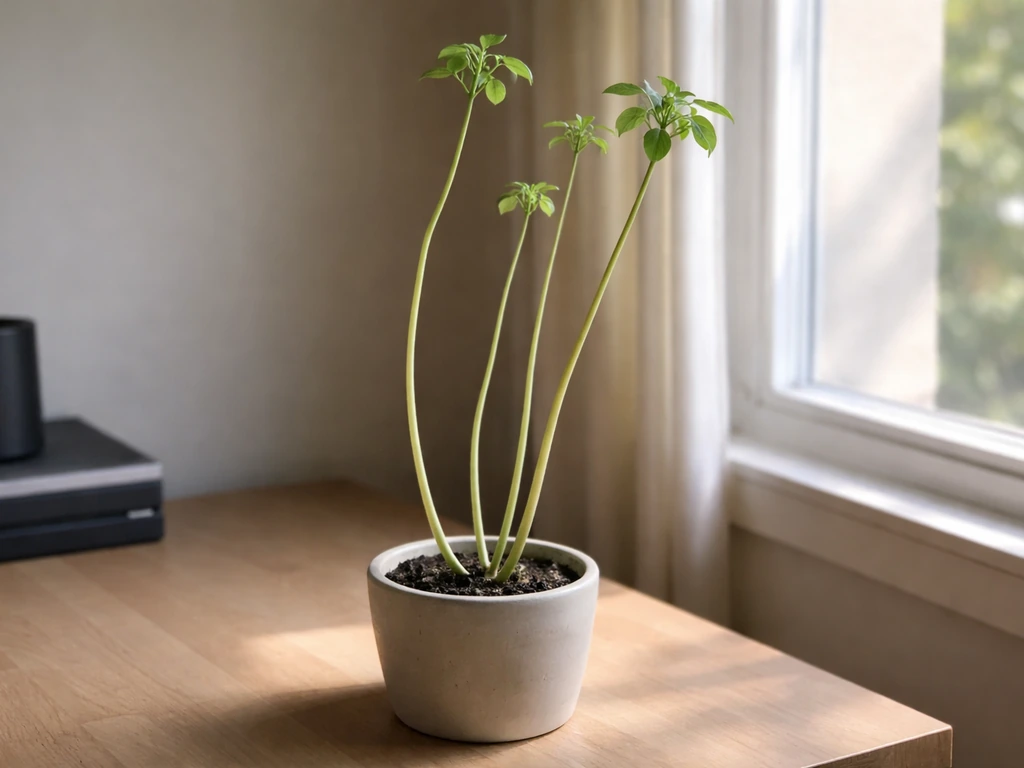
Long internodes, leaning stems, and plants reaching toward the light are all signs of insufficient light at the canopy. This is the most common beginner mistake. Your light is either too far away, too dim, or running for too few hours. MSU research confirms that low DLI significantly reduces quality and causes exactly this kind of poor structure. Fix: lower the light, increase dimmer output, or extend your photoperiod by 1–2 hours. Measure PPFD at canopy after adjusting. If you're still under 150–200 PPFD for most plants, you need either a more powerful fixture or a closer mounting position.
Bleached or white-tipped leaves
Bright white or pale yellow patches at the very tops of plants, especially near the center of the light footprint, mean the canopy is receiving too much PPFD. With LEDs this is almost always a distance issue. Raise the fixture 5–10 cm at a time until the symptoms stop progressing, then wait 5–7 days to see if the plant recovers. Affected leaves won't green back up, but new growth should be normal. Reducing the dimmer by 10–15% is another option if raising the fixture would compromise coverage for your other plants. Learning how to create bright indirect light with grow lights can help if you're dealing with plants that want high light but are sensitive to direct intensity.
Uneven growth across the canopy
If plants on one side are thriving while plants on the other side look stunted or pale, you have a coverage or aim problem. First, check that the fixture is centered over the growing area and hanging level. Then do a quick PPFD grid check: measure at the center and four corners. A difference of more than 40–50% between your brightest and dimmest points is too much variation. Fix this by raising the light slightly to widen the beam, repositioning the fixture to center the hotspot over the canopy, or adding a reflective liner (flat white paint or Mylar) to the walls of your grow space to redirect edge light back toward the plants.
Slow or weak growth with no obvious stress
If your plants look fine but just aren't growing with any vigor, the most likely cause is low DLI: enough light to survive but not enough to thrive. Iowa State Extension recommends working backward from a target DLI to determine the PPFD your canopy needs, given your photoperiod. For example, if you're running lights 14 hours a day and targeting a DLI of 15 mol·m⁻²·d⁻¹, you need roughly 298 µmol·m⁻²·s⁻¹ at canopy level continuously. If your PPFD reads lower than that, you need to either lower the light, increase output, or extend the photoperiod.
Matching your light to what your plants actually need
Different plants have genuinely different light requirements, and positioning has to account for that. A snake plant needs very different canopy PPFD than a tomato in flowering. If you're growing a mix of plants under one light, you have a few options: arrange the most light-hungry plants under the center (highest PPFD), put low-light plants toward the edges or under less intense areas, or raise the light to reduce peak intensity and use a longer photoperiod to maintain DLI. Understanding how to grow plants with a grow light from the ground up will help you match your fixture choice and schedule to your specific plant list.
If you're new to the mechanics of why all of this matters, it's worth spending a few minutes understanding how grow lights work at the basic level. Knowing the difference between PAR, PPFD, and lux, and why only PPFD actually tells you what plants can use, makes every positioning decision easier.
A few things that make positioning easier long-term
Adjustable rope ratchets are one of the most underrated tools for grow light positioning. They let you change height in seconds without tools, which means you'll actually adjust as your plants grow rather than leaving the light at one fixed height for weeks. Get them even if your fixture came with a basic hanging kit.
A basic quantum sensor or PPFD meter pays for itself quickly if you're growing more than a few plants. Phone apps that claim to measure PPFD are useful for rough comparisons, but they're not calibrated for plant-specific wavelengths and can read 30–50% off from actual values. If you want to dial in your setup properly, a dedicated meter is worth it.
If you're planning to grow with multiple lights or want to understand the full range of what's possible with a well-designed indoor setup, reading more about how to grow with grow lights will give you the bigger picture on scheduling, plant stages, and output matching. Good positioning is foundational, but it's one part of a complete system that also includes timing, spectrum, and how your fixture works with your specific growing environment.
FAQ
Can I position grow lights by using lux or my phone’s light app instead of PPFD/DLI measurements?
For positioning, PPFD is the more reliable metric. Lux is weighted to human vision and can mislead you on plant-usable light. Phone apps are often useful only for rough comparisons, and they can be off by 30 to 50 percent, so use them at most to detect gross changes, then confirm with a real PPFD meter or your fixture’s PPFD chart.
What should I do if my grow light has no published PPFD chart or I do not have a PPFD meter?
Start with conservative height and use visual and growth feedback, but do not rely on distance alone. Run the dimmer at 50 to 75 percent for a week, then adjust in small steps (for example, 5 to 10 cm) while watching for stretching or bleaching. If possible, borrow or rent a quantum sensor for one measurement session so you can anchor your setup to real canopy PPFD.
How do I position the light when plants are at different heights in the same tray or shelf?
Measure to the tallest canopy point, then compensate for the shorter plants by using zones, staggering trays, or increasing spacing within the shelf. If you cannot separate them, consider slightly raising the fixture for overall spread and reduce peak intensity with dimming, then accept that the tallest plants get the most light while the shorter plants may remain slightly underexposed.
Should I measure height from the fixture housing, the LED board, or the bottom of the diffuser?
Measure from the underside of the fixture to the top of the canopy, using the lowest optical surface that actually emits or diffuses light (bottom of reflector or diffuser if present). Keep that reference consistent every time you adjust, because changing your measurement point by even a few centimeters can shift canopy PPFD meaningfully.
Is it better to aim a grow light more directly at the center, or angle it to spread evenly?
Center-brightening is normal with LEDs, but you still want to minimize edge drop-off. If your edges are dim, raising the fixture usually spreads the beam broadly, while angling bar-style fixtures slightly outward can improve edge coverage. Over-aiming can create a tight hotspot, so check with a quick corner versus center comparison before making big changes.
How often should I re-measure and reposition as my plants grow?
Reposition frequently during early growth and whenever canopy height changes quickly, for example after pruning, transplanting, or switching stages. A practical approach is to re-check height weekly with rope ratchets, then do a PPFD quick-check when you notice symptoms, because a 10 cm canopy rise can turn previously safe intensity into too much.
What is the safest approach when I switch fixtures or change dimmer settings?
Assume the new setup will not match your prior canopy intensity. Reset to a conservative starting point (for example, hang a bit higher than before and run dimmer around 50 to 75 percent), then adjust gradually over 3 to 5 days. Also account for beam spread differences when you dim and when you change distance, since dimming can affect more than just brightness.
My plants show stretching but I also see some bleaching on the closest tops. How can that happen?
That combination usually means uneven coverage or a hotspot, not just “too little light” or “too much light.” Confirm centering and hanging level, then check a simple corner and center reading (or do a grid). The fix is typically to widen the footprint (raise slightly or add a second light) while using dimming to prevent peaks at the center.
Should I be concerned about fixture temperature if my canopy looks fine?
Yes, but it is separate from bleaching. LEDs still create heat at the driver and diodes, and rising heat can stress plants even if light symptoms are not obvious. If canopy-level temperature repeatedly exceeds your target range (and especially if it trends upward during the photoperiod), improve airflow or raise the fixture and verify with a thermometer.
How do I handle airflow and heat when positioning lights closer to boost intensity?
When you move lights closer, increase ventilation before you increase intensity. Keep intake and exhaust airflow consistent, avoid blocking vents under the fixture, and re-check canopy temperature after each adjustment. Use smaller height changes, then wait a few days, because heat stress can lag behind light changes.
If I am growing multiple plant types under one LED, how should I position the light to avoid hurting the sensitive ones?
Use a compromise strategy based on canopy placement. Put the most light-hungry plants in the brightest central region (where PPFD peaks), move shade-tolerant plants toward edges or slightly farther from the center hotspot, and consider raising the fixture to reduce peak intensity while extending photoperiod enough to maintain DLI for the plants that need it.
What’s a practical way to troubleshoot “uneven” growth on one side of the tent or shelf?
First verify the fixture is centered and level, then check for one-sided reflections or obstructions (fans, shelving lips, or fabric barriers). Do a fast PPFD check at center and corners, look for variation larger than about 40 to 50 percent, then fix with centering, slight raising to widen the beam, or improving wall reflectivity (for example flat white or reflective film).
Next Article
How to Grow Lights Work: Setup, Spectrum, Sizing, Timing
Learn how grow lights work and size, place, and time LEDs or other types for healthy seedlings, veg, and blooms.