Daisy chaining grow lights is a real, manufacturer-supported feature on many LED fixtures, but it is not the same as plugging a bunch of lights into a power strip. Done correctly, it lets you control multiple fixtures from a single point, run coordinated dimming across your whole grow space, and keep your wiring clean. Done wrong, you end up with flickering lights, tripped breakers, or fixtures that refuse to power on. This guide walks you through exactly how to do it right, from checking your lights are even compatible, to the physical connection steps, to what to do when something goes sideways. To learn the basics of lighting intensity, spacing, and safe setup for seedlings and veg, see how to grow plants with a grow light.
How to Daisy Chain Grow Lights: Safe Step-by-Step Guide

Marcus Tillman
20 Apr 2026
What daisy chaining actually means for grow lights
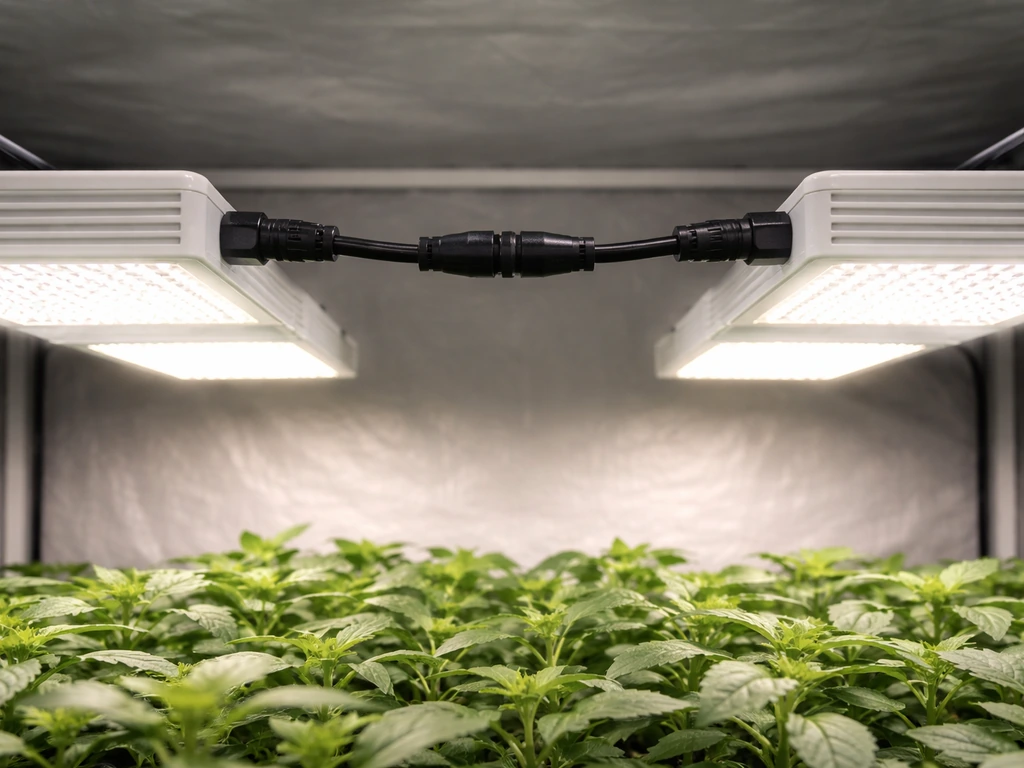
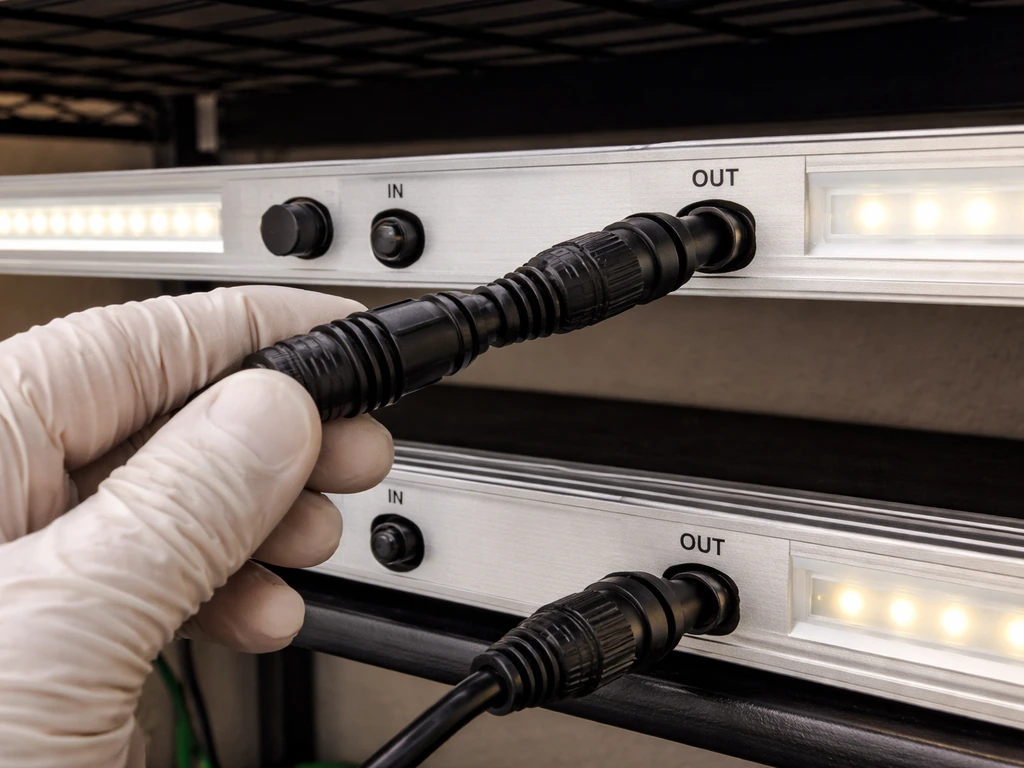
In the grow light world, daisy chaining means connecting multiple fixtures together in a chain so that a single controller, dimmer signal, or power connection flows from one light to the next. It is a manufacturer-defined topology, not just an electrical term. The connection passes through dedicated ports on each fixture, usually labeled "Daisy Chain In" and "Daisy Chain Out," or through proprietary cables like Telos's Power Link and Dimming Link system. The intent is that you can hang four, six, or even more lights across a room, connect them in a chain, and dim, schedule, or control them all from one end of that chain.
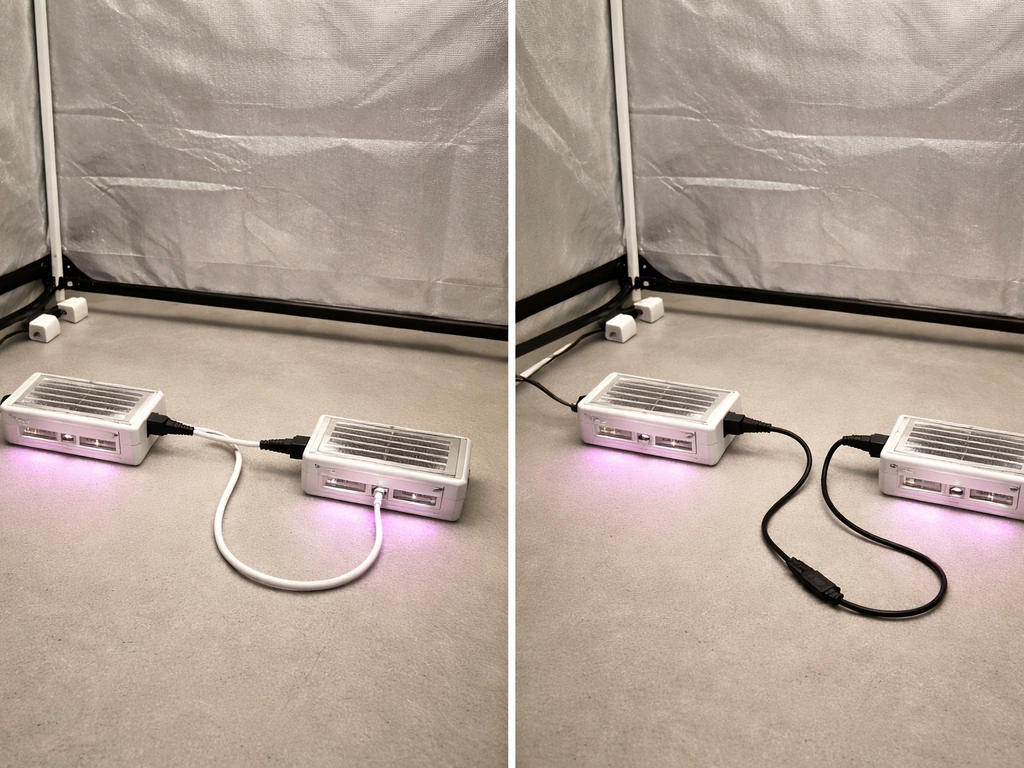
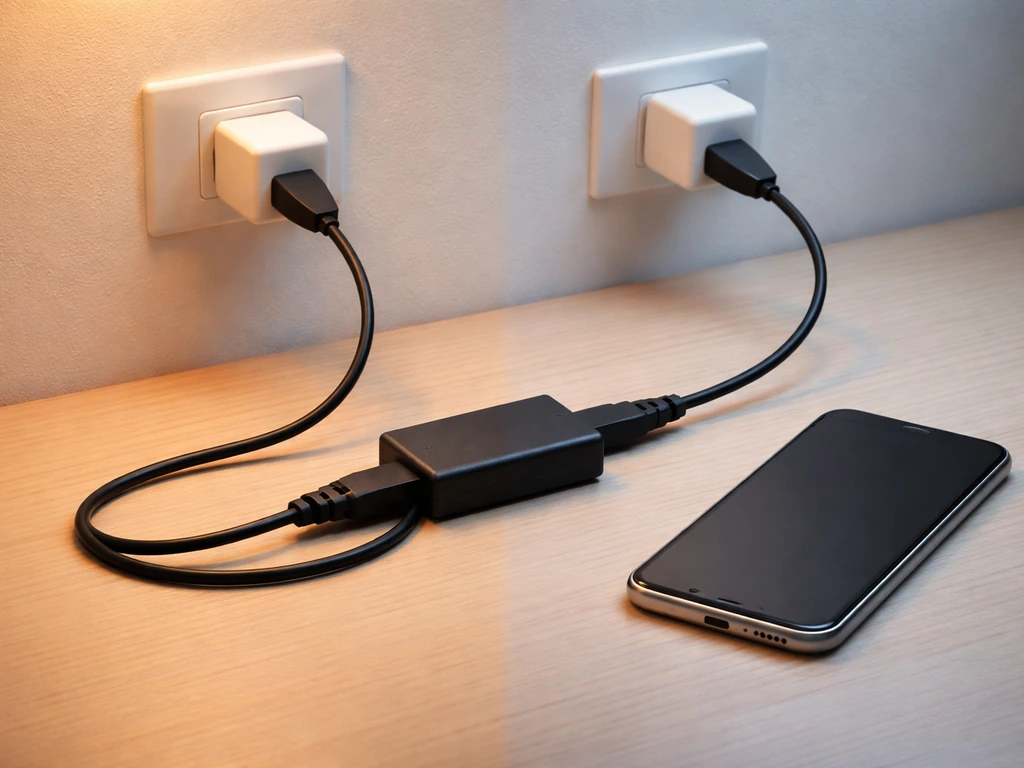
What daisy chaining is NOT: plugging the power cord of one light into a socket on another light, or running an extension cord from fixture to fixture. That is just load stacking on a circuit, and it skips all the signal and control logic that makes daisy chaining useful. Some systems also separate power daisy chaining from control daisy chaining. Telos, for example, uses a Power Link T-connector for distributing mains power across fixtures, and a separate Dimming Link cable for passing the dimming signal down the chain. Those are two distinct connections, and you need both for the system to work as intended.
You can only daisy chain lights that are designed for it. If your fixture has no daisy chain port and the manual does not mention it, the answer is simple: this light does not support daisy chaining, and you should not attempt to improvise one. Stick to per-circuit load management instead (more on that in the safety section). If you are still in the buying phase, checking the general grow light setup guide on this site will help you pick a fixture with the features you actually need.
Know your light's specs before you connect anything
Before touching a single cable, pull up the manual for your specific fixture model and find three things: the maximum number of lights per chain, the voltage requirement (120V vs. Showline’s SL STRIP 10 IP quick start manual includes a daisy-chain “DO NOT EXCEED” warning, emphasizing that you must not surpass the maximum allowable number of luminaires on a given power feed maximum number of lights per chain. 220V), and what type of cable or port the daisy chain uses. Getting these wrong is the number one cause of problems.
Maximum chain length by model and voltage
Manufacturers publish hard limits on how many fixtures can share one daisy chain connection, and those limits change depending on whether you are running 120V or 220V. Running 220V almost always lets you chain more lights because the higher voltage means lower current draw per fixture. Here is a real-world example from Telos's published specifications for their Dynamic series:
| Model | Max units @ 120VAC | Max units @ 220VAC |
|---|---|---|
| Dynamic 930 | 4 units | 7 units |
| Dynamic 1200 | 3 units | 6 units |
| Dynamic 1960 | 2 units | 4 units |
| Dynamic 2400 | 1 unit | 3 units |
Notice that the more powerful the fixture, the fewer you can chain together, that is basic electrical math. A Dynamic 2400 running at 120V effectively cannot be daisy chained for power at all; it takes up a full circuit on its own. At the other end of the spectrum, Mars Hydro's TS Series supports up to 60 lights in a single daisy chain, but that system is using a low-power dimming cable signal rather than distributing mains power through the chain, so the limits are completely different. Never apply one brand's chain limit to another brand's fixtures.
Plug types and connection interfaces
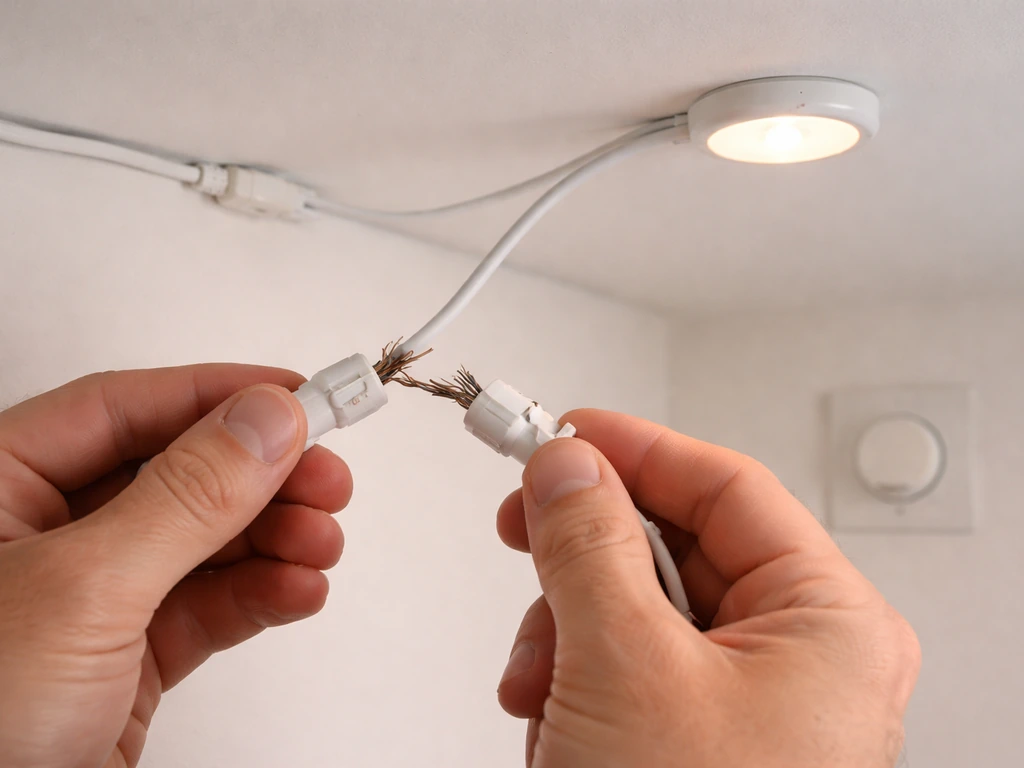
Most daisy-chainable grow lights use one of a few connection types: a proprietary keyed connector specific to that brand, a standard RJ45 (ethernet-style) port for control signals, or a locking power connector for mains distribution. Mars Hydro TS and FC/FC-E series use dedicated dimming cables that plug into labeled ports. Telos uses its own Power Link T-connector for power and a separate Dimming Link cable for control. The key rule, as RapidGrow's support documentation puts it clearly: use only the manufacturer-supplied cables and plugs, because they are the components that ensure the correct wiring and hardware is in place. Using a random cable that fits physically but carries the wrong signal type can damage drivers.
Driver and dimming signal requirements
Many modern LED drivers expect a specific dimming input signal, typically 0-10V analog or PWM, and daisy chaining passes that signal from fixture to fixture. Some fixtures have a built-in controller that removes the need for external dimming hardware. The Telos Dynamic 930, for instance, has Growcast built directly into the fixture, so you do not need a separate Dimming Link Kit for that model. A single Growcast unit can control up to 24 Telos Dynamic fixtures when they are daisy chained. Always confirm whether your specific model needs an external controller, a separate dimming cable, or whether control is already integrated. This is model-specific, not brand-wide.
Step-by-step: how to daisy chain LED grow lights
These steps apply to the most common manufacturer-supported daisy chain setup, where fixtures have dedicated In/Out ports and you are using the correct cables. If you are also wondering how to grow with grow lights, this daisy chain approach helps you keep intensity consistent from seedling through veg These steps apply to the most common manufacturer-supported daisy chain setup. Follow the steps in this guide to set up your grow lights correctly, including how to connect the chain and confirm dimming works across all fixtures how to set up grow lights. If your system separates power distribution from dimming signal (like Telos Power Link plus Dimming Link), you will repeat the relevant steps for each cable type.
- Confirm compatibility: Check the manual for every fixture you plan to chain. They must be the same brand, same series, and ideally the same model. Mixing models from the same brand is sometimes supported but check explicitly—do not assume.
- Calculate your circuit load: Add up the wattage of all fixtures you plan to chain. A standard 120V/15A US circuit can handle roughly 1,440W continuously (80% of 1,800W max). A 20A circuit gives you about 1,920W. If your chain exceeds this, you need a 220V circuit or fewer lights per chain.
- Mount your fixtures first: Get all the lights hung at the correct height before you run any cables. It is much harder to adjust position after cables are connected. Hang them according to your spacing plan (covered in the next section).
- Power everything OFF: Every fixture should be unplugged from mains power before you connect any daisy chain cables. This is not optional.
- Connect the first fixture to the power source: The first light in the chain plugs into the wall outlet or dedicated circuit. This is the only fixture with a direct mains connection.
- Run the daisy chain cable from the first fixture's 'Out' port to the second fixture's 'In' port: Use only the cable type specified in your manual—Power Link cable, dimming cable, or whatever the manufacturer calls it. Do not force a connector that does not seat cleanly.
- Continue down the chain: Second fixture's 'Out' port connects to third fixture's 'In' port, and so on. Stop at or before the manufacturer's stated maximum for your voltage.
- Connect the control/dimming cable if separate: If your system uses a separate dimming or control signal cable (like Telos Dimming Link), run that cable down the chain in the same order, Out to In. On some systems, this connects to a central controller rather than daisy chaining through fixtures.
- Power on and test each fixture: Plug in the first fixture and power on the chain. Walk down the line and confirm every light illuminates. If one does not, power off and re-seat that connection before troubleshooting further.
- Set your dimmer or controller: If you are using a main/sub topology (like Mars Hydro TS Series), designate one fixture as the main light and the rest as sub-lights per the manual's instructions. Dimming adjustments made at the main light should propagate to all sub-lights in the chain.
Planning spacing, placement, and light coverage across the chain
Adding more lights to a chain does not automatically mean better coverage. If you hang four fixtures in a straight line directly above a wide canopy, the plants under the gaps between lights will be underpowered while the plants directly under each fixture may get too much intensity. The goal is even PPFD (photosynthetic photon flux density) across the entire grow area, not just under each light.
A practical starting point: space fixtures so their coverage footprints overlap by roughly 20-30%. Most manufacturer footprint guides show the recommended coverage area per fixture at a given height, use these numbers, not guesswork. For a light that covers a 4x4 ft area at 18 inches, spacing multiple units 3 to 3.5 feet apart (center to center) in a row gives you that overlap without creating hotspots directly below each fixture.
Hanging height matters enormously here. Mars Hydro's guidance for their TS and FC/FC-E series recommends starting at 18 inches and running at full intensity as a baseline for vegetative growth. Lower hanging heights increase intensity under each fixture but shrink the coverage footprint, which makes uneven coverage more likely when chaining multiple units. If you are growing seedlings or low-light houseplants, raise the lights to 24-30 inches and reduce intensity rather than lowering the bars. Getting the height right is one of the most common setup mistakes, the positioning guide for grow lights on this site goes deeper on this if you need it. This is the core reason knowing how to position grow lights matters: it determines the coverage and intensity your daisy-chained fixtures deliver.
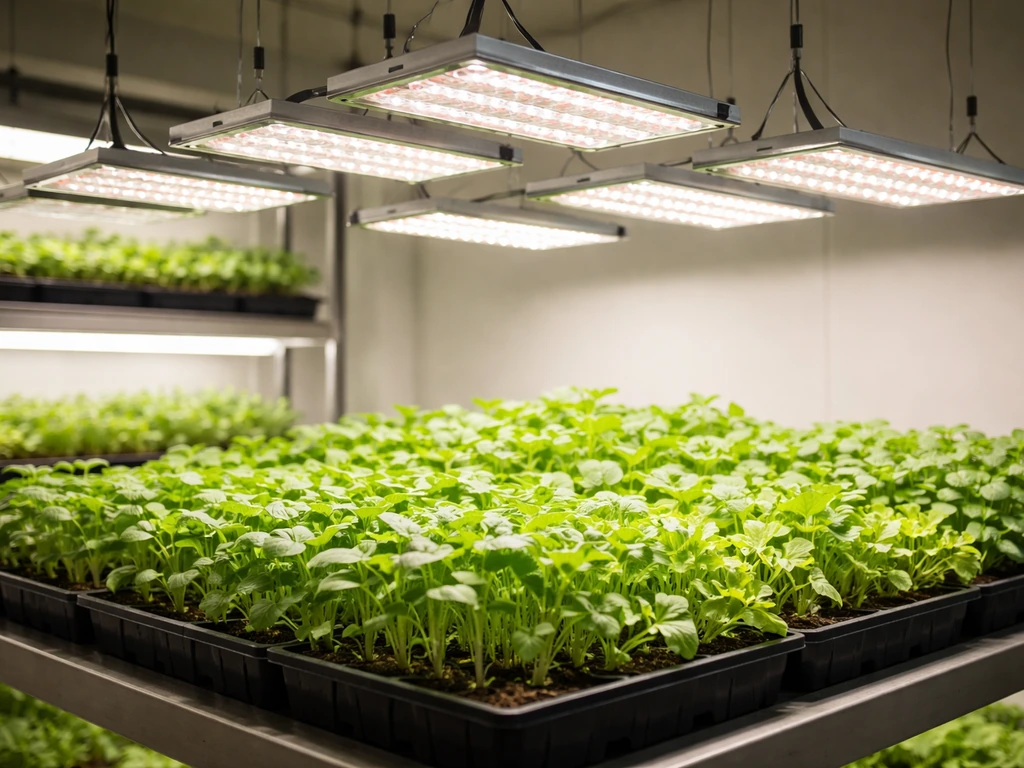
For seedling trays spread across a long shelf, a chain of lights running the length of the shelf is ideal, equal spacing, consistent height, and the same dimming level applied to all fixtures through the chain. For mixed plant types with different light needs in the same room, a daisy chain is actually less ideal because all chained fixtures share the same dimming level. In that case, run separate chains for separate zones.
Scheduling, dimming, and managing heat as you scale up
Running a schedule across the chain
One of the biggest advantages of daisy chaining is synchronized scheduling. If your chain is controlled by a single timer or smart controller, every light turns on and off at the same moment. That is exactly what you want for consistent plant growth. Connect your timer to the first outlet in the chain (or to the controller unit if your system uses one), and the schedule applies to all fixtures. Do not put individual timers on separate fixtures in a daisy chain, the signal logic may conflict, and you can confuse or damage the driver.
How dimming works across chained fixtures
In a properly configured daisy chain using manufacturer cables, adjusting the dimmer on the main or controller unit changes the output on every fixture simultaneously. This is actually one of the most useful features, dial back to 50% intensity during seedling stage, ramp up to 100% at full vegetative growth, and every light in the chain responds together. The key word is "properly configured." If one connection in the dimming signal chain is loose or uses the wrong cable, some fixtures may not receive the dimming signal at all and will either run at full power or fail to respond to changes.
Heat and airflow with multiple fixtures
More lights in a confined space means more heat, full stop. The Telos Dynamic 930 has a published ambient operating temperature range of 0-40°C (32-104°F). Once your grow room ambient temperature climbs above 35°C, you are close to the edge of that range, and multiple chained fixtures generating heat simultaneously can push you over it. The practical solution is straightforward: make sure your grow space has active airflow before you chain more than two or three lights together. An oscillating fan pointed at canopy level handles air circulation for plants. An inline exhaust fan pulling hot air out of the tent or room handles overall temperature. Check your ambient temperature with a simple thermometer after your lights have been running for two hours at full power, that is your real operating condition, not the temperature when the lights first turn on.
Heat also rises, which means fixtures mounted close together horizontally will share the same warm air column. Give each fixture at least 6 inches of clearance above it if possible, and never block the passive cooling fins or vents on the back of the fixtures with cables or hanging hardware.
Troubleshooting the most common daisy chain problems
One or more lights won't turn on
If the first fixture in the chain powers on but a downstream one does not, the problem is almost always the connection between the last working fixture and the first dead one. Power off everything, unplug and re-seat that cable at both ends, and power back on. If it still fails, swap that cable with a known-good cable. If the problem moves with the cable, you have a bad cable. If it stays at the same fixture, that fixture's input port may be damaged. Do not skip the "power everything off" step, hot-swapping daisy chain cables can corrupt the driver's state on some models.
Flickering lights
Flickering almost always points to a loose connection or a cable that is physically damaged (bent pin, frayed end). It can also happen when a dimming signal cable is not seated properly, causing the driver to hunt for a stable input. Go down the chain one connection at a time, wiggling each cable gently while the lights are on to identify which connection is unstable, then power off and fix that one. If the flickering started after adding a new fixture to the chain, that new fixture's input or output port is the first place to look.
Dim output across the whole chain
If all fixtures are on but everything looks dimmer than expected, check the dimmer setting first, it sounds obvious, but a controller set to 30% will make a full chain look underperforming compared to a single fixture at 100%. If the dimmer is at full, check whether the control cable is connected to the controller correctly. A missing or incorrectly connected dimming signal can cause some driver types to default to a low-power safe mode rather than full output.
Tripped breaker or overloaded circuit
If your breaker trips when the chain powers on, you have exceeded the circuit's capacity. Do the math: total fixture wattage divided by your voltage equals amperage draw. On a 120V/15A circuit, do not exceed 1,440W total. Remove fixtures from the chain until you are within that limit, or move some fixtures to a dedicated circuit. Do not simply reset the breaker and try again, repeated trips can damage the breaker and create a fire risk.
Compatibility and error states
Some smart fixtures display error codes or simply refuse to function when connected to an incompatible fixture in a chain. This happens most often when someone tries to mix two different models or two different brands using cables that physically fit but carry different signal protocols. If you see an error light or code, check the manual for that error number before doing anything else. The fix is almost always removing the incompatible fixture and using only the supported combination.
Intermittent issues that come and go
Intermittent problems, lights that work fine for an hour then act up, are usually heat-related or vibration-related. Heat causes connectors to expand slightly, which can make a marginally-seated cable lose contact. Vibration from fans can work a cable loose over time. Ensure all connectors are fully and firmly seated, add cable ties to prevent sagging or movement, and verify your ambient temperature is within the fixture's rated range.
Safety checklist before you run your first chain
Take five minutes with this list before powering on a new daisy chain setup. Skipping any of these is how people end up with damaged equipment or, worse, a safety incident.
- Use only manufacturer-approved cables and connectors for every daisy chain connection. No adapters, no DIY cables, no "this fits so it should work" logic.
- Calculate total wattage and confirm it is within 80% of your circuit's rated capacity before powering on. For 120V/15A circuits, stay at or below 1,440W. For 120V/20A circuits, stay at or below 1,920W.
- Run each chain from a single dedicated outlet or circuit where possible. Do not share circuits with other high-draw devices like dehumidifiers or fans on the same breaker.
- Use a properly rated power strip or PDU (power distribution unit) with surge protection if you are distributing power to multiple chains. A basic extension cord is not a substitute.
- Add strain relief: make sure cables are not pulling on connector ports under their own weight. Use zip ties or cable clips to anchor cables to the fixture's hanging hardware.
- Never run cables through standing water, across wet surfaces, or in a position where irrigation runoff or condensation can reach them. Indoor growing environments create humidity—route cables up and away from plant canopy and irrigation zones.
- Keep the area around each fixture's cooling vents clear. Do not stack anything on top of fixtures or bundle cables across vent openings.
- Do not exceed the manufacturer's stated maximum number of fixtures per chain at your voltage level. This limit exists for electrical and thermal reasons, not just as a suggestion.
- After powering on a new chain for the first time, stay nearby for the first 30 minutes and check for unusual smells, sounds, or heat. If anything seems off, power down immediately.
- If at any point the wiring complexity of your setup exceeds what daisy chaining can cleanly handle—multiple zones, many circuits, mixed fixture types—stop and move to a proper power distribution method like a commercial PDU or a dedicated grow room controller.
Daisy chaining is a genuinely useful feature when used within its design limits. Plan your chain length based on your voltage and fixture model, use only the right cables, space your lights for overlapping coverage, and let the chain's synchronized dimming do the work for you. If you are still building out your overall setup, the broader grow light setup guide on this site covers the full picture, from choosing fixtures to wiring your space from scratch. For bright, even indirect-style lighting, keep your lights set up for appropriate height and overlap, then use the chain’s dimming control to fine-tune intensity across the whole area.
FAQ
Can I daisy chain grow lights if they are the same brand but different models or wattages?
Sometimes, but you must verify model-level compatibility in the manual, not just brand identity. Different models can use different dimming signal types, different daisy chain port pinouts, or different maximum fixtures per chain, and mixing them can trigger low-power safe mode, dimming dropouts, or error codes. If the manual does not list the exact other models as supported, treat them as incompatible and run separate chains.
What is the safest way to add one more fixture to an existing daisy chain?
Power everything off before touching cables, then confirm the added fixture is in the correct position relative to the chain direction (In to Out). After reconnecting, run the chain at 50% first and watch for stable dimming across all fixtures for 10 to 15 minutes. If any fixture refuses to follow the dimming change during that test, remove it and troubleshoot the cable/port for that specific fixture before increasing intensity.
Do I need to daisy chain the power and the dimming signal, or is one enough?
For most systems you need both connections if the manufacturer separates them, because power-only chaining does not pass the control signal. A setup that uses a Power Link for mains distribution and a separate Dimming Link for 0-10V or PWM signal will still run unsafely or not dim correctly if the dimming cable is missing or miswired. Check whether your model has integrated control, since some fixtures eliminate the external dimming cable requirement.
Can I use a generic ethernet cable for an RJ45 daisy chain connection?
Do not assume any Ethernet-style cable is correct. Even if a cable fits an RJ45 port physically, the signal protocol, wiring order, and shielding requirements can differ by manufacturer. Use only the manufacturer-supplied cable or the exact spec they list (cable type, length, and pin mapping), because mismatches can damage drivers or cause flickering and non-response to dimming.
How long can my daisy chain be, and does cable length matter?
Yes, length matters. Many manufacturers limit both the number of fixtures and the total run length, because dimming signals degrade over distance and connectors experience more mechanical stress. If your manual lists a maximum cable length or maximum chain run, follow it, and keep slack secured with cable ties so the connectors do not hang under tension.
If the first fixture turns on but the last one does not, should I keep troubleshooting forward or backward?
Work backward from the last working fixture toward the first dead fixture. The article’s most reliable method is to power down, reseat the cable at both ends for the boundary between working and non-working, then test. If reseating does not fix it, swap that cable with a known-good one. This prevents you from changing multiple variables at once.
Why do some fixtures default to low output when I connect them to an incompatible chain?
Many LED drivers fall back to a “safe” state when they do not detect the expected dimming signal type. For example, if a fixture expects 0-10V but receives PWM, or expects a specific controller handshake that never arrives, it may limit output rather than following your dimmer. The fastest check is to confirm the exact dimming input type required for each model and ensure the chain carries the correct signal through the correct ports.
Should I put a separate timer on each fixture even if I daisy chain them?
Usually no. Daisy chain control assumes one coordinated schedule or one controller feeding the chain. Adding individual timers can create conflicting commands or cause only part of the chain to synchronize, leading to inconsistent growth and troubleshooting headaches. Use a single timer or smart controller upstream of the chain and adjust intensity through the chain’s dimmer/control interface.
What ambient temperature should I watch for during extended use?
Use the manufacturer’s rated ambient operating temperature range and verify your actual room conditions after the lights have been running for a couple of hours at full output. If you are near the upper end of the range, add more airflow before you chain additional fixtures, because heat can loosen marginal connections and trigger intermittent flicker or non-dimming behavior.
How can I prevent flickering without repeatedly power-cycling the whole chain?
First check for loose seating and physical damage at each daisy chain connection, then secure cables so they cannot vibrate or sag. If flickering started right after adding a fixture, inspect that fixture’s In and Out ports first. Avoid hot-swapping cables while powered, because some driver states can become unstable until the next full power-down and reseat.
If the chain looks dimmer than a single fixture at full power, what are the most likely causes?
The most common cause is that the controller or dimmer is set below 100% for the entire chain. Next, verify the dimming cable connection from the controller to the first fixture and confirm the chain is configured for the correct dimming mode for your driver type. Also make sure you are not comparing different hanging heights or distances, since intensity changes dramatically with height even if dimming is correct.
What should I do if my breaker trips, besides removing fixtures?
In addition to reducing load, confirm you are not sharing unrelated equipment on the same circuit and re-check total wattage using the fixtures’ rated input power, not marketing output. If you are close to the limit, split the setup into separate chains on separate circuits rather than repeatedly resetting the breaker. Repeated tripping can damage the breaker and indicate wiring or load budgeting issues.
Is daisy chaining appropriate for mixed plants with different light needs in the same room?
Not if you want independent dimming levels per plant group, because chained fixtures share one dimming signal. For mixed requirements, create separate chains or zones with different dimmer settings so each plant type can receive its own schedule and intensity. This avoids over-lighting low-demand plants or under-lighting high-demand ones.
Next Article
How to Grow With Grow Lights: LED Setup, Timing, and Fixes
Step-by-step LED grow light guide: choose lights, hang height, coverage, timing, intensity, and fix leggy or yellow plan