You can get LED grow lights for free or close to it through manufacturer giveaways, open-box deals, local community groups, retailer clearance bundles, and sometimes just asking the right people. The catch is that most free lights come with unknown specs or questionable history, so you also need to know how to verify they're safe, compatible with your space, and set up correctly before you plug them in over your plants. If you want to become a grow light tester, start by learning how to check input voltage, coverage area, and spectrum so you can judge a light accurately verify they're safe, compatible with your space, and set up correctly.
How to Get Free LED Grow Lights: 10 Real Ways + Setup Tips

Marcus Tillman
11 May 2026

What 'free' actually means in this context
The word 'free' covers a few very different situations, and it's worth being clear about which one you're chasing so you don't waste time.
- Giveaways and contests: Legitimate brands like Spider Farmer run 'Answer and Win' style promotions where you can win specific lights (like their G4500 LED). Photonican has run follower giveaways for high-wattage lights like the Aurora 2000 680W. These are real, but you need to follow brand social accounts and act when a promo drops.
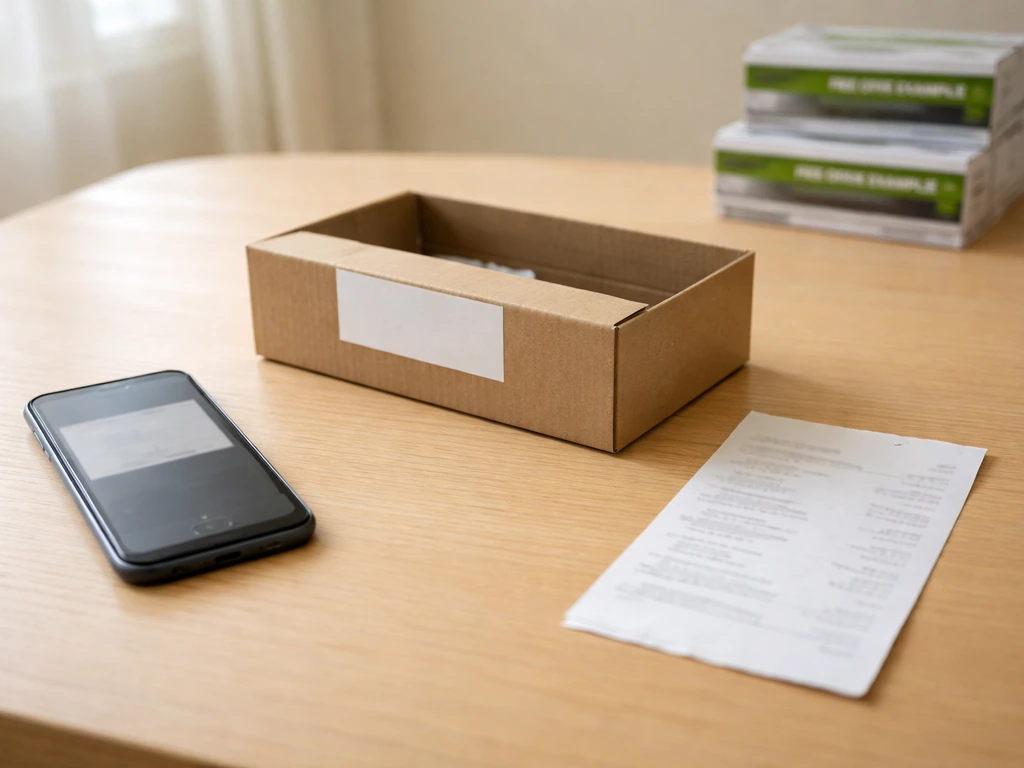
- Open-box and customer returns: Retailers like Max Warehouse list returned LED grow lights (example: a Feit Electric 4 ft. grow light) as 'open box' at steep discounts, describing them as 'returned products in good condition that work and look like new.' eBay has similar listings labeled 'Open Box Nvr Used.' These are rarely truly $0 but often 40–70% off.
- Local free groups and marketplaces: Facebook Marketplace, Craigslist (open-box listings do show up, like a 600W 12-Band Full Spectrum light listed in Los Angeles), and Buy Nothing groups redistribute gear people no longer need. This is your best shot at a literal $0 light.
- Bundles and clearance: Some retailers bundle a basic LED panel with a tent or timer purchase. Watch for end-of-season clearance when shops offload floor models.
- DIY alternatives: If a free light is simply not available right now, repurposing standard LED strips or daylight-spectrum bulbs can bridge the gap while you wait for a real deal. This is covered in a separate sibling topic on using normal LED lights as grow lights.
Be realistic: manufacturer giveaways are low-odds by design. The highest-probability paths to a $0 or near-$0 light are local groups and open-box marketplaces. Chase both simultaneously.
Where to actually find free or near-free LED grow lights
Online giveaways and brand promotions
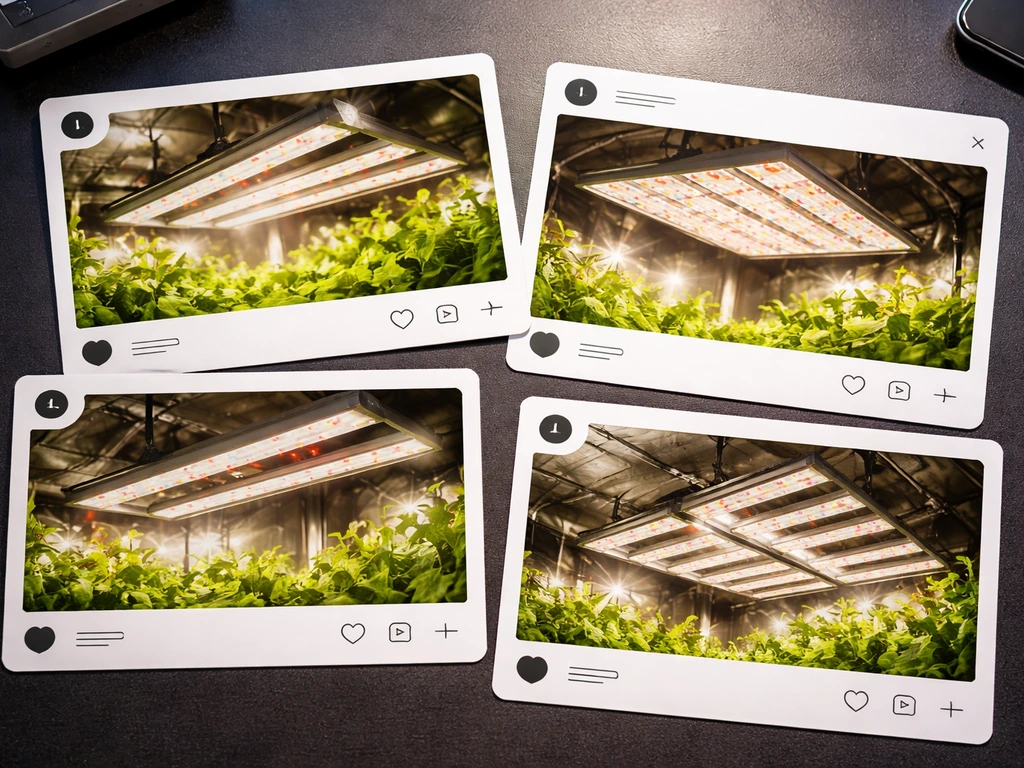
Follow Spider Farmer, Photonican, Mars Hydro, and other grow light brands on Instagram, Facebook, and YouTube. They periodically run giveaway posts requiring you to comment, tag a friend, or answer a question. Set a Google Alert for '[brand name] giveaway' so you catch promotions as they go live. Note that some giveaways (like Photonican's) require U.S. residency, so check eligibility before investing time.
Open-box and secondhand platforms
- eBay: Search 'LED grow light open box' and filter by condition. Listings labeled 'Open Box Never Used' are your best bet for a functional light at a fraction of retail.
- Max Warehouse and similar liquidators: Search their site directly for open-box grow lights. Terms are usually final sale, so inspect carefully before committing.
- Craigslist and Facebook Marketplace: Search your city plus 'grow light,' 'LED plant light,' or 'indoor grow setup.' Sellers upgrading systems often offload working lights cheaply or free.
- OfferUp and Nextdoor: Same strategy. Nextdoor is underused for this and worth checking weekly.
Community redistribution groups
Join your local Buy Nothing Facebook group and post a specific request: 'Looking for an LED grow light for indoor plants, any size considered.' Buy Nothing groups exist specifically to reduce waste by rehoming items people no longer use. Hydroponic hobbyists and cannabis growers who upgrade their setups often have older panels sitting unused. A direct, friendly ask works better than waiting passively.
Hydroponics shops and garden centers
Local hydroponics stores occasionally have demo units, returned items, or lights with minor cosmetic damage they can't sell at full price. Call ahead and ask directly if they have any open-box or floor-model grow lights. The worst they can say is no. Some shops will let you take a damaged-box unit for near nothing if the light itself works fine.
Verify compatibility before you set anything up
This is the step most people skip, and it's the one that causes dead plants and electrical problems. When you get a light of unknown or uncertain history, check these four things before it ever goes near a plant.
Input voltage
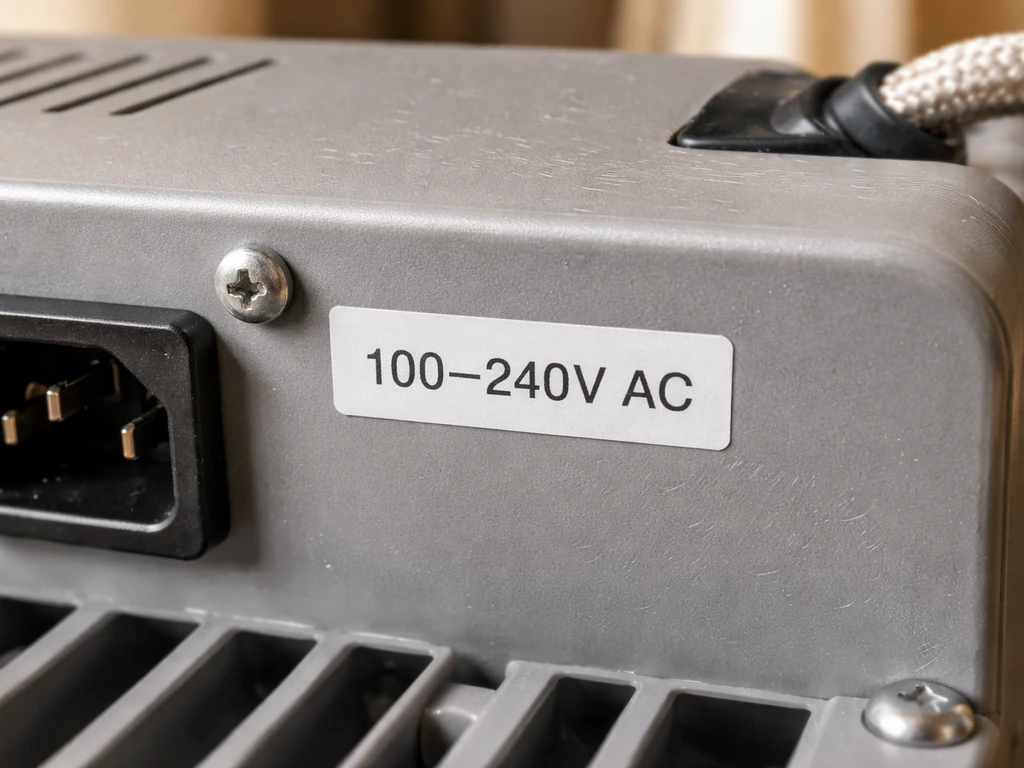
Check the label on the driver or the back of the light. Most consumer LED grow lights in the U. S. run on 100–240V AC, which is fine for standard outlets.
Some commercial or imported units are 220V only and will not work safely on a standard U. S. 120V outlet. [Spider Farmer's own SE Series manual specifically instructs users to verify the voltage matches manual specifications before plugging in.
](https://img. spiderfarmer. eu/wp-content/uploads/2021/05/SE-Series-Users-Manual. pdf) Spider Farmer’s SE Series user manual also specifies a voltage range of 100V, 277V and notes that output power decreases when operating at AC 100, 120V [Spider Farmer's own SE Series manual specifically instructs users to verify the voltage matches manual specifications before plugging in.
](https://img. spiderfarmer. eu/wp-content/uploads/2024/08/SF-SE-04-SE-SERIES-USER-MANUAL-20240619. pdf).
If the label is missing or unreadable, don't use it until you can confirm the voltage rating.
Physical size and coverage area
Measure your grow space first. A 200W panel from a giveaway might cover a 2x2 ft. footprint effectively, while a 600W panel might cover 4x4 ft. at seedling intensity. If the light's specs label is missing, search the model number online to find the manufacturer's coverage chart. An undersized light produces leggy, weak plants. An oversized light at full power too close causes burn.
Spectrum type
Most modern full-spectrum LED panels cover 400–700nm and work for both seedlings and established plants. Blurple (red/blue only) panels are older tech but still functional for basic growth. If the light emits only a single color or looks purely decorative, it is probably not a horticultural grow light and won't support meaningful plant growth. A full-spectrum white-light LED is the most versatile option for houseplants, seedlings, and herbs.
Effective coverage area vs. claimed wattage
Ignore 'equivalent wattage' marketing numbers like '1000W equivalent.' What matters is the actual draw from the wall (usually printed on the driver label as 'input power') and the manufacturer's stated coverage area. A light drawing 100W actual from the wall can realistically cover about a 2x2 ft. space for vegetative growth. One drawing 50W is better suited to a single plant or small seedling tray.
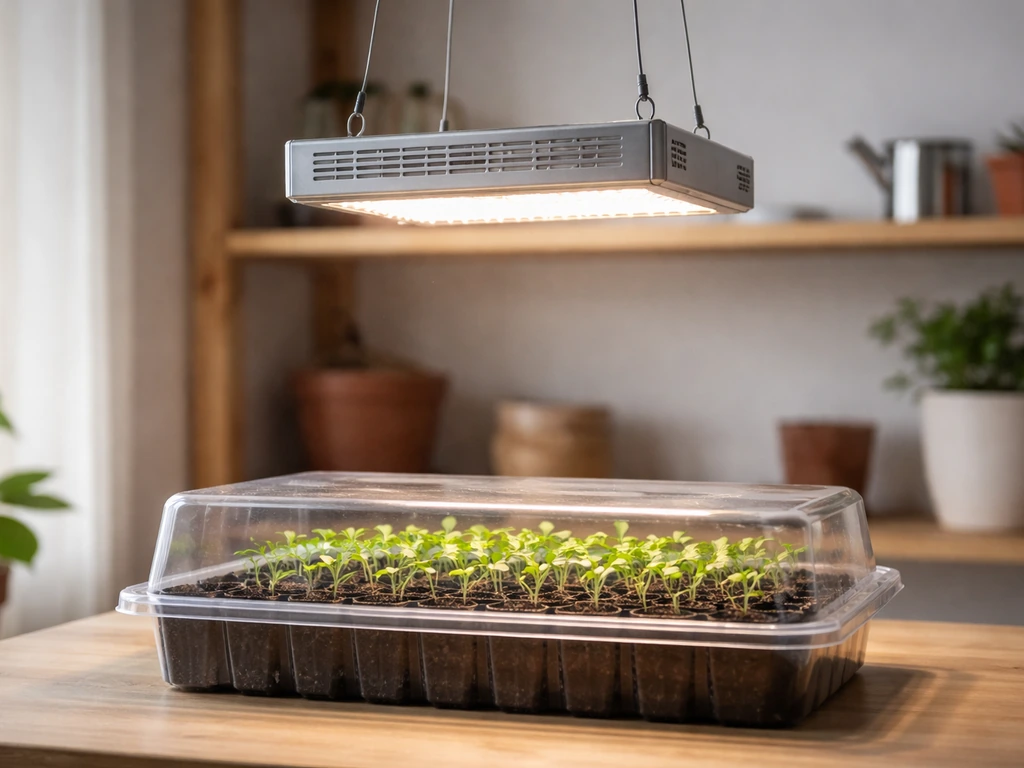
Setting up your free light so it actually grows plants
Hanging height and distance
Distance from the canopy controls how much light hits your plants, and getting it wrong is the single most common beginner mistake. As a starting point: hang lights under 300W actual draw about 12–18 inches above the canopy, and lights in the 600–1000W range about 24–36 inches up. These are not guarantees because every fixture is different, but they give you a safe starting zone while you watch for plant response. Raise the light if you see bleaching or curling. Lower it if growth is slow and stems are stretching toward the light.
Reflective surfaces and airflow
Line your grow space walls with white paint, white plastic sheeting, or Mylar emergency blankets. Reflective surfaces bounce stray light back onto your plants and meaningfully increase effective coverage without spending anything. Airflow is equally important: a small fan moving air around the canopy prevents hot spots under the fixture and strengthens stems. Even passive cooling LED panels (like Spider Farmer's SE Series, which has no moving parts) need ambient air movement to dissipate heat from the grow space itself.
Positioning angle
Mount the light directly overhead and level for the most even canopy coverage. Angling a panel toward plants can create hot spots under the closest LEDs and dark zones farther away. If you only have one small panel for multiple plants, center it over the group rather than biasing toward one plant.
Scheduling, intensity targets, and avoiding burn or leggy growth
How many hours per day
For seedlings, run the light 16–18 hours on and 6–8 hours off. This photoperiod supports strong early growth without stressing young plants. For established houseplants, 12–16 hours is a reasonable range depending on the species. Use a cheap outlet timer (under $10) to automate the schedule. Manual switching is unreliable and plants respond poorly to inconsistent light cycles.
PPFD targets by stage
PPFD (micromoles per square meter per second, µmol/m²/s) measures the actual light intensity hitting your plants. You don't need a PAR meter for casual growing, but knowing the targets helps you use distance correctly.
| Growth Stage | Target PPFD (µmol/m²/s) | Photoperiod | Target DLI (mol/m²/day) |
|---|---|---|---|
| Germination / Week 1 seedlings | 100–200 | 18/6 | 6–13 |
| Early seedlings (cotyledons) | 200–300 | 18/6 | 13–19 |
| First true leaves | 300–400 | 18/6 | 19–26 |
| Pre-transplant seedlings | 400–500 | 18/6 | 26–32 |
| Established houseplants (foliage) | 200–400 | 14–16 hrs on | 10–23 |
DLI (Daily Light Integral) combines intensity and duration: PPFD multiplied by seconds of light per day, divided by 1,000,000. If your light is weaker than ideal, compensate by adding an extra hour or two of photoperiod rather than moving the light dangerously close.
Recognizing and fixing light burn vs. leggy growth
Light burn shows up as bleaching or brown crispy spots on the uppermost leaves, usually directly under the hottest part of the panel. The fix is simple: raise the light a few inches and check again in 48 hours. Leggy growth (long, weak stems, wide spacing between leaf nodes) means the plant isn't getting enough light. Lower the light, increase hours, or accept that the panel may be underpowered for the space. Leggy seedlings rarely recover their compact structure once stretched, so catching this early matters.
Troubleshooting unknown or secondhand lights
Free and open-box lights often come with no manual and sometimes no visible model number. Here's how to diagnose the most common problems.
- Light won't turn on: Check the outlet with another device first. Then inspect the power cord for damage. Some panels have an inline fuse in the driver box; look for a small removable cap and check whether the fuse is blown.
- Only some LEDs light up: This usually means a driver failure or a dead LED cluster, not a wiring hazard. If most of the panel lights up and the dark section is small, the light may still be usable at reduced efficiency for houseplants. If large sections are dark, the panel's effective coverage is seriously compromised.
- Panel runs very hot to the touch: LED drivers and heatsinks get warm but shouldn't burn your hand. Excessive heat usually means poor ventilation around the fixture or a failing driver. Improve airflow around the light before continuing use.
- Unknown spectrum: Hold a white piece of paper under the lit panel. Full-spectrum lights produce a roughly white or warm-white light on the paper. Blurple panels look purple. Either can grow plants, but full-spectrum is better for general use.
- No dimming function or unknown dimmer compatibility: Some panels require specific 0–10V dimmer controllers. Plugging incompatible dimming devices into a light not designed for them can cause flickering or driver damage. Spider Farmer's own documentation warns against unauthorized dimming devices. If in doubt, run the light at full power and adjust distance instead of using a dimmer.
Safety checks before using any free or used electrical gear
This section is not optional. Used and gifted electrical equipment can have hidden damage that causes fires or shocks. Run through this checklist every time you get a light from a non-retail source, and again after any period of storage.
- Visual cord inspection: Examine the full length of the power cord for cuts, fraying, kinking, or melted insulation. OSHA's guidance on electrical equipment requires visual inspection of cord sets before each use. Do not plug in a cord with any visible damage.
- Check for certification marks: Look on the driver label or the back of the fixture for UL, ETL, CSA, or MET certification marks. The CPSC specifically recommends looking for independent testing lab certification on electrical products. Lights meeting UL 8800 (the safety standard specifically for horticultural lighting) are the safest choice. No certification mark on a secondhand light doesn't automatically make it dangerous, but it does mean you should be more cautious about extended unattended use.
- Inspect the plug: Prongs should be straight, not bent or corroded. A damaged plug is a fire risk and should be replaced by an electrician or the light discarded.
- Check mounting hardware: Ensure hanging cables, ratchet hangers, or hooks can support the light's weight. A falling light damages plants and can crack the driver or housing, creating a short circuit.
- Test in a safe location first: Plug the light in somewhere without plants initially. Let it run for 30 minutes and check for unusual smells (burning plastic, ozone), excessive heat from the driver, or flickering. A light that passes this test is likely safe for normal use.
- Secure all connections: If the light has a removable power cable (common on commercial panels), make sure the connector is fully seated. Loose connections arc and generate heat.
- Do not use extension cords long-term: If you must use an extension cord temporarily, use a heavy-gauge (14 AWG or thicker) grounded cord rated for the light's wattage. Undersized extension cords overheat under continuous load.
If a light fails any of these checks, the honest advice is to not use it. A free light that starts a fire or shocks someone isn't free at all. If you're unsure about a specific unit, bring it to a local electrician for a quick look before relying on it for a long daily run over your plants.
What to do if you truly can't find a free light
If the giveaway wins aren't coming and the local groups have nothing, your next move is a sub-$30 budget LED panel from Amazon or a discount hydro store, not a zero-purchase. If you still cannot get grow lights through giveaways or local deals, focus on a small, safe budget option and verify compatibility before using it how to get grow lights. A 45W full-spectrum LED panel in that range will genuinely grow seedlings and keep houseplants healthy.
Alternatively, you can repurpose daylight-spectrum LED bulbs (5000–6500K, 800+ lumens each) in a clip-on fixture for near-zero cost. It's not the same as a proper panel, but it bridges the gap while you keep hunting for a deal. If you want to go deeper on that approach, the topic of using normal LED lights as grow lights covers it in detail.
Once you do land a proper free or near-free LED panel, the setup and safety steps above apply the same whether it cost $0 or $200. If you're looking for the right way to grow weed with LED lights, make sure you match the panel size, spectrum, and schedule to your grow stage LED panel. The light doesn't know what you paid for it, and your plants definitely don't care.
FAQ
If someone gives me an LED grow light, how do I know it is actually complete and powered safely (not just the board)?
Not necessarily. Many “free” listings include LEDs, but the driver (the power supply) may be missing, swapped, or incompatible. Before plugging in, check that the driver label lists the same input voltage as your wall and that the driver’s output voltage/current matches what the LED board requires. If you can’t confirm driver specs, treat it as un-useable.
What should I check if the light label says something like “220V only,” and I’m in a 120V country?
A simple way to catch mismatches is to look for a clear input range (example: 100–240V AC) and a separate output rating on the driver. If you only see “220V” or there is no driver label you can read, do not use it on a different outlet voltage. For uncertain units, use a qualified electrician test or replace the driver with one rated for the exact LED board.
Is it safe to use a free LED grow light if it has only a two-prong plug or no grounding?
Yes, especially with older panels or low-quality imports. If the fixture has a third-prong ground, use a grounded outlet and a properly grounded power cord. If it is double-insulated (often marked) you still need to ensure the housing is intact and dry, but a missing ground pin is a red flag for unknown electrical safety.
What visible damage or signs should immediately make me stop using a free or open-box LED grow light?
If you see burn marks, cracked insulation, melted plastic around the driver, or a loose power cord, skip it. “No visible damage” is not enough. Gently check that fans and heatsinks (if present) are secured, and confirm the driver is not rattling or warm in an abnormal way during the first short test run.
How should I do a first “test run” of a used or gifted LED grow light before using it for real?
Do a short, supervised test before putting it near plants. Plug it in for 10 to 15 minutes, confirm it lights evenly, listen for buzzing or arcing, and touch-check the driver housing (carefully) for extreme heat. If it flickers, trips a breaker, or the driver gets unusually hot quickly, don’t proceed.
How do I account for misleading “equivalent wattage” claims when I’m trying to size a free light for my space?
If you measure actual draw from the wall with a plug-in power meter, use that number instead of “equivalent wattage.” As a practical rule, aim for your target coverage first (area footprint), then adjust distance and hours to get plant response. A 50W real-draw light can still work, but expect smaller coverage or lower intensity.
If my free LED light seems too weak, should I raise power by moving closer or by increasing the light schedule?
Photoperiod and intensity interact. If you can’t measure PPFD, rely on plant signs: slow growth and stretching usually mean not enough intensity, while bleaching and crispy patches mean too much or too close. For weak lights, increasing hours is safer than lowering the distance aggressively, since heat and burn risk rise quickly.
Can one free LED panel work for both seedlings and established plants, or do I need different “types” of lights?
If the light is full-spectrum and reasonably modern, it can be used for seedlings and flowering phases in many home setups. What changes is intensity and duration, not just color. If it is clearly red/blue-only (“blurple”) and you want faster, fuller growth, you still can grow plants, but it may require longer run times and careful spacing.
Will using Mylar or white walls make an undersized free grow light “good enough,” or are there limits?
White paint or Mylar improves light distribution, but it does not fix a panel that is undersized for your footprint. If you already have leggy growth, first correct coverage by lowering wasted space (move plants closer to center under the panel, tighten spacing), then adjust distance and schedule. Reflectors help the usable light reach plants, not magic missing lumens.
What’s the safest way to automate a grow light schedule with an outlet timer, especially with a used fixture?
Yes. Use a basic outlet timer and plug the light directly into it, then confirm the timer rating matches the light’s input power. Some timers can overheat or fail with higher loads, and cheap models may drift. If you’re using a power meter and see frequent resets or odd behavior, replace the timer before continuing.
If there’s no manual or model number, how do I estimate the coverage area and hang height?
For a free light, the biggest time-saving move is identifying the model number and searching for the manufacturer’s coverage chart. If there is no model number, measure the physical size and LED layout, then compare to similar panels by actual input power and typical coverage claims. If you still can’t find credible coverage info, assume conservative coverage and start farther from burn-risk settings.
Can I fix a gifted LED grow light myself if it doesn’t turn on or flickers (for example, by swapping components)?
Most of the time, you should not. Many LED boards are designed for a specific driver and electrical configuration, swapping LEDs or “repairing” the circuit without matching driver output can create overheating or failure. If something is off after the supervised test, it’s usually safer to replace the driver or retire the unit.
Next Article
How to Use Grow Lights Once You Set Them Up at Home
Step-by-step guide to use grow lights at home: placement, schedules, distance, safety, and troubleshooting for seedlings