Once your grow light is up and plugged in, the real work begins: hanging it at the right height, dialing in the right intensity, and running it on a schedule that actually matches what your plants need. Most beginners either hang lights too close and burn their plants, or run them too long and still get leggy, sad seedlings. This guide walks you through every step of using a grow light at home today, from choosing the right type for your plants to scheduling, troubleshooting, and knowing when your setup is actually working.
How to Use Grow Lights Once You Set Them Up at Home

Marcus Tillman
4 May 2026
Understanding your situation and goals indoors
Before you touch a timer or adjust a hanging cable, spend two minutes figuring out exactly what you're growing and where. The answer changes everything about how you run your lights. A tray of tomato seedlings on a basement shelf has very different needs than a mature basil plant on a windowsill that just needs a little supplemental light in winter.
Ask yourself three quick questions: What plant type am I growing? What growth stage is it in right now (seed, seedling, vegetative, or flowering/fruiting)? And how much natural light, if any, is already reaching it? If you're working in a basement or interior room with zero windows, your grow light is the plant's only light source, which means intensity and schedule need to be precise. If you're supplementing a south-facing window in May, you can often run the light for just a few hours a day.
The other thing worth knowing upfront: leafy crops like lettuce, herbs, and houseplants are forgiving. They can thrive at a daily light integral (DLI) of around 5 to 12 mol per square meter per day. Fruiting crops like tomatoes and peppers need two to three times that, somewhere in the 20 to 30 mol range. If you're just starting with herbs and greens, your setup doesn't need to be perfect. If you're trying to fruit a tomato indoors, you need to take the intensity numbers seriously from day one.
Choosing the right grow light type and spectrum
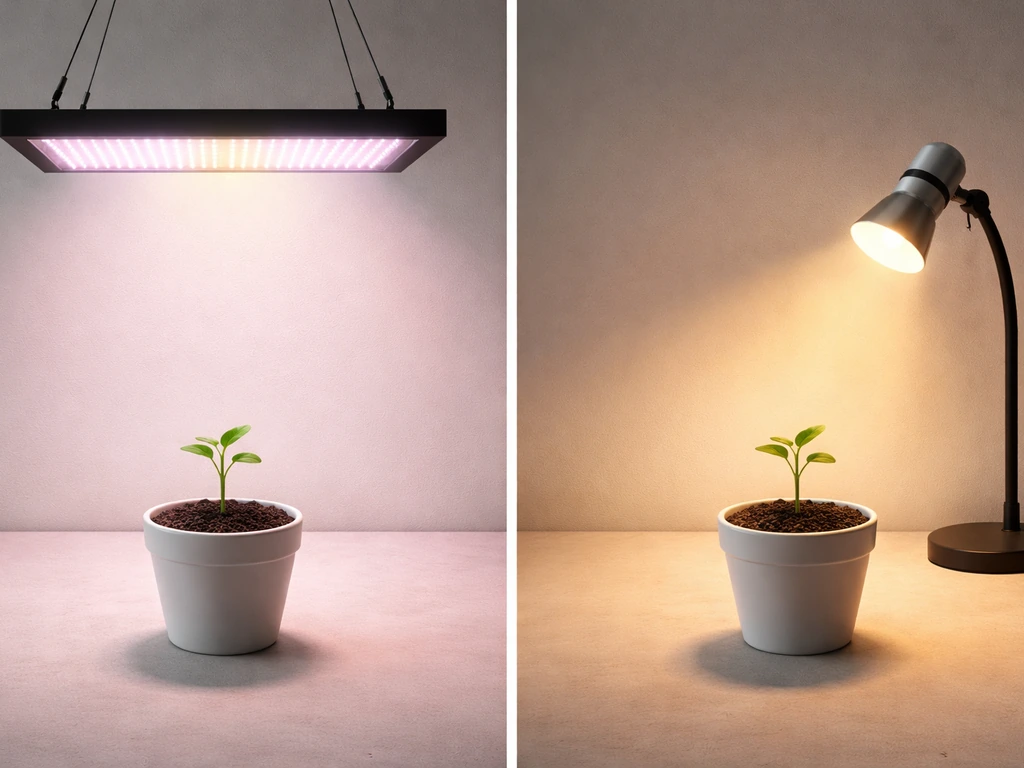
If you haven't bought a light yet and you're reading this to figure out what to get, the honest answer for most home growers in 2026 is a full-spectrum LED panel. They run cool, use a fraction of the electricity that old HID or fluorescent setups needed, and the quality of budget LEDs has improved dramatically. You don't need anything fancy for herbs, leafy greens, or seedlings.
Full-spectrum LEDs cover both the blue range (400 to 500 nm), which drives compact, leafy vegetative growth, and the red range (620 to 700 nm), which signals plants to flower and fruit. Most quality LEDs marketed as "full spectrum" or "broad spectrum" cover both, so you don't need separate veg and bloom fixtures unless you're running a serious setup. For seedlings especially, a little extra blue light keeps them compact and prevents stretching.
| Light Type | Best For | Heat Output | Energy Use | Cost |
|---|---|---|---|---|
| Full-spectrum LED panel | All stages, all plant types | Low | Low | Low to medium |
| T5 fluorescent strip | Seedlings, clones, low-light plants | Low-medium | Medium | Low |
| HID (HPS/MH) | Large fruiting crops, advanced setups | High | High | Medium to high |
| Blurple LED | Budget seedling setups | Low | Low | Very low |
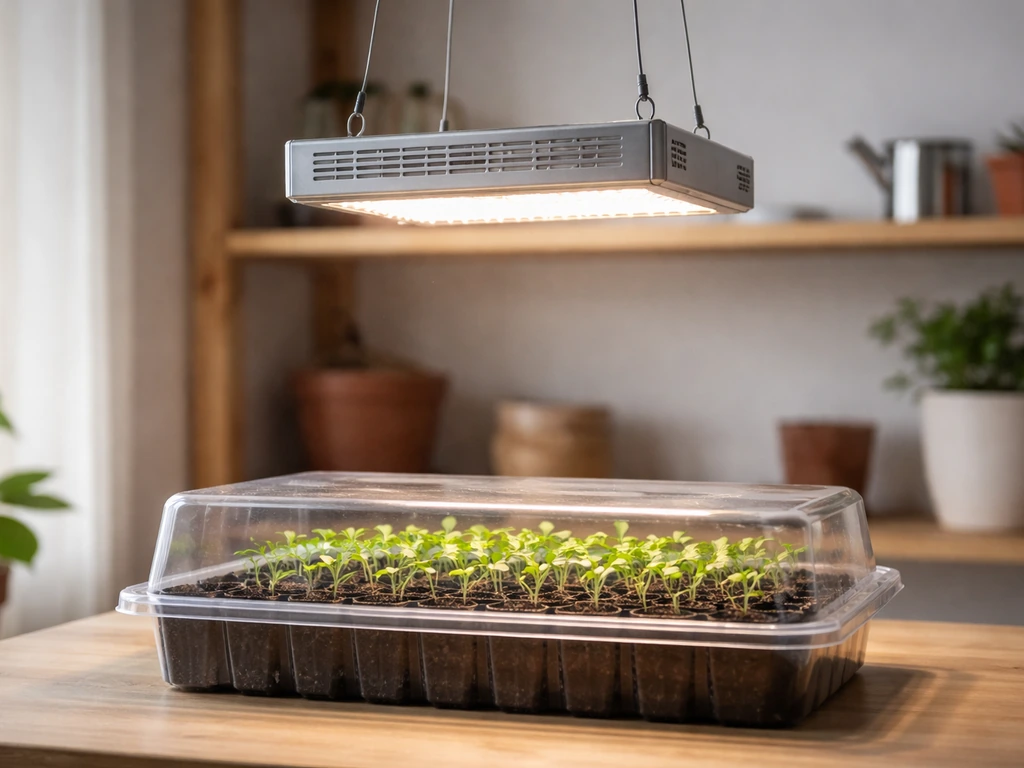
For most readers here, a quality full-spectrum LED in the 100 to 200 watt range covers a 2x4 foot or 3x3 foot growing area well. Avoid chasing wattage as the only spec. Look for PPFD (photosynthetic photon flux density) data from the manufacturer at a stated distance. A light that delivers 400 to 600 micromoles per square meter per second at canopy height is a practical target for seedlings and leafy crops. You can always dim it or raise the fixture if that's too intense.
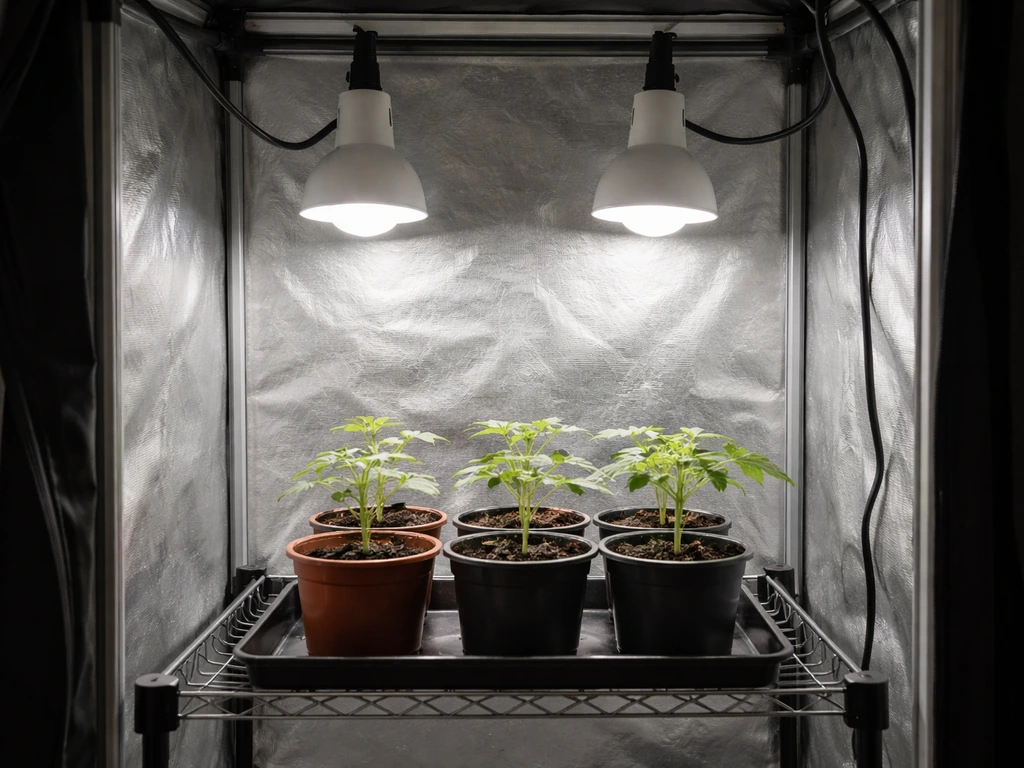
Placement, height, and distance for best results
Height is the single biggest variable most beginners get wrong. Too close and you'll see bleaching, curling leaves, and dry crispy tips. Too far and seedlings stretch toward the light, growing thin and weak. The good news is there's a reliable starting range for most setups, and you adjust from there based on how your plants respond.
Recommended starting heights by plant stage
| Plant Stage | LED Panel Distance (from canopy) | Notes |
|---|---|---|
| Seeds / germination | 24–36 inches | Seeds don't need light yet; start lower only after sprout emerges |
| Seedlings (2–4 weeks) | 18–24 inches | Check for stretching after 48 hours; lower slightly if stretched |
| Vegetative growth | 12–24 inches | Depends on light power; check manufacturer PPFD chart |
| Flowering / fruiting | 12–18 inches | Higher intensity needed; monitor for heat stress |
| Low-light houseplants | 24–36 inches | Many houseplants are shade-adapted; closer can burn them |
If your light came with a manufacturer chart showing PPFD at various heights, use it. It's the most reliable guide for that specific fixture. No chart? Start at 24 inches for seedlings and watch for two days. If they're reaching and stretching upward dramatically, lower the light by 2 inches every two days until the stretch stops. If leaf edges look pale or bleached, raise it by 4 inches and give the plant a few days to recover.
Spread matters too, not just height. Most LED panels have a beam angle of around 90 to 120 degrees, meaning they cover a wider area as you raise them. Raising the light gives you more even coverage across a tray of seedlings but reduces intensity at canopy level. For a small 10x20 seedling tray, a single panel at 18 to 24 inches usually covers it evenly. For a 3x3 foot area, consider whether your panel is rated for that footprint at your intended height.
Setting intensity and avoiding common light burn issues
Most modern LED grow lights have a dimmer knob or dial, and if yours does, start at around 50 to 75 percent intensity for the first week. This gives plants time to acclimate before hitting them with full power. Seedlings and young transplants fresh from a low-light environment are especially sensitive. Running full intensity from day one on an unacclimated seedling is one of the fastest ways to stress a plant that was otherwise perfectly healthy.
Light burn shows up as bleached or yellowing patches on the tops of leaves closest to the light, while the undersides of the same leaves look normal and green. It's easy to confuse with nutrient deficiency, but the tell is location: it always hits the leaves directly facing the light source first. If you see this, raise the light immediately and drop the dimmer by 25 percent. The plant won't recover those bleached leaves, but new growth should come in healthy within a week.
For growers targeting specific DLI values: if you're running a seedling setup, aim for 5 to 12 mol per square meter per day depending on the crop. DLI targets depend on mounting height and fixture output, so achieving the same DLI can require different photoperiods at different mount heights (for example, 8 inches versus 20 inches) DLI targets depend on mounting height and fixture output, so achieving DLI may require different photoperiods at different heights.
You hit that target by combining intensity (PPFD at canopy) with hours of light. If you want to improve results, look for specific guidance on how to grow light efficiently for your plants at the correct height, intensity, and schedule DLI. For example, 200 micromoles per square meter per second for 16 hours gives you a DLI of about 11. 5, right in the seedling sweet spot.
For fruiting crops like tomatoes, you'd need to push toward 400 to 600 micromoles for 12 to 16 hours to approach the 20 to 30 mol range those plants actually want. For weed under LED, you use the same PPFD and photoperiod math to hit the right DLI for each growth stage how to grow weed with led.
Daily schedules and timing (photoperiod) by plant stage
Plants need both light and darkness. The dark period isn't wasted time, it's when plants process what they absorbed and do critical metabolic work. Running lights 24/7 might seem like it would speed things up, but for most plants it causes stress and actually slows growth. The one exception is very young seedlings in their first week, where some growers run 20 to 22 hours of light without issue.
Recommended light schedules by plant type and stage
| Plant / Stage | Light Hours per Day | Dark Hours | Notes |
|---|---|---|---|
| Seedlings (most crops) | 14–16 hours | 8–10 hours | 16 hours is a solid default for indoor seedling trays |
| Leafy greens and herbs | 14–16 hours | 8–10 hours | Consistent schedule matters more than exact number |
| Tomatoes / peppers (vegetative) | 16–18 hours | 6–8 hours | High DLI needed; supplement natural light if available |
| Tomatoes / peppers (fruiting) | 12–14 hours | 10–12 hours | Shorter days can trigger and maintain fruiting in some varieties |
| Cannabis (vegetative) | 18 hours | 6 hours | Standard veg schedule; flip to 12/12 to trigger flower |
| Cannabis (flowering) | 12 hours | 12 hours | Strict 12/12 required; any light leak delays flowering |
| Houseplants (low-light) | 10–12 hours | 12–14 hours | Many houseplants are sensitive to too much light |
Use a plug-in mechanical timer or a smart plug with a schedule app. Set it once and don't keep adjusting it. Plants respond well to consistency. Erratic light cycles, where you manually flip lights on and off at different times, stress plants and can confuse photoperiod-sensitive species. A basic mechanical outlet timer costs a few dollars and is one of the most important things in your setup.
Try to have your light schedule align with your own waking hours if possible. Running lights from 6 AM to 10 PM for a 16-hour cycle means you can actually observe your plants during the light period and catch problems early. Some growers run lights overnight to take advantage of off-peak electricity rates, which works fine as long as the schedule stays consistent.
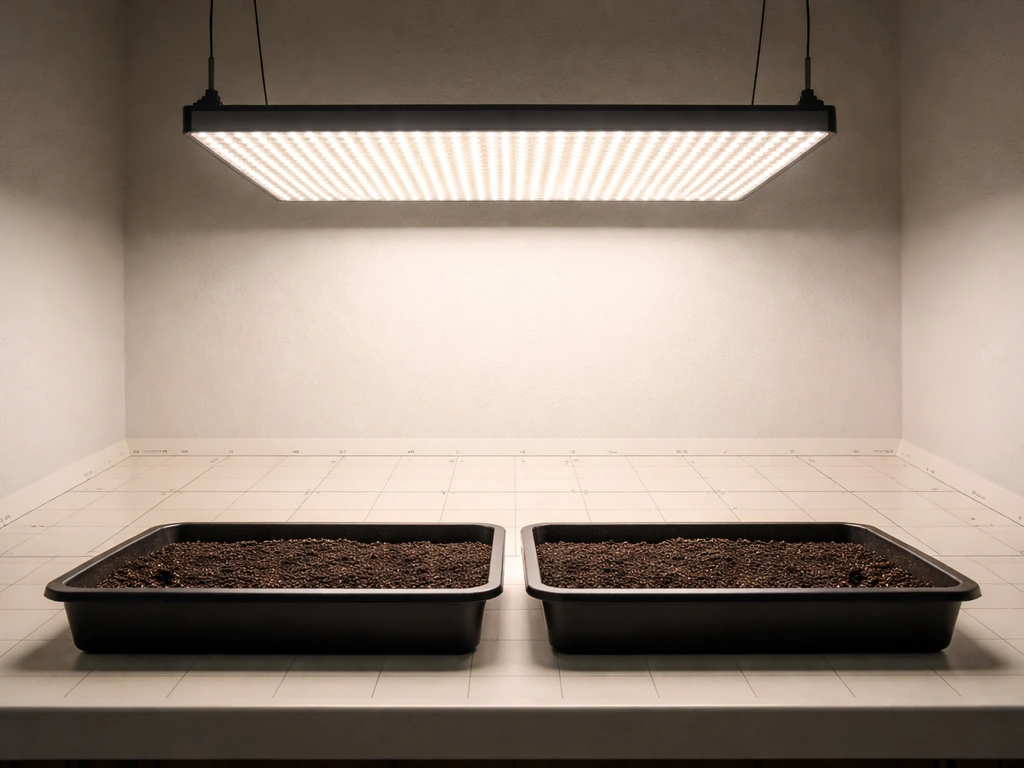
Wiring, mounting, and safe operation (power, timers, ventilation)
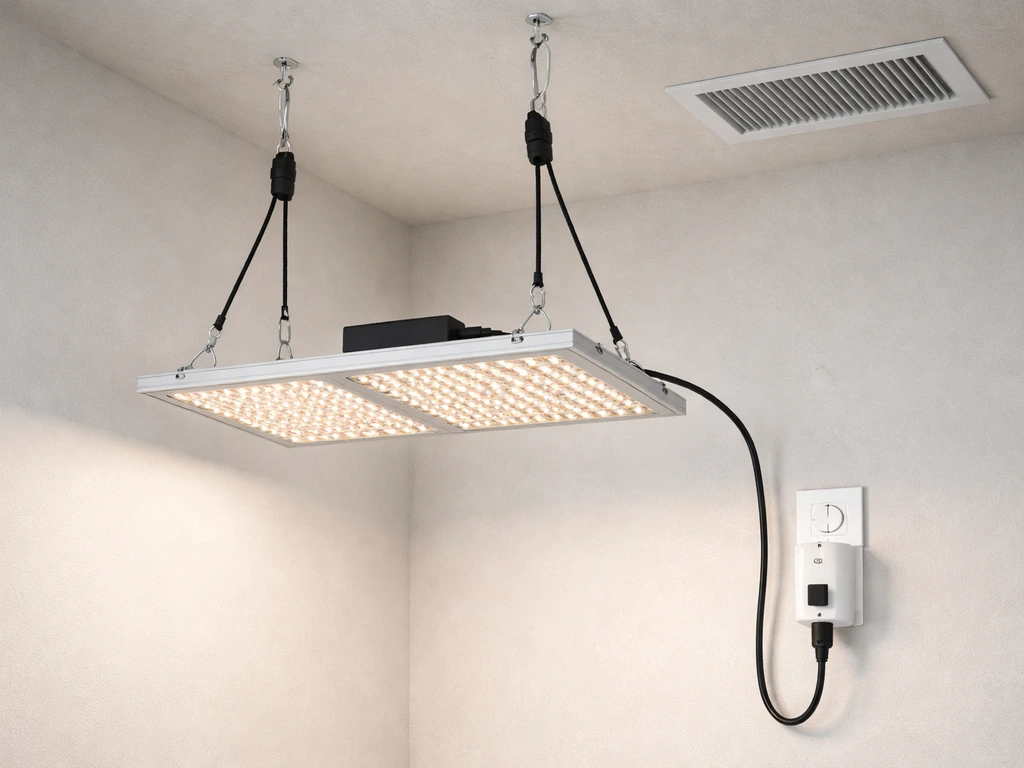
LED grow lights are generally very safe compared to older HID setups, but there are still a few things worth getting right from the start. Most LED panels ship with hanging hardware, ratchet hangers, or mounting brackets. Use them. A panel sitting on a shelf or propped up with books is a fire and damage risk, and you lose the ability to easily adjust height as plants grow.
For mounting, ratchet hangers (the kind you clip to a support bar or hook above your growing area) are the most flexible option. They let you raise and lower the light in seconds without tools. If you're growing in a tent, the tent's metal crossbars handle this perfectly. If you're on a shelf or in a closet, install a sturdy hook rated for at least double the weight of your fixture into a stud or beam, not just drywall.
Power: most home LED grow lights run on standard 120V household outlets. A 200-watt LED draws about 1.7 amps at full power, well within what a standard 15-amp circuit handles even with a timer plugged in. Where people get into trouble is daisy-chaining multiple high-wattage lights onto a single outlet with an overloaded power strip. If you're running more than one light, spread them across separate circuits or at minimum use a power strip with a built-in circuit breaker rated for the total load.
Heat and ventilation: even though LEDs run much cooler than HID lights, they still generate heat, and that heat accumulates in a small enclosed space. In a grow tent, run at least a small inline fan to move air. In an open room or closet, make sure there's airflow around the fixture and above the plant canopy. A gentle breeze from a clip-on fan also strengthens plant stems and reduces the humidity pockets that invite mold. If the ambient temperature in your grow space exceeds 85 degrees Fahrenheit, your plants will struggle regardless of how good your light schedule is.
Troubleshooting and how to tell if your setup is working
The first two weeks with a new grow light setup are mostly observation. You're looking for signals from your plants that tell you whether to adjust height, intensity, or schedule. If you want to go deeper, learn the basics of how to become a grow light tester so you can measure performance with confidence. Here's how to read what you're seeing:
Signs your plants are getting too much light
- Bleached or whitish patches on upper leaves facing the light
- Leaf edges curling upward (like a taco shell) or downward
- Leaves feeling dry and crispy, not wilted
- Overall plant looks washed out or pale despite watering
- Stunted growth or leaves refusing to open fully
Signs your plants are getting too little light
- Seedlings stretch tall and thin with long gaps between leaf nodes (etiolation)
- Leaves are small and pale green rather than rich deep green
- Plants lean dramatically toward the nearest window or brightest point
- Slow growth even with consistent watering and feeding
- Flowering plants drop buds or fail to set fruit
When you see stretching, lower the light by 2 to 3 inches and wait 48 hours before adjusting again. When you see bleaching or curling, raise the light by 4 to 6 inches and reduce intensity by 20 to 25 percent. Make one change at a time and give plants at least two full days to respond before making another adjustment. Plants don't show recovery overnight, and chasing problems with daily adjustments usually makes things worse.
If growth looks generally healthy but just slow, check your timer first. It's surprisingly common for a mechanical timer to slip a few hours over a week, especially cheap ones. Verify that your lights are actually running for the full scheduled duration and that there are no unexpected light interruptions during the dark period (even a flashlight or phone screen can disrupt sensitive photoperiod plants).
Your first two-week monitoring checklist
- Day 1: Confirm timer is set correctly and light turns on and off at scheduled times
- Day 2: Check for any signs of stretching or bleaching at current height
- Day 3–4: Measure the distance from light to canopy and record it so you can track changes as plants grow
- Day 5–7: Look at new growth coming in. Healthy new leaves should be deep green and appropriately sized
- Day 7: If using a dimmer, bump intensity up by 10 to 15 percent if plants look healthy and are not showing stress
- Day 10: Reassess height as plants grow taller. Raise the fixture to maintain your target distance to the canopy
- Day 14: Compare current plant size and leaf color to day 1. Steady visible growth means your setup is dialed in
One last thing worth tracking: your electricity. A 200-watt LED running 16 hours a day uses about 3. 2 kilowatt-hours daily, which adds roughly $1 to $1. 50 per week to your bill depending on your local rate.
That's worth knowing so you can compare it against what you're actually producing and decide whether scaling up makes sense for you. For growers thinking about expanding, the efficiency math changes a lot when you move to a properly set-up room with reflective walls, which is where a full grow room setup becomes worth the extra planning.
If you want to scale up, learn how to set up a grow room with LED lights so coverage, timing, and airflow stay consistent as you add more plants full grow room setup. If you want to cut costs further, the next step is to look for legit ways to get free grow light options, like promotions, swaps, or local giveaways get free led grow lights.
FAQ
I know the fixture wattage, but how do I tell if it is bright enough for my seedlings?
If you can, use the fixture’s PPFD chart at the actual canopy height and aim for the target in the growth stage you’re in. If the manufacturer only lists watts, pick a starting height and intensity like the article suggests, then validate with plant response over 48 hours, because wattage alone does not tell you usable brightness at leaf level.
Can I increase a grow light’s intensity quickly, or should I ramp it up?
Yes, but do it gradually. Start with the lower-intensity acclimation approach (around 50 to 75 percent for the first week), then adjust height in small steps. Also ensure you are not “undoing” acclimation by repeatedly changing both height and dimmer at the same time.
What should I do if my lights sometimes lose power or the timer resets?
Do not rely on the timer to “protect” the plant if the power goes out. If outages are possible, use a plug-in timer that reverts to the last schedule when power returns, or choose a smart plug with power-loss recovery. For photoperiod-sensitive plants, try to minimize random interruptions during the dark period.
If my plants get some sunlight, how should I adjust my grow-light schedule?
Yes, especially if you are already using a window as partial light. Reduce the grow-light hours first, rather than immediately lowering intensity, so the light period stays predictable. If you notice stretching, that usually means total photons are too low, so you may need more hours or a slightly lower fixture.
Is more light always better for indoor plants under grow lights?
Not always. Some plants prefer a shorter photoperiod even when the DLI is sufficient, particularly for flowering or stress responses. As a practical starting point, keep the dark period consistent, then adjust photoperiod only after you have stabilized height and intensity for at least a week.
My plants in the corners look worse than the ones in the middle, what does that mean?
Check uniformity, not just “top leaves.” If only the plants closest to the center look good and edges look pale or stretched, the fixture may be too narrow for your footprint at the current height. Raise slightly for broader coverage, or use a second panel so canopy PPFD is more even.
What’s the best way to troubleshoot if growth looks slow but leaves are still green?
Try one change at a time and wait at least two full days. Also verify the fixture is actually producing light at the set intensity, because dimmers can drift or fail. If you only changed the timer and plants slow down, the most common issue is the lights running fewer hours than intended.
Can I fix mold or fungus problems by increasing light intensity?
If your grow space is very humid, a small air exchange and airflow around the canopy matter more than upgrading the light. Even with the right light, high humidity plus weak air movement can lead to fungus and damping-off. Use a gentle fan and avoid wetting foliage when possible.
If my plants got light burn, will they recover, or do I need to restart everything?
For most home setups, the first “hard truth” is that the plant will not regrow burned tissue, but you can prevent further damage by raising the fixture and reducing intensity as described. Then focus on new growth, because recovery timelines and leaf quality can vary by species.
What are common setup mistakes that cause unsafe operation or uneven results?
Yes, but avoid putting the fixture on unstable surfaces. A common mistake is placing lights on shelving without a secure hang or using a timer that is loosely connected to an overloaded power strip. Use hanging hardware or a properly installed rated hook, then confirm the cable has strain relief so movement does not tip or loosen the mount.
How do I integrate grow lights with a windowsill setup without overdoing it?
If you are supplementing a window, you can often use a shorter grow-light window, but you still need to match the schedule consistency rule. A helpful approach is to start by covering the time when natural light would be weakest (morning or late afternoon), then fine-tune based on stretching or bleaching over 48 hours.
My light is labeled full spectrum, but my plants are still stretching, why?
Some “full spectrum” LEDs cover blue and red, but not all “broad spectrum” products deliver the same PPFD at the canopy. If your plants stretch despite “full spectrum,” do not assume the spectrum is wrong, verify delivered intensity first, then consider adding hours or lowering the fixture slightly within safe height guidance.
When I change height or dimming, how do I know I am still hitting my DLI target?
Dimming and height changes usually affect PPFD, which affects DLI, but timers also affect total DLI directly. When adjusting, track either hours or intensity, not both every day. If you want a simple adjustment method, change only one variable, then recalculate your DLI goal using PPFD at canopy height and the new photoperiod.
Next Article
How to Use Normal LED Lights as Grow Lights: Setup Guide
Repurpose normal LEDs as grow lights: choose, verify brightness and spectrum, set distance and schedule, troubleshoot fo