You can build a solid, functional plant stand with grow lights in a single weekend using basic lumber or metal shelving, a few LED grow light bars or panels, some hooks and zip ties, and a timer. If you are starting from scratch and wondering how to make a grow light for plants, this build is a practical way to set up the fixtures, spacing, and controls so your plants get the right intensity.
How to Build a Plant Stand With Grow Lights

Marcus Tillman
14 May 2026
The stand needs to hold your pots securely, keep lights at the right height above your plants (typically 6 to 24 inches depending on light type and plant), and plug into a GFCI outlet on a timer. That's the whole concept. Everything else is just dialing in the details for your specific plants and space.
Start by defining your plants, space, and light goals
Before you buy a single board or bulb, get clear on three things: what you're growing, how much floor space you have, and how much light those plants actually need. This shapes every decision that follows.
Light needs are measured in PPFD (micromoles of light per square meter per second). Seedlings and clones need less than 100 PPFD. Herbs and leafy greens are happy in the 150 to 500 range. Fruiting crops like tomatoes or peppers want 600 to 1,000 PPFD during their reproductive stage. Low-light houseplants (pothos, snake plants, ferns) do fine at 50 to 150 PPFD. Knowing your target PPFD tells you what kind of light fixture you need and how far above the canopy to hang it.
For space, measure the footprint where the stand will live. A typical DIY stand runs 2 feet wide by 4 feet long, which is a very workable size for one or two grow light bars. Taller ceilings give you more flexibility for shelf spacing. Write down your ceiling height, your available floor footprint, and how many shelves (tiers) you want. Most people start with two shelves, which is plenty.
Choose your grow lights and plan for coverage
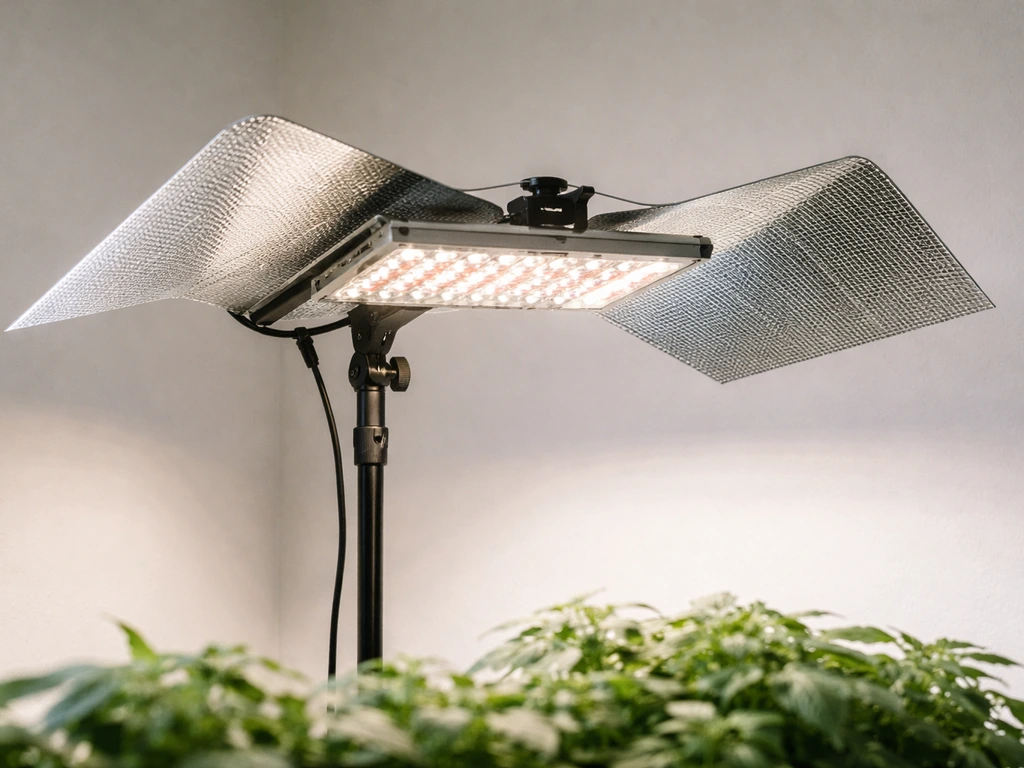
For a DIY plant stand, LED grow light bars or strips are the best default choice right now. They run cool, draw low wattage, mount easily under a shelf, and produce a wide, even spread of light. A single 2-foot LED bar rated around 20 to 40 watts typically covers a 12-by-24-inch footprint at the right PPFD for seedlings and houseplants when hung 6 to 12 inches above the canopy. For herbs needing 300 to 500 PPFD, you may want two bars per shelf or one wider panel. LED panels (quantum boards) give better coverage per fixture but are bulkier and harder to mount on a slim stand.
T5 fluorescent fixtures are another solid option, especially if you already have them. They're forgiving and cheap, but you need to keep them very close to the plants, under 12 inches, to hit useful PPFD levels. COB LED builds give intense, focused light but require more DIY electrical work and are better suited to a dedicated grow box than an open shelf stand. A COB LED build is great if you want intense light in a dedicated grow box, and the same coverage-and-height planning still applies COB LED builds.
When shopping, look for fixtures with UL 8800 certification or equivalent (ANSI/CAN/UL 8800 is the first dedicated safety standard for horticultural lighting equipment). This matters because horticultural fixtures operate in humid, warm environments and non-standard mounting positions, and a listed fixture has been tested for those conditions. If you want to go a step further and build a dedicated light trap for your grow box, focus on sealing light leaks and controlling reflections so coverage stays even how to make a light trap for grow box. It's also worth noting that the 2020 NEC Article 410 Part XVI requires horticultural lighting equipment to be listed for horticultural use, so certified products keep you code-compliant.
Plan your light coverage by shelf footprint. If your shelf is 2 feet by 4 feet, you need lights that cover that area at the PPFD your plants need. Two 4-foot LED bars (or four 2-foot bars) running the length of the shelf will give you reasonably even coverage. Uneven PPFD across a shelf is a real problem; plants in hot spots get scorched while plants in shadows stretch. Light uniformity matters as much as peak intensity.
Design the stand: size, shelf spacing, and stability
A stable, adjustable stand is the foundation everything else depends on. Here's how to think through the dimensions.
Shelf spacing and overall height
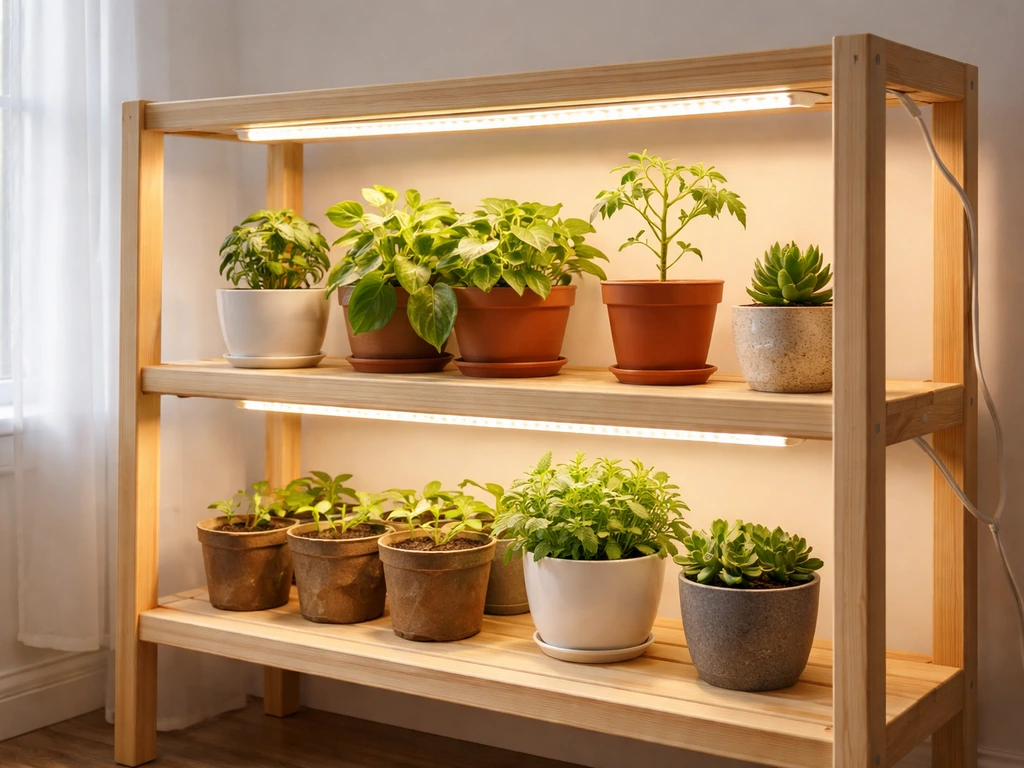
Plan for at least 18 to 24 inches between shelf surfaces when you're growing taller herbs or houseplants. For a pure seedling tray setup, 12 to 16 inches is workable because seedlings are short and you want lights close. If you're mixing plant types across tiers, go with 18 inches minimum per tier and plan to adjust light height within that space using chains or zip ties rather than moving the whole shelf. A two-tier stand with 18-inch shelf spacing and 6 inches of clearance above the top shelf needs roughly 48 to 54 inches of total height. A three-tier stand with the same spacing needs about 66 to 72 inches.
Footprint and structural stability
A 2-by-4-foot footprint is the most common and practical size for a home grow stand. It fits in a closet, spare bedroom corner, or basement without eating the whole room. For stability, the stand must not rock or tip. If you're building with lumber, use 2x4 uprights and add cross-bracing on the back panel. If you're adapting a wire Metro-style shelving unit (a very popular shortcut), make sure it's rated for at least 150 to 200 pounds per shelf and anchor it to a wall if it's over 5 feet tall. Wide bases and low centers of gravity prevent tip-overs when you're watering.
Ventilation gaps and airflow
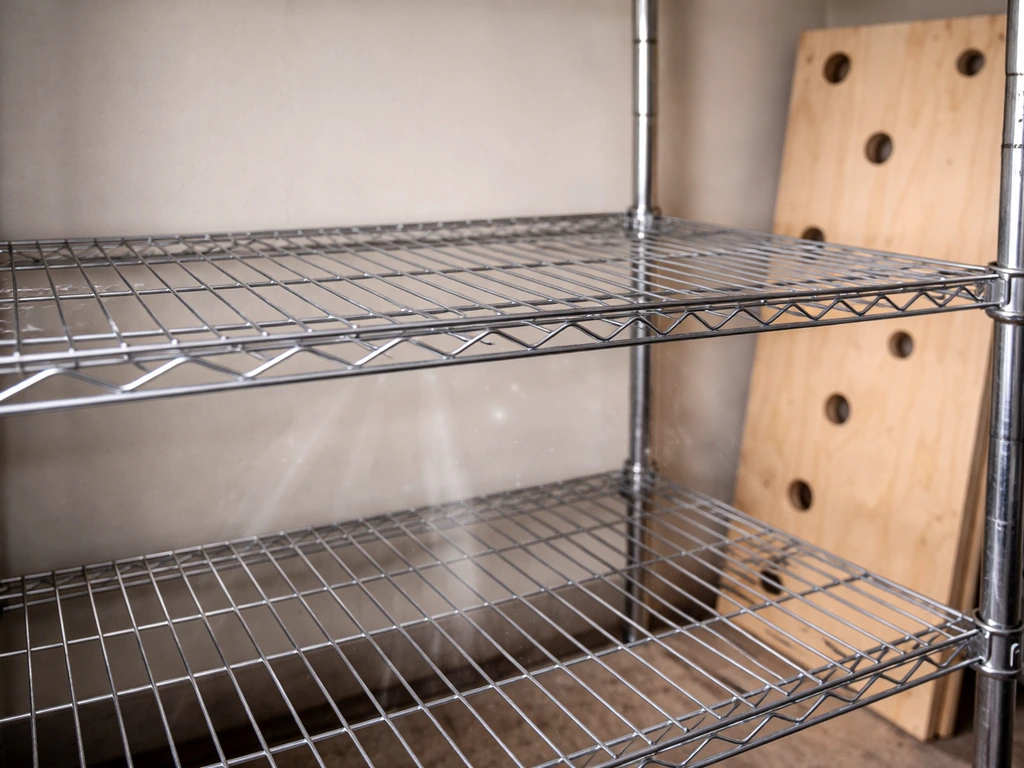
Don't build solid shelves that trap heat. Wire shelving is ideal because air moves freely through it. If you use plywood shelves, drill a grid of 1.5-inch holes or leave 1-inch gaps at the back edge. Poor airflow leads to heat buildup around the lights, moisture pockets between pots, and fungal and algae issues on the soil surface. Spacing pots so air can circulate between them is part of the same solution.
Materials and tools list, plus build steps
Materials list for a 2-tier lumber stand (2 ft x 4 ft footprint)
- 4x 2x4 lumber at 54 inches long (uprights)
- 4x 2x4 lumber at 48 inches long (shelf runners, long side)
- 4x 2x4 lumber at 21 inches long (shelf runners, short side)
- 2x sheets of 3/4-inch plywood cut to 24 by 48 inches (shelves) — or use wire shelf panels
- Box of 3-inch wood screws (coarse thread)
- 2x LED grow light bars sized for a 4-foot shelf (or equivalent panel)
- Adjustable light hangers or S-hooks and lightweight chain (to hang lights)
- Mechanical timer or smart plug timer (rated for your total light wattage)
- 6-foot heavy-duty power strip with surge protection
- Zip ties (assorted sizes, at least 50)
- Velcro cable tie straps
- GFCI outlet or GFCI-protected extension cord if your nearest outlet is not GFCI-protected
- Optional: white panda film or flat white paint to line shelves and improve light reflection
Tools needed
- Drill and drill bits
- Miter saw or circular saw (or have lumber pre-cut at the hardware store)
- Level
- Tape measure
- Pencil
- Safety glasses
Build steps
- Cut all lumber to length. If you're using a pre-made wire shelving unit, skip the lumber build entirely and go straight to step 5.
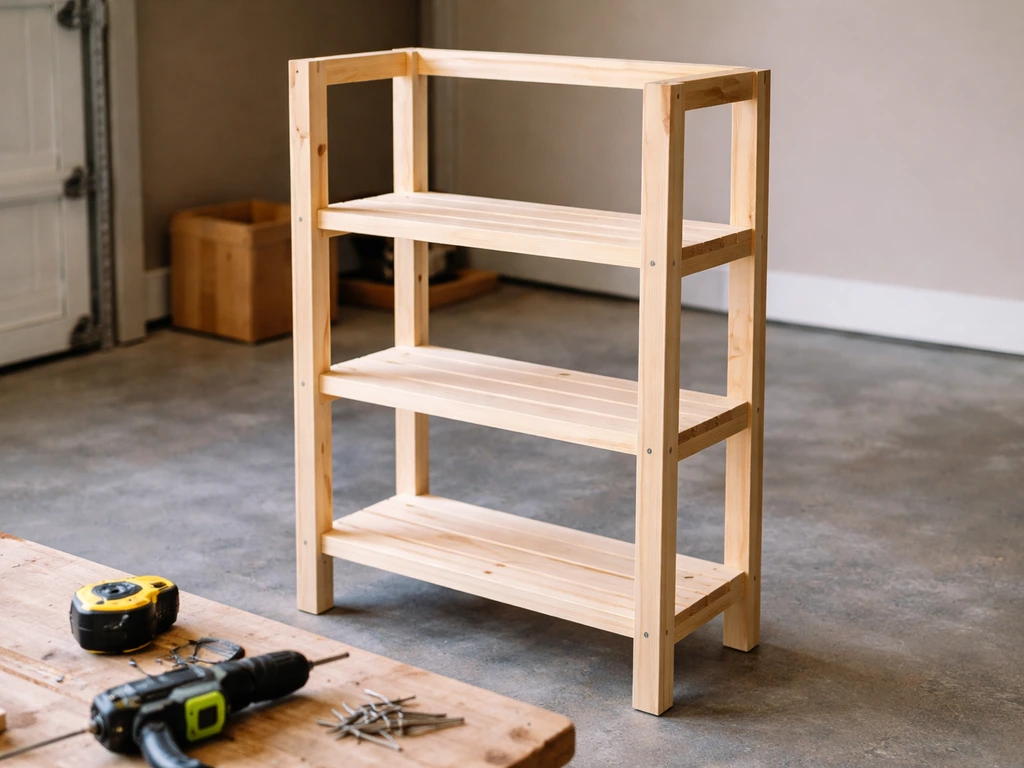
- Assemble the two short end frames first. Each end frame is two uprights connected by two horizontal runners (one for each shelf level). Screw through the upright into the end of each runner. Check with a level and adjust before screws are fully tight.
- Connect the two end frames with the four long-side runners (two at the bottom shelf level, two at the top shelf level). This gives you a rectangular box. Check for square by measuring diagonals — they should be equal.
- Drop the plywood shelf panels onto the runners. You can screw them down or leave them removable for easier cleaning.
- If you chose wire shelving, assemble per the unit's instructions and confirm it's stable before adding any lights.
- Paint the inner surfaces flat white or line them with white panda film to bounce light back toward plants. This is a small step that makes a real difference in uniformity.
- Attach light fixture mounts. For LED bars, the simplest method is screwing a hook into the underside of each upper shelf and hanging the light on a chain or adjuster strap. This lets you raise and lower the light without tools.
- Do a dry run: set your empty pots on the shelves, hang the lights at your starting height (12 inches above the planned canopy height is a safe starting point), and confirm nothing looks unstable or cramped.
Mounting, wiring, and power safety
This is the part that most DIY guides rush past, and it's where problems happen. Take the wiring seriously.
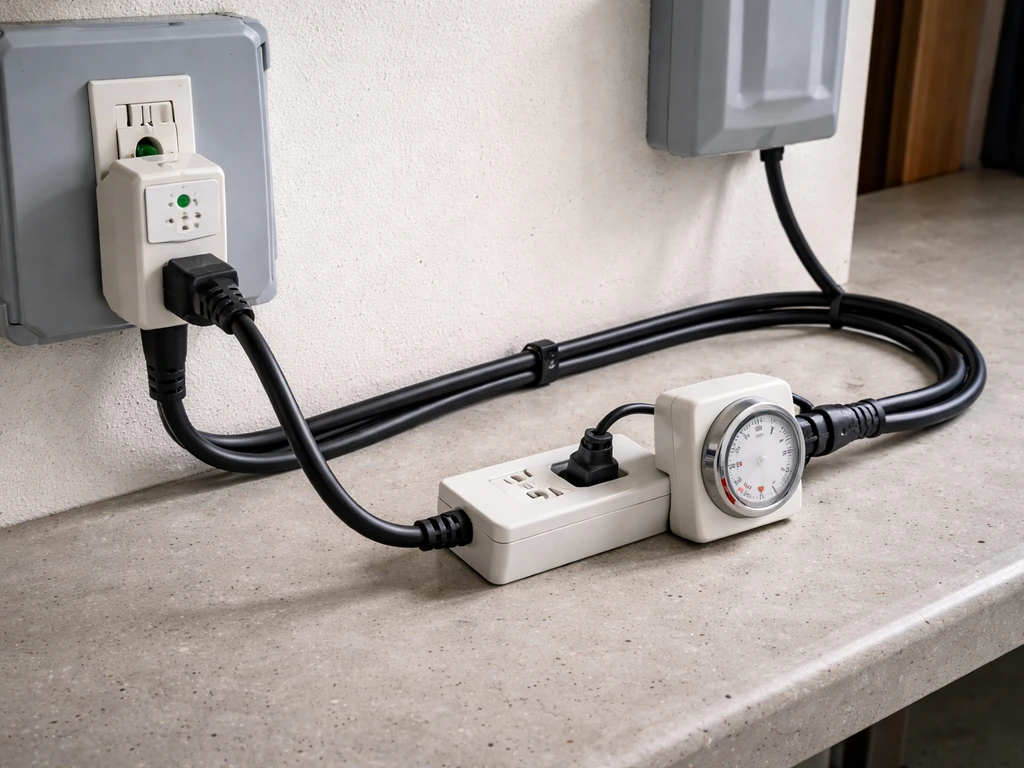
GFCI protection is non-negotiable
Grow stands mix water and electricity. Any outlet you use for a grow setup should be GFCI-protected. If your nearest outlet doesn't have GFCI protection, buy a GFCI outlet adapter or use a GFCI-protected power strip. Eaton’s GFCI installation tips for NEC 2020 updates also emphasize placing GFCI-protected receptacles in readily accessible locations and consider bathroom and garage applications when planning your protection strategy GFCI protection in a readily accessible location. This is reinforced by NEC requirements and basic common sense: a GFCI cuts power in milliseconds if current leaks, which is the difference between a trip breaker and a serious injury.
Timer setup
Plug your power strip into a mechanical or digital timer, not directly into the wall. Set the timer before you plug in your lights. A mechanical outlet timer (around $10 to $15) is totally reliable for this. If you want remote monitoring or scheduling flexibility, a smart plug with an app works great. Put the timer between the wall outlet and the power strip so everything on the strip runs on the same schedule.
Cable management
Dangling cords are trip hazards and look chaotic. Route all light cords along the frame uprights and secure them with zip ties every 6 to 8 inches. Use Velcro straps at any point where you need to adjust the cord length regularly. Keep power strips mounted on the side of the stand frame (not sitting on a shelf where they can get wet from watering). Make sure no cord runs directly under a drip path.
Quick safety checklist before first power-on
- All connections are plugged in fully, no half-inserted plugs
- Timer is set to your desired schedule before powering on
- Power strip is mounted to the frame, not sitting loose on a shelf
- No cords are pinched by the shelf structure
- Outlet or adapter is GFCI-protected
- Lights are rated for horticultural use (UL 8800 or equivalent certification preferred)
- Stand is stable and will not tip when you lean on a shelf edge
Placement, distance, and light tuning for different plants
The right hanging height depends on your light's output and your plant's PPFD needs. PPFD drops as distance increases, so raising the light lowers intensity but widens the spread. Lowering the light increases intensity but narrows the hot spot directly below the fixture. There's a real tradeoff, and you want to find the height where your whole shelf gets reasonably even coverage at the right PPFD range.
| Plant type | Target PPFD (µmol/m²/s) | Suggested starting height above canopy | Notes |
|---|---|---|---|
| Seedlings / clones | 50–100 | 12–18 inches | Keep intensity low; raise light if seedlings bleach |
| Leafy greens / microgreens | 150–300 | 8–14 inches | Wide, even coverage more important than intensity |
| Herbs (basil, mint, parsley) | 300–500 | 6–12 inches | May need two bars per shelf for full coverage |
| Low-light houseplants | 50–150 | 12–24 inches | More forgiving; mainly need consistency |
| Fruiting crops (tomatoes, peppers) | 600–1,000 | 4–10 inches (or higher-power fixture) | Most DIY stand lights won't hit this; consider a panel or multiple bars |
To check your actual light distribution, take PPFD readings at several points across the shelf, not just under the center of the fixture. You can use a PAR meter app on your phone as a rough estimate, or invest in a handheld PAR meter if you're serious about it. The center under the fixture will always be the hottest spot. If the edges of your shelf are getting less than 60% of the center PPFD, try raising the light a few inches or adding a second fixture to fill the shadows. This is what's called a PPFD map, and doing a simple one on your shelf saves you from diagnosing mysterious uneven growth later.
Lighting schedules: seedlings vs houseplants
Photoperiod is simply how many hours of light your plants get per 24-hour day. It's one of the most powerful tools you have, and it costs nothing to adjust once you have a timer.
For seedlings, you want a long photoperiod because young plants need high total daily light (measured as DLI, or Daily Light Integral). The formula is DLI = photoperiod (hours) x PPFD x 3. 6 divided by 1,000. So if your light delivers 100 PPFD and you run it 16 hours, DLI = 16 x 100 x 3.
6 / 1,000 = 5. 76 mol/m²/day. Most sun-loving seedlings target a DLI of 12 to 20. With a modest LED bar delivering only 100 to 150 PPFD, you'd need to run it 18 to 22 hours to hit that target.
UNH Extension actually recommends running fluorescents up to 22 hours for seedlings to compensate for their lower intensity. LED bars are typically a bit more efficient, but the principle holds: if your light isn't very bright, run it longer.
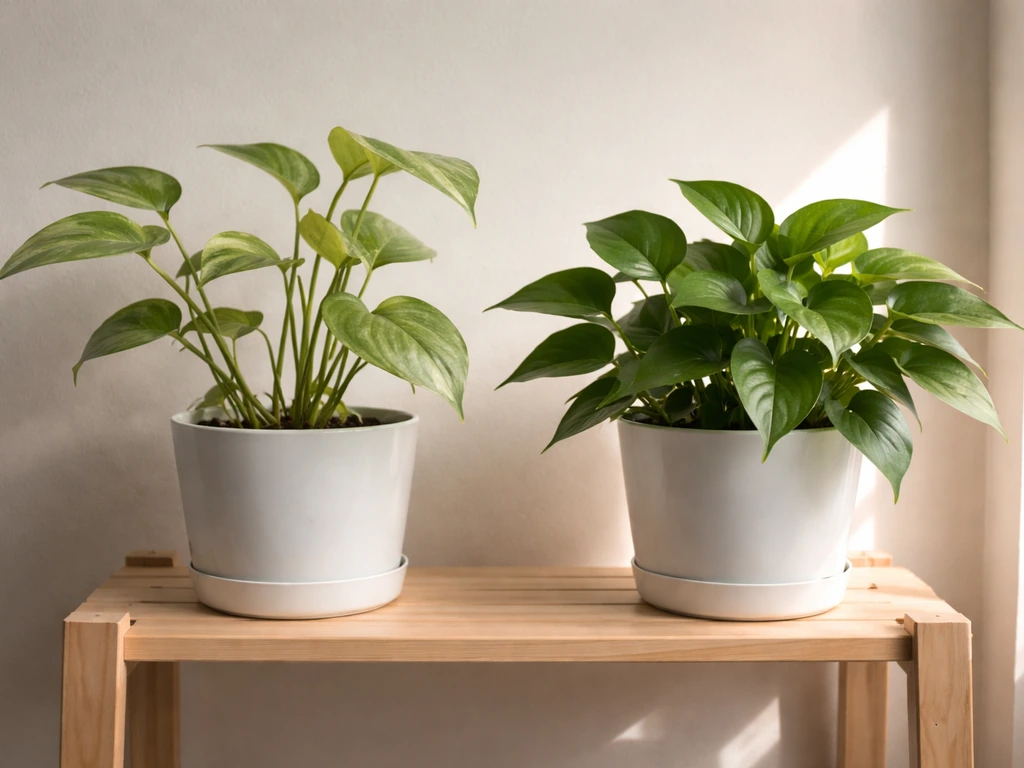
For most common houseplants, 12 to 16 hours per day is the standard starting point. Low-light species (pothos, peace lily, ferns) do fine at 12 hours. Medium-light plants (most tropicals, philodendrons, hoyas) prefer 14 to 16 hours. Avoid running lights 24 hours continuously for most houseplants; plants benefit from a dark period. For herbs and leafy greens, 16 hours is a good default with many growers running 14 to 18 depending on the species and season.
| Plant category | Recommended photoperiod | Target DLI (mol/m²/day) | Notes |
|---|---|---|---|
| Seedlings (sun-loving) | 16–22 hours | 12–20 | Longer hours compensate for lower-intensity fixtures |
| Seedlings (shade-tolerant) | 14–16 hours | 6–12 | Don't overlight; watch for bleaching |
| Leafy greens / herbs | 14–18 hours | 12–17 | 16 hours is a solid default starting point |
| Low-light houseplants | 10–14 hours | 4–8 | Consistency matters more than intensity here |
| Medium/high-light houseplants | 14–16 hours | 10–15 | Adjust based on plant response over 2–3 weeks |
| Fruiting crops (veg stage) | 16–18 hours | 20–30 | Higher PPFD fixture required for most DIY setups |
Set your timer so the lights go on in the morning and off at a consistent time each evening. Plants do adapt to a schedule, and consistency reduces stress. If you have windows nearby, factor in natural light in your DLI calculation so you're not running lights when the sun is already providing good intensity.
Troubleshooting after your first week
The first week is when most problems reveal themselves. Here's what to look for and what to do about it.
Leggy, stretched, or pale growth
If stems are getting long between leaf nodes and the plant looks pale or washed out, it's not getting enough light. This is called etiolation, and it's the most common problem on a new grow stand. The fix is either to lower the light (raising PPFD) or to increase the photoperiod, or both. Start by dropping the light 2 to 3 inches and observing for another 3 to 5 days before adjusting again.
Leaf scorching or bleaching
Bleached, crispy, or brown leaf tips (especially on the top growth closest to the light) mean the light is too close or too intense. Raise the fixture 2 to 4 inches. If the problem is on one side of a plant, the light coverage is uneven; rotate the pot 180 degrees and check your fixture position.
Uneven growth across the shelf
Plants in the center look great but plants at the edges are struggling. This is a coverage uniformity problem. Raise the light a few inches (this widens the spread at the cost of some peak intensity), add a reflective lining to the shelf walls, or add a second fixture. Adding a simple reflector behind or around the fixtures is one easy way to keep more of that light directed back onto your plants. Rotating pots every few days also helps even things out while you fine-tune.
Heat and overheating
If leaves directly under the light feel warm to the touch, or if the ambient temperature on the shelf is consistently above 80°F (27°C), you have a heat problem. LEDs run much cooler than HID lights but can still add meaningful heat in a small enclosed space. Add a small fan (a clip-on USB fan works well) pointing across the shelf, not directly at the plants. Good airflow also prevents the moisture pockets that lead to mold and algae on soil surfaces.
Flickering or failed lights
If a light flickers, check the plug connection first (it's usually just a loose plug). If the light flickers consistently when the timer switches it on, the issue may be with the driver or a compatibility problem between a smart plug and the fixture's driver. Swap to a mechanical timer and see if the flickering stops. A completely dead fixture that was working should be returned for warranty replacement; don't attempt to repair the driver yourself.
Algae or mold on the soil surface
Green algae or white fuzzy growth on the top of your soil means too much moisture combined with too much light reaching the soil surface. Let the top inch of soil dry out between waterings, improve air circulation between pots (space them out), and if possible, cover exposed soil with a thin layer of perlite or a small piece of fabric to block light at the surface.
Pests appearing after setup
Fungus gnats are the most common pest in a grow stand setup, and they love warm, moist conditions. The same fix as algae: let the top of the soil dry between waterings and improve airflow. Sticky yellow traps placed at shelf level will confirm whether you have them and help control populations while you correct the moisture conditions.
Your commissioning checklist before you walk away
Run through this before leaving your stand running unattended for the first time.
- Stand is stable and level on the floor; does not rock when you push a shelf corner
- All lights are securely mounted and hang at correct starting height above the canopy
- Timer is set and confirmed: lights cycle on and off at the correct times
- All cords are routed along the frame and secured with zip ties; none dangling loose
- Power strip is mounted to the stand frame, not resting on a shelf
- Outlet is GFCI-protected
- Fan or ventilation is in place if the stand is in an enclosed area
- Pots are spaced for airflow, not packed wall-to-wall
- You have noted your starting light height and photoperiod so you can compare against plant response in 5 to 7 days
From here, the job is observation. Check your plants after the first three to five days and look for the symptoms in the troubleshooting section above. Most setups need at least one adjustment in the first two weeks before everything settles into a rhythm. That's completely normal. The stand itself doesn't change; you're just dialing in the light height and schedule for your specific plants under your specific conditions. Once that's set, a good grow stand runs almost on autopilot.
FAQ
How can I tell if I’m under- or over-lighting without a PPFD meter?
Do a canopy-response check. If plants stretch and look pale, you are likely under-lighting, try lowering intensity by raising the light height or shortening the photoperiod if you already have good spacing. If you see bleached or crispy tops near the fixtures, you’re usually over-lighting, raise the fixtures 2 to 4 inches first and then reassess after 3 to 5 days. For uneven issues, rotate pots 180 degrees so you can separate plant response from fixture coverage.
What light height should I start with before I measure PPFD?
Start conservatively, around 6 to 12 inches above the plant canopy for LED bars, then adjust in small steps. If you’re growing seedlings or low-light houseplants, lean toward the higher end initially (closer to 10 to 12 inches), since it is easier to drop intensity than to prevent early bleaching.
Can I use a timer with multiple shelves and different plant types?
Yes, but only if the plants tolerate the same photoperiod. If one group needs longer daily light than another, you need separate timers or separate circuits so you can run different schedules. Also ensure the timer capacity and your power strip rating cover the total watts of all fixtures connected.
Do grow lights need to be turned off immediately if I see algae or gnats?
Don’t panic-stop your entire system, but reduce the risk. Keep lights on schedule initially, then address the root cause: let the top inch of soil dry, improve airflow, and reduce direct light hitting bare soil. If the soil surface is staying wet and algae is spreading fast, briefly lowering the light closer to canopy only worsens surface algae, so prioritize airflow and moisture changes first.
Is it safe to plug everything into a power strip, or should I wire a dedicated circuit?
A GFCI-protected power strip is usually fine for typical DIY stands, as long as you use a timer between the wall and the strip and do not overload the strip. Dedicated wiring is only necessary for larger setups, higher wattage, or permanent installations where you need code-compliant electrical work beyond a plug-in setup.
What’s the best way to prevent water from hitting power strips and cords?
Mount the power strip on the side frame, not on the shelf, and route cords up and along uprights so they stay above your watering drip lines. When watering, pour slowly and avoid splashing the underside of fixtures and the strip. If possible, keep a small drip tray under each pot to reduce runoff onto wiring.
How do I avoid scorching when I have one strong plant closer to the light?
Uneven plant heights are a common cause of localized burning. Keep all plants at a similar canopy height on each shelf, or stagger pots so the tallest varieties sit on a separate tray or lower shelf. If the plant is still getting hit from one angle, rotate the pot and check whether one side is consistently closer to the hottest zone.
Can I combine different fixture types on the same shelf?
It’s possible, but it complicates uniformity. Mixing bars and panels can create hotspots and cold zones because their beam patterns and intensities differ. If you mix types, plan on doing a PPFD map using readings at multiple points, then adjust fixture positions and hanging heights until the edges receive at least about 60 percent of the center intensity.
What if my plants are growing unevenly even after I adjust the light height?
First suspect coverage uniformity and pot position. Raise the lights a few inches, add reflective material around the shelf sides, and confirm the fixture is centered relative to the shelf footprint. Also rotate pots every few days during fine-tuning. If the edges still lag, add a second fixture to fill shadows rather than continuing to tweak only height.
Are wire shelves really better than plywood for plant stands with grow lights?
For most DIY builds, yes, because wire shelves allow airflow that reduces heat buildup and moisture pockets. If you must use plywood, drill ventilation holes or leave gaps near the back edge so air can circulate. Poor airflow increases the chance of fungal issues and algae on soil even if your light intensity is correct.
How often should I recalibrate my timing and light height?
Plan on at least one adjustment during the first two weeks, because plants respond quickly to changes in PPFD and photoperiod. After that, recheck when you change growth stage (seedlings to veg, veg to fruiting) or when plants get noticeably taller, since the fixed height can shift canopy distance and PPFD.
Why does my light flicker only with a smart plug, not a standard timer?
Some smart plugs or power sequencing can be incompatible with the fixture driver. If flickering is consistent, switch to a mechanical or digital timer as a test. If the fixture was working before and now flickers persistently, try a different outlet and then return it under warranty rather than opening the driver.
How do I handle height limits in a small closet while keeping PPFD strong?
Use a shorter, more efficient configuration: keep a wider fixture spread across the shelf footprint and raise fixtures enough to avoid bleaching. If you have limited headroom, it’s often better to add a second fixture per shelf rather than pushing one fixture extremely low, since height changes impact both PPFD and uniformity.
Next Article
How to Make a Grow Light Reflector Step by Step
Step-by-step DIY grow light reflector build: materials, sizing, mounting, safe placement, and troubleshooting for even c