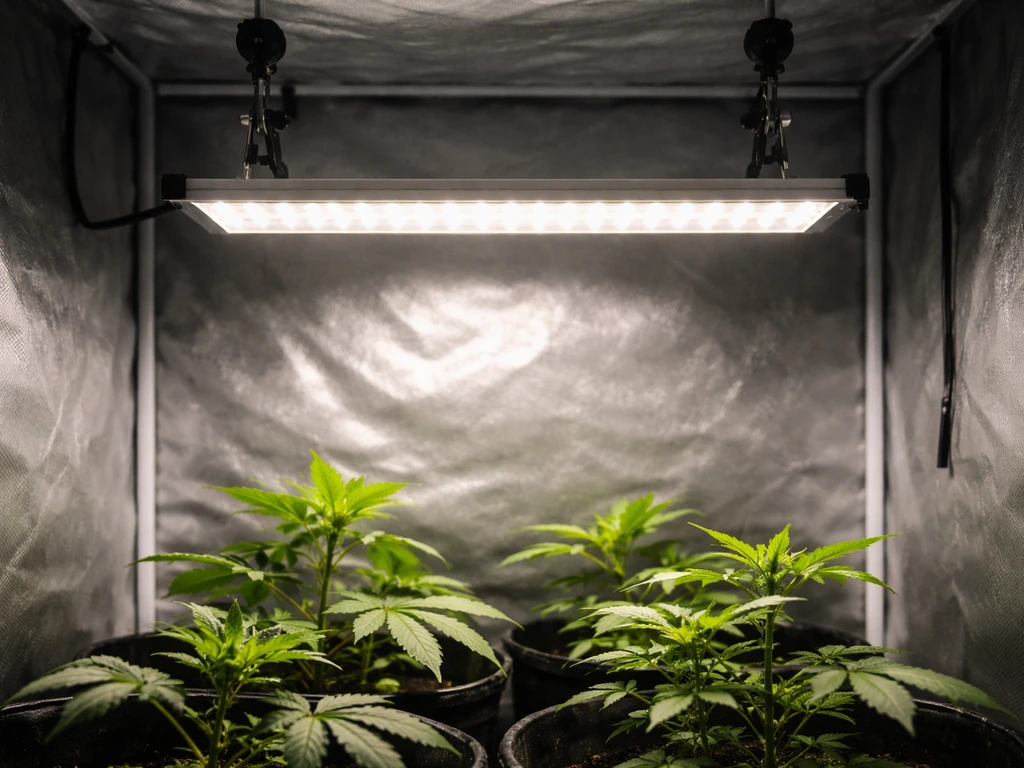
A "light trap" for a grow box is simply a reflective, gap-free enclosure that keeps every photon aimed at your plants instead of leaking out the sides, seams, or around your fixture. When you build one properly, your existing light works harder, your plants grow more evenly, and you stop wasting electricity on photons that illuminate the inside of a cabinet door nobody asked to illuminate. Here is how to plan it, build it, and dial it in from scratch.
How to Make a Light Trap for a Grow Box

Marcus Tillman
17 Apr 2026
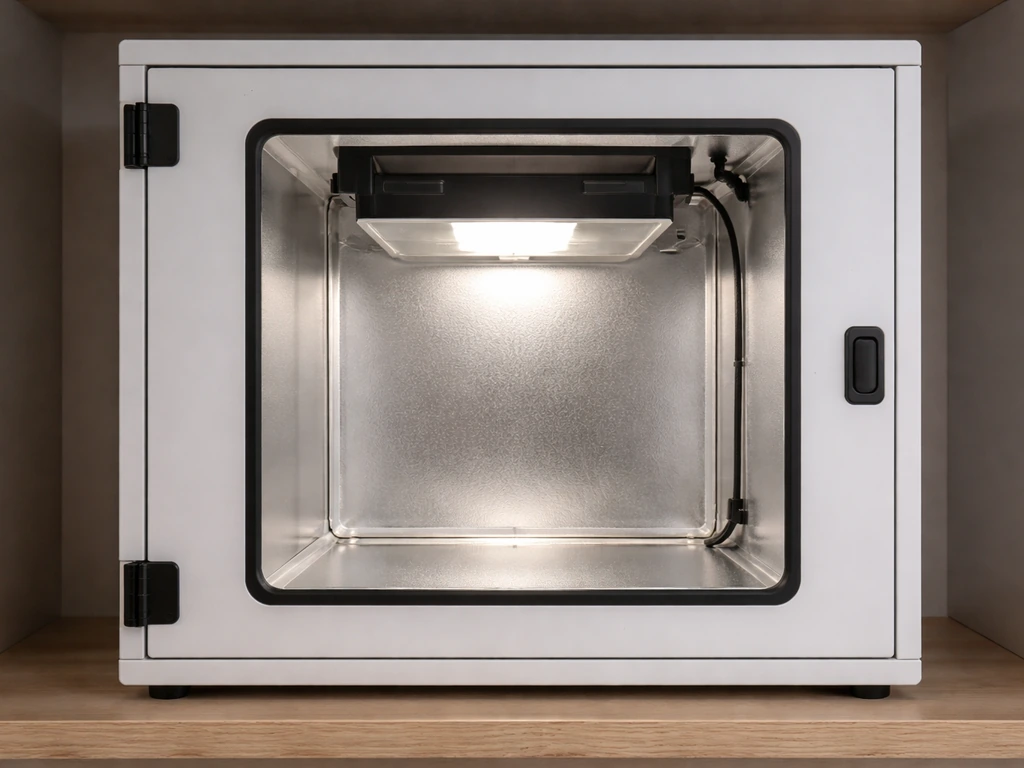
Figure out what your plants actually need first
Before you cut a single piece of reflective film or mount anything, you need to know your target light intensity. The numbers matter because they tell you whether your current fixture is even enough for the job, and they give you something to measure against once the light trap is built. Propagation and seedlings need a PPFD of roughly 100 to 250 µmol/m²/s. Vegetative growth needs 300 to 450 µmol/m²/s. Flowering plants want somewhere between 700 and 1,200 µmol/m²/s depending on the crop. These targets assume you are also managing temperature and humidity reasonably well, because intensity recommendations do not exist in a vacuum.
Daily light integral (DLI) is the other number worth knowing. The formula is straightforward: DLI = 0.0036 × PPFD × hours of light per day. A seedling DLI target of around 10 to 15 mol/m²/day means that at 200 µmol/m²/s you need roughly 14 to 21 hours of light. At 300 µmol/m²/s you can hit 15 mol/m²/day in about 14 hours. Run those numbers for your stage before you decide how long your timer runs, because a better light trap that reflects more photons back toward the canopy can actually shorten your photoperiod and save energy.
Also think about spectrum. Seedlings and clones do fine under a broad full-spectrum or blue-heavy (4000K to 6500K) LED. Vegetative growth still favors cooler spectra, while flowering benefits from added red (2700K to 3000K range, or a full-spectrum fixture with dedicated red channels). Knowing your spectrum matters when you get to the testing stage, because some measurement tools read red-heavy or blue-heavy LED light differently than full-spectrum sources.
Pick the right light for your grow box
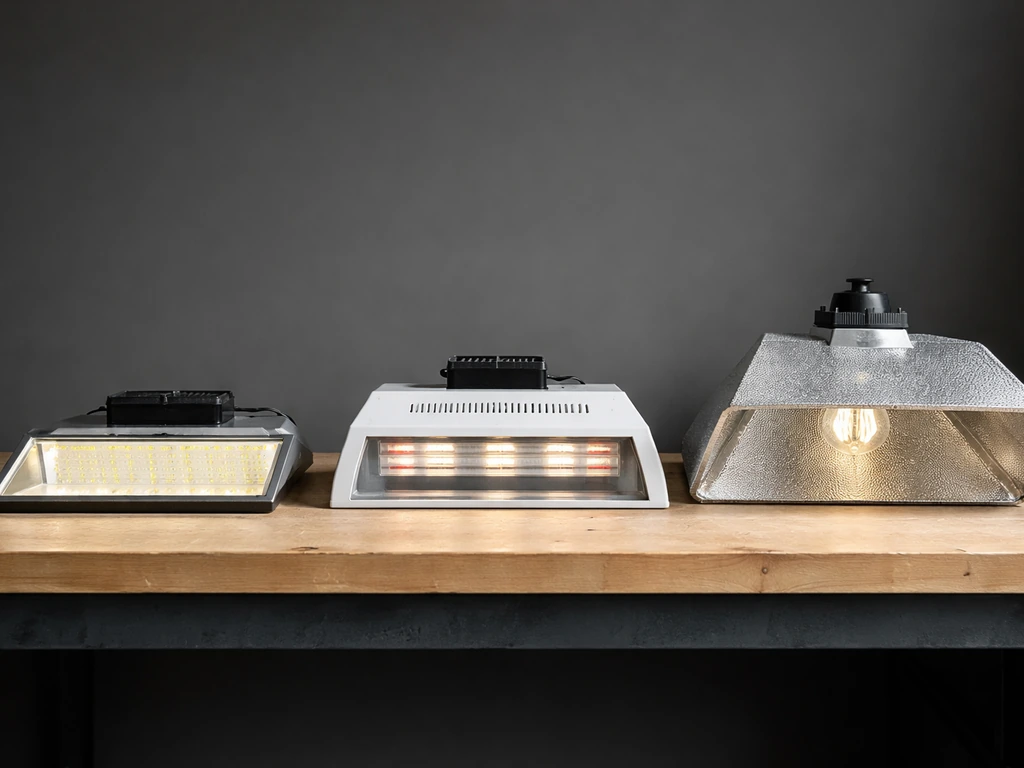
The light source you choose shapes everything about how you build the trap around it. Here is a quick comparison of the three realistic options for a small grow box.
| Light Type | Heat Output | Efficiency | Hood/Reflector Need | Best For |
|---|---|---|---|---|
| Quantum board LED | Low | High (2–3 µmol/J typical) | Moderate: board spreads light well but sealing gaps still matters | All stages, especially seedlings to flower |
| Blurple/bar LED | Low to moderate | Moderate | Higher: narrow beam angles create hot spots without a diffuse reflector | Budget builds, veg-forward setups |
| T5 fluorescent | Moderate | Moderate (around 1 µmol/J) | High: tubes need a close hood to redirect side-spill | Seedlings, clones, low-light plants |
| DIY COB LED | Moderate to high (driver separate) | Very high potential | High: bare COBs are point sources with strong hot-spot risk | Experienced builders wanting max control |
For most grow boxes, a quality quantum board LED is the easiest starting point because the wide emitter area already distributes light more evenly than a bare bulb or COB. If you want to go deeper on building your own LED source, making a grow light for plants from scratch is worth reading before you start. If your box is tall and narrow, a T5 strip setup is another practical route, and you can find a detailed walkthrough on how to build a T5 grow light that covers the hardware specifics. For the rest of this guide, the steps assume an LED fixture, but the reflector and sealing work is identical regardless of source.
What you need before you start building
Materials list
- White interior latex paint (flat/matte) or pre-cut Mylar film (4 mil minimum thickness)
- Foil tape (HVAC-grade, at least 2 inches wide) for seaming any reflective panels
- Foam weatherstripping (self-adhesive, 3/8 inch or 1/2 inch width) for door and panel gaps
- Black craft foam or black polyethylene sheeting for light baffles at intake/exhaust ports
- Small bungee cords or hook-and-loop (Velcro) tape for removable light mounts
- Cable management clips or zip ties for routing wiring along walls away from the canopy
- A digital timer (mechanical or smart plug) for your photoperiod
- An infrared thermometer or stick-on thermometer strips for heat checks
- A smartphone with a PAR/PPFD measurement app (Photone is a widely used free option) for testing
Electrical and safety basics
Keep the electrical side simple and safe. Use a grounded power strip or smart outlet inside or just outside the box, and make sure any fixture you use is UL-listed. In the U. S.
, the National Electrical Code requires horticultural lighting equipment to be Listed, and fixtures should ideally comply with UL 1598 (the standard covering electrical, mechanical, thermal, and fire safety for luminaires) or UL 8800 (the horticultural-specific standard that also addresses photobiological eye and skin safety).
UL 1598 is characterized as the primary safety standard for luminaires, evaluating electrical, mechanical, thermal, and fire safety for various installation locations and conditions UL 1598 (the standard covering electrical, mechanical, thermal, and fire safety for luminaires). Those listings exist on the fixture label or in the product specs.
If a light does not carry any listed certification, that is a real safety risk in an enclosed box where heat builds and wiring is close to humidity. Do not skip this check to save $20.
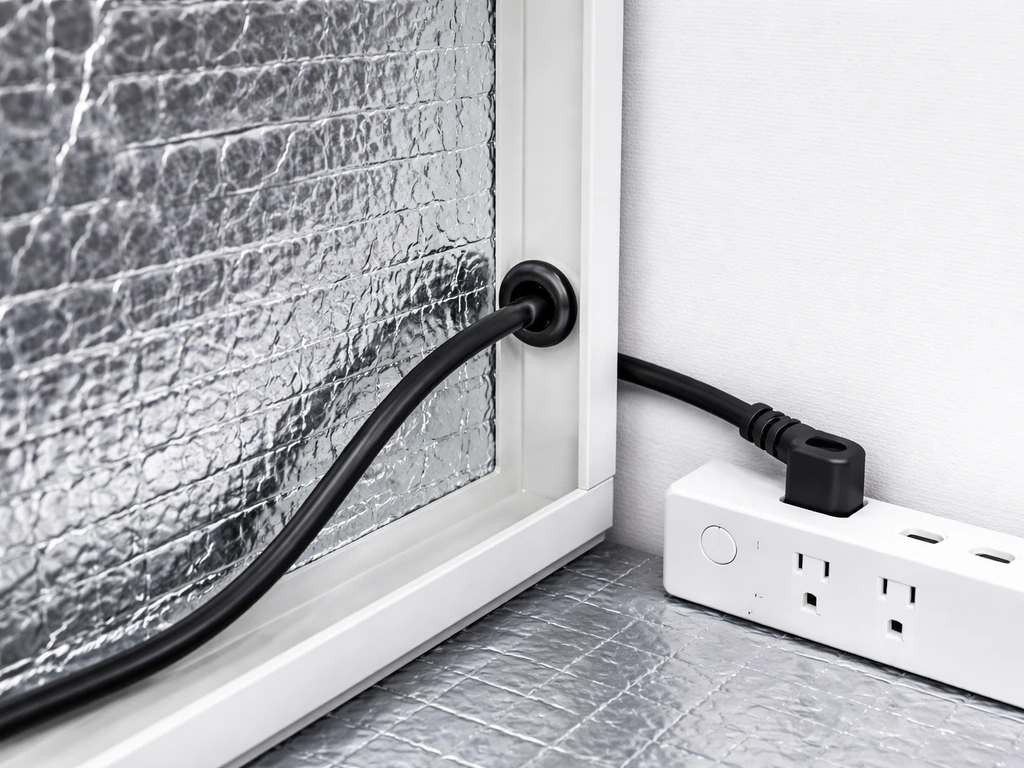
Keep mains wiring outside the reflective lining. Route your power cord through a small grommet hole, seal around it with foam or silicone, and keep all wire connections outside the grow space. Inside the box, only the low-heat LED fixture and its attached cord should be present. Never staple or pinch the power cord against the reflective lining.
Build the light trap: step by step
- Clean all interior surfaces. Wipe down the inside of your grow box with a damp cloth. Any dust or grease will reduce adhesion and reflectivity. Let it dry completely.
- Decide: paint or film. Flat white latex paint is the most forgiving choice for beginners. It gives around 85 to 90 percent diffuse reflectivity, it is cheap, it is easy to patch, and it does not create air pockets behind it the way loose Mylar film can. Apply two coats to all interior walls, ceiling, and floor of the box. If you prefer Mylar film, cut panels to fit each wall, press them flat, and attach with contact cement or double-sided tape, then run foil tape over every seam and edge. Avoid wrinkles: wrinkles act like mini-mirrors and create hot spots.
- Seal all seams and gaps. Run a strip of foam weatherstripping along every door edge and panel joint. Any gap wider than 1 to 2 mm will leak visible light. Close the box in a dark room and look for light bleed from inside with a small flashlight. Mark every leak with tape, then seal it. Gaps around intake fans and exhaust ports need baffles, not plugs, because you still need airflow.
- Build intake and exhaust baffles. Cut a Z-shaped or L-shaped baffle from black foam or black polyethylene sheet and mount it just inside each ventilation port. The baffle allows air to pass around the corner but blocks a straight line of sight through the hole, which is the path light takes to escape. Attach baffles with foam tape or a small screw through the box wall.
- Mount the light fixture. Use hook-and-loop straps or an adjustable ratchet hanger so you can raise or lower the fixture easily. Route the power cord along the top wall of the box using cable clips so it is flat against the surface and out of the canopy zone. Feed the cord through a grommet hole at the back or top of the box, seal the gap with foam, and plug into your timer outside the box.
- Build or add the fixture reflector/hood. If your LED panel does not have a built-in hood, make a simple one from a sheet of rigid cardboard or thin aluminum sheet covered with flat-white-painted Mylar. Cut it to extend 3 to 4 inches beyond the footprint of the fixture on each side, fold the edges down at a 30 to 45 degree angle, and attach it to the fixture frame with small bungee cords or zip ties. This redirects side-spill light down toward the canopy instead of straight at the walls. For a more in-depth look at reflector design and geometry, the guide on how to make a grow light reflector covers material choices and angle calculations in detail.
- Tape every seam on the reflector hood with foil tape. Open seams on your hood are the same problem as open seams on the walls: they let photons escape sideways instead of going to your plants. Press the foil tape firmly at every join and corner.
Placement, angles, and airflow
Mounting height is the most common thing people get wrong. Too close and you get heat stress and bleaching at the canopy center. Too far and the edges of the box get starved for light. A general starting point for an LED quantum board in a 2x2 or 2x4 foot box: hang the fixture 18 to 24 inches above the canopy for vegetative growth, and 12 to 18 inches for flowering (always check your specific fixture's recommendations since wattage and optic design vary). For seedlings, start at 24 to 30 inches to keep intensity in the 100 to 250 µmol/m²/s range.
The reflective walls do a lot of the work for edge coverage, but the angle of your reflector hood matters too. A 30 to 45 degree downward angle on the hood sides bounces peripheral light toward the outer edges of the canopy, improving uniformity. Avoid polished or mirror-like surfaces for your hood: specular (shiny) reflectors concentrate light into a focused spot directly below the fixture, which worsens the hot spot problem you are trying to solve. Diffuse matte white surfaces scatter light in all directions, smoothing out the intensity distribution across the whole canopy.
Airflow around the light is not optional in an enclosed box. Heat from the fixture rises and stacks at the ceiling. If your exhaust fan pulls air from the top of the box (ideal), it drags that heat out before it radiates back down. Mount your inline or PC fan so it pulls air from the highest point of the box, and position your intake port low and on the opposite wall.
If your LED driver is inside the box, consider relocating it outside, since drivers generate meaningful heat even when the diodes do not. For grow boxes mounted on or integrated into a stand, positioning the driver externally is much easier, and you can find practical mounting ideas in this guide on building a plant stand with grow lights.
Test it, then tune it
Check for light leaks
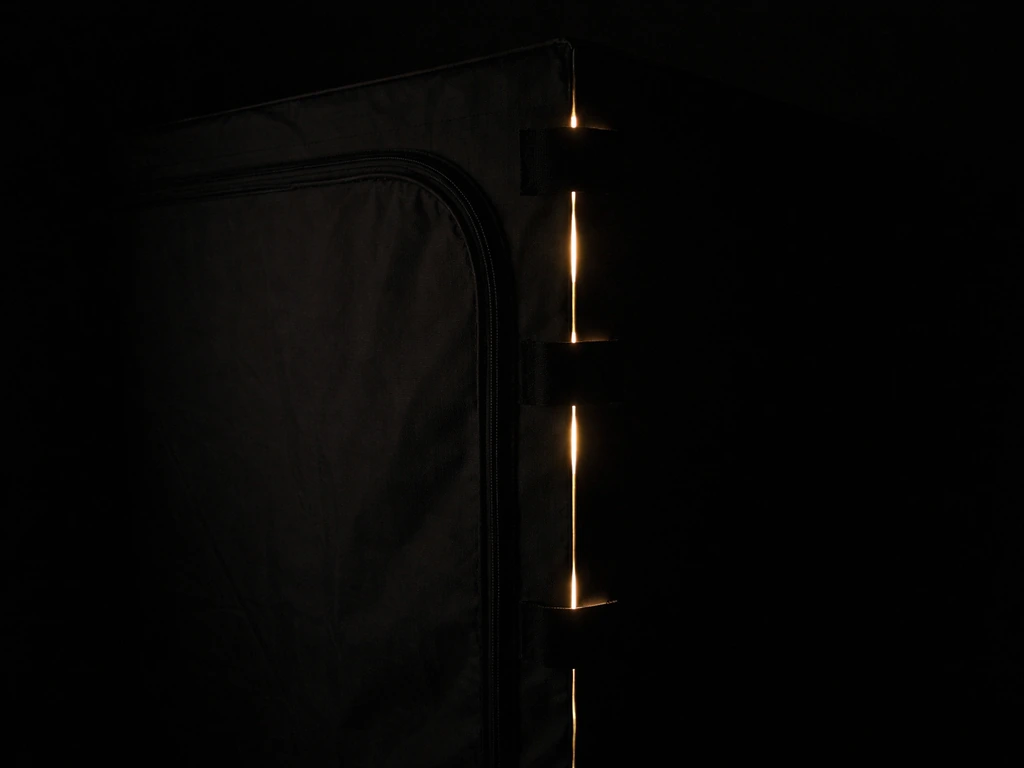
Do this in a completely dark room. Turn your light on inside the closed box and walk around the outside looking for any glow, even faint. Pay special attention to door hinges, the power cord entry point, and any ventilation baffles. Mark every leak, open the box, seal it, and repeat. You are done when the outside of the box in a dark room is completely black.
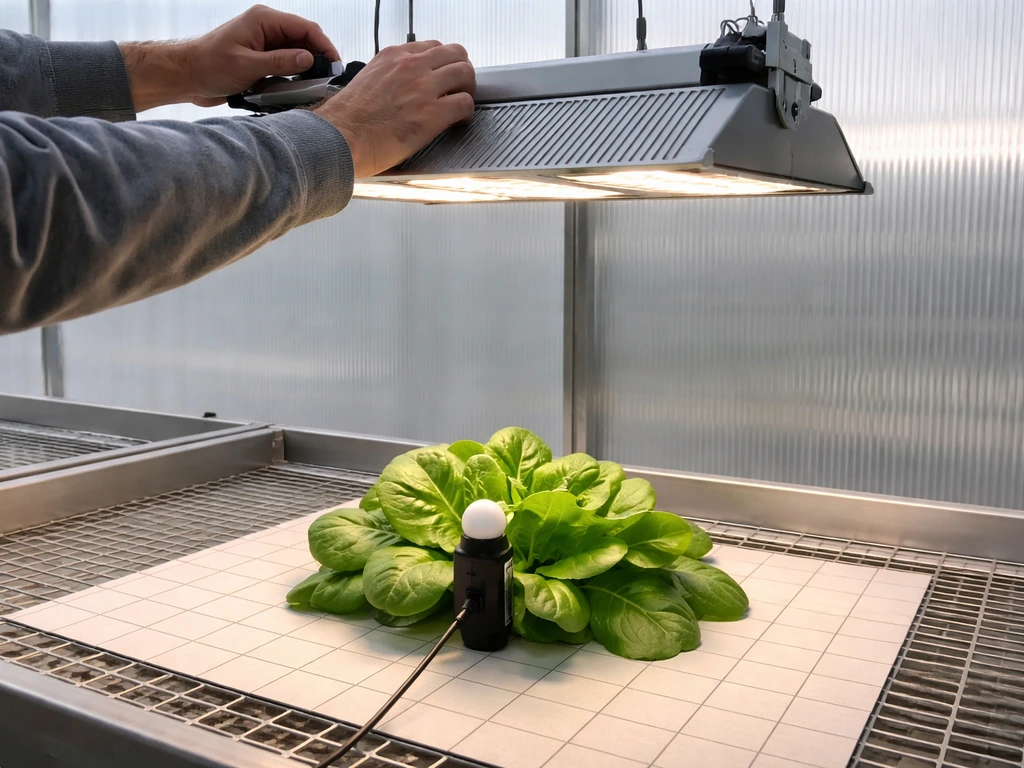
Measure PPFD and find hot spots
Download the Photone app (available on iOS and Android) and take readings at canopy height in a 3x3 or 4x4 grid pattern across the grow space. Write down each reading. You are looking for two things: whether your center reading hits your target PPFD for the plant stage, and how much variation exists between the center and the corners. A difference of more than 30 to 40 percent between the brightest and dimmest spots is worth fixing.
Raise the fixture slightly to spread light more evenly, or adjust the hood angle to push more light toward the dim corners. Note that Photone has been tested against dedicated quantum PAR sensors like the Apogee, and while full-spectrum LED readings are reasonably close, red-heavy or blue-heavy blurple LEDs can produce larger measurement errors in the app. Use the numbers as relative comparisons and directional checks rather than assuming lab precision.
Check temperatures
With the light running and fans on, let the box stabilize for 30 minutes, then check three temperatures: the air temperature at canopy level, the temperature at the ceiling near the fixture, and the surface temperature of the light itself (use an infrared thermometer). Canopy air temperature should stay between 72 and 82°F (22 to 28°C) for most crops during the light period. If the ceiling temperature is more than 10°F above canopy temperature, your exhaust is not keeping up: upgrade the fan or add a second extraction point. If the fixture surface is hot to the touch rather than just warm, make sure there is at least 2 to 3 inches of clearance around the fixture for convective airflow.
Set your timer and confirm DLI
Once you have a stable, measured PPFD at canopy height, use the DLI formula to set your photoperiod. If your center reading is 350 µmol/m²/s and you are growing in vegetative stage targeting a DLI of around 20 mol/m²/day, you need: 20 / (0.0036 × 350) = about 15.9 hours of light. Round to 16 hours on, 8 hours off. For seedlings at 200 µmol/m²/s targeting 12 mol/m²/day, you need about 16.7 hours. Plug those numbers into your timer and you are running a data-driven schedule rather than guessing.
Common problems and quick fixes
- Hot spot in the center, dim edges: Raise the fixture 2 to 4 inches, or bend the hood sides to a steeper downward angle to redirect more light outward.
- Even reading but PPFD too low overall: Check for light leaks first (lost photons equal lost PPFD), then consider whether your fixture is undersized for the box footprint.
- Temperature spiking above 85°F at canopy: Increase exhaust fan speed or add a second fan. Move the driver outside the box if it is currently inside.
- Condensation on reflective walls: Your temperature differential between night and day is too large, or humidity is too high. Improve sealing and add a small circulation fan inside the box.
- Mylar film developing wrinkles over time: Replace with flat white paint, which does not sag or bubble.
Adapting this build for different setups
If you are working with a very small tabletop enclosure rather than a full cabinet, the same principles apply at a smaller scale. A compact reflective hood over a single LED strip or compact fluorescent can make a dramatic difference in a small box. There is a good practical walkthrough of exactly this kind of compact setup in this DIY tabletop grow light guide that you can adapt for the light trap approach described here.
If you are building a COB LED setup as your light source rather than a panel, the reflector design becomes especially important because COBs are intense point sources. The guide on building a COB LED grow light walks through the optics and heat management side of that build, which pairs directly with the sealing and reflector work in this article.
The bottom line is that a well-built light trap does not require expensive materials or complex wiring. Two coats of flat white paint, sealed seams, a simple bent-sheet hood over your fixture, and a phone app for verification will get you most of the way there in an afternoon. The gains are real: a properly sealed and lined grow box can recover 20 to 30 percent of light that would otherwise escape through gaps and unlined walls, which means more growth from the same fixture and the same electricity bill.
FAQ
What are the most common places a light trap leaks, even if the walls look fully lined?
Check the door perimeter, the seam where the reflector meets the ceiling, and any cable pass-through points (including behind the driver or timer). Also inspect screw holes, ventilation baffles, and unfinished edges inside corners, because light can escape through pinholes and thin gaps that are invisible in normal room lighting.
Do I need to use reflective film, or can I line the box with paint only?
You can get good results with multiple coats of flat white paint, but choose it specifically for low gloss (matte) to avoid hot spots. If you do use reflective film, ensure it is matte or diffusive rather than mirror-like, and do not stretch it over uneven surfaces since tension gaps create tiny light leaks.
How thick should the reflective lining be, and does it matter for blocking light?
Thickness matters less than continuity and sealing. Use a material that will not tear, sag, or create seams when installed, then seal every joint and edge. If your lining is thin and can deform, it can pull away from corners over time and reopen light leaks.
Can I build a light trap if my fixture already has a built-in reflector?
Yes, and in many cases it improves uniformity, but you still need a gap-free enclosure to stop side spill. Even with a strong reflector, photons can leak around the fixture housing and through door seams, so you should still do the dark-room “outside glow” test.
Should I seal the entire interior of the grow box airtight, or leave vents open for CO2 and airflow?
For most grow setups, do not aim for airtight. Keep your airflow design functional, then build the light trap around it, meaning seal the light paths while still allowing planned intake and exhaust. Use light baffles for vents so you keep directionality without blocking air movement.
What’s the best way to route the power cord and avoid light leakage at the entry point?
Use a grommet or strain relief at the penetration, then seal the gap around the cable with foam or silicone so light cannot travel through the hole. Keep the electrical connection outside the reflective lining, and avoid leaving a hollow tunnel inside the box where light can reflect along the cable sheath.
How do I handle a driver that must stay inside the box?
If the driver cannot be moved outside, increase ventilation around it and treat driver heat as part of your thermal plan. Make sure the driver area does not become the hottest spot that forces condensation risk near wiring, and consider adding clearance so air can convect rather than pooling under the ceiling.
Is it normal if Photone readings differ between center and corners by more than expected?
Some variation is normal, but if the gap is large, it usually means mounting height, hood angle, or reflective surface continuity needs adjustment. Re-test after you move the fixture or hood, and verify you are measuring at true canopy height consistently across the grid.
What measurement errors should I expect if I use a blurple or red-heavy LED?
Expect the app to under- or over-estimate PPFD relative to true quantum sensors, especially at the red or blue bands that the app’s calibration may not perfectly match. Use your readings mainly for relative comparisons (before vs after changes) and for tracking uniformity improvements, not as lab-grade truth.
How long should I let the box run before taking the final PPFD and temperature checks?
Let it stabilize for at least 30 minutes with fans running, then take the measurements. If temperatures are still trending after that, you may be under-ventilated, and PPFD can drift slightly due to thermal behavior of the LEDs and driver.
What should I do if the ceiling is much hotter than the canopy even when my exhaust is running?
Increase exhaust capacity or add a second extraction point, and confirm the fan pulls from the highest point. Also check clearance around the fixture and ensure heat is not being trapped in dead zones near the ceiling, since poor mixing can leave the driver and upper chamber overheating.
How can I avoid canopy bleaching while still using the highest useful intensity?
Bleaching usually comes from mounting too close or from a specular hot spot under the fixture. Raise the fixture incrementally, switch to diffuse matte reflectors, and adjust hood angle (toward 30 to 45 degrees) to push light toward corners rather than concentrating it directly below the LEDs.
If I reduce the photoperiod because the light trap boosts PPFD, how should I calculate the new schedule?
Use your measured PPFD at canopy height and plug it into the DLI equation to recalculate hours of light. Then adjust your timer in small steps (for example, 1 to 2 hours) over a day or two and watch plant response, since intensity changes can affect transpiration and temperature even if DLI stays similar.
Is a light trap worth it if I already have strong ventilation and a bright fixture?
It can still be worth it because a properly sealed enclosure recovers lost photons that otherwise escape through seams and doors, improving uniformity and reducing wasted electricity. The biggest benefit is not brightness, it is consistent coverage across the canopy, so verify uniformity with your grid readings.
Next Article
Innova Grow Light Instructions: Setup, Use, and Troubleshooting
Step-by-step Innova LED grow light instructions: setup, mounting, distance, schedules, intensity, and fast troubleshooti