If your upper leaves are turning pale, bleaching white, curling upward like a taco, or showing crispy edges while the rest of the plant looks fine, your grow light is almost certainly too close. Move it up 4 to 6 inches, give the plant 48 to 72 hours, and watch whether those symptoms stop spreading. That single adjustment fixes the problem for most indoor growers.
How to Tell If Grow Light Is Too Close: Fix Light Stress

Marcus Tillman
15 May 2026
Signs your grow light is too close (and what they actually look like)

The symptoms of too-close lighting are pretty distinctive once you know what you're looking at. They almost always show up first on the leaves or growing tips that are physically closest to the fixture, which is your biggest clue that light placement is the culprit rather than something else.
- Bleaching or whitening: The tissue nearest the light loses its green color and turns pale yellow or white. This is photobleaching caused by excess photon energy overwhelming the plant's ability to dissipate it safely. It's not the same as yellowing from nitrogen deficiency, which starts at older lower leaves.
- Upward leaf curl (taco or canoe shape): Leaves fold up along their midrib to protect themselves from intense light and heat. This usually happens alongside high surface temps, not just high light alone.
- Crispy or brown leaf tips and edges: Tips dry out and die back, especially on the youngest growth closest to the fixture.
- Overly dark, deep green foliage on mid-canopy leaves: This sounds counterintuitive, but when upper leaves get burned off or bleached, the leaves just below them sometimes compensate by deepening in color as the plant shifts resources.
- Wilting despite adequate watering: Heat radiating from a too-close fixture increases transpiration faster than roots can replace water. The plant droops even when the medium feels moist.
- Stunted or twisted new growth: Apical meristems (the growing tips) are sensitive. Extreme intensity can slow or distort new cell development at the very top of the plant.
The key pattern to notice is that the damage is concentrated directly under or nearest the light. If symptoms are more evenly spread across the whole plant, or starting from the bottom up, you're probably dealing with something else entirely, like a nutrient deficiency, overwatering, pests, or a flickering or malfunctioning light fixture.
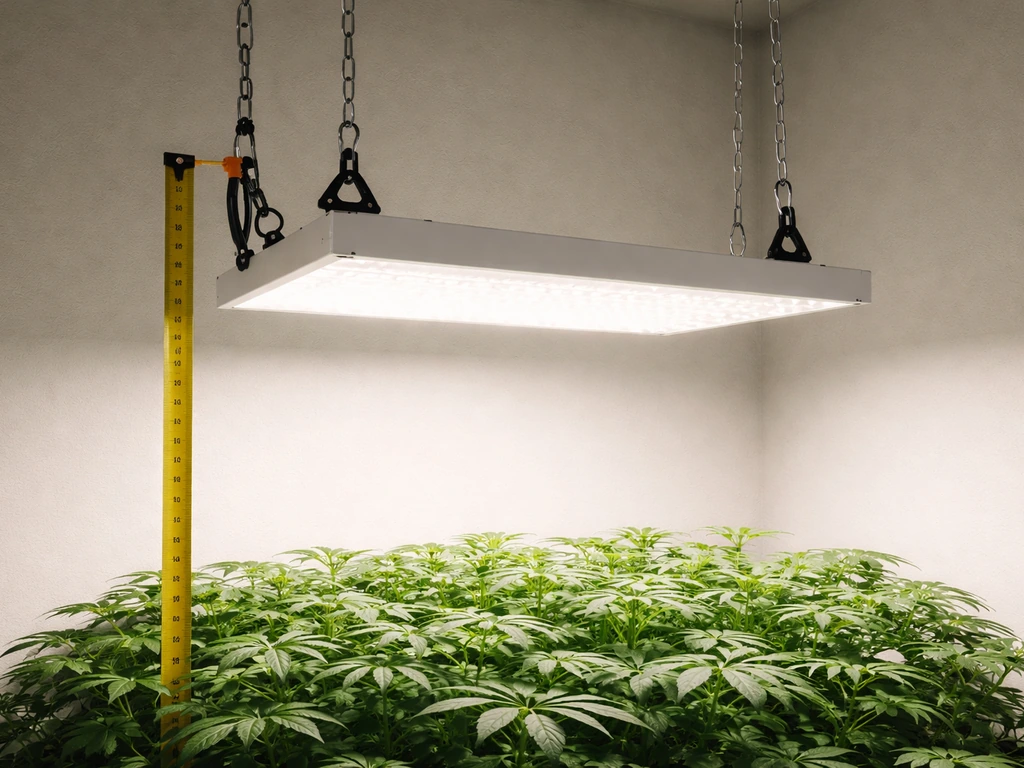
Starting distances by light type and wattage
These are starting points, not permanent rules. Every grow space is different, and factors like reflective walls, ceiling height, and how many lights you're running all shift the math. But these ranges will get you into a safe zone to begin dialing in.
| Light Type | Wattage (draw) | Seedlings | Vegetative | Flowering / Fruiting |
|---|---|---|---|---|
| Quantum board LED | 100–200W | 24–36 inches | 18–24 inches | 16–20 inches |
| Quantum board LED | 200–400W | 30–40 inches | 20–28 inches | 18–24 inches |
| Bar / strip / blade LED | 100–250W | 24–36 inches | 20–28 inches | 18–24 inches |
| Full-spectrum panel LED | 45–100W (actual draw) | 18–24 inches | 14–20 inches | 12–18 inches |
| Full-spectrum panel LED | 100–200W (actual draw) | 24–30 inches | 18–24 inches | 16–22 inches |
| T5 fluorescent (4-tube) | 54W/tube | 2–6 inches | 4–8 inches | 4–8 inches |
| CFL (spiral bulb) | 23–65W actual | 2–4 inches | 3–6 inches | 3–6 inches |
| HPS / MH 400W | 400W | 24–36 inches | 18–24 inches | 16–22 inches |
| HPS / MH 1000W | 1000W | 36–48 inches | 24–36 inches | 20–30 inches |
A note on LED wattage: always use the actual power draw (from the driver or the spec sheet), not the inflated 'equivalent' wattage that some budget brands list on the box. A light advertised as '1000W equivalent' might only draw 100 to 150 watts, which changes the placement entirely. If you're not sure, look for the actual draw in amps or watts on the label near the power cord.
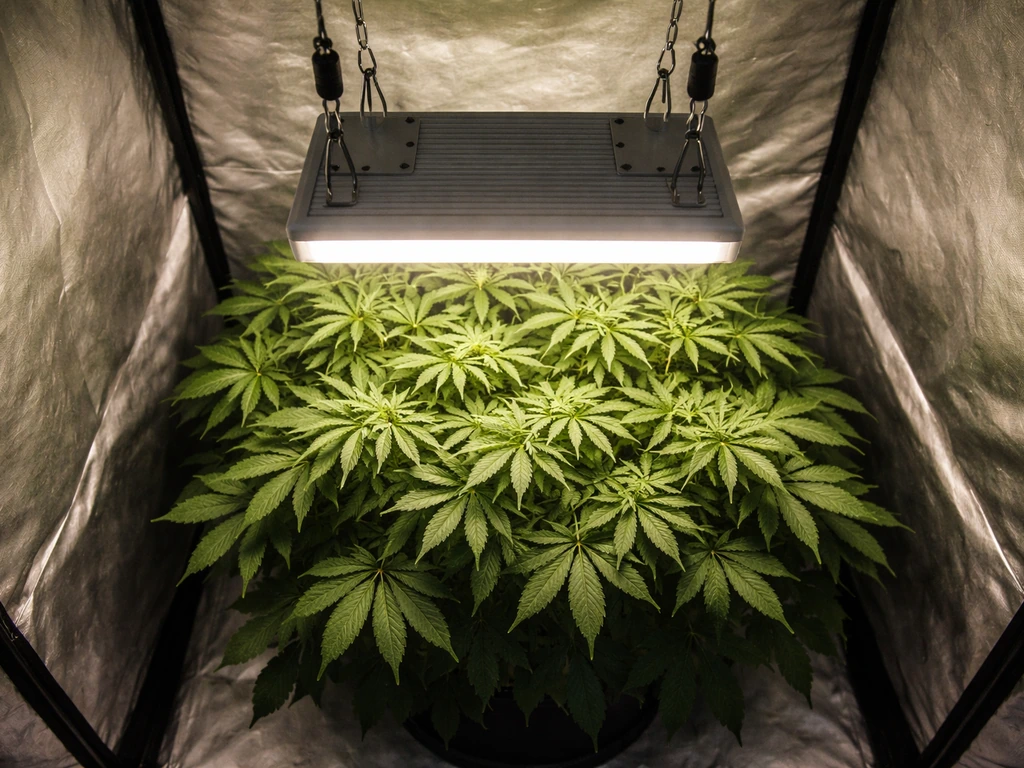
Bar and blade-style LEDs spread light over a wider horizontal footprint than a single-point panel, so they can sometimes hang a little lower without creating a hot center spot. Quantum boards tend to have a tighter beam distribution, which makes proper height more critical to avoid bleaching directly beneath the center of the board.
How to actually measure light intensity at the canopy
PPFD (photosynthetic photon flux density) is the measurement that matters: it tells you how many photons useful to photosynthesis are hitting one square meter of leaf surface per second. It's measured in micromoles per square meter per second (µmol/m²/s). Target ranges by plant stage are:
| Plant Stage | Target PPFD Range | Notes |
|---|---|---|
| Seedlings / clones | 100–300 µmol/m²/s | Very low light needs; too much causes early bleaching |
| Vegetative growth | 400–600 µmol/m²/s | Steady growth without stress for most plants |
| Flowering / fruiting | 600–900 µmol/m²/s | Higher demand; good airflow becomes critical |
| High-light crops (tomatoes, cannabis) | 800–1200 µmol/m²/s | Only with elevated CO2 and perfect VPD control |
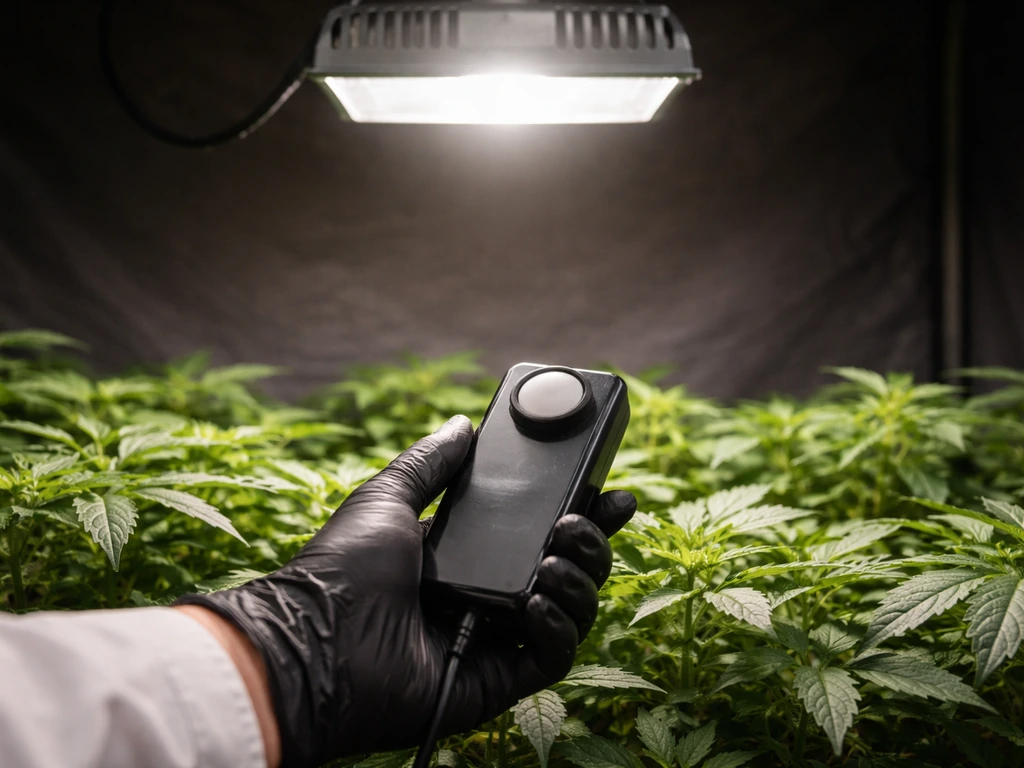
Using a PAR meter or radiometer
A dedicated PAR/PPFD meter like the Apogee MQ-500 or the Photone app paired with a diffuser gives you the most reliable reading. Hold or clip the sensor at the canopy level (the top of the tallest leaves, not the floor), with the sensor facing up toward the light. Take readings at the center point directly under the fixture, then move to the edges of your canopy. If the center reading is significantly higher than target and the edges are much lower, you have a hotspot problem in addition to a height problem.
DIY and low-cost alternatives
If you don't have a PAR meter, your phone can get you surprisingly close. The Photone app (iOS and Android) uses your phone's front-facing light sensor to estimate PPFD. On its own it's not perfectly accurate for all LED spectrums, but it's a useful relative check. For best results, use a small piece of white diffusion paper (a thin white printer paper works) taped over the sensor and select the 'Full Spectrum LED' mode. It won't replace a calibrated sensor, but it'll tell you whether you're in the right ballpark and whether moving the light 4 inches makes a meaningful difference.
Another low-tech method: check your manufacturer's PPFD maps. Most reputable LED brands publish footprint charts showing intensity at different hanging heights. Match your light model and height to the chart, find the center reading, and compare it to the target ranges in the table above. This approach is actually quite reliable if the chart is from a third-party verified test rather than marketing material.
Fixing height, beam angle, and hotspots
Once you've confirmed the light is too close, here's how to fix it systematically rather than just guessing again.
- Raise the light in 2-inch increments. Don't jump 12 inches at once. Move it up 2 to 4 inches, measure or observe, wait 48 hours, and reassess. This keeps you from overcorrecting and leaving your plants light-starved.
- Check your dimmer or driver output. Many modern LED quantum boards and bars have a dimmer knob on the driver. If you're at max output and already at a reasonable height, dial the driver back to 75 to 80 percent before moving the light. You'll often get the same PPFD reduction with less impact on canopy coverage.
- Widen the beam angle if your fixture allows it. Some bar-style LED setups let you angle individual bars outward to spread light more evenly. Pointing bars slightly outward reduces the center hotspot and improves edge coverage at the same time.
- Rotate plants regularly. If you have multiple plants at different heights under a single fixture, the tallest one takes the brunt of the intensity. Rotating plant positions every few days evens out exposure until you sort out the height.
- Add a small clip fan aimed at the canopy. Even if the light height is correct, stagnant hot air right at the leaf surface compounds stress. A fan improves both heat dissipation and CO2 exchange, which makes your plant more resilient to higher PPFD levels.
After any height or output adjustment, give the plant a minimum of 48 to 72 hours before judging whether the fix worked. Existing damage (bleached leaves, curled leaves) won't reverse. You're watching for whether the problem stops spreading to new growth.
Before you move anything: rule out these other causes
Light stress symptoms overlap badly with several other common problems. Before you raise your light, spend 5 minutes running through this checklist so you don't solve the wrong problem.
| Symptom | Too-Close Light | Nutrient Deficiency | Heat / Airflow Stress | Overwatering |
|---|---|---|---|---|
| Yellowing / bleaching | Starts at upper leaves closest to fixture | Starts at lower/older leaves (usually) | Scattered, often combined with wilting | Lower leaves, combined with drooping |
| Leaf curl upward | Yes, with dry crispy edges | Rarely | Yes, but no bleaching present | No (overwatering causes downward curl) |
| Wilting | Only if heat is also high | Rare on its own | Yes, even with adequate water | Yes, despite wet soil |
| Crispy tips | Yes, on upper leaves | Can happen with salt buildup / nute burn | Sometimes at leaf edges | No |
| Damage distribution | Top of plant, center of canopy | Bottom-up or whole plant | Even across canopy | Bottom-up or whole plant |
If the damage pattern doesn't match the 'top of the plant, nearest the light' profile, check your runoff pH and EC before touching your light setup. Fertilizer salt buildup causes crispy tips that look identical to light burn but affects the whole plant, not just the top. Pests like spider mites or thrips can cause stippling and leaf distortion that's sometimes confused for light stress too, so flip a few leaves and look carefully before adjusting your setup.
It's also worth noting that a flickering or malfunctioning light can stress plants in ways that mimic intensity problems. If your light is behaving oddly alongside the symptoms you're seeing, that's worth investigating separately before changing height.
Dialing in your schedule and ramping up intensity the right way
Distance is only half the equation. How long your light runs and how you introduce plants to higher intensity matters just as much. A lot of growers move lights to the correct height but then wonder why bleaching still happens. The answer is usually that they went from 0 to full intensity immediately, or they're running 18 or 20 hours of light at high PPFD on plants that weren't adapted.
Plants need time to upregulate their photosynthetic capacity, similar to how you'd get sunburned on the first day of summer if you spent 8 hours outside after a winter indoors. This process is called light acclimation, and skipping it causes photobleaching even at technically 'correct' distances.
- Start new seedlings or transplants at 50 to 60 percent of your driver's output for the first 5 to 7 days, then increase by 10 to 15 percent every 3 to 4 days until you reach your target.
- For vegetative plants, a 16 to 18 hour photoperiod at moderate intensity (400 to 600 µmol/m²/s) is more efficient than 20 hours at lower output or 14 hours at blasting intensity.
- Flowering plants under 12/12 schedules can handle higher PPFD (600 to 900 µmol/m²/s) but benefit from good airflow and slightly lower nighttime temps to avoid heat accumulation.
- If you've just raised your light and still see slow progress, try reducing your photoperiod by 1 to 2 hours temporarily while the plant recovers, then bring it back up.
- Use your dimmer knob first before reaching for the ratchet straps. It's faster, more precise, and easier to reverse.
What to do at each plant stage
Seedlings and clones
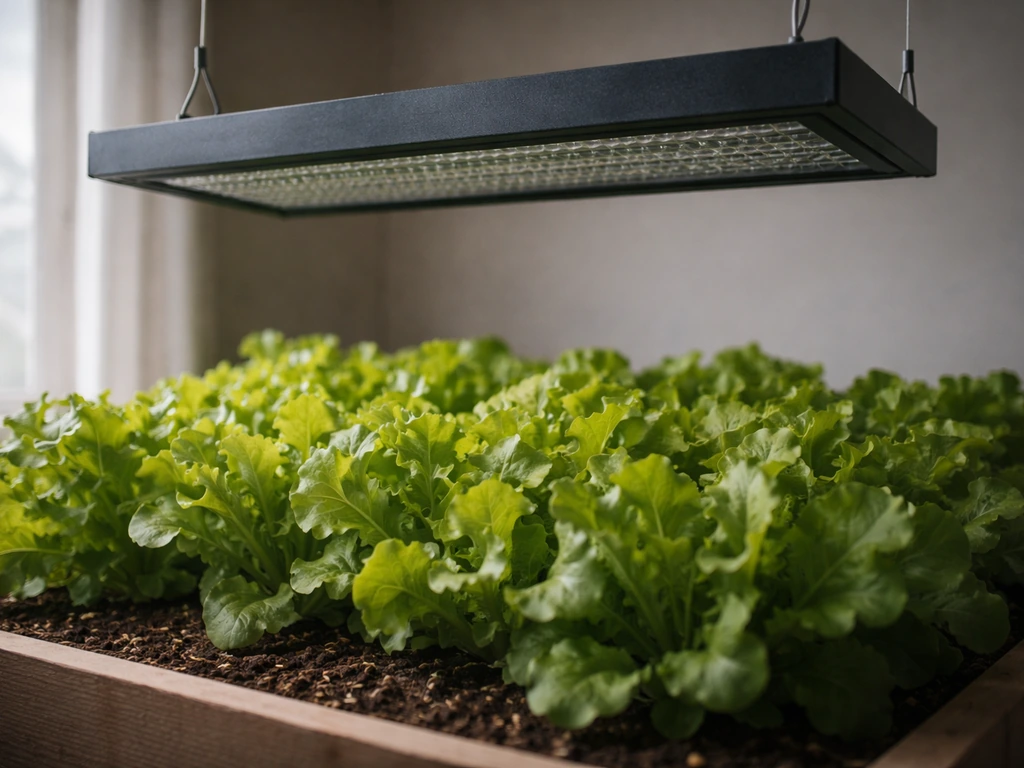
Seedlings are the most vulnerable and the easiest to burn. Their root systems can't move much water yet, so any combination of heat and intensity hits hard. Keep PPFD below 300 µmol/m²/s and maintain at least 24 to 36 inches from a mid-power LED. T5 fluorescents and CFLs are genuinely great for this stage because you can keep them within a few inches without risk of burning. If you're seeing stretched, leggy seedlings (not bleached ones), the light is too far, not too close, so these issues work in both directions.
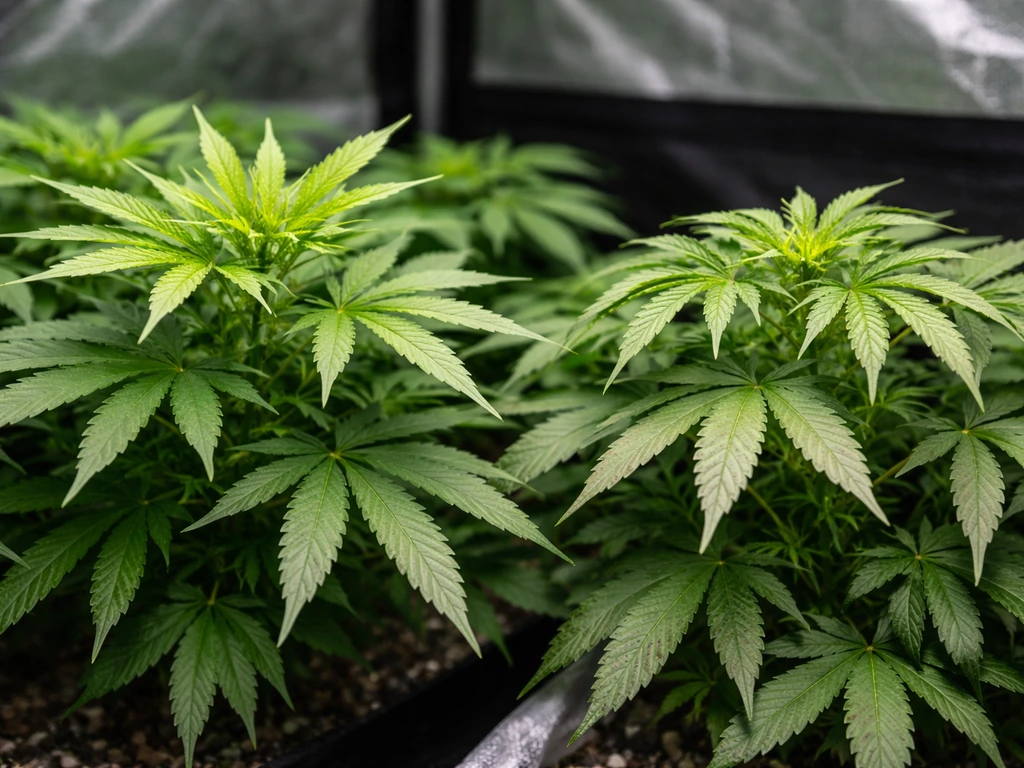
Vegetative stage
During veg, plants are actively building structure and can handle more light, but they still need gradual increases. Target 400 to 600 µmol/m²/s at the canopy. If you're seeing taco-curling leaves combined with fast, healthy growth everywhere else, the plant is probably getting a bit more than it likes but isn't damaged yet. Raise the light 2 inches and add airflow before doing anything drastic. Dark, rich green foliage with good inter-nodal spacing is your goal indicator that intensity is right.
Flowering and fruiting
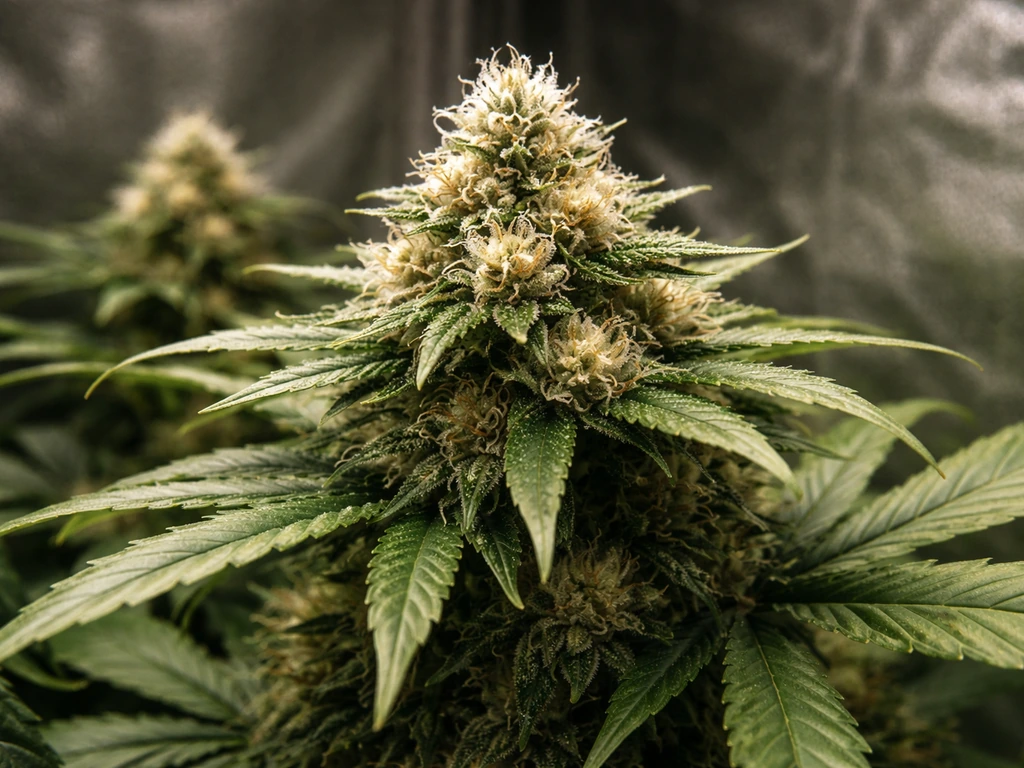
This is when growers tend to push intensity to maximize yields and sometimes overdo it. The bleaching risk is highest during late flowering when bud sites or fruit clusters are physically closest to the fixture. Watch for pale coloring appearing on the very top of flower clusters or fruit, which is a direct light-bleach signal.
Grow Weed Easy notes that “too much light” is commonly shown by bleaching or whitening, meaning pale, lighter tissue where the brightest light hits bleaching/whitening (pale, lighter tissue where the brightest light hits). Lower the plant, raise the fixture, or reduce output by 10 to 15 percent.
Don't wait: bleached flowers and fruit don't recover and that yield is gone. At this stage, 600 to 900 µmol/m²/s is your ceiling for most crops without elevated CO2 supplementation.
Your action plan for right now
If you've read this far and you're still not sure, here's the simplest version: look at where the damage is on your plant. If it's at the top, nearest the light, raise the fixture 4 to 6 inches and reduce driver output to 75 percent if you have a dimmer. If your click and grow light not working is causing unexpected bleaching or stress, double-check the fixture height and output settings before changing your grow routine.
If you notice your grow light is creating a hot spot, fixing the height and dialing in intensity helps you grow your light stuck on screen problem faster. Add a small fan aimed at the canopy, keep your regular watering schedule, and check again in 3 days. New growth after the adjustment should look healthy. If it doesn't, remeasure your PPFD with Photone or a PAR meter and compare it to the target ranges above.
That combination of observation, measurement, and systematic adjustment will get you dialed in faster than any single rule of thumb. If your lettuce grow lights still aren't working after you change height, check for output problems like a failing driver, wrong voltage, or a loose connection systematic adjustment.
FAQ
What should I do if only a few top leaves look bleached, but the rest of the plant seems fine?
Treat it as a hotspot and height-intensity mismatch. Raise the light 2 to 4 inches, then wait 48 to 72 hours to see if the bleaching stops spreading to new top growth. Also check that the canopy is even, if one branch is taller it can sit directly in the beam and burn while neighbors stay healthy.
How long does it take for symptoms to stop if the light was too close?
You should see the spread to fresh growth slow within 2 to 3 days. Older bleached or curled leaves will not recover, so judge success by whether new leaves come in normal color and shape rather than by whether damaged tissue turns green again.
If the light is too close, will I always see curling upward like a taco?
Not always. Curl direction can vary by species and heat buildup, but the consistent tell is location, damage starting at the leaves closest to the fixture and concentrated near the center beneath a panel. If the pattern is mixed, rule out salts, pests, or a spectrum-related stress before assuming pure distance problems.
How can I tell light burn from nutrient burn when both cause crispy tips?
Nutrient salt buildup usually shows symptoms across more of the plant and often tracks what you feed, for example tips on many leaves regardless of which are nearest the lamp. Light stress more specifically targets top growth and the area under the highest intensity. If available, check runoff EC and pH before changing light height.
What if my plant looks stressed but the damage is starting at the bottom leaves?
Bottom-first usually points away from “too close” lighting. Look for overwatering, poor drainage, nutrient issues, or pests. For light issues, you typically see the newest growth, upper leaves, or buds showing changes first because they’re closest to the fixture.
Should I lower the light faster if the plant looks severely bleached?
Go slower and be systematic. Even with severe bleaching, raise the fixture in steps (for example 2 to 4 inches), then pause 48 to 72 hours. Large sudden changes can shift your PPFD dramatically and can create a new stress level while you’re trying to correct the current one.
Does running lights longer per day make “too close” symptoms worse even if height is correct?
Yes. Total daily light exposure affects stress, so a correct height can still cause bleaching if you run high intensity for too many hours or jump immediately from low to high PPFD. If bleaching appears after increasing photoperiod, reduce either intensity or daily hours and allow acclimation time.
Can reflective walls or a tent make the light seem ‘too close’ even when it isn’t?
Yes. High reflectivity increases how much light reaches the canopy from multiple angles. If you’re using a reflective tent or close metalized surfaces, you may need additional height compared to a “bare” room, and you should confirm with a PPFD readout at canopy level rather than relying on distance alone.
Is there an easy way to confirm whether my center hotspot is the real problem?
Use your PPFD meter or Photone to compare center versus edge readings at canopy height. If the center is far above target while edges are much lower, adjust height and also consider whether your fixture spread matches your grow area. Height fixes some of it, but switching beam/spread or moving the light layout may be necessary for persistent hotspots.
What should I do if I see bleaching right after I move the light but the symptoms don’t match typical patterns?
Check for non-height causes first, especially a flickering or malfunctioning fixture, wrong driver/output setting, or a loose connection. Also confirm you used the actual watt draw and correct voltage for the light, because some dimmer settings and driver modes can cause intensity spikes that mimic distance stress.
How should I acclimate seedlings or cuttings to avoid burning even if lights are set correctly?
Increase intensity gradually, for example small PPFD increases over several days, and keep photoperiod modest during early stages. Seedlings are less able to buffer heat and excess light, so even correct height can cause photobleaching if the plants were previously underdim light.
What should I change if I reduce intensity but the plant still shows pale top growth?
Recheck actual PPFD at canopy level because dimmers, driver modes, and hotspots can make your “reduced” setting unpredictable. If PPFD is still high at the center, raise the fixture further, improve airflow to manage heat, and verify the fixture isn’t positioned off-center over the tallest canopy points.
Next Article
Lettuce Grow Lights Not Working: Troubleshoot Power, Output, and Schedule
Fix lettuce grow lights not working: check power, dimming, timer settings, placement, output, and plant symptoms.