If your lettuce grow light isn't working, start at the outlet and work your way toward the plant. Most failures fall into one of three buckets: the light won't turn on at all (power or control issue), the light turns on but lettuce still won't grow (placement or intensity problem), or the light seems fine but is actually producing the wrong schedule or spectrum. Running through a quick checklist in that order usually isolates the problem within a few minutes, and most fixes don't require any special tools.
Lettuce Grow Lights Not Working: Troubleshoot Power, Output, and Schedule

Marcus Tillman
6 May 2026
Quick diagnosis checklist: power, timers, and switches
Before touching the fixture itself, run through this sequence. It sounds basic, but a surprising number of 'broken' lights turn out to be a tripped outlet or a timer stuck in the off cycle.
- Test the outlet: Plug a phone charger or lamp into the same outlet or power strip. If that also doesn't work, you've found your problem—reset the breaker or swap the strip.
- Check for a GFCI outlet: If the outlet is in a garage, basement, or near water, look for a GFCI outlet nearby with a tripped reset button. Press reset and try again.
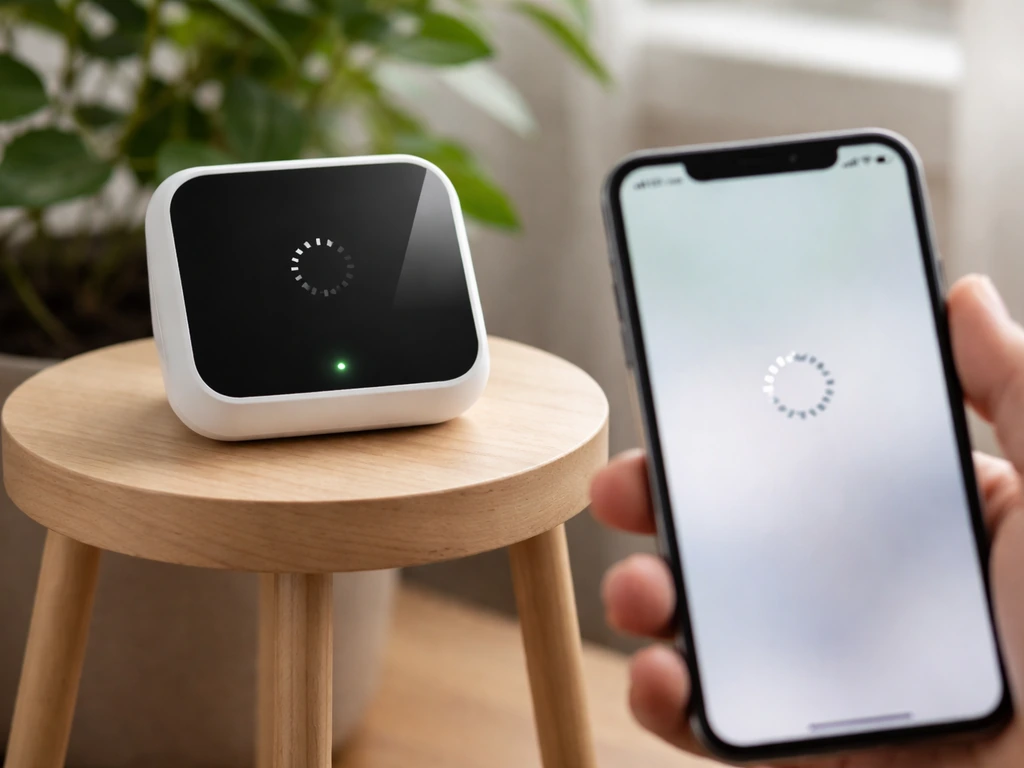
- Bypass the timer temporarily: Plug the light directly into the wall, skipping any timer or smart plug. If it turns on, the timer is the issue—check its programming or replace it.
- Inspect the power switch on the fixture: Some LED bars and panels have an inline on/off switch on the power cord. Make sure it hasn't been bumped to off.
- Look at the driver or power brick: LED grow lights use a separate driver (either built-in or as an external box on the cord). If the driver has an indicator light, check whether it's lit. No light on the driver usually means no input power or a failed driver.
- Check all connections: Trace the cord from the outlet to the driver to the fixture. Look for loose plugs, pinched cords, or connectors that have partially pulled out.
If everything checks out and the light still won't turn on, the driver is the most likely culprit. LED drivers are the component that converts wall power to the voltage the LED boards need, and they're the most common single point of failure in LED grow lights. We'll cover how to test and replace drivers further down.
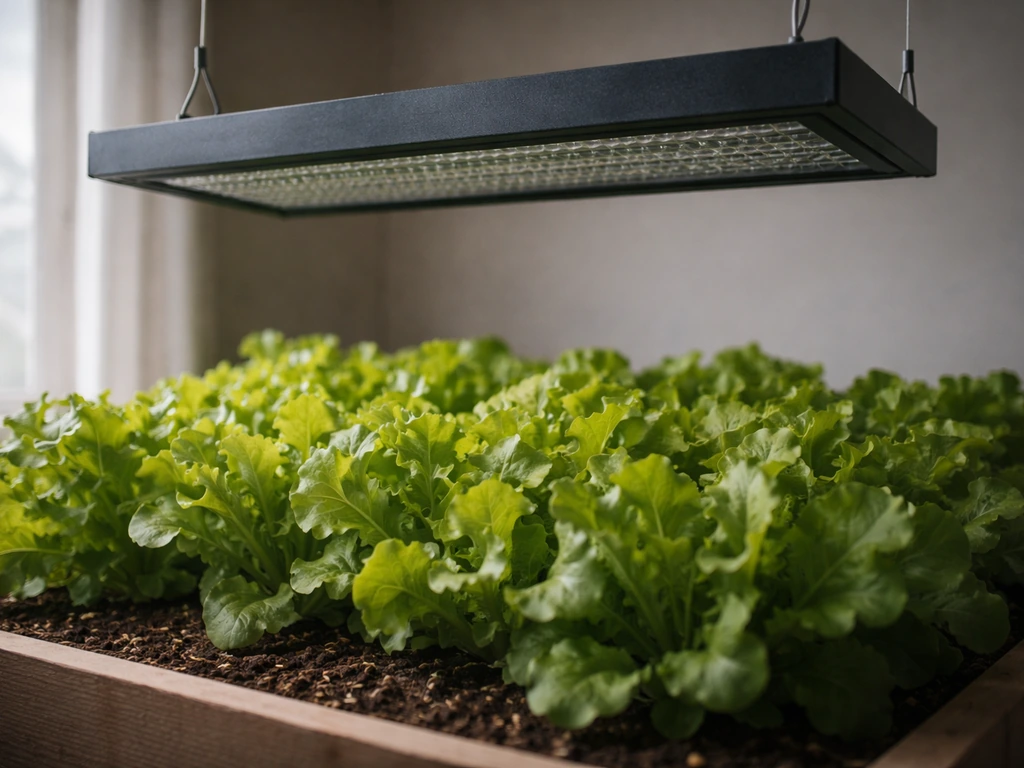
Light placement, distance, and angle troubleshooting
A light that's on but positioned wrong is just as useless as one that's off. Lettuce needs consistent light coverage across the whole canopy, and the distance between the fixture and your plants has a huge effect on how much usable light actually reaches the leaves.
Most LED grow lights for leafy greens should be mounted at least 6 inches above the top of the canopy, with many manufacturers targeting 12 to 24 inches for panels and 6 to 12 inches for LED bar systems. The key issue: the higher you hang the light, the lower the PPFD (the actual photosynthetically active light hitting the plant) and the longer you need to run it each day to deliver enough total light. Research from UNH Extension puts this clearly: the same LED bar mounted at 8 inches might only need 8 hours per day to hit your target, but mounted at 20 inches it could require 16 hours per day to deliver the same daily light dose.
For lettuce specifically, check that your fixture is covering the full width of your growing area. LED panels have hotspots in the center and fall off toward the edges. If you're growing lettuce in rows, make sure the fixture is centered, or use multiple bars to get even coverage. Angling a fixture slightly can redistribute light toward edges that are getting less coverage, but most panels work best when hung level and directly above the crop.
- If lettuce near the edges of your tray is pale or stretching while center plants look healthy: the fixture is too small or too high for your growing footprint.
- If all plants look weak despite the light being on: the fixture is likely too high, too dim, or both.
- If leaf tips near the center look bleached or scorched: the light is too close or too intense for that zone.
- If growth is uneven across the tray: rotate your containers weekly and check that the fixture is hanging level.
Confirming what your fixture is actually putting out
Just because LEDs are lit doesn't mean they're performing. LED boards degrade over time, individual diodes can fail (creating dark zones), and drivers can deliver reduced output without failing completely. Here's how to actually verify what your light is doing.
Check for dead LEDs and dark zones
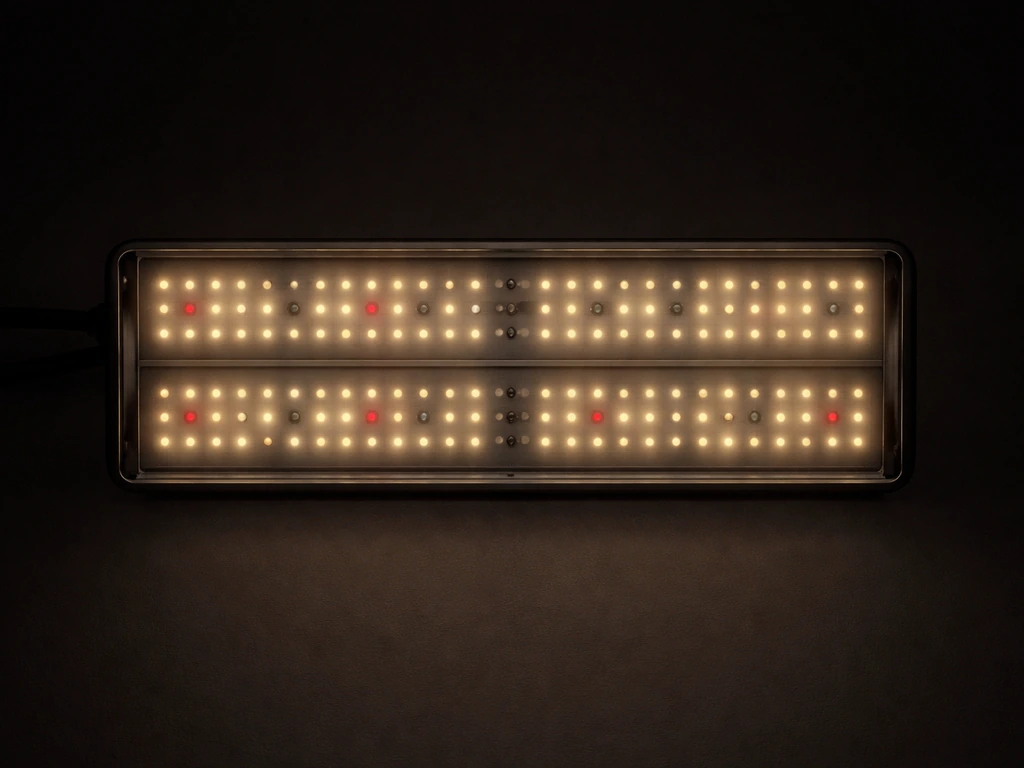
Turn the light on in a dim room and look carefully at the LED board. Any section that looks dimmer than the rest, or individual diodes that are completely dark, is a dead zone. On LED bars, this often happens at the ends. On panels, it's usually a cluster of diodes connected to a failing driver channel. A fixture with significant dead zones will under-light part of your canopy even if the rest looks fine.
Test the driver output
The driver is what sends power from the wall to the LED boards. If the driver is failing, the boards may flicker, run dim, or not turn on at all. To test it: first check whether the driver has an indicator light and whether it's on. If you have a multimeter, you can check the output voltage from the driver to the LED board connectors and compare it to the driver's rated output (printed on the label). No output or significantly low output means the driver has failed. Loose or damaged connections between the driver and the LED board are also a common cause: if boards or wires are seated to the driver via connectors, reseat them firmly before assuming the driver is dead.
Check for flicker
Flicker is a sign of a failing driver, a bad connection, or a fixture that's incompatible with a dimmer switch. You may not see flicker with the naked eye, but you can often catch it by pointing your phone camera at the fixture: many cameras will show a visible rolling band or strobe effect if the light is flickering at a problematic frequency. Persistent flicker is a sign the driver is on its way out. If your grow light is on a dimmer that wasn't designed for it, flicker is almost guaranteed and can shorten LED life significantly.
Measure intensity at canopy level
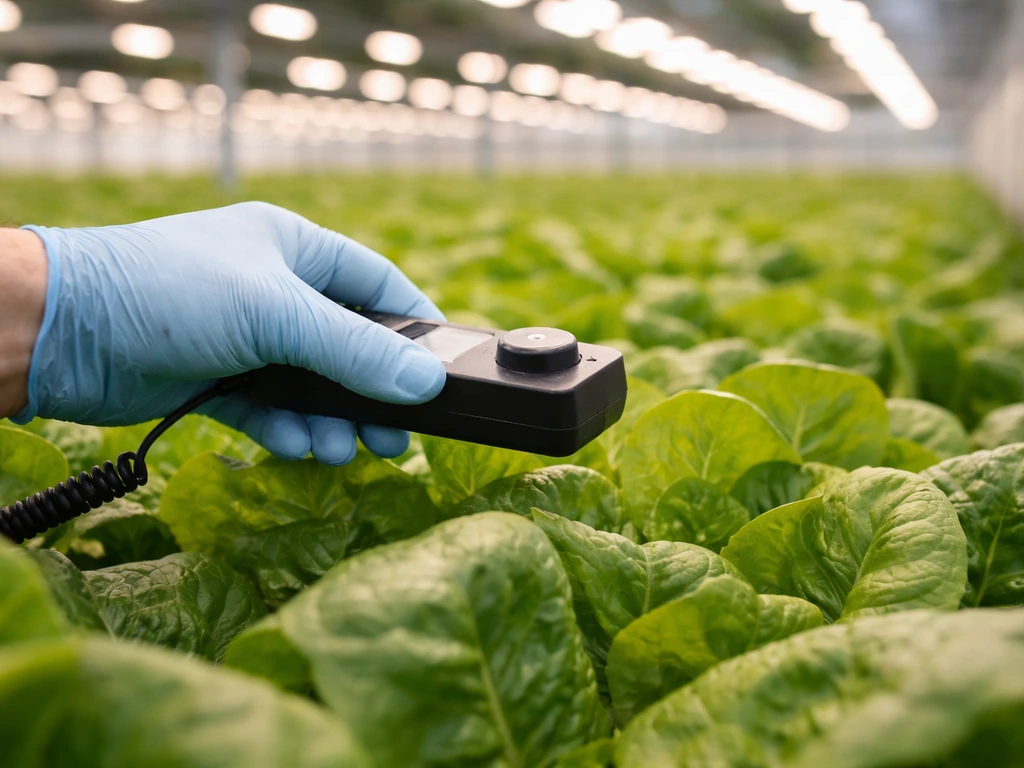
The most accurate way to confirm your fixture is performing is to measure PPFD at plant level using a PAR meter (also called a quantum sensor). Apogee Instruments' quantum sensor FAQs explain that these quantum sensors measure PPFD and can help when you need to account for spatial variability across a growing canopy rather than relying on a single point blank" rel="noopener noreferrer">measure PPFD at plant level using a PAR meter (also called a quantum sensor).. The SPYDR 2 Series user guide documentation is intended to help ensure consistent PPFD and discusses dimming controls and how measurement orientation can affect results blank" rel="noopener noreferrer">measure PPFD at plant level using a PAR meter. Lux meters and phone apps can give you a rough idea, but lux is calibrated for human vision, not plant photosynthesis, so treat those readings as approximations only. If your fixture came with a PPFD chart showing intensity at various distances (Fluence and several other brands include these), hang the light at the recommended distance and compare your PAR reading to the chart. Lettuce needs around 150 to 250 PPFD for good vegetative growth, and DLI (daily light integral) should be at or above 10 mol/m²·d for quality production. Below that threshold, growth slows noticeably.
Grow light settings and scheduling
Even a perfectly functioning light at the right height will fail lettuce if the timer is programmed wrong. Lettuce is a long-day plant and does well with 12 to 14 hours of light per day under artificial lighting. If your photoperiod is shorter than that, plants will grow slowly and may look healthy but just not produce much. If the photoperiod is way too long (18+ hours continuously for weeks), you risk stressing the plant.
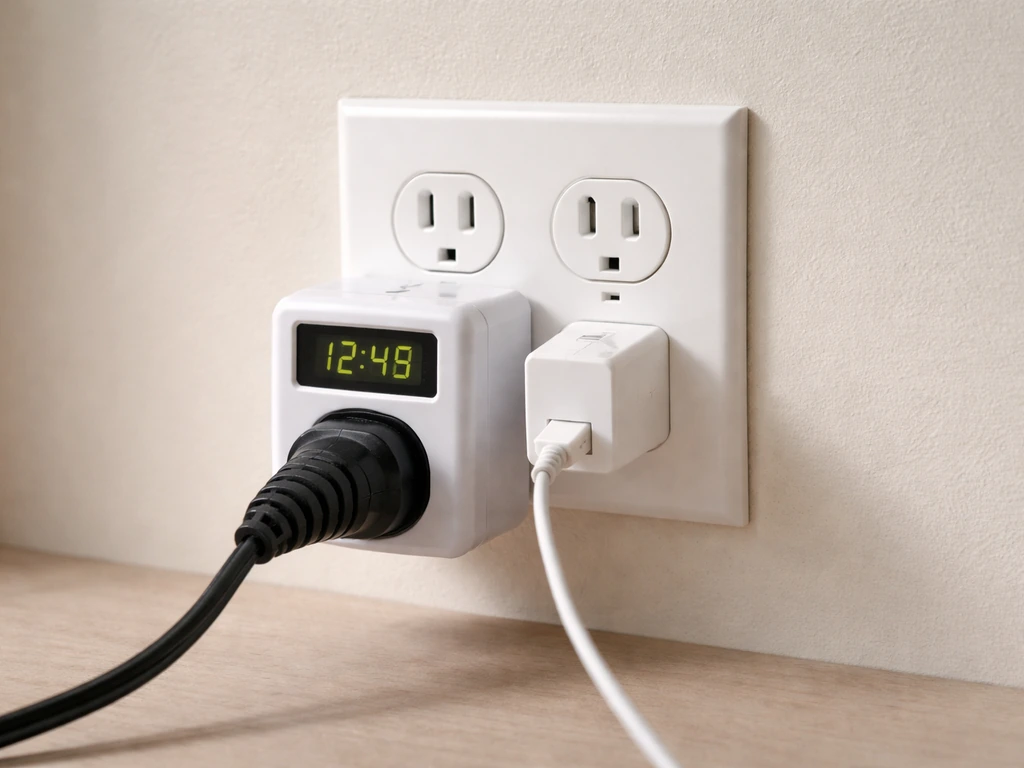
Timer issues are one of the most commonly overlooked causes of 'the light isn't working.' Check your timer by pressing the manual override and confirming the light responds. Then scroll through the programmed schedule and verify the on/off times are set correctly for your time zone and that AM/PM aren't flipped. Mechanical dial timers are especially prone to accidentally getting nudged out of position. Smart plugs and app-controlled timers can silently lose their schedule after a power outage, so always recheck settings after any power interruption. If your grow light seems stuck on, recheck the timer and confirm the schedule after any power interruption timer automation.
- Recommended photoperiod for hydroponic or container lettuce: 12 to 14 hours of light per day.
- If your fixture is mounted higher than the manufacturer suggests, you may need to run it longer to hit the target DLI.
- If you're using a dimmable driver, confirm the dimmer is set to 100% unless you're intentionally reducing intensity for seedlings.
- After any power outage, manually verify timer settings before assuming the schedule is intact.
- If using a smart plug or app timer, check that the device is still connected to Wi-Fi and the automation rules are active.
What 'not working' looks like in your plants
Sometimes the light is technically functioning, but lettuce is telling you something is off. Knowing how to read your plants is how you distinguish between a light problem, a placement problem, and a scheduling problem.
Seedlings (germination to 2 weeks)
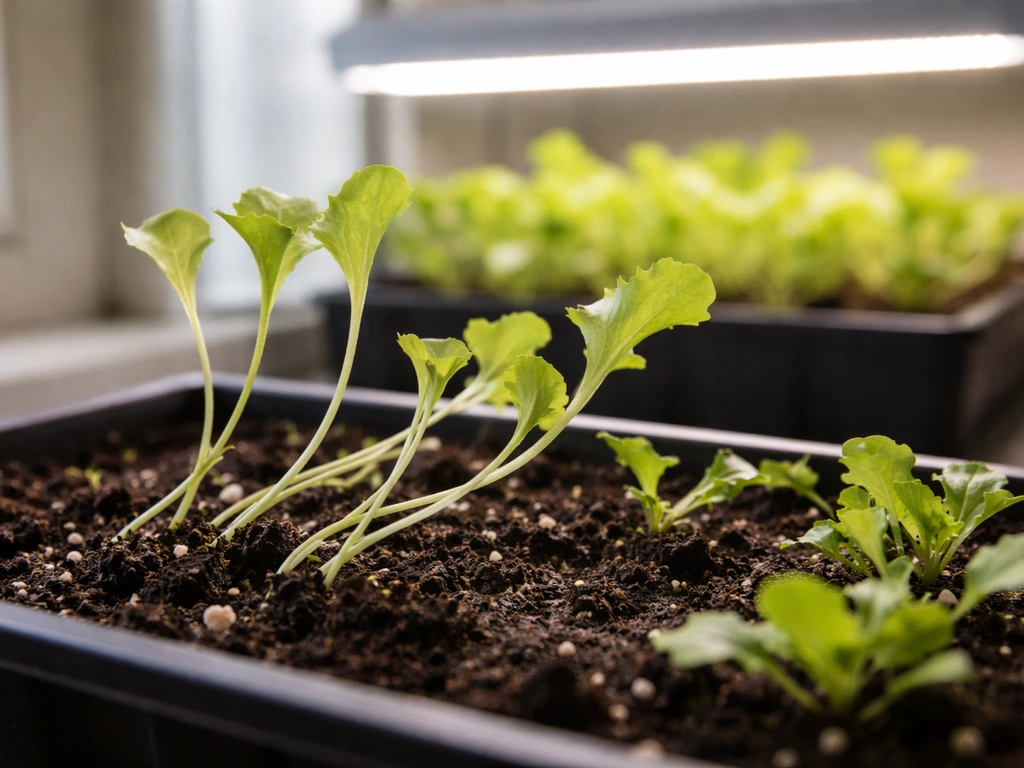
Lettuce seedlings are extremely sensitive to light levels. If light is insufficient, they'll stretch toward the source with long, thin stems, small seed leaves, and a pale yellowish color. This is called etiolation, and it's the plant's emergency response to low light. Leggy seedlings that can't hold themselves upright almost always mean the light is too far away, not on long enough, or not powerful enough for the growing area. Lower the fixture, extend the photoperiod by a couple of hours, or add a second light source. Don't compensate with more water or fertilizer: etiolation is a light problem, not a nutrient problem.
Established lettuce (2 weeks and beyond)
Mature lettuce under insufficient light will grow very slowly, produce small pale leaves, and may bolt early (especially if the photoperiod is inconsistent). If leaves are dark green but plants aren't sizing up, light intensity is usually the issue. If leaves are yellowing from the bottom up and growth has stalled, check whether the light has been running the full photoperiod each day. A timer that's been off for a few days will set plants back noticeably in just a week.
| Symptom | Most likely cause | First fix |
|---|---|---|
| Leggy, stretched stems in seedlings | Light too far away or too few hours | Lower fixture to 6–8 inches, extend photoperiod |
| Pale yellow leaves across whole plant | Low intensity or very short photoperiod | Check DLI: lower fixture or add light hours |
| Slow growth, small leaves, dark green color | Insufficient PPFD reaching canopy | Measure distance vs fixture PPFD chart, lower light |
| Uneven growth across tray | Hotspots or poor coverage | Reposition fixture, check for dead LED zones |
| Healthy center plants, struggling edges | Coverage footprint too small | Add second fixture or switch to bar-style lighting |
| Plants look fine but growth suddenly stopped | Timer or scheduling failure | Manually test timer, recheck programmed schedule |
Common setup types and their specific problems
The troubleshooting steps above apply broadly, but the most common failure points vary depending on what kind of fixture you're using. Here's what to focus on for the setups most people actually own.
LED bars (plug-in, daisy-chained)
LED bars are popular for lettuce shelves and grow tents. Their most common issues are daisy-chain overload (too many bars connected in series, exceeding the driver's capacity) and loose barrel connectors between bars. If the first bar in the chain works but later bars are dim or off, disconnect one bar at a time from the end of the chain until all remaining bars work. That tells you how many bars your driver can actually support. Recheck the driver's maximum wattage and compare it to the total wattage of all connected bars.
LED panels (plug-in, self-contained)
Most consumer LED grow panels have the driver built into the housing. If the whole panel is dead, the internal driver is almost always the cause. Some budget panels have a small fuse near the power input: check the manufacturer's documentation to see if yours does, and replace a blown fuse before assuming the driver is gone. If the panel flickers or runs intermittently, try a different outlet and a different power cord if the cord is removable. If the problem follows the panel and not the outlet, the driver is failing.
Dimmable fixtures
If your fixture has a dimmer knob or 0-10V dimming input, confirm it's set to full power unless you intentionally reduced it. It's easy to bump a rotary dimmer or leave it at 50% from a previous test. Dimmable fixtures should never be used on a standard wall dimmer switch unless the manufacturer explicitly says so: doing so can cause flicker, overheating, and driver failure. Always use the dimmer that came with the fixture.
Fixtures with reflectors or diffuser covers
If your fixture has a plastic diffuser or lens, check that it hasn't yellowed or fogged over time. Discolored diffusers can block 20 to 30 percent of output without the fixture showing any visible fault. Clean the lens with a soft cloth and compare canopy brightness before and after.
Hardwired fixtures
If your grow light is hardwired rather than plug-in, make sure to shut off the circuit at the breaker before inspecting any connections. Check the wire nuts or terminal connections inside the junction box for loose or corroded wires. A connection that looks fine visually can still have high resistance if oxidation has built up on the wire surface. If you're not comfortable working with hardwired fixtures, have an electrician check the connections.
When to replace parts vs the whole fixture
Not every problem means buying a new light. Here's how to decide what level of repair makes sense.
Replace the driver first
If the LED boards look intact but the fixture won't turn on or is severely flickering, replacing just the driver is often the right call. Drivers are sold separately, and many LED grow light manufacturers (especially brands with modular designs) sell replacement drivers. Match the input voltage, output voltage, output current, and wattage to the original driver's label exactly. A mismatched driver can underdrive the boards (dim output) or overdrive them (shortened LED life or damage).
Replace individual LED boards if needed
If the driver tests fine but specific sections of the fixture are dark, you may have one or more failed LED boards. On modular fixtures, these can often be swapped. On cheap integrated panels, it's usually not worth the effort to repair individual boards: the cost of the repair approaches the cost of a new fixture.
Replace the whole unit when
- The fixture has visible burn marks, melted plastic, or a burning smell: stop using it immediately and do not attempt repair.
- The power cord is damaged, frayed, or cracked anywhere along its length.
- More than 20 to 30 percent of the LED diodes are dead and the fixture is a non-modular budget unit.
- The driver is proprietary, discontinued, or costs more than half the price of a new fixture.
- The fixture is more than 4 to 5 years old, has been running continuously, and lettuce growth has been declining despite correct settings: LED output degrades over time and older fixtures may no longer deliver enough PPFD for healthy production.
One more thing to know: always disconnect the fixture from power before inspecting internal connections, reseating drivers, or adjusting wiring. LED grow lights run on low-voltage DC at the board level, but the driver input and any hardwired connections are at line voltage and can cause serious injury. When in doubt, unplug it first and keep it unplugged until you're done.
If you've worked through all of this and still can't isolate the problem, it may help to check whether your issue is closer to a flickering or intermittent light (which points more specifically to driver and connection problems) or a scheduling issue with your timer automation. Those failure modes have their own specific diagnostics worth digging into separately.
FAQ
My lettuce grow light turns on for a second, then goes off. What usually causes that?
Short cycling is most often a driver protection behavior or a failing connection. Test by trying a different outlet and power cord (if removable), then inspect and reseat any connector between the driver and LED boards. If it still shuts down quickly, measure the driver output if you can, or treat it as a driver issue.
Does a grow light dimmer or smart plug always work with lettuce grow lights?
Not necessarily. If the fixture is on a dimmer not designed for that LED driver, flicker is common and LED life can drop. For smart plugs, use a plug that fully switches on power to the fixture (no “low power” modes) and recheck the schedule after any power loss.
How can I tell if the light is off because of an outlet problem or a fixture control problem?
Confirm by plugging the light into a known-good outlet and bypassing any timer or automation temporarily. If it still fails, the issue is internal (driver, wiring, or a built-in control). If it works on the outlet, the timer or its override mode is the likely culprit.
What if the light seems bright but my lettuce still looks pale and slow?
That pattern often indicates low PPFD at the canopy, even if the room looks well-lit. Recheck fixture height and coverage, then measure PPFD with a PAR meter if possible. If you cannot measure, reduce the distance toward the recommended mounting range and verify the photoperiod is long enough (typically 12 to 14 hours daily under LEDs).
Can a dirty or yellowed diffuser make a lettuce grow light look fine but reduce growth?
Yes. Diffusers and lenses can fog or yellow over time and block a meaningful portion of output without obvious signs of failure. Clean with a soft cloth, compare canopy brightness before and after, and if the material is visibly clouded, consider replacing it.
Do LED grow lights need to warm up, and could warmup explain “not working” complaints?
Most LED grow lights do reach stable output quickly, but if brightness keeps ramping slowly or changes repeatedly, it can be a driver or connection issue rather than normal warmup. Watch for flicker, dimming, or intermittent behavior during the first few minutes after turning on.
My phone shows a flicker band when I record the light. Is that always a broken light?
It usually indicates the driver is flickering at a frequency your camera detects, and persistent flicker is a warning sign. It can be triggered by incompatible dimming, loose wiring, or a failing driver. If the fixture is on a dimmer, remove the dimmer and test at full output first.
Should I rely on lux readings or a PAR app to confirm light output?
Lux is for human vision, not plant photosynthesis. A phone or lux meter app is only a rough directional indicator. For decision-making, use a PAR meter (quantum sensor) at plant level or compare your measured PPFD to any PPFD chart your fixture manufacturer provides.
What if only one section of an LED panel is dim, even though power and the timer seem correct?
That points toward a partial driver failure or failed LED cluster. Look for dark zones when viewed up close in a dim room, then reseat or check any internal connectors. If the dim areas are localized and the rest works normally, replacing the driver is often the next logical step before replacing the whole fixture.
How do I know if lettuce is suffering from too little light versus too much water or nutrients?
Etiolation is the tell. Look for long, thin stems with pale or yellowish tissue and difficulty staying upright in seedlings, which strongly points to insufficient light (height, intensity, or daily hours). If you see that pattern, correct light first rather than increasing fertilizer or watering.
My timer schedule is correct but plants still fall behind after a power outage. What should I check?
After any outage, recheck that the timer’s programmed on/off times and time zone are still correct. Many smart plugs and app timers can silently revert or drift, and mechanical dial timers can be nudged. Confirm by toggling the manual override, then verify the next scheduled run times.
Is it safe to troubleshoot connections without unplugging the fixture?
No. Always disconnect from power at the outlet or breaker before inspecting internal wiring or reseating the driver. Even though LEDs run on low-voltage DC at the boards, the driver input and any hardwired portions are line voltage and can cause serious injury.
When should I stop troubleshooting and replace the driver instead of the whole light?
If the fixture won’t start, is severely flickering, or shows signs of driver output issues, driver replacement is often the most cost-effective repair. Only do this after confirming the outlet, timer, and power cord are good, and match the replacement driver specifications exactly to the label (input, output voltage, output current, and wattage).
Next Article
Grow Your Light Stuck on Screen Fix Guide
Fix a grow light stuck on screen with step-by-step power, reset, Wi‑Fi/Bluetooth, and app troubleshooting plus safe inte