If your grow light is on but your plants look sad, or if the light won't turn on at all, the answer is almost always something simple. Here's how to figure out whether your grow light is actually working, whether it's delivering enough useful light to your plants, and what to do right now if it isn't.
How to Know If Your Grow Light Is Working: Checks and Tests

Marcus Tillman
18 Apr 2026
Start here: quick reality checks before anything else
Before you blame the light itself, run through these basics. They catch the majority of problems and take under two minutes.
- Check the power source. Is the outlet working? Plug in a phone charger or lamp to confirm. A tripped breaker or a dead outlet is embarrassingly common and easy to miss.
- Check the on/off switch. Some lights have a physical power switch on the housing or driver box that's separate from the outlet. Make sure it's actually in the ON position.
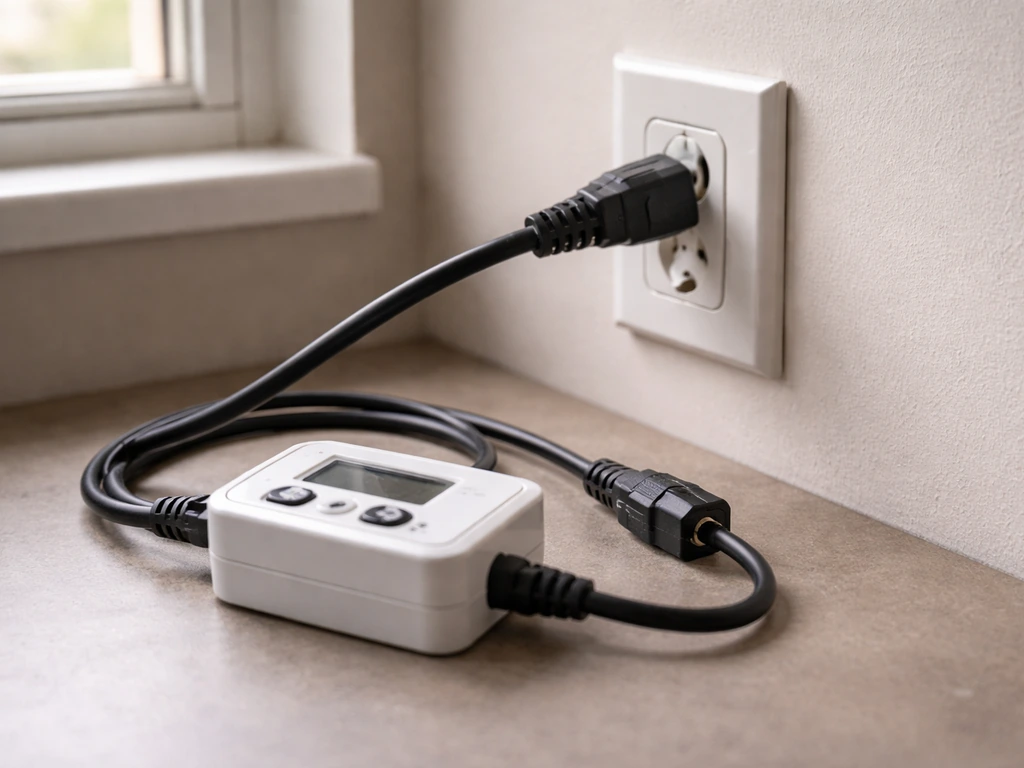
- Check your timer or controller. If you're using a mechanical or digital timer, confirm it's set correctly, plugged in, and hasn't lost its programming after a power outage. A timer stuck in the OFF window will make a perfectly fine light look broken.
- Look at the indicator LEDs on the driver or fixture. Many LED drivers have a small green LED that lights up when the unit is ready and operating, and a red LED that signals an error condition. If you see a solid red or a blinking error code, consult the manual for that specific driver. No indicator light at all usually means no power is reaching the driver.
- Confirm the cord and connectors are fully seated. Grow light drivers and fixture connectors can work themselves loose over time, especially if the light has been repositioned.
If the light comes on after any of these checks, you've solved it. If it still won't turn on, jump ahead to the wiring and power section below. If it's on but you're not sure it's doing anything useful, keep reading.
What your plants are telling you about the light
Your plants are the best long-term sensor you have. The signs they show tell you two different things: either the light isn't working at all, or it's working but not delivering enough intensity or the right spectrum. These are separate problems with different fixes.
Signs the light probably isn't working or has failed
- Plants that were previously healthy are now yellowing or dying despite correct watering and temperature
- No visible growth over 2 to 3 weeks when growth was occurring before
- Seedlings that have stopped emerging or have collapsed after germination
Signs the light is on but not doing enough (the 'working but insufficient' trap)
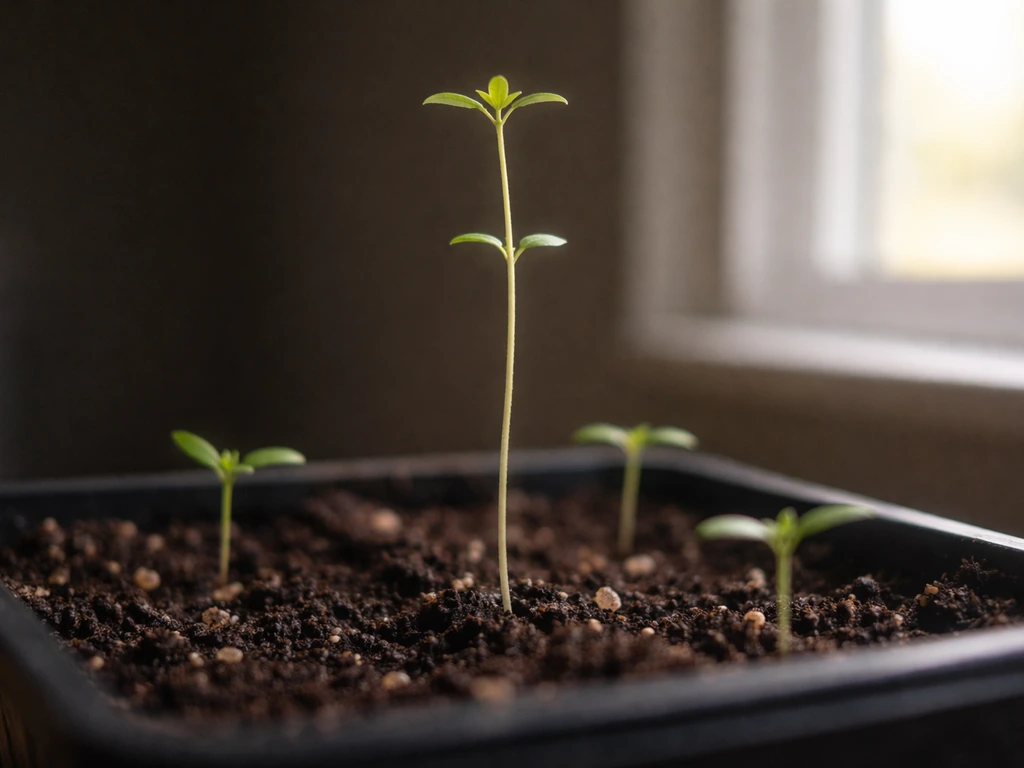
- Etiolation (stretching): seedlings or young plants growing tall and spindly toward the light, with long gaps between leaf nodes. This is the classic sign of light starvation.
- Pale or washed-out leaf color: leaves that should be deep green look light green or yellowish, without other deficiency symptoms like spots or curling.
- Slow or stalled growth during what should be an active growing phase
- Flowering plants that won't set buds or fruit despite being past the vegetative stage
- Lower leaves dropping off even when the plant looks otherwise healthy
Stretching toward the light source is the most reliable visual signal that intensity is too low. If your seedlings are leaning hard toward one side or growing tall and floppy, the light is either too far away, too weak for that plant type, or not running long enough each day. This isn't a broken light situation, it's a placement and scheduling situation, and it's fixable today.
Checking actual light output: brightness, coverage, and distance
A light can be powered on and still be performing well below what your plants need. Here's how to do a practical output check without any special tools first.
The visual brightness check
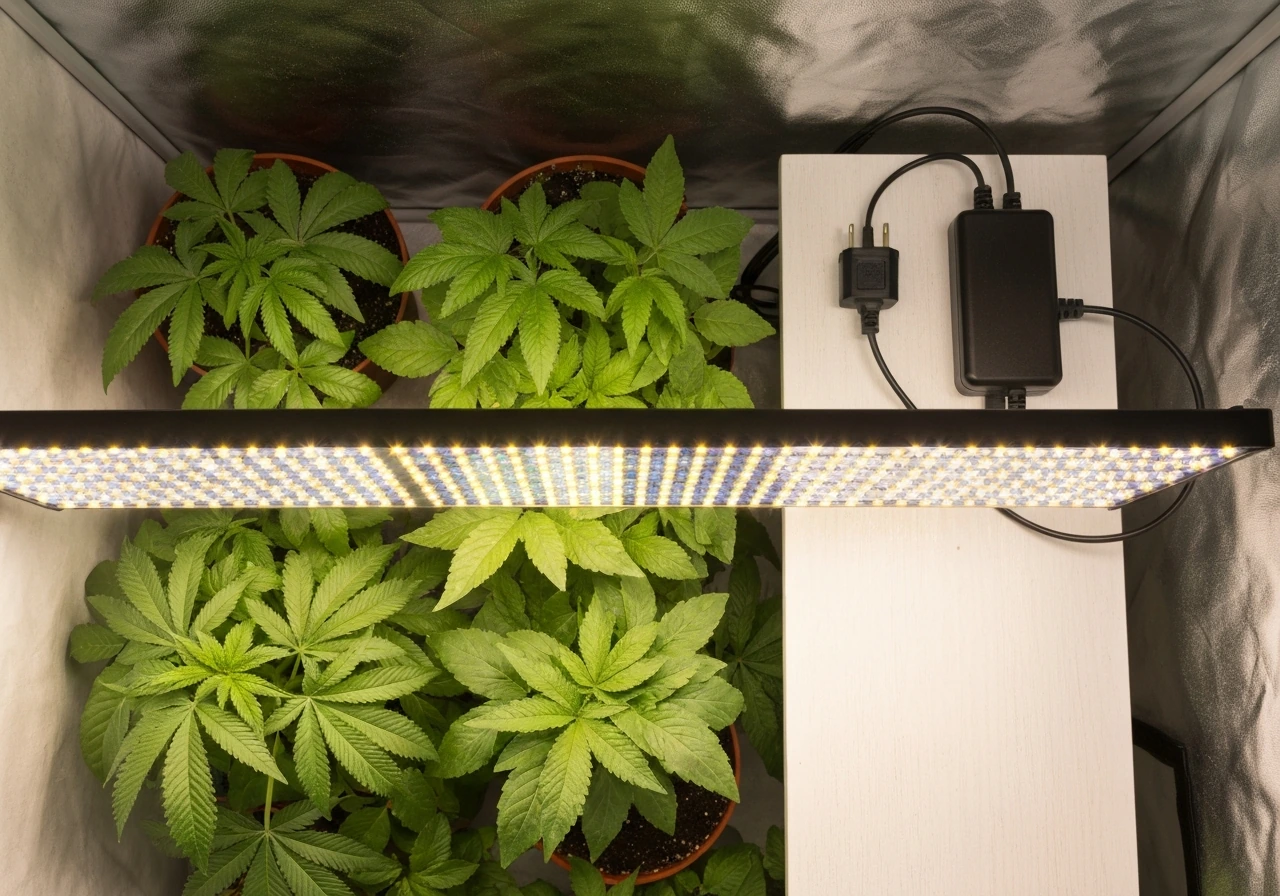
Turn off any other light sources in the room and let your eyes adjust. A working LED grow light should produce noticeably bright light, often with a distinct pink, purple, white, or blue-white color depending on the spectrum. If the light looks dim, patchy, or significantly darker in some areas than others, something is wrong with the fixture itself. Hold your hand under the light at canopy height: you should see a clear, well-defined shadow with obvious brightness.
If the shadow is faint or you can barely tell the difference, the light is either underpowered for the space or partially failed. If your bell and howell grow light is not working, that faint or hard-to-see shadow is often the first clue that it is underpowered or not delivering the intensity your plants need bell howell grow light not working.
Coverage and uniformity check
Walk around and look at the light from the plant's perspective. Move your hand slowly across the full grow area at canopy height. The brightness hitting your hand should be fairly even across the whole area. Significant hot spots (very bright center, dim edges) or dead zones (areas of noticeably less light) indicate either a fixture with poor uniformity or a placement problem. Most grow lights are designed to cover a specific footprint, often listed in the specs as something like '2x2 ft vegetative, 1.5x1.5 ft flowering.' If your plants are outside that footprint, the outer plants will consistently underperform.
Distance from the canopy
Hang height is one of the most common reasons a technically functional light isn't helping your plants. Because illumination falls with the inverse-square law, doubling the distance reduces illumination to about one quarter, which is often discussed as roughly a two-stop drop in photography contexts. [Intensity follows the inverse square law](https://en.
wikipedia. org/wiki/Inverse-square_law): double the distance and you get roughly one quarter of the light intensity at the plant surface. Most LED grow lights for seedlings should be hung somewhere between 18 and 24 inches above the canopy. Established houseplants often do fine at 12 to 18 inches with lower-wattage fixtures.
High-intensity LEDs can sometimes drop to 6 to 12 inches for fruiting plants, but check manufacturer guidelines first to avoid light burn. If you've been running a fixture at 36 inches or more, try dropping it to 18 to 24 inches and watch for improvement over the next week.
Flicker, dim spots, and wiring problems
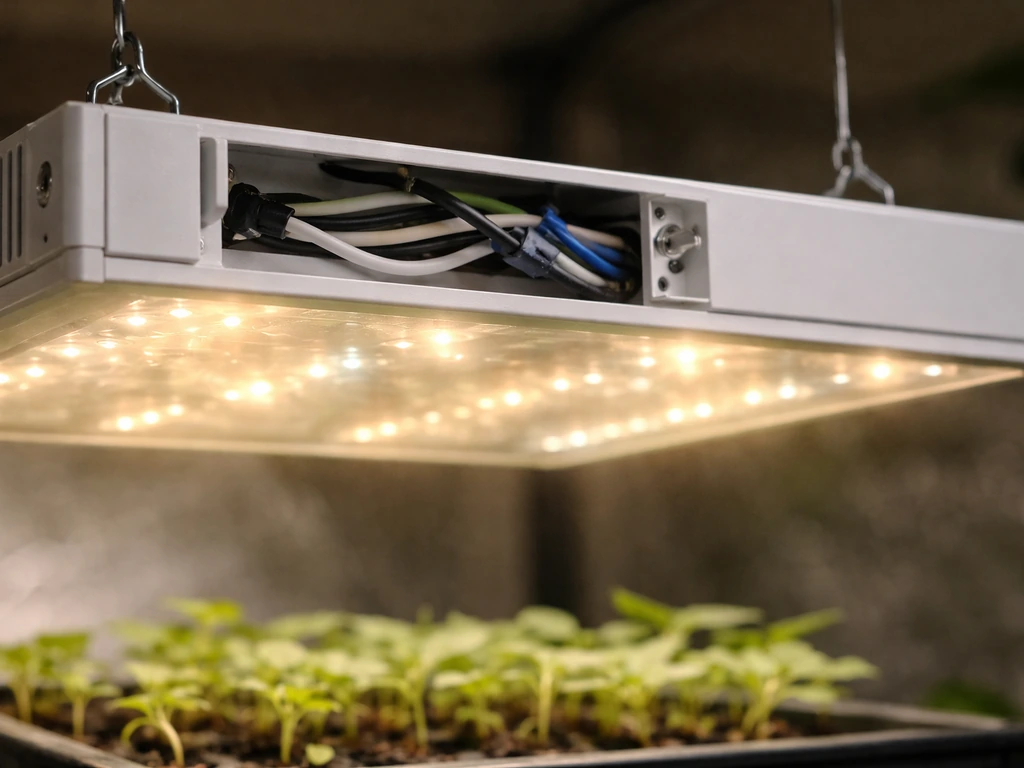
If the light flickers, buzzes, or has noticeably dim patches that weren't there before, you're looking at one of a few specific causes.
- Loose wiring connections: connectors between the driver and the fixture, or between fixture segments, can work loose over time. Power everything off, unplug, and check that all connectors are firmly seated. A connector that's 80 percent plugged in can cause intermittent flickering.
- Failing driver or power supply: the driver is the component that regulates power to the LEDs. When it starts to fail, you'll often see flickering, random shutoffs, or dim output across the whole fixture. If the driver has indicator LEDs, check for error codes.
- Incompatible dimmer switches: standard household dimmers are not compatible with most grow light drivers and will cause flickering, buzzing, and premature driver failure. Use only dimmers that are explicitly listed as compatible with your fixture.
- Voltage fluctuations or 'dirty power': if other high-draw appliances (like HVAC units or pumps) share the same circuit, they can cause voltage dips that affect light performance. Try plugging the grow light into a different circuit to test.
Dim spots on an LED panel, where some LEDs are clearly not lit or are much dimmer than the surrounding ones, usually mean individual LED chips have failed. In a quality fixture, a few dead chips won't collapse total output significantly. But if you're seeing large dark patches or entire sections of the panel that are out, the fixture needs to be replaced or repaired under warranty. Document it with a photo before contacting support.
LED age and spectrum health over time
LED grow lights don't burn out all at once like old fluorescent bulbs. They fade gradually, and this slow decline is easy to miss. Most quality LED grow lights are rated for somewhere between 50,000 and 100,000 hours before reaching end of useful life, but 'end of life' for LEDs typically means they've dropped to around 70 percent of their original output (called L70 in the lighting industry). That's a 30 percent reduction in intensity that can sneak up on you over months or years of continuous use.
If your light is more than two or three years old and your plants have gradually been looking less vigorous without any other changes to your setup, LED lumen depreciation is a real possibility. The spectrum can also shift subtly as LEDs age, though this is harder to detect without a spectrometer. Practically speaking, if a fixture is past three to four years of heavy use (12 to 18 hours per day), it's worth comparing its current output against a PPFD reading from when it was new, if you have one, or simply treating it as a candidate for replacement if plant performance has consistently declined.
Uneven aging across a panel is also possible. LEDs running hotter than their rated thermal limits will degrade faster, so fixtures with poor heat dissipation (cheap heatsinks, no fans when fans are needed) can develop areas of early failure while other areas still look fine. Keep your fixture clean and make sure airflow around the heatsink isn't blocked.
Placement, height, and aiming: making sure the light actually hits your plants
Even a fully functional, high-output fixture won't help plants that aren't in its beam. This is especially relevant for directional lights like bars or spotlights versus panels.
- Position the light directly above the center of your grow area, not off to one side, unless you're intentionally supplementing one section.
- For multi-bar fixtures, confirm each bar is aimed downward, not angled sideways. Some adjustable bar systems can be inadvertently tilted during setup.
- Check that nothing is blocking the light path between the fixture and the canopy: hanging cords, plant supports, or shelf edges can create shadows.
- If you're growing on shelves or in a cabinet, confirm the light is sized appropriately for that shelf's footprint. A light designed for a 4x4 ft tent hung over a 12-inch shelf is wasting most of its output.
- For plants in multiple small pots scattered around a room, a single pendant light rarely covers all of them equally. You may need multiple lower-wattage lights positioned closer to each plant group.
Aiming matters more with bar-style and directional fixtures than with wide-panel LEDs. If your bar fixture has adjustable reflectors or optics, confirm they're aimed to spread light across the canopy rather than straight down into one narrow band.
How to actually measure whether your light is working
Visual checks and plant signals are useful, but if you want a definitive answer on whether your fixture is putting out enough light for your specific plants, you need a measurement. Here are your options from simplest to most accurate.
Smartphone light meter apps (free, imprecise, but useful for comparisons)
Apps like Photone or Lux Light Meter Pro use your phone's front or rear camera to estimate light levels. They report in lux, which is a human-vision metric, not a plant metric, but they're useful for relative comparisons: is the center of my canopy getting more or less light than the edges? Is the light output today different from last week? For rough ballpark checks, they work. Just don't treat lux readings as precise PPFD values.
Dedicated lux meters (affordable, quick, better than a phone)
A handheld lux meter like the UNI-T UT383 measures light intensity in lux (range up to 199,900 lux) and foot-candles, and some models can sync readings to a mobile app. These cost around $20 to $40 and give you consistent, repeatable numbers. Again, lux measures human-perceived brightness, not plant-usable light. A rough rule of thumb is that most full-sun plants want somewhere around 30,000 to 50,000 lux at the canopy for strong growth, while low-light houseplants can thrive at 5,000 to 10,000 lux. These are approximations, not hard requirements.
PPFD quantum meters (most accurate, most expensive)
PPFD (Photosynthetic Photon Flux Density) measured in µmol per square meter per second is the real metric for plant lighting. It tells you exactly how much photosynthetically active light is hitting the canopy. A dedicated quantum sensor like the Apogee MQ-500 is calibrated specifically for electric grow light spectra and gives you the most reliable readings. These meters cost $300 to $500, which makes them overkill for a single hobbyist setup, but they're worth renting or borrowing if you're troubleshooting a serious performance problem. For reference, seedlings typically want 100 to 300 µmol/m²/s, vegetative growth needs 300 to 600 µmol/m²/s, and fruiting plants can use 600 to 900 µmol/m²/s or more.
Thermometer check for heat output
An infrared thermometer pointed at the fixture's heatsink can tell you whether the light is actually running. A working LED fixture will produce some heat at the heatsink, typically 5 to 20 degrees F above ambient, depending on wattage. If the heatsink reads exactly the same as room temperature after 10 minutes of supposed operation, the fixture isn't drawing power.
| Tool | What it measures | Accuracy for plants | Cost |
|---|---|---|---|
| Smartphone app | Lux (approximate) | Low, useful for comparisons only | Free |
| Handheld lux meter (e.g., UNI-T UT383) | Lux / foot-candles | Moderate, not plant-specific | $20–$40 |
| PPFD quantum meter (e.g., Apogee MQ-500) | µmol/m²/s (PPFD) | High, plant-accurate | $300–$500 |
| Infrared thermometer | Heatsink temperature | Confirms power draw only | $15–$30 |
What to do with the numbers you get
If your PPFD reading at canopy level is consistently below the minimum for your plant type, your options are: lower the fixture closer to the canopy (most effective and free), add a second light, upgrade to a higher-output fixture, or extend the photoperiod slightly (up to 16 to 18 hours for most seedlings and vegetative plants). If uniformity is the issue, readings significantly lower at the edges than the center, repositioning or adding reflective material to the sides of your grow space will help spread light more evenly across the canopy.
Your next steps right now
Work through the list in this order. Start with power and the basics, then check plant signals, then measure if you're still unsure. If the basics check out but you still suspect the issue is the unit itself, the grow light not working troubleshooting guide will help you narrow it down fast.
Most grow light problems come down to one of four things: no power reaching the fixture, the light is too far from the canopy, the timer is wrong, or the fixture is old enough that output has degraded significantly. If your bell howell grow light is not working, start with the power checks first, then verify distance and output before assuming the fixture has failed bell howell grow light not working.
None of these require buying a new light immediately. Try the fixes first.
- Confirm power: outlet working, switch on, timer programmed correctly, no error codes on the driver.
- Look at your plants: stretching and pale color mean insufficient light, not a broken light.
- Drop the fixture to the recommended height for your plant type (usually 18 to 24 inches for seedlings and most houseplants).
- Check for flicker, dead zones, or dim patches on the panel, then trace back to loose connections or a failing driver.
- If the fixture is 3-plus years old and plant performance has gradually declined, take a lux or PPFD reading and compare it against what a new fixture of the same spec would produce.
- If you want a real number, grab a lux meter for a quick sanity check or look into borrowing a PPFD meter from a local grow shop or garden club.
- If the fixture genuinely won't power on after all basic checks, it's likely a driver failure, which is often replaceable separately from the fixture itself.
If you're dealing with a specific brand that won't power on, the troubleshooting steps go deeper into driver diagnostics and hardware failure modes. And if you've confirmed your light is working but you want to optimize the actual intensity and coverage for your specific plants, learning how to measure grow light intensity with the right tools will get you from 'it's probably fine' to 'I know exactly what my plants are getting.'
FAQ
What should I check first if my grow light turns on but I still think it is not working?
Start by verifying the timer and plug are actually feeding power during the full schedule. Then recheck hang height at canopy level, because intensity drops quickly with distance. If both are correct, do the “hand shadow” test with other room lights off to confirm whether brightness is consistent across the fixture.
How long should I wait after turning the light on to tell if it is drawing power and heating up?
Give it about 10 minutes, then compare the heatsink temperature to room temperature. If the heatsink stays essentially at ambient after that time, the driver may not be powering the LEDs properly even if the unit seems “on.”
Why might my light look bright to my eyes but my plants still look light-stressed?
Your eyes respond to visible brightness (lux), but plants respond to photosynthetically usable photons (PPFD). A spectrum change, dimmed LED sections, or insufficient coverage can still happen even when the light appears “pretty bright,” so confirm uniformity and, if possible, measure PPFD.
Can a partially failing LED panel still run but produce dead zones?
Yes. You can see it as patchy or large dark sections, uneven brightness, or areas where plants stall compared to the rest of the canopy. If the dead areas are substantial, plan on repair or replacement, and take a clear photo before contacting the manufacturer for warranty support.
My light flickers or buzzes, is that always an LED failure?
Not always. Flicker and buzz can come from a loose connection, failing driver, or power instability, not just bad LEDs. Before assuming the fixture is dead, inspect the cord/plug connections and confirm the outlet is stable, then observe whether flicker changes when you reseat connectors (if your setup allows safe reseating).
How do I know if my plants are not getting enough light because the light is too far away versus the fixture is weak?
Compare canopy height first. If you reduce the distance by a practical amount (for example from around 36 inches down to 18 to 24 inches) and you see improvement within about a week, placement was the main problem. If nothing improves and you still see dim or uneven output, the fixture may be underpowered, aged, or partially failed.
Will moving the light higher or lower change growth differently for seedlings versus flowering plants?
Yes. Seedlings and vegetative plants generally need less intensity than fruiting plants, so they tolerate slightly lower output. If you raise the light too much for fruiting stages, they often stretch or stop progressing even though the light “works,” because PPFD drops and uniformity suffers.
What is the most reliable way to check whether my light covers the whole grow area?
Walk around with a hand held at canopy height, while blocking other room light, and watch for hotspots and dead zones. If the edges are consistently dimmer, check whether your plants sit outside the fixture’s rated footprint, or use reflective side walls to improve distribution.
Can a phone light meter app tell me exactly how much PPFD my plants get?
Not exactly. Phone apps usually estimate in lux, which is a human-vision metric, so lux can be useful for comparisons (same setup, different days, center versus edge) but it cannot replace PPFD for deciding whether you meet your plant’s target.
If I have a lux meter, how should I use it correctly for troubleshooting?
Use it comparatively and consistently. Measure at the same height and same points on the canopy (center and corners), and repeat after any change to distance or timer settings. If the numbers stay low across all points, you likely need either closer placement, more fixtures, or longer photoperiod.
Should I measure PPFD at the canopy surface or above it?
Measure at the canopy level you want to treat, meaning where the leaves are at that growth stage. If plant height changes between measurements, PPFD will change too, so keep the measurement height consistent or record the canopy height when you test.
My light is within the rated footprint but plants at the edges still look worse. What else could cause that?
Most edge underperformance is placement and coverage, but airflow and plant crowding can also influence growth. First ensure the fixture is centered and at the correct distance, then check for uneven reflections, reflective surfaces not facing inward, or plants shading each other at the edges.
How do I tell if the light is old enough that LED depreciation is likely?
If the fixture is several years into heavy daily use (often around 3 to 4 years or more, especially at 12 to 18 hours per day), plant performance that gradually declines without other changes can indicate output loss. The most convincing check is to compare a current PPFD or at least consistent canopy brightness versus how the plants looked when the light was new.
Next Article
Grow Light Not Working Troubleshooting Checklist and Fixes
Troubleshoot grow light not working fast: power, driver, wiring, overheating, setup, placement, timer, dimmer checks.