Set your grow light 2 to 4 inches above the top of your humidity dome (or 3 to 6 inches above the tray surface if you're not using a dome), run it 16 hours on and 8 hours off after seeds sprout, and keep the heat mat on continuously until germination is complete. That combination handles about 80% of what makes a seed starter kit work well under lights. The rest comes down to managing moisture, catching leggy growth early, and knowing when to back off the dome and heat mat as seedlings establish.
How to Use a Seed Starter Kit With a Grow Light

Marcus Tillman
7 May 2026
What's inside a typical seed starter kit (and why it matters for grow light setup)
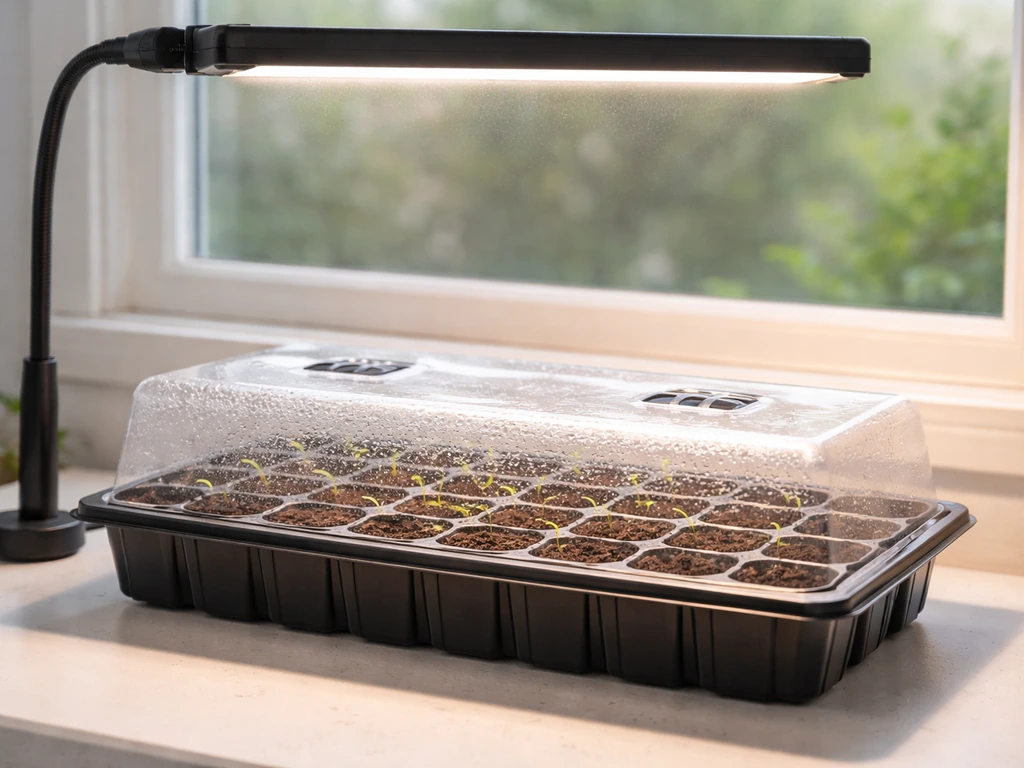
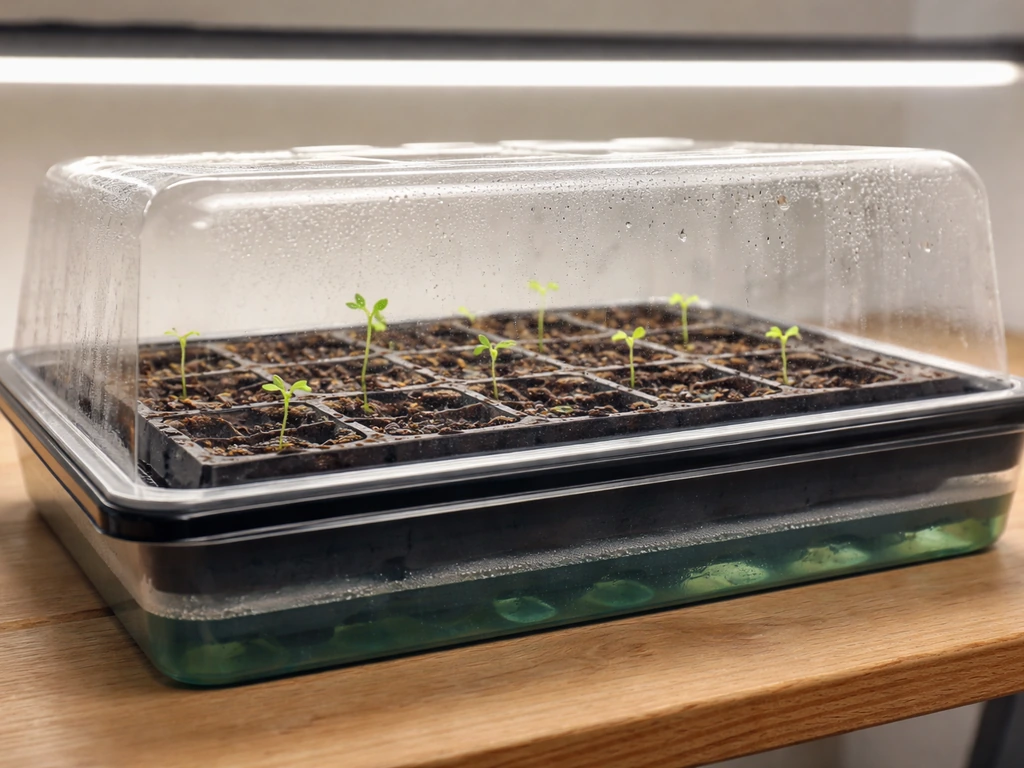
Most seed starter kits sold at hardware stores and garden centers include the same basic components: a watertight base tray for bottom watering, a cell insert (typically 60 to 72 individual cells), and a clear vented humidity dome. Kits from brands like Hydrofarm's Jump Start line include a 72-cell insert, a 17W heat mat, and a 2-inch vented dome. Others, like the common 60-cell kits at Home Depot or Gurney's seed starting kits, add grow plugs or water reservoir trays but follow the same logic. Some kits include a heat mat, some don't. That one detail changes everything about how you set up your grow light.
Here's why the kit configuration matters for grow light placement. A standard 10x20-inch propagation tray with a 2-inch dome adds about 3 to 4 inches of height above your seeds. When you factor in the light's own hanging hardware or clip mount, you need to account for the full stacked height when calculating how far the light sits from the plant canopy. The dome also creates a sealed microclimate that retains warmth and humidity, so the light's heat output factors in too. A heat mat running underneath, a dome trapping warmth on top, and a grow light radiating heat from above can combine to overheat the rooting zone if you're not careful.
Where to place the grow light over the seed tray
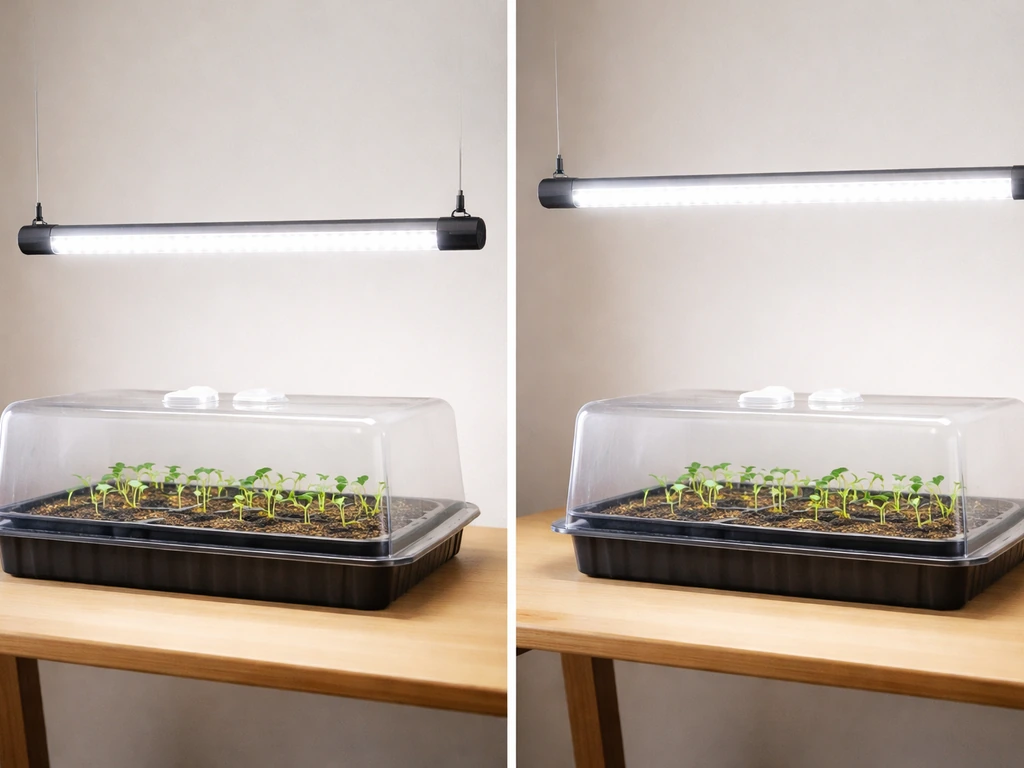
For most consumer LED grow lights (panel or bar style), start with the light positioned so its bottom sits 2 to 4 inches above the top of your humidity dome. If you've removed the dome, aim for 3 to 6 inches above the tray surface. The University of Minnesota Extension also recommends keeping lights about 4, 6 inches above seedlings and raising the light as they grow keep the light 3 to 6 inches above the tray surface. These aren't arbitrary numbers: young seedlings need fairly intense light but are sensitive to heat stress, and most LED grow lights marketed for seed starting are low-wattage enough (typically 15 to 45W) that you can go closer without burning anything.
If you're using a T5 fluorescent fixture (a classic choice for seedlings) or a higher-powered LED bar light, start at 4 to 6 inches above the dome surface and watch for any bleaching or curling on the first true leaves. High-pressure sodium setups are overkill for seed starting and run hot enough to require much greater distances, usually 18 to 24 inches minimum, which makes them less practical at this stage. If you're also wondering about power levels and mounting height, this guide on how to use hps grow lights is a useful comparison point before you finalize your setup.
Coverage is the other consideration. A standard seed starter tray is 10x20 inches. Most grow lights marketed for seedlings will cover that footprint adequately at close range, but if you notice the outer cells are getting noticeably less light than the center cells, rotate the tray 180 degrees every two to three days. This simple habit prevents uneven leggy growth from one side of the tray.
- LED panel or bar light with dome in place: 2 to 4 inches above the dome top
- LED panel or bar light without dome: 3 to 6 inches above tray surface
- T5 fluorescent strip: 4 to 6 inches above dome top
- Higher-powered LED (50W+): start at 6 to 8 inches and adjust based on plant response
- Rotate trays 180 degrees every 2 to 3 days for even coverage
Lighting schedule by seedling stage
During germination (before sprouts appear)
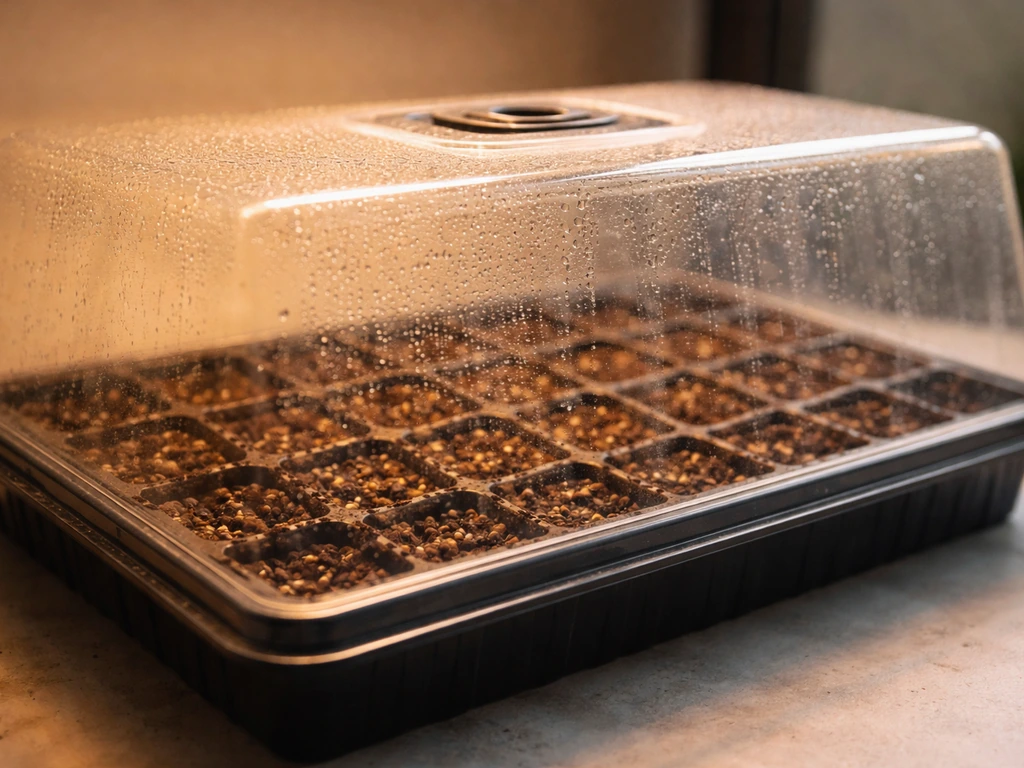
Seeds germinating underground don't need light at all to sprout. What they need is consistent warmth and moisture. During this phase, you can run the grow light on a reduced schedule (8 to 12 hours) mainly as a gentle heat source, or skip it entirely and rely on the heat mat alone. The dome should stay mostly closed with vents shut or barely cracked to maintain humidity near 80 to 90%. Check the tray daily for moisture and watch for the first signs of green poking through.
Once seedlings emerge
The moment you see cotyledons (the first small seed leaves) pushing up, light becomes critical. Switch to 16 hours on, 8 hours off immediately. UNH Extension’s seed-starting fact sheet also recommends using supplemental fluorescent lighting suspended about 6 to 12 inches above the seeds for roughly 18 hours per day, while noting some seeds germinate best in darkness blank" rel="noopener noreferrer">16 hours on, 8 hours off immediately. Seedlings that sit in dim conditions even for a day or two after emergence will start stretching toward any available light source, and that leggy growth is hard to reverse. Set a timer so the schedule is consistent. Most vegetable and flower seedlings do well on 16/8. If you're growing tomatoes, peppers, or other plants that will eventually go outdoors, this mimics an extended late-spring day and primes them well. If you want tomatoes specifically, focus on keeping the light intensity consistent after emergence and raise the fixture as the seedlings grow.
At the first true leaf stage (the second set of leaves after the cotyledons), you can keep the same 16/8 schedule but start raising the light incrementally as plants grow taller. Maintain that 2 to 4 inch gap between the light and the canopy as seedlings develop. Don't let plants grow into the light fixture.
| Stage | Light Schedule | Light Distance (LED) | Dome Status |
|---|---|---|---|
| Pre-germination (seeds sown, no sprouts) | 8 hrs or off | Not critical | Closed, vents shut |
| Germination (first sprouts appearing) | 12 hrs | 2–4 in. above dome | Closed, vents slightly open |
| Cotyledon stage (first leaves) | 16 hrs on / 8 hrs off | 2–4 in. above dome | Vents open, dome removable |
| First true leaves onward | 16 hrs on / 8 hrs off | 3–6 in. above canopy | Dome removed |
Watering and humidity control under lights
Bottom watering is your friend with seed starter kits. Pour water into the base tray and let the cell inserts wick it up from below. This keeps the surface of the growing medium from getting waterlogged, which is where mold and fungus gnats thrive. Most kits are designed for this: the insert sits inside the watertight base tray and pulls moisture up through capillary action. Don't let the tray sit in standing water for more than an hour or two at a stretch.
With the dome on, you'll often find you don't need to water as often because moisture stays trapped inside. Check cells by pressing a finger or pencil into the growing medium. If it feels damp an inch down, hold off on watering. Under a grow light, the dome can create a greenhouse effect that dries out cells faster than you'd expect, especially if you're using a heat mat too. In warm rooms (above 72°F), check moisture every 24 hours rather than every other day.
Mold is the main risk during this stage. White fuzzy growth on the surface of cells, or grey-green patches on the growing medium, usually signals overwatering combined with poor airflow. The fix is simple: crack the dome vents open more, or prop the dome up slightly on one side with a pencil. Once cotyledons are visible, you can remove the dome entirely during the day and replace it only at night if temperatures in your space drop below 65°F. Airflow from a small fan running on low, positioned to create a gentle breeze across the tray, also dramatically reduces mold risk and (bonus) helps seedling stems develop strength.
Preventing leggy seedlings and fixing uneven growth
Leggy seedlings (tall, thin, floppy stems reaching upward) are almost always caused by one of three things: light that's too far away, not enough hours of light per day, or a delay in turning the light on after germination. The fix for future trays is to address all three at once: drop the light closer, extend the photoperiod to 16 hours, and start the clock the moment you see sprouts. For seedlings that are already leggy, lower the light to the correct distance and, if the stem is strong enough, gently mound a small amount of growing medium around the base to offer support.
Uneven growth across the tray, where some cells are tall and some are stunted, usually comes from uneven light distribution or temperature differences across the tray. Cells near the edges of a tray tend to dry out faster and receive less light from a centered fixture. Rotating the tray every two to three days evens things out. If some cells are consistently laggard, check whether those corners are getting good light coverage and whether the dome is venting heat evenly.
One thing worth knowing: a gentle breeze from a small fan isn't just for mold prevention. The physical movement of air causes seedling stems to develop what's called thigmomorphogenesis, essentially strengthening in response to being moved. Seedlings grown in still air under lights tend to be weaker and more likely to flop over at transplant time. Run a fan on its lowest setting for at least a few hours a day once your seedlings are a week old.
Heat mat vs grow light: using both without overheating
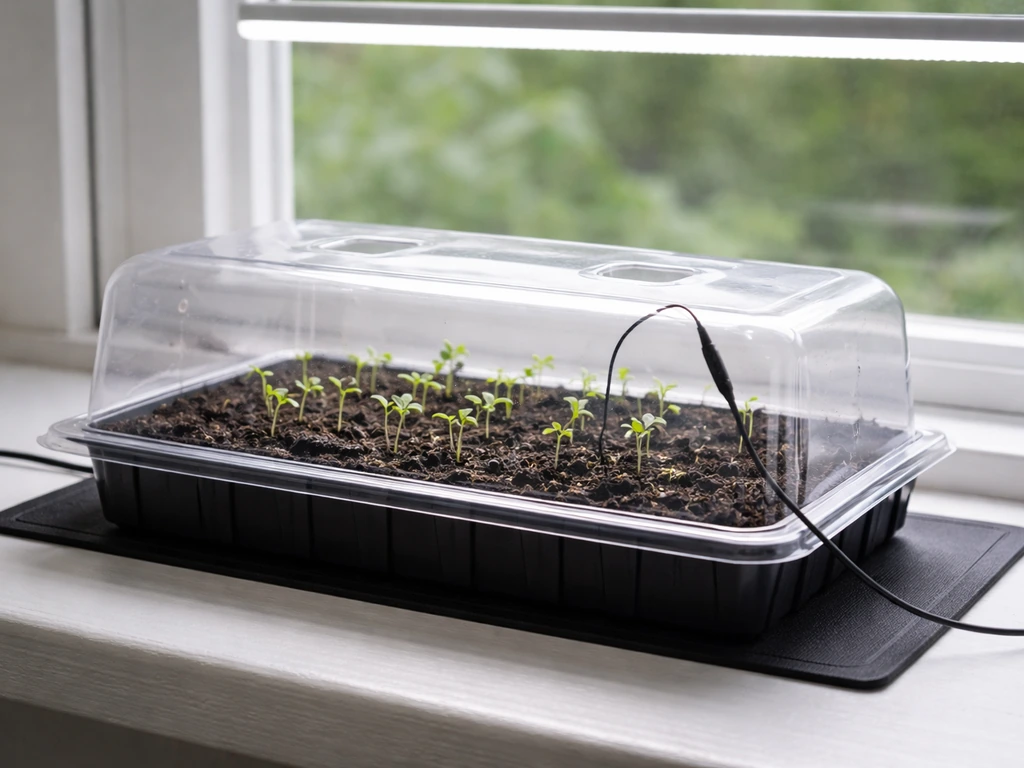
Heat mats raise the root zone temperature roughly 10 to 20°F (5 to 11°C) above the ambient air temperature. That's the consistent figure across brands like Vivosun and Hydrofarm. If your room sits at 68°F, the mat is pushing root zone temps to somewhere between 78 and 88°F, which is ideal for germination of most vegetables. The problem comes when you stack the heat mat underneath, close the dome on top, and hang a grow light 2 inches above the dome: temperatures inside can spike well above that range, especially in smaller growing spaces or enclosed shelving units.
The safest approach is to monitor temperature inside the dome with a cheap wireless probe thermometer. Target 75 to 85°F inside the dome during germination. Once seedlings emerge and you start opening vents or removing the dome, you can drop the goal to 65 to 75°F for most vegetables (a little warmer for peppers and basil). If temperatures inside are consistently above 88 to 90°F, crack the dome wider or raise the light a few inches. If you're in a warm room (75°F+), you may not need the heat mat at all once seeds sprout.
Turn off the heat mat once the majority of cells have germinated. Continuing to run it past that point raises the risk of drying out roots, and the grow light itself provides a small amount of ambient warmth. Save heat mat use for your next batch of seeds or for stubborn germinators like peppers that benefit from sustained bottom heat through early development.
Troubleshooting checklist + when to thin, transplant, and harden off
Quick troubleshooting
| Problem | Likely Cause | Fix |
|---|---|---|
| Seedlings are tall and floppy | Light too far away or too few hours | Lower light to 2–4 in., switch to 16/8 schedule |
| Mold on growing medium surface | Overwatering + poor airflow | Open dome vents, add small fan, reduce watering frequency |
| Seeds haven't sprouted after 10–14 days | Too cold or too dry | Check heat mat is working; verify growing medium stays consistently moist |
| Leaves are pale or yellow-green | Not enough light intensity | Lower light closer or increase photoperiod to 16 hrs |
| Leaf edges are bleached or curled | Light too close or too hot | Raise light 2 inches and check dome temp |
| Outer cells lag behind center cells | Uneven light coverage | Rotate tray 180 degrees every 2–3 days |
| Growing medium dries out within 12 hours | Heat mat + grow light + dome creating excessive heat | Raise light, check dome temp, reduce heat mat use |
When to thin
If you sowed multiple seeds per cell (common advice to improve germination rates), thin to one seedling per cell once you see the first true leaves. Use small scissors to snip the weaker seedlings at the soil line rather than pulling them, which can disturb the roots of the seedling you're keeping. Don't feel bad about this. Crowded cells produce weak, stressed seedlings.
When to transplant
Seedlings are ready to move into larger containers when roots start poking out of the bottom of the cells, or when you see the second or third set of true leaves and growth seems to have stalled. This is usually 3 to 5 weeks after germination for most vegetables. Move them into 3 to 4-inch pots with fresh potting mix. Hold off on fertilizing until one to two weeks after transplanting to avoid burning tender roots. A half-strength dilution of a balanced liquid fertilizer (something like 5-5-5 or similar) is a safe starting point once you do start feeding.
Hardening off before moving outdoors
Seedlings grown entirely under artificial light have never experienced direct sun, wind, or temperature swings. Moving them outside without a transition period causes transplant shock and sunburn. Start by setting transplants in a shaded outdoor spot for 2 to 3 hours on the first day, then gradually increase outdoor time and sun exposure over 7 to 10 days. Bring them in if temperatures drop below 50°F. After 10 days, most cool-season crops are ready to stay out; warm-season crops like tomatoes and peppers benefit from a full two weeks of hardening off. If you're keeping plants indoors long-term under grow lights, this step doesn't apply, but the approach to scaling up light intensity as plants mature is similar in concept.
Once you've worked through a few rounds with a seed starter kit and grow light, the process becomes intuitive. If you move from seed starting to a full greenhouse setup, the same distance, timing, and airflow principles apply for figuring out how to use grow lights in a greenhouse. The fundamentals stay the same whether you're using a compact LED bar, a T5 strip, or eventually scaling up to something more powerful for a larger grow. The variables that matter most are distance, duration, and temperature control, and all three are adjustable without any specialized equipment.
FAQ
Do I need to run the grow light the entire time, from planting through transplant?
If you start too early or leave the dome/heat mat on too long after sprouting, seeds can emerge and then quickly stall or develop mold. Use emergence as your trigger, not the day you planted: once cotyledons appear, switch to a 16/8 light schedule and begin venting more (or removing the dome during the day) to reduce humidity and heat buildup.
What should I do if germination is slow, should I increase light hours?
No. The grow light can accidentally become the main heat source, drying cells out faster than the kit is designed for, especially if you close the dome fully. If germination is slow and your room is cool, prioritize bottom heat (heat mat) and use the light only as a short, gentle “support” cycle (for example 8 to 12 hours) until you see sprouting.
My seedlings look unhappy, how can I tell if it is too much light or not enough?
Start by checking whether the problem is heat stress or light distance. Look for bleaching (too much light or too close) versus stretching (too little light or too far). Then adjust one variable at a time, usually raising or lowering the light by about 1 to 2 inches and keeping the photoperiod fixed at 16 hours until you see improvement.
Where should I measure temperature if I want to keep the dome in the right range?
Wireless probes are helpful, but the key is placing the sensor where it matters: inside the dome, at the same height as the top of the growing medium. Do not measure near the edge of the dome or hanging close to the light, because that can read hotter than the rooting zone.
What is the fastest way to fix mold or fungus gnats without damaging seedlings?
If your cells stay wet on the surface and down at least an inch, stop watering and increase airflow before you do anything else. Crack vents or lift one side of the dome, run the low fan for a few hours a day, and only resume bottom watering when the medium feels barely damp below the top layer.
Can I remove the humidity dome early to reduce mold?
Yes, but do it when conditions support it. Once cotyledons appear, removing the dome during the day helps, but if your space drops below about 65°F, put the dome back at night to prevent chilling. Keep a close eye that the medium does not dry out too quickly when the dome is off.
What is the best way to thin seedlings in a cell insert?
Do not assume one seed per cell is always needed. If you see two seedlings and the first true leaves are visible, thin to one per cell promptly. Use scissors to snip the weaker plant at the soil line, and avoid pulling, because that can tear roots of the stronger seedling and create a permanent growth slowdown.
When exactly are seedlings ready to move to pots?
Under artificial light, seedlings can look ready sooner but still be too small to transplant safely. Use a dual check: roots visible at the bottom, plus at least the second or third set of true leaves (or clear stalled growth). Transplanting too early often leads to a second slow start because the root ball is not yet established.
Why do some cells grow tall while others are stunted even if I rotate the tray?
Rotating solves uneven light, but temperature gradients can also create uneven growth. If certain cells are consistently stunted, check dome venting and whether one side of the tray sits closer to the light or gets more direct warming. Make sure the dome and tray are centered under the fixture and that the airflow is not hitting one corner harder than others.
Is it safe to use a fan right away, or can it stress seedlings?
It can help, but timing matters. A fan is most useful once seedlings are at least about a week old, run on the lowest setting to create gentle movement, and keep it consistent rather than blasting them continuously at high speed. The goal is movement, not windburn.
How do I prevent heat mat and grow light from overheating seedlings?
The safest approach is to monitor and adjust. If your dome readings consistently exceed about 88 to 90°F, crack the dome wider and/or raise the light a few inches rather than turning everything off at once. If your room stays warm (around 75°F or higher), you may be able to skip the heat mat after sprouting to avoid overheating the rooting zone.
Do different crops require different light schedules in the seed starter kit?
Match the schedule to development stage, not plant type alone. Tomatoes and peppers often benefit from consistent 16/8 lighting right after emergence, but if plants are going outdoors, start hardening off before transplant and keep increasing outdoor light gradually to avoid sunburn and transplant shock.
Next Article
How to Use Grow Lights in a Greenhouse Step by Step
Step-by-step greenhouse grow light setup: choose fixtures, mount spacing, schedule run times, and troubleshoot for even