Set your grow light 18 to 24 inches above tomato seedlings, run it for 14 to 16 hours a day during the seedling and vegetative stages, then keep it at 16 hours once flowers appear. University of Maryland Extension also recommends continuing to light transplants for 14 to 16 hours per day and keeping tomato transplant tops about 1 to 2 inches from the lights run it for 14 to 16 hours a day.
How to Use Grow Lights for Tomatoes: Step by Step Guide

Marcus Tillman
27 Apr 2026
Use a full-spectrum LED that includes red, blue, and ideally some far-red, aim for a daily light integral (DLI) of at least 15 mol·m−2·d−1, and make sure your room temperature stays between 70 and 82°F during the day. That's the core setup. Everything below explains why those numbers matter and how to fine-tune them so your plants actually produce fruit instead of just surviving.
Picking the right grow light type for tomatoes
Tomatoes are heavy light users. They sit in the same category as cucumbers and peppers when it comes to light demand, needing a DLI of 15 mol·m−2·d−1 or more to really thrive. That number is a measure of total photons delivered across a full day, and it's the single most useful way to think about whether your light setup is actually enough. Most standard shop lights or cheap single-bar LED strips won't get you there. You need a light designed for fruiting crops.
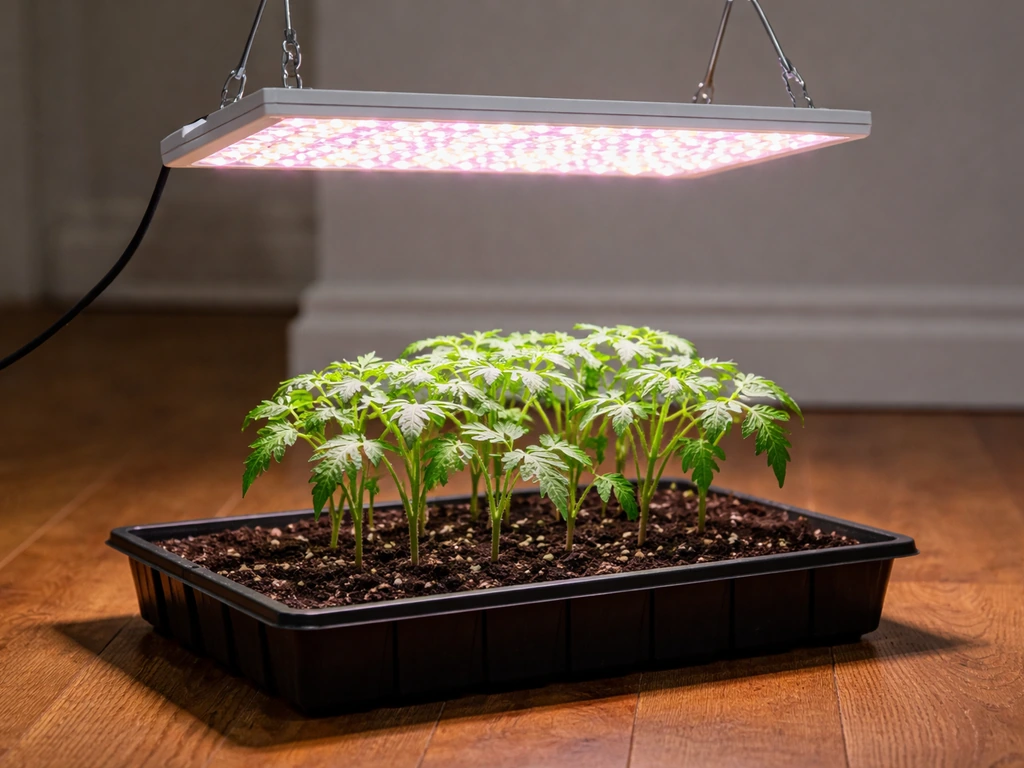
For most home growers, a full-spectrum LED panel is the best starting point. Modern LEDs are energy-efficient, run cooler than older lamp types, and let you place them closer to the canopy without scorching leaves. The spectrum matters more for tomatoes than it does for leafy greens. You want a light with a strong red output (around 630 to 660 nm), a meaningful blue component (around 450 nm), and ideally some far-red (around 730 nm).
Research on tomatoes consistently shows that a little blue light on top of a red-dominant spectrum reduces excessive stem elongation and improves overall plant structure. Far-red, meanwhile, has been shown to increase fruit number, fruit weight, and yield in controlled-environment tomato studies. A light marketed as "full spectrum" or "broad spectrum" with a warm white or pinkish-purple output usually covers these bases. Avoid lights that are purely blue or purely red.
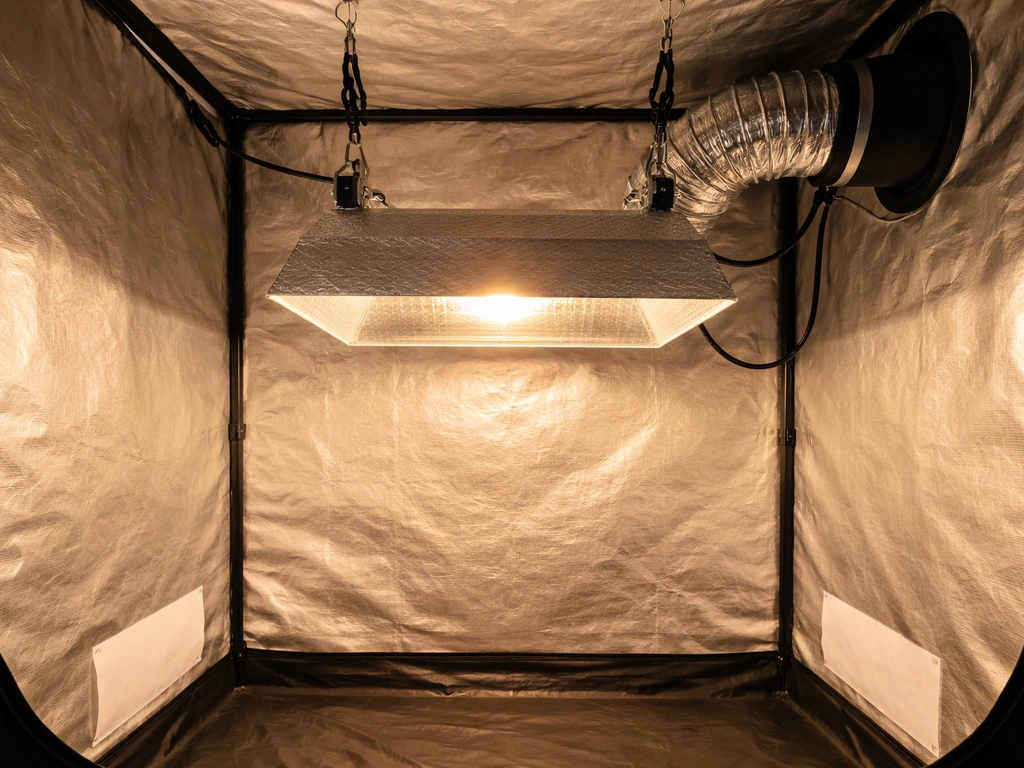
HPS (high-pressure sodium) lights are the traditional commercial choice and still work well. They produce a lot of light output per dollar of hardware cost and emit far-red naturally. The tradeoff is heat: HPS lamps radiate significant infrared energy downward onto the canopy, which raises leaf temperature and increases how fast the growing area dries out. If you're running HPS, you'll need more airflow, more frequent watering checks, and more distance between the lamp and the plant tops. For a dedicated indoor tomato setup, LEDs are easier to manage and cheaper to run long-term. If you're curious about running HPS specifically, that's covered in more detail in the guide on how to use HPS grow lights.
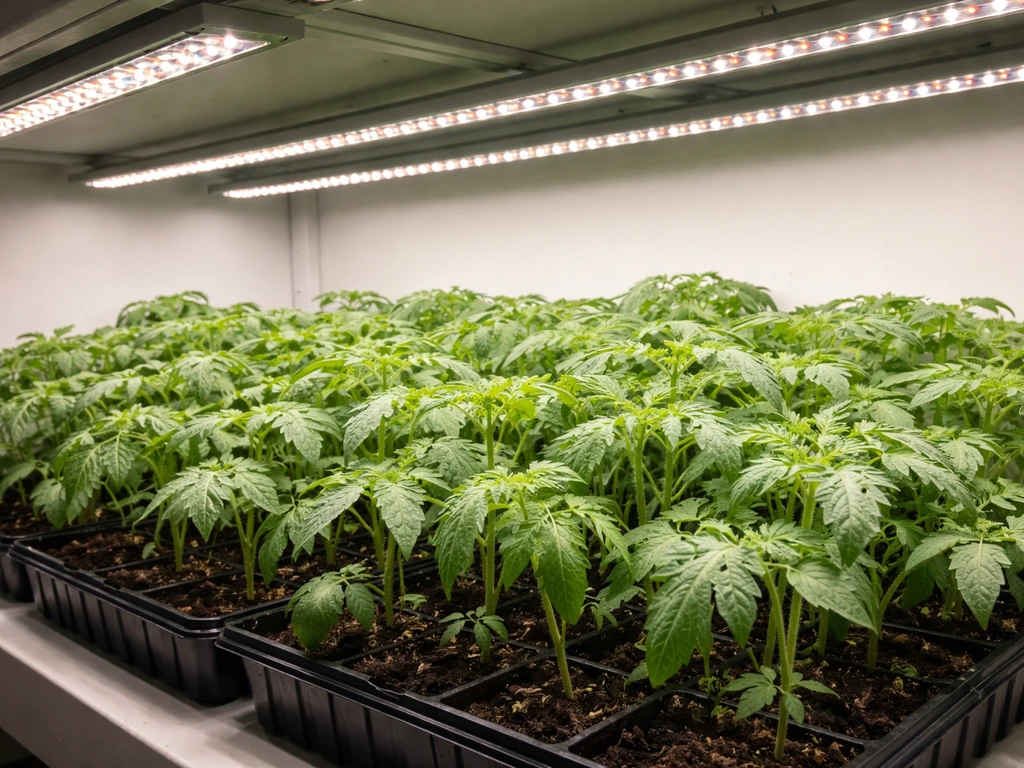
T5 fluorescent lights are fine for starting tomato seeds and growing seedlings up to a few inches tall, but they won't deliver enough intensity to support flowering and fruiting in full-sized plants. To translate these same light distance and timing tips to your seedlings, follow the steps in the seed starter kit guide and set up the grow light at the recommended height from day one.
If you're just germinating seeds or hardening off transplants, T5s are a practical, affordable option. Once your plants hit 6 to 8 inches and you're working toward fruit, upgrade to a higher-output LED or HPS. The guide on how to use T5 grow lights goes deeper on what those fixtures are good for.
Sizing and placement: distance, coverage, and angles
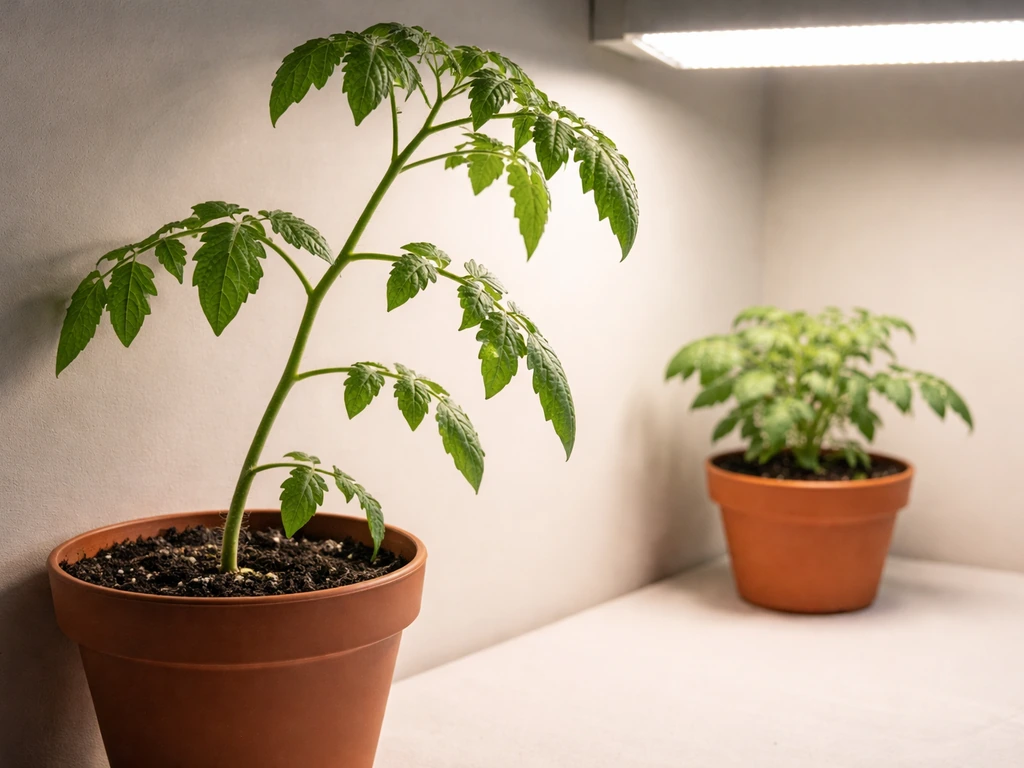
One of the most common mistakes I see is placing the light too high "to be safe" and then wondering why the plants are stretching toward it. The other common mistake is placing it too close and getting bleached or burned leaf tips. Getting the distance right is more important than almost anything else in the setup.
How far away should the light be?
For LED panels, start at 18 to 24 inches above the top of the plant canopy during the seedling stage. As plants grow into the vegetative and fruiting stages and your light's intensity is well-matched to the plant's needs, you can bring it down to 12 to 18 inches for a higher-wattage LED. Lower-wattage LEDs (under 100W) often need to be closer, around 10 to 14 inches, to deliver meaningful intensity at canopy level. If you're running HPS, start at 24 to 36 inches above the canopy because of the heat output, and don't go below 18 inches unless you've confirmed with a hand test (hold your hand at plant level for 30 seconds; if it feels uncomfortably warm, raise the lamp).
The easiest way to check whether you're in the right zone: look at your plants 3 to 5 days after setting up. Stems that are long and thin between leaf nodes mean the light is too far away or too dim. Leaf edges that look bleached, pale, or papery mean you're too close. Compact internodes and dark green leaves mean you're in a good range.
Coverage area and how many plants per light
Most grow light manufacturers publish a "coverage area" on the box, but those numbers are often based on seedling use, not fruiting crops. For tomatoes, cut that stated coverage in half when estimating how many plants you can run under a single fixture. A light rated for a 4x4 foot area for seedlings might realistically cover a 2x3 foot area for tomatoes that need heavy-fruiting-level intensity. If you have 4 tomato plants in 5-gallon containers, plan on at least a 200 to 300W LED (actual wattage, not "equivalent" claims) to give them enough light.
Keep the light centered over the canopy rather than off to one side. Tomatoes grown under unevenly distributed light will lean toward the brighter side, stretch unevenly, and produce fruit clusters that develop at different rates. If you're growing more than one or two plants, a rectangular bar-style LED or a multi-panel setup will give you more even coverage than a single round quantum board.
Setting up intensity and photoperiod
Tomatoes need both sufficient light intensity per hour and enough hours of light per day. Both levers matter because DLI is the product of the two: intensity times duration. DLI is defined as total photons delivered across a day, commonly expressed in mol·m−2·d−1, and calculated from photosynthetic photon flux density (PPFD) over time DLI is the product of intensity times duration. If your light isn't powerful enough to hit high intensity, you can compensate somewhat by running it longer, and vice versa. But there are limits in both directions.
How many hours per day?
A 16-hour photoperiod is the most well-supported schedule for indoor tomatoes and is used widely in controlled-environment research. For seedlings in their first few weeks, 14 to 16 hours works well. Once plants move into active vegetative growth and especially once you want to encourage flowering, 16 hours is a solid target. Some commercial operations push to 18 hours under very controlled conditions, but for home growers, 16 hours on and 8 hours off is a practical sweet spot that avoids running into diminishing returns. Always use a timer. Manual switching leads to inconsistent schedules, and tomatoes respond to consistent light cycles.
Tomatoes are day-neutral plants, meaning they don't strictly require short days to flower the way some crops do. That said, research shows the benefit of longer photoperiods depends heavily on whether you're also delivering enough total DLI. Running a weak light for 18 hours isn't as useful as running a properly sized light for 16 hours. If your plants are failing to flower under long photoperiods, intensity is usually the issue, not day length.
Light intensity by growth stage
| Growth Stage | Target DLI | Photoperiod | Light Height (LED) |
|---|---|---|---|
| Germination / seedling (0–3 weeks) | 10–12 mol·m−2·d−1 | 14–16 hours | 20–24 inches |
| Vegetative (3 weeks – first buds) | 12–15 mol·m−2·d−1 | 16 hours | 16–20 inches |
| Flowering and fruiting | 15+ mol·m−2·d−1 | 16 hours | 12–18 inches |
If your LED has a dimmer, use it. Start seedlings at 50 to 70% power and raise intensity gradually over 1 to 2 weeks as the plants develop. Dropping seedlings straight under full power at close range often causes light stress before the plants are ready for it. Ramp up the same way you'd harden off transplants before moving them outdoors.
Temperature, airflow, and watering under grow lights
Getting the light right is only part of the equation. The way your plants behave under artificial light changes your whole care routine, and ignoring that is a fast path to wilting, disease, and poor fruit set.
Keeping temperatures in range
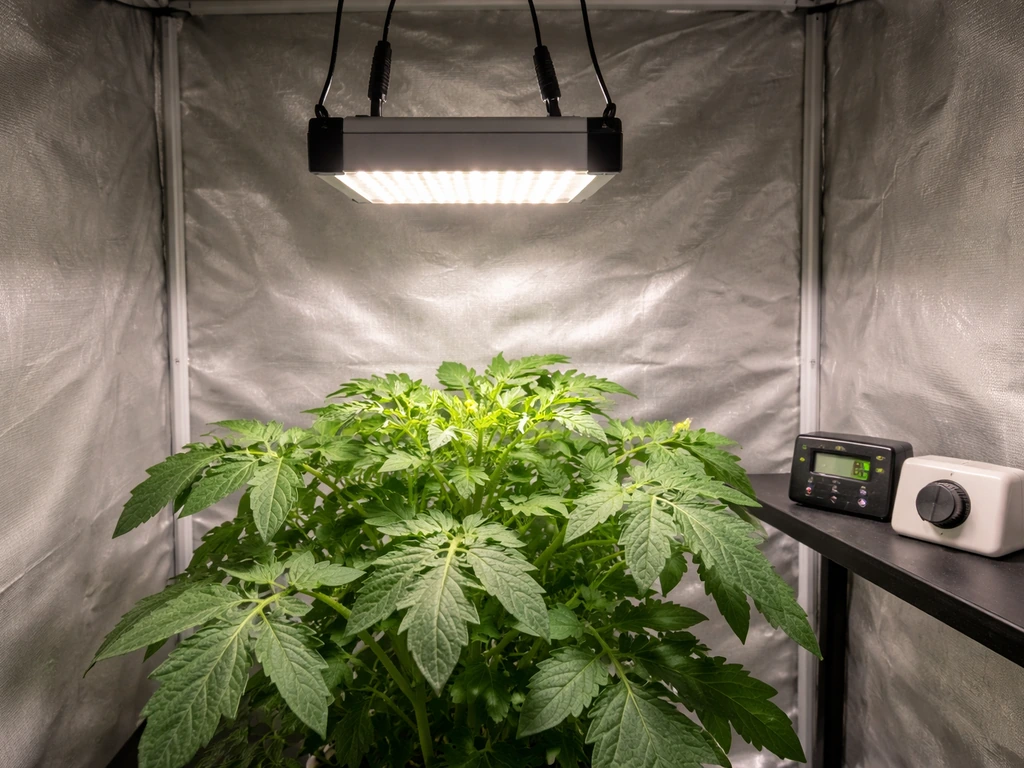
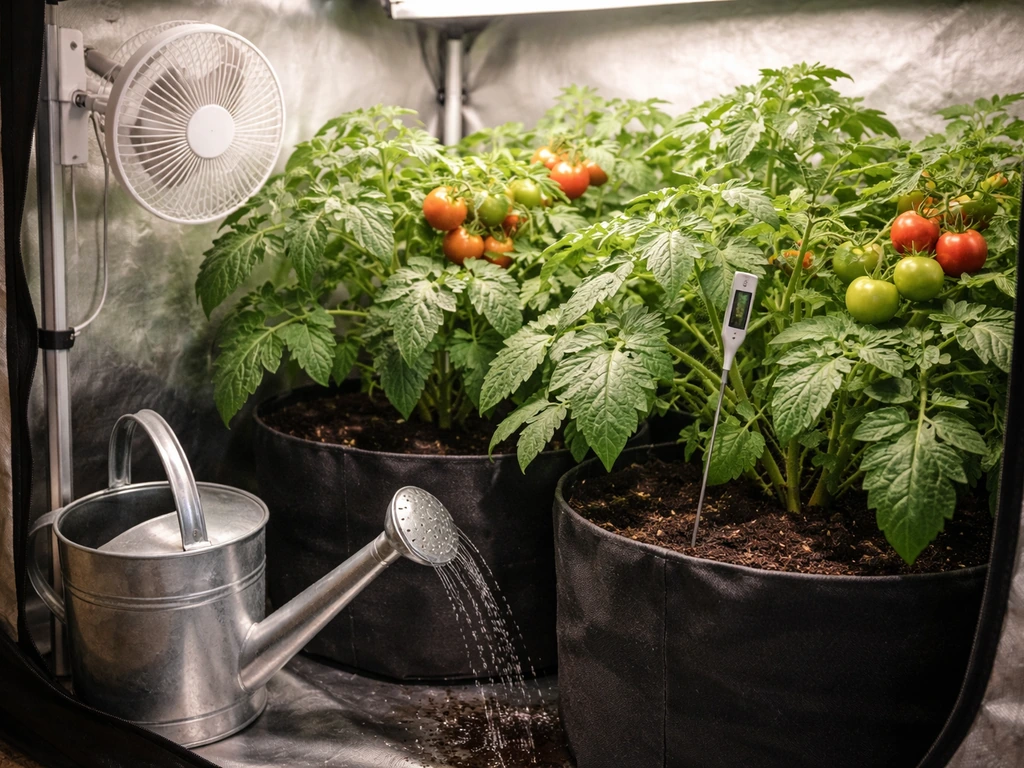
Tomatoes want daytime temperatures between 70 and 82°F (21 to 27°C) and nights no lower than 62°F (17°C). If your grow space drops below 62°F at night, fruit set will suffer. If it climbs above 85 to 90°F during the light period, especially under high-output lights, you'll start seeing blossom drop and poor pollination. LED panels generate far less radiant heat at canopy level than HPS, but even LEDs will warm a small enclosed space. Put a thermometer at plant height, not near the ceiling or floor, and check it during the light cycle.
Airflow is not optional
Tomatoes need moving air for two reasons: it strengthens stems (gentle airflow creates microstress that triggers thicker stem development) and it removes the warm, humid air that builds up around the canopy under lights. Without airflow, you get elevated relative humidity in the leaf zone, which increases disease risk and can interfere with transpiration. A small oscillating fan set to low speed, pointed so it moves air through the canopy without blasting directly at leaves, is all you need. This is especially important if you're running HPS, where the radiant heat load is much higher and excess heat builds up faster.
Watering more frequently under lights
Plants under grow lights transpire more water than plants in a window, especially under high-intensity setups or when running HPS. Don't stick to a fixed watering schedule; check the soil or growing medium every day and water when the top inch or two is dry. Tomatoes in containers under lights will often need watering every 1 to 2 days during active growth and fruiting. Uneven watering (letting pots dry out completely and then flooding) is a leading cause of blossom end rot in container tomatoes, so consistency matters. During the dark period, the plant's transpiration rate drops, so watering right before lights-off is generally fine.
Troubleshooting common tomato grow-light problems
Leggy, stretched stems
Long, floppy stems with wide gaps between leaf nodes almost always mean not enough light is reaching the plant. The fix is to lower the light, increase its intensity (via dimmer), or both. Leggy seedlings specifically benefit from cooler temperatures as well; keeping seedlings on the cooler end of the range (around 65 to 68°F) while giving them maximum light helps compact growth. Once a stem is already stretched, you can bury it deeper when transplanting to a larger pot, but prevention is much easier than fixing it after the fact.
Yellowing or pale leaves
Yellowing in tomatoes under lights has several possible causes. Uniform light yellowing across new growth often points to light bleaching from the lamp being too close or at too high an intensity. Lower the light or reduce the dimmer setting and check again in 3 to 4 days. Yellow lower leaves that progress upward, combined with slow growth, usually indicate a nutrient issue (often nitrogen deficiency), which can be worsened by high light levels that accelerate uptake. If your plants are in containers, check that you're feeding regularly. Yellow leaves with green veins point to iron or magnesium deficiency, often related to pH being off in the root zone.
Heat stress and leaf curl
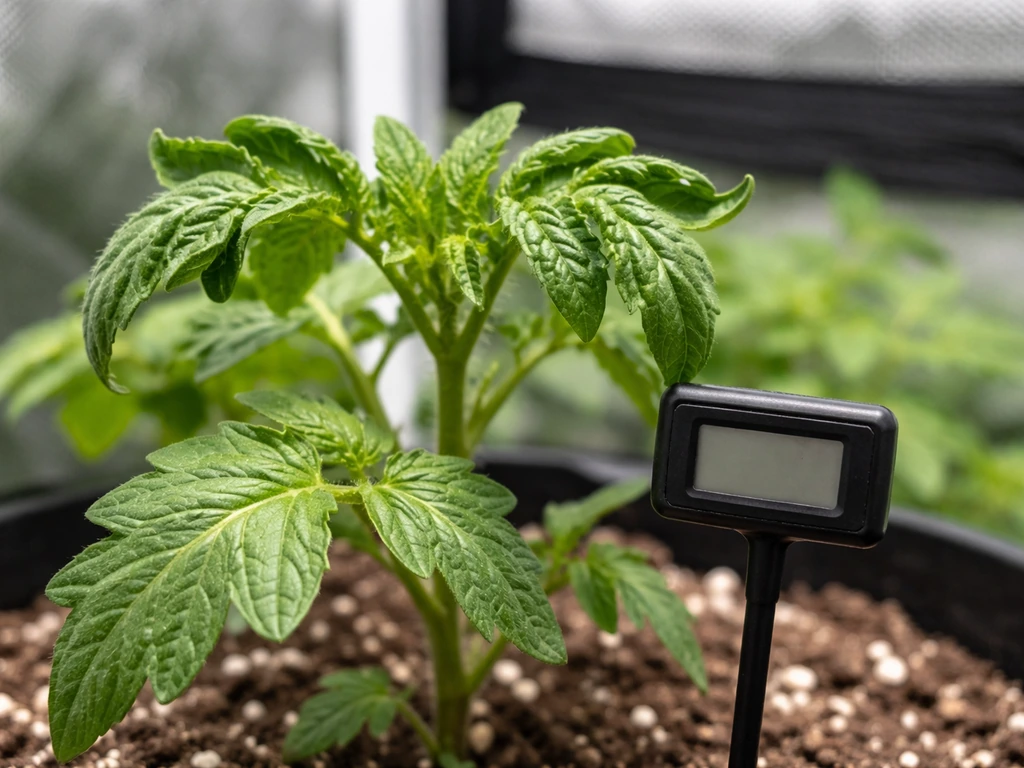
Upward-cupping leaves (the edges rolling in toward the top surface) are a heat stress signal. Check your canopy-level temperature first. If it's above 85°F, raise the light, improve airflow, or add an exhaust fan to the grow space. If temperature is fine, the rolling could be a watering stress response instead; check soil moisture. HPS users see this more often than LED users because of the higher radiant heat load, but it can happen under any powerful light in a poorly ventilated space.
Flowers dropping, not setting fruit
Blossom drop under grow lights is usually a temperature or pollination issue, not a light issue directly. Temperatures above 85°F during the day or below 55°F at night will prevent pollen from being viable. Without wind or bees indoors, you also need to manually pollinate: gently shake each flower cluster or run a battery-powered toothbrush along the back of open flowers every day or two when flowers are open. If temperatures and pollination are both handled and fruit still isn't setting, increase your DLI, since plants below the 15 mol·m−2·d−1 threshold often put energy into survival rather than reproduction.
Uneven plant development under the light
If one side of a plant is bushier than the other, or some plants in a group are thriving while others look weak, the problem is uneven light distribution. Rotate your containers a quarter turn every 2 to 3 days to even out exposure. If you have multiple plants at different growth stages and therefore different heights, raise the shorter ones on a platform so all canopy tops sit at roughly the same distance from the fixture. For larger setups with many plants, adding a second light fixture rather than pushing one light to cover more area than it's designed for is the cleaner solution.
Putting it all together: your setup checklist
- Choose a full-spectrum LED with red, blue, and ideally far-red output, sized at 200W or more (actual draw) for 2 to 4 tomato plants.
- Hang the light 18 to 24 inches above seedlings and lower it to 12 to 18 inches as plants mature into the fruiting stage.
- Set a timer for 16 hours on, 8 hours off. Don't skip the timer.
- Start at 50 to 70% dimmer setting for seedlings and ramp to full power over 1 to 2 weeks.
- Keep daytime temperature at 70 to 82°F at canopy level, nights no lower than 62°F.
- Run a small fan on low to move air through the canopy during the light period.
- Check soil moisture daily and water when the top inch or two is dry, not on a fixed schedule.
- Manually pollinate open flowers by shaking clusters or using a small vibrating tool every 1 to 2 days.
- Rotate containers every 2 to 3 days for even light exposure.
- Diagnose problems by checking canopy temperature and light distance first before changing anything else.
Indoor tomatoes under grow lights are genuinely achievable for home growers, but the margin for error is smaller than growing outdoors. The plants will tell you what's wrong if you watch them closely. Leggy growth, heat curl, and blossom drop all have clear fixes once you know what to look for. Start with the numbers above, check your setup after the first week, and adjust from there. For greenhouse growing, the process is similar, but you need to account for natural sunlight and adjust light height and schedules accordingly. You'll dial it in faster than you think.
FAQ
If I’m running 16 hours, how do I know whether my tomato light is strong enough (DLI wise)?
Use a simple target of 15 mol·m−2·d−1 at canopy level, but confirm it in practice by observing for 3 to 5 days. If you see stretching or long gaps between leaves, the DLI is too low, raise intensity (dimmer) or lower the light. If you see bleaching or papery leaf tips, back off distance or brightness even if your timer looks correct.
What should I do if my LED has no dimmer, can I still ramp intensity?
If your light has a dimmer, start seedlings at 50 to 70% and increase over 1 to 2 weeks. If there is no dimmer, start with the recommended distance and avoid lowering the fixture too quickly, because tomatoes can show light stress within days when intensity spikes.
How should I size the number of tomato plants per grow light panel?
For indoor fruiting tomatoes, do not rely on “seedling coverage” claims. A good rule is to cut the manufacturer’s coverage area in half when estimating how many fruiting plants fit under one fixture, and then add spacing so each plant’s canopy top stays near the same distance to the LEDs.
How can I measure the correct distance without a fancy light meter?
Do it at the plant canopy, not from your desk or shelf height. If you hold your hand at canopy level for 30 seconds and it feels uncomfortably warm, raise the lamp (especially for HPS). With LEDs you can usually place a bit closer, but still use canopy-level checks because local hot spots can form.
Is it okay to turn the grow lights on and off manually if I forget sometimes?
Keep the timer on a consistent schedule, and avoid frequent manual switching. A practical approach is to run the main photoperiod (typically 16 hours) with no interruptions, because shifting on and off repeatedly can stress flowering even if total daily hours stay near target.
My tomatoes flower but the blossoms drop, how do I troubleshoot quickly?
If blossoms are dropping, first check temperature and pollination. Daytime above about 85°F or nights below about 55°F can make pollen nonviable, and indoors you often must manually pollinate (shake clusters or use a small toothbrush) every day or two while flowers are open.
My plants look uneven, one side is bigger, what causes this and what do I do?
If you get uneven growth between plants, rotate containers about a quarter turn every 2 to 3 days, and raise shorter plants on a platform so their canopy tops are at the same height relative to the fixture.
Should I water at lights-on or lights-off for tomatoes under LEDs?
Watering right before lights-off usually works well because transpiration drops in the dark period. More important than timing is consistency, aim to water when the top inch or two dries, and avoid cycles of fully drying out then flooding, since that pattern increases blossom end rot risk in containers.
What do the different types of yellowing mean under grow lights?
Yellowing can come from multiple issues, so treat it like a symptom pattern. Uniform yellowing on newer growth often points to bleaching from too much intensity, while yellow lower leaves that move upward often suggests nutrient deficiency (commonly nitrogen). Yellow with green veins can indicate iron or magnesium problems, often tied to pH.
My seedlings are leggy and stretched, is temperature or light more likely the issue?
Leggy growth usually means insufficient light reaching the canopy, meaning the light is too high, too dim, or both. Lower the fixture and increase intensity gradually (use the dimmer if available) and then reassess over 3 to 5 days.
How strong should the fan be, and do I really need airflow with LEDs?
Tomatoes need moving air to both strengthen stems and reduce humid stagnant pockets around the canopy. Use a low-speed oscillating fan pointed to move air through the canopy without constantly blasting directly at leaves, and increase airflow if you’re running HPS because heat and drying are higher.
If pollination and temperature are fine, but fruit set still fails, what’s the next change to make?
Often it is not the light itself, but nutrient and water balance. Still, if your DLI is below the threshold, plants may prioritize survival over reproduction, so if temperature and pollination are already in check, increase DLI by lowering the light or raising intensity rather than adding hours beyond your 16-hour baseline.
Next Article
How to Use HPS Grow Lights: Setup, Schedule, Fixes
Step-by-step setup for HPS grow lights: placement, schedule, intensity, safety, and fixes for common heating and bulb is