Find your FEIT grow light's model number (printed on the fixture label), download the matching manual from Feit's Specialty Product Manuals page using that exact item number, then follow these steps: confirm all parts are present, mount the fixture at the right height for your plant type, plug into a grounded outlet, and use the RF remote or built-in timer to set a grow stage preset and daily schedule. That covers 90% of what you need to get plants under working light today.
FEIT Grow Light Instructions: Setup, Placement, Timing, and Fixes

Marcus Tillman
17 May 2026
Identify your FEIT grow light model and features
Before you do anything else, find your model number. It's printed on a sticker on the fixture itself, usually on the top or back panel. FEIT model numbers follow a specific format that tells you exactly what you have. For example, GLP24ADJS/RF/20W/LED breaks down like this: GLP24ADJS is the product family (24-inch adjustable), RF means it uses a radio-frequency remote, 20W is the wattage, and LED just confirms the light type. A different fixture like GLP24H/V/60W/LED is a higher-wattage 24-inch panel with very different daisy-chain limits and controls.
Why does this matter? Because FEIT makes several grow light lines that look similar but work differently. The RF remote models (like the GLP24ADJS/RF series) use preset grow stage buttons and timer presets on a handheld remote. The plug-and-play shop-light style fixtures (like the GLP24ADJS/32W/LED) are ceiling-mount units with different installation constraints. Some models let you daisy-chain dozens of units together (the 12-inch GLP12ADJS/RF/10W/LED links up to 39 lights), while others max out at 5 linked fixtures (the GLP24H/V/60W/LED). Following the wrong instructions wastes time and can actually stress your plants.
Once you have your model number, go to Feit's Download Center (search 'Feit Electric Product Manuals') and type in your exact item number. If your number doesn't return a result, search the product family portion of the model string or contact Feit support directly. Always work from your model's specific manual, not a generic one.
Unbox, assemble, and safely mount the fixture
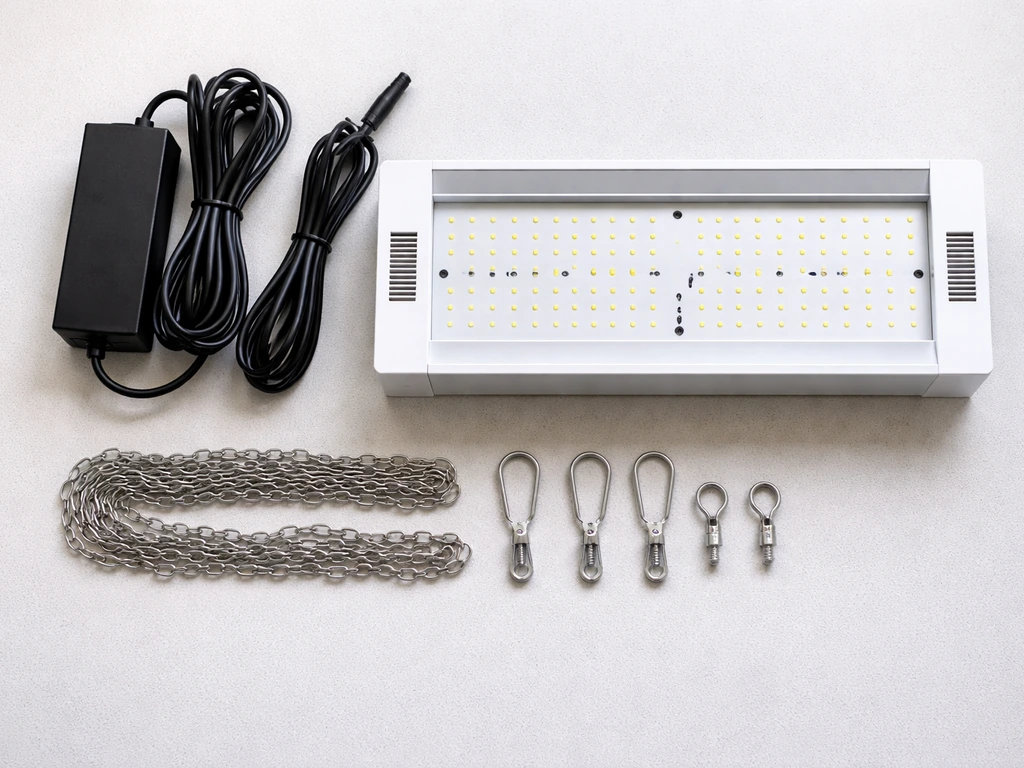
Open the box carefully and lay everything out. Most FEIT grow light packages include the fixture itself, a power adapter or power cord, mounting hardware (hanging hooks, chains, or clips depending on the model), and the RF remote if your model is remote-controlled. Check your manual's parts list and confirm everything is present before you start. Missing a mounting bracket now is way more annoying once you've already started running cable.
Mounting the fixture
For hanging pendant-style fixtures, attach the provided hooks or carabiners to the fixture's mounting points, then hang from an overhead support using the included chain or rope ratchet. Ratchet hangers are ideal because they let you adjust height easily as plants grow. For the fixed shop-light style models like the GLP24ADJS/32W/LED, follow the ceiling-mount installation instructions carefully, and note that this model explicitly cannot be installed on a radiant-heating ceiling. That restriction is in the manual for a reason: heat plus heat equals a fire risk.
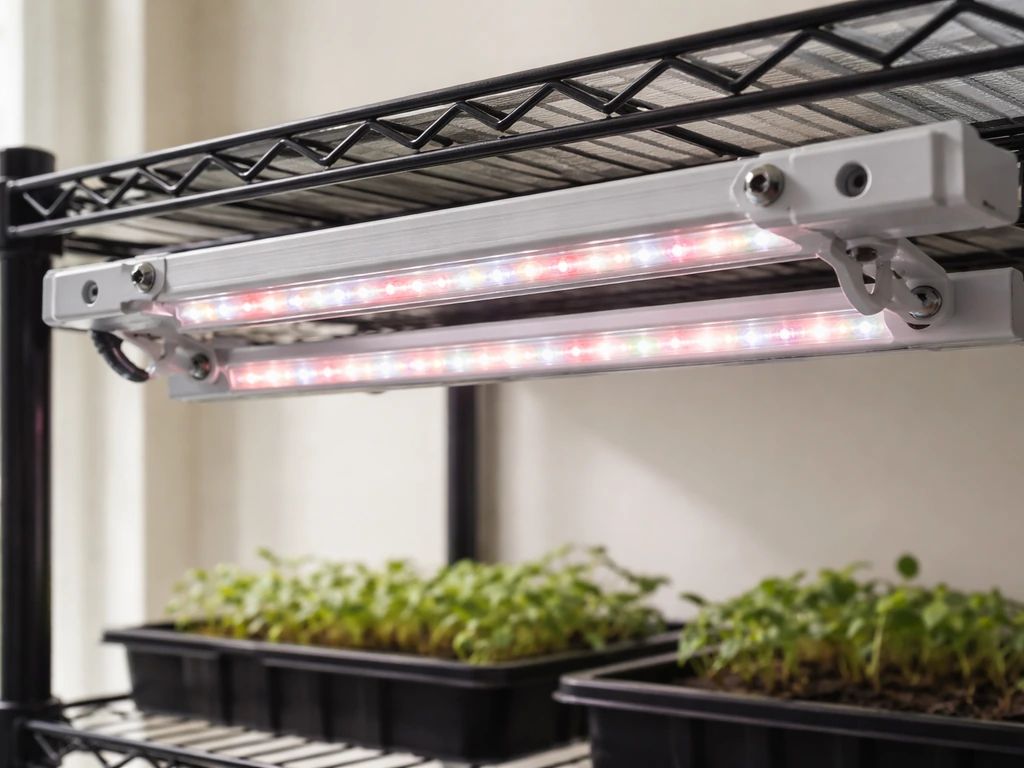
For multi-head adjustable models like the GLP24ADJS/RF or GLP29/B/ADJS/40W/LED, the heads rotate or pivot. Don't point them sideways or away from the canopy. The instruction for both of these models is the same: adjust the heads directly above the plant before you connect power. Get the physical positioning right first, then plug in.
- Use ratchet hangers when possible so you can raise the light easily as plants grow
- Do not mount shop-light models on radiant-heating ceilings
- Confirm mounting hardware is rated for the fixture's weight before hanging
- Keep the fixture level so light distribution is even across the canopy
- For multi-head models, aim all heads downward toward the plant before powering on
Electrical hookup and initial power-on checks
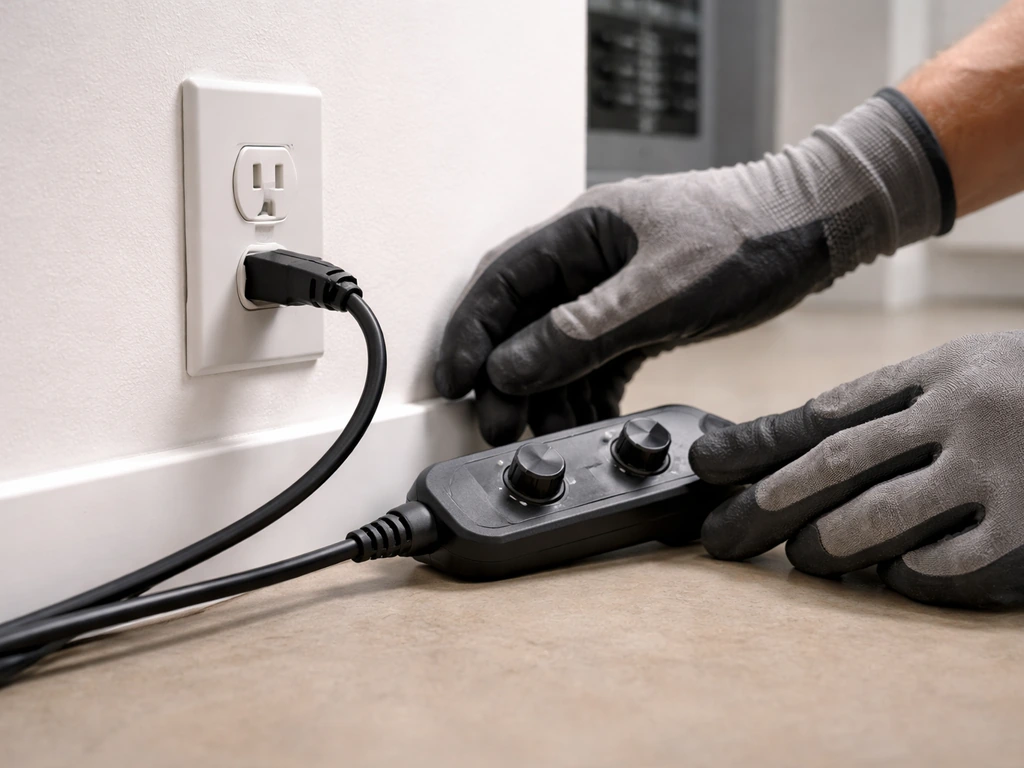
FEIT's safety documentation is clear on this: turn off power at the circuit breaker before installing any hardwired fixture. For the plug-in portable models in the RF remote lineup, that's less of a concern since you're just plugging into a standard outlet, but you still want the fixture physically mounted and positioned before you energize it. Don't plug it in mid-installation while you're still adjusting chain height.
FEIT uses polarized plugs on their grow lights to reduce shock risk. The wider prong is neutral. Do not force it in the wrong way, and do not use a two-prong adapter to defeat the polarization. If you need an extension cord, the manual specifically says the plug must fully insert into the extension cord's socket. A loose connection here causes flickering and can be a fire hazard.
Once plugged in, press the power button on the remote (for RF models) or flip the switch if your fixture has one. The light should come on within a couple of seconds. If nothing happens, check that the outlet is live (plug in a phone charger to confirm), verify the circuit breaker hasn't tripped, and make sure the remote has fresh batteries. For RF remote models, you may also need to sync the remote to the fixture: refer to your specific manual's pairing steps since this varies slightly between models.
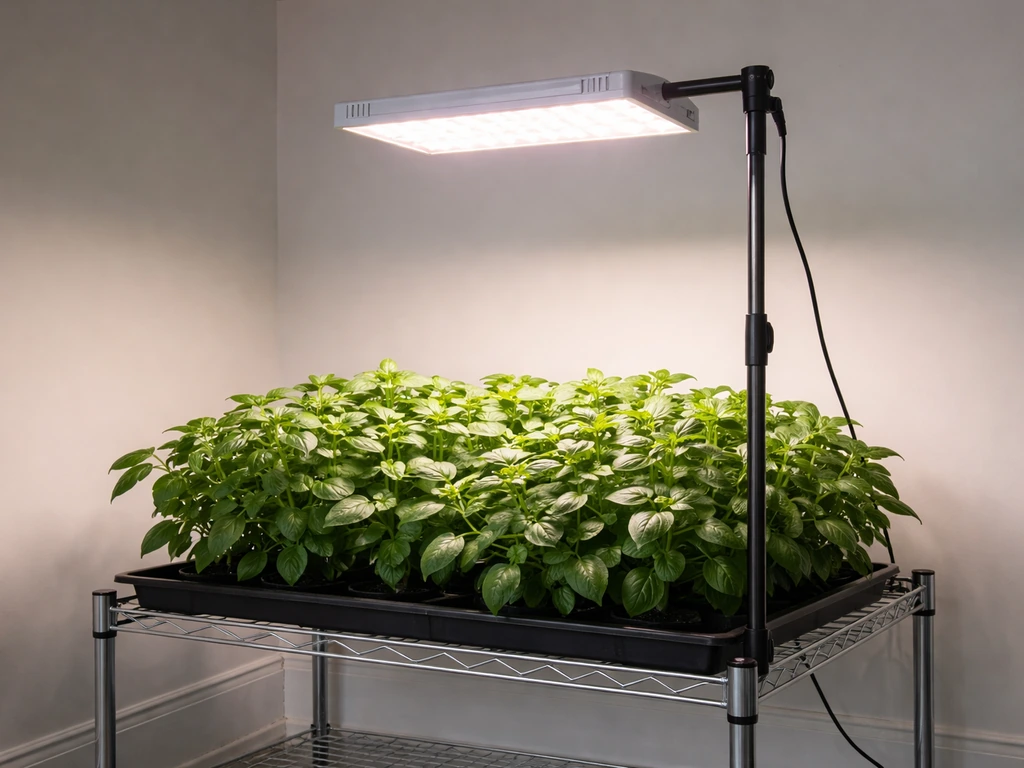
Placement, mounting height, and coverage spacing
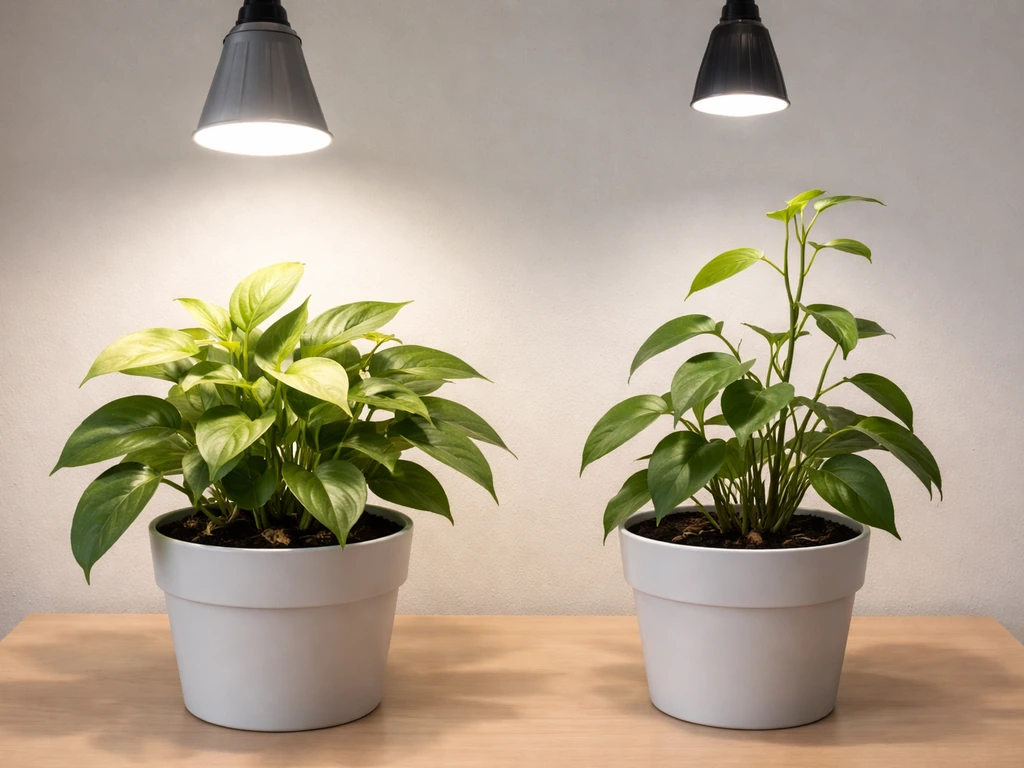
Height is the most important physical variable after you've mounted the fixture. Too close and you burn or bleach leaves. Too far and your plants stretch, go leggy, and don't get the intensity they need. FEIT measures grow light effectiveness using PAR (photosynthetically active radiation), which captures the wavelengths plants actually absorb rather than just overall brightness. You don't need a PAR meter to get started, but understanding that PAR drops sharply with distance helps explain why height matters so much.
| Plant / Growth Stage | Recommended Starting Height | Notes |
|---|---|---|
| Seedlings and cuttings | 24–36 inches above canopy | Lowest intensity needed; keep distance generous to avoid heat stress |
| Vegetative herbs and houseplants | 18–24 inches above canopy | Moderate distance works for most leafy plants |
| Flowering and fruiting plants | 12–18 inches above canopy | Closer for higher intensity; watch for bleaching near lamp heads |
| Succulents and cacti | 18–24 inches above canopy | These need light but are sensitive to sudden intensity changes |
For coverage spacing, one 24-inch FEIT grow strip covers roughly a 2x4 foot area at an 18-inch hanging height. If you're covering a larger area, you'll need multiple fixtures or a higher-wattage panel. When placing multiple fixtures side by side, overlap their coverage zones slightly (by about 6 inches) so there are no dim spots in the middle of your grow space. The multi-head adjustable models let you angle heads outward to spread coverage, which helps with irregular plant arrangements.
Set light schedule and intensity (timer/dim/app)
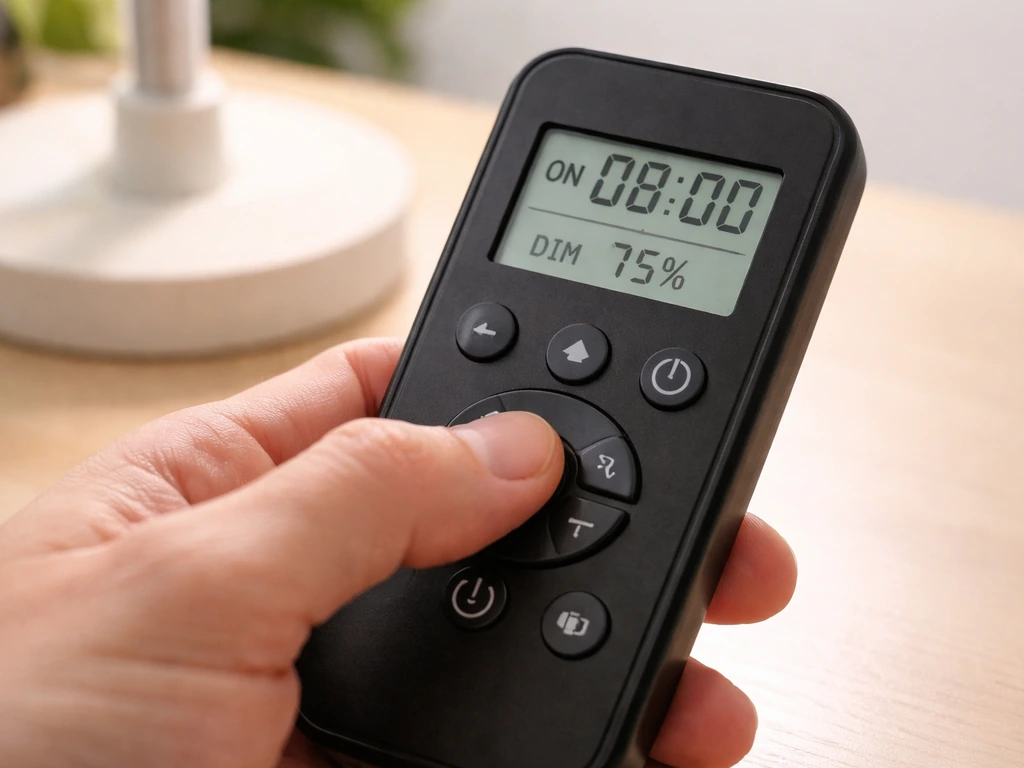
Most FEIT grow lights in the RF remote lineup use the same timer interface. For great value grow light instructions, focus on setting the right daily schedule and using the stage presets that match your plants. The remote has preset duration buttons: 3H, 6H, 8H, 12H, 18H, and 24H. There are two operating modes: SINGLE and AUTO. SINGLE runs the timer once and shuts off. AUTO repeats the same duration every day at the same time you first activated it, which is what you actually want for a consistent grow schedule. Always use AUTO mode unless you're doing a one-off test.
The GLP12ADJS remote works the same way: press your time preset, then press the Auto Mode button to lock in the daily repeat. Set this up at the time of day you want lights to come on each morning, because that start time becomes the anchor for the daily cycle.
For intensity, the RF remote models don't have a traditional dimmer knob. Instead, intensity is managed through the grow stage presets (SEEDING, VEGETATION, FLOWERING) and the spectrum channel buttons (WHITE, RED, BLUE). Selecting SEEDING reduces intensity and emphasizes blue-spectrum output. VEGETATION increases intensity with a balanced spectrum. FLOWERING shifts toward red-spectrum output for bloom promotion. The GLP29/B/ADJS/40W/LED works similarly, using White, Red, and Blue light channel selections tied to plant stage.
If your FEIT model is a Wi-Fi or Bluetooth-enabled fixture (check your model number and packaging), it will connect through the Feit Electric app rather than an RF remote. Setup involves connecting the fixture to your 2.4 GHz Wi-Fi network through the app's device pairing flow. Once connected, scheduling and spectrum adjustments happen in the app rather than with a physical remote.
Adjust for plant type and growth stage
Start conservatively with any new setup. Even if your plants were outdoors or under bright windows before, moving them under a grow light is a change they need a few days to adjust to. Begin with the SEEDING preset or a lower-intensity spectrum setting for the first week, regardless of whether you're growing seedlings or established herbs. Then step up to VEGETATION or your target stage in week two once you see the plants responding without stress.
| Plant Type | Grow Stage Preset | Daily Duration | Spectrum Focus |
|---|---|---|---|
| Seedlings and sprouts | SEEDING | 14–16 hours (start with 12H) | Blue-dominant (BLUE or WHITE channel) |
| Leafy herbs (basil, mint, lettuce) | VEGETATION | 14–16 hours (12H or 18H) | Balanced or Blue-dominant |
| Tomatoes and peppers (flowering) | FLOWERING | 12–14 hours (12H) | Red-dominant (RED channel) |
| Houseplants (tropical foliage) | VEGETATION | 10–12 hours (8H or 12H) | Balanced (WHITE channel) |
| Succulents and cacti | SEEDING or VEGETATION | 10–12 hours (8H or 12H) | Balanced (WHITE channel) |
One mistake beginners make is running lights for too long, thinking more hours always means more growth. It doesn't. Most plants need a dark period for metabolic rest. Running a fruiting plant like tomatoes on 18H light can actually delay or prevent flowering. Stick to the recommended duration ranges, and if in doubt, 14 hours on and 10 hours off is a safe starting point for most vegetable crops.
Troubleshooting common FEIT grow light issues
Light won't turn on
First check the obvious: is the outlet live, is the power cord fully seated, and is the circuit breaker on? For RF remote models, replace the remote batteries and try again. If the remote was working before but stopped, try power cycling the fixture (unplug for 30 seconds, plug back in) before pressing the power button on the remote. If the light still won't respond, you may need to re-pair the remote to the fixture following your manual's pairing steps.
Flickering
Flickering almost always points to one of three causes: a loose power connection, an incompatible dimmer switch on the outlet's circuit, or a failing driver. Check that the power plug is fully inserted and not loose in the socket. If the outlet is connected to a wall dimmer (common in dining rooms and living rooms), either move the fixture to a non-dimmed outlet or remove the dimmer entirely. FEIT LED grow lights are not designed to work with external wall dimmers, and running them on one will cause flicker and eventually damage the driver.
Timer or remote not working correctly
If the timer isn't repeating daily, confirm you pressed AUTO after selecting the duration preset, not just the time button alone. The SINGLE mode is easy to accidentally activate and will only run one cycle. Also verify that you set the timer at the time of day you want the lights to turn on, since the AUTO cycle repeats from that initial activation time. If the remote buttons work inconsistently, check for RF interference from other devices and try operating the remote within 10 feet of the fixture.
Overheating and heat stress on plants
LED grow lights run much cooler than HPS or fluorescent fixtures, but they still generate heat, especially in enclosed spaces. If the fixture feels hot to the touch on the housing after a few hours, make sure there's at least 6 inches of clearance above the fixture for heat to dissipate. Never place the fixture inside a sealed enclosure without ventilation. If your plants show wilting, curling leaf edges, or brown tips on leaves closest to the light, raise the fixture by 4 to 6 inches and check ambient temperature. The problem is almost always heat or distance, not the light itself.
Signs of too much or too little light
- Too much light: bleached or yellowing patches on upper leaves, leaves curling upward, brown crispy tips directly under the lamp heads
- Too little light: stems stretching and leaning toward the light source, pale green or yellow-green leaves, slow growth, small leaf size
- Too much duration (not intensity): flowers dropping, fruiting plants not setting fruit, unusual leaf drop in tropical houseplants
- Uneven coverage: one side of the plant grows faster or darker than the other, indicating the fixture isn't centered or heads need redirecting
Maintenance and a quick 1–2 week tuning plan
The first two weeks under a new grow light setup are really a calibration period. Your initial settings are educated guesses; the plants will tell you what needs adjusting. Here's a simple workflow to follow:
- Day 1: Mount the fixture at a conservative height (24–30 inches for most plants). Set SEEDING or VEGETATION preset. Set the timer to 12H in AUTO mode. Note the start time.
- Days 2–4: Check plants each morning. Look for signs of stress (bleaching, wilting, curling) or signs of too little light (stretching, paleness). Don't make changes yet unless stress is obvious.
- Day 5–7: If plants look healthy and green with no stretching, hold your settings. If stretching is happening, lower the fixture by 4 inches. If leaves are curling or bleaching, raise by 4 inches.
- Day 8–10: If plants are growing well, consider stepping up to your target grow stage preset (VEGETATION or FLOWERING). Increase duration by 2 hours if needed.
- Day 11–14: Fine-tune height based on canopy growth. For fast-growing plants like tomatoes or basil, you may need to raise the fixture every 3–4 days as the canopy climbs.
Ongoing maintenance checks
Dust accumulates on LED panels and reduces output over time. Wipe the fixture down with a dry or slightly damp cloth every 2–4 weeks with the light unplugged. Never spray water directly on the fixture. Check mounting hardware monthly: chains, hooks, and ratchets can loosen over time, especially in humid grow environments. Verify that the polarized plug is still fully seated and that there's no visible wear on the power cord.
If you're running a hardwired shop-light style FEIT fixture, revisit the installation restrictions from your manual every few months. Specifically confirm that nothing has changed about the ceiling structure, that clearances are maintained, and that the fixture isn't on a circuit that's been modified. These checks take two minutes and prevent the kind of slow-developing problems that are hard to diagnose later.
FEIT's grow light lineup sits in the same practical, budget-friendly category as brands like Mosthink, Bestva, and Great Value, all of which follow similar setup logic: identify your model, match the manual, start conservatively, and adjust based on plant response. If you are also using Mosthink grow lights, these same scheduling and height principles apply, so follow the mosthink led grow light instructions for your exact model. The RF remote and stage-based controls on FEIT fixtures actually make the tuning process straightforward once you understand what SEEDING, VEGETATION, and FLOWERING mean in practice. After two weeks of observation and small adjustments, most growers land on a height and schedule that works reliably without any further fiddling.
FAQ
Can I daisy-chain multiple FEIT grow lights together if I’m short on coverage?
Yes, but only if your model specifically supports daisy-chaining and the linked-wattage limit in its manual. If you exceed the maximum number of fixtures, some units may not receive enough power for stable output, which can show up as dim sections or intermittent flicker. Check your model’s stated link limit before adding another light.
What should I do if my FEIT light stops repeating every day?
If you are on a day-length schedule and accidentally switched the remote to SINGLE, the light will run one cycle and then stay off until you reactivate it. To fix this, select the duration preset you want again, then press the AUTO mode button (and verify the lights turn on at the time you intended).
My FEIT grow light won’t turn on. How do I tell whether it’s the remote or the fixture?
Start by confirming the most common causes: outlet live, plug fully inserted, and circuit breaker not tripped. If the remote buttons work but the light does not, replace the remote batteries and then perform a manual-specific re-pairing (RF models). If no buttons work at all, try the fixture’s own power control if it has one, since some models can lose remote pairing.
Is it okay to plug a FEIT grow light into a dimmable wall outlet?
For RF remote models, do not leave the fixture on a wall dimmer even if it seems to “work” at first. LED driver flicker and long-term damage are common outcomes. Move the light to a non-dimmed outlet (or a receptacle on a non-dimmed circuit) rather than trying to compensate with the remote intensity.
Why is my FEIT grow light flickering after installation?
If the fixture is LED and you see flickering, treat it as a power or driver issue first. Check for a fully seated plug and avoid loose extension cord connections. If the light is on an extension cord, ensure the plug is fully engaged end-to-end per your manual, because partial insertion can cause intermittent brightness.
How do I adjust height if my plants look bleached or stretched?
Yes, but adjust height based on symptoms and time, not on what the timer is doing. If you see leaf bleaching, raise the fixture by 4 to 6 inches. If plants stretch and look leggy, lower it gradually (small changes), then recheck after a few days because plants respond with a delay.
How can I tell whether my FEIT grow light should connect to the app or only use the RF remote?
If your model is RF-only, it will not connect through the Feit app because it has no Wi-Fi or Bluetooth radios. Conversely, Wi-Fi/Bluetooth models may not use RF presets the same way. Confirm your model string and packaging, then follow the correct control method for that exact fixture type.
Can I jump straight to FLOWERING if my plants are already flowering?
For stage presets, keep spectrum changes simple during the first week. A practical approach is to run SEEDING or a lower-intensity spectrum, then move to VEGETATION or FLOWERING only after you see no stress signs (no curling, no brown tips). Sudden stage jumps can mask whether the problem is light intensity versus height.
Does changing the duration preset also change what time my lights turn on?
A fast way to create a stable schedule is to pick a realistic “start time” and leave it alone. In AUTO mode, the lights repeat daily based on the time you activated it, so changing the time preset buttons without re-establishing AUTO can lead to confusion about when the daily cycle actually starts.
My light seems dimmer than before. What should I check first?
Check dust and airflow before you adjust settings. Dirty LED surfaces reduce output, and enclosed setups trap heat. Wipe the fixture periodically with the light unplugged, confirm clearance above the housing, then reassess height and stage after a day or two rather than changing multiple variables at once.
Next Article
MostHink LED Grow Light Instructions: Setup, Wiring, and Tuning
Step-by-step MostHink LED grow light instructions for wiring, mounting, dimming, height tuning, and troubleshooting issu