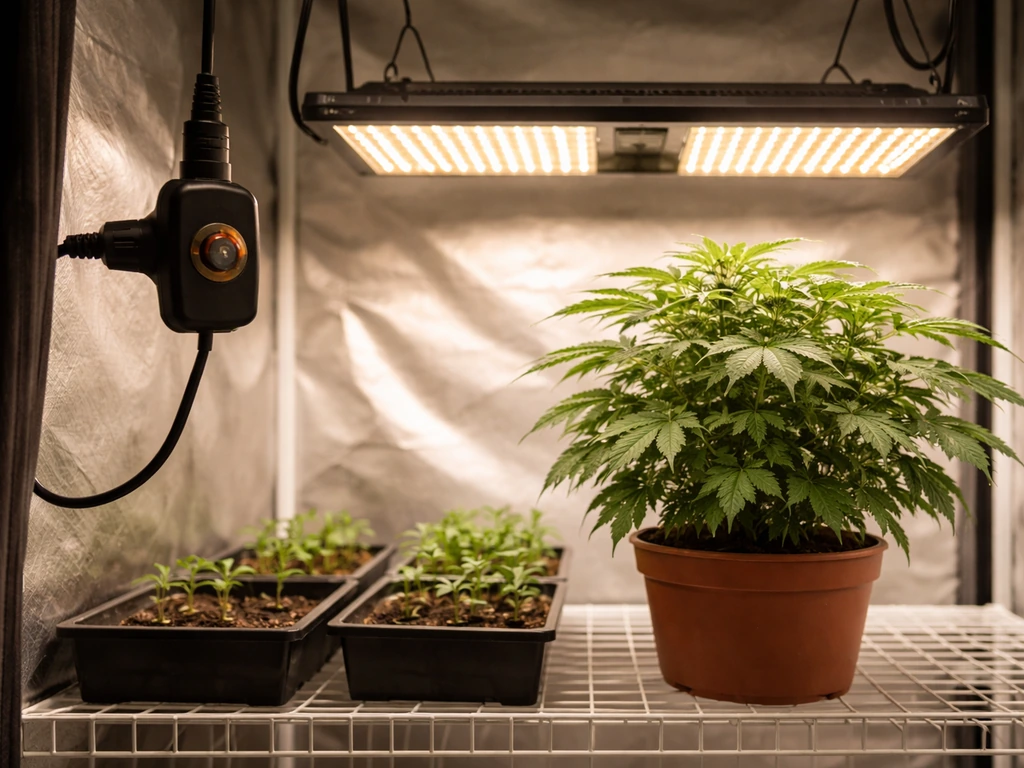
Setting up a BESTVA grow light comes down to five things: knowing which model you have, hanging it at the right height, flipping the right switches for your plant stage, plugging into a timer, and watching your plants for feedback. Most people skip one of those steps and wonder why their seedlings are burning or their plants are stretching. This guide walks you through the whole process, with real numbers from BESTVA's own manuals, so you can get it right on day one.
BestVA Grow Light Instructions: Setup, Dimming, and Scheduling Guide

Marcus Tillman
1 May 2026
Identify your BESTVA model and what comes in the box
BESTVA makes several LED grow light lines, and the controls and settings differ between them, so figuring out your exact model matters before you do anything else. The most common series you'll encounter are the DC Series (which covers the DC600, DC1000, DC1200, DC1500, DC2000, DC3000, and DC4000) and the BP Series (like the BP2000). Check the sticker on the back or side of the fixture. It will show the model number and wattage clearly.
The DC Series lights use physical VEG and BLOOM switches on the side panel to control which diodes are active. The BP Series typically adds a dimming knob on top of those switches, giving you more granular intensity control. Knowing which one you have tells you what controls to expect and what the manual's recommendations actually apply to.
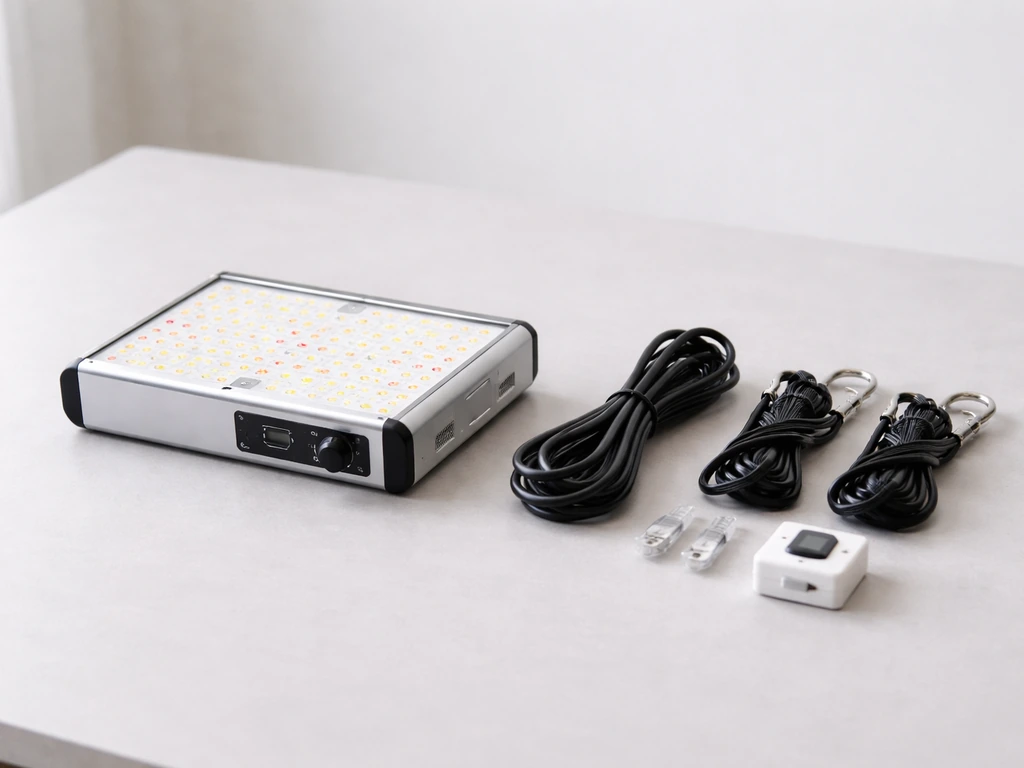
Once you've confirmed your model, check the box contents before doing anything else. Every BESTVA fixture ships with the light itself, a hanging kit (steel cables or rope ratchets and carabiners), and a power cord. The DC1000 manual specifically instructs you to verify all components are present before proceeding. If anything is missing or looks damaged in transit, contact BESTVA before powering on.
Unboxing and safety checks before you plug anything in
Before you hang or power anything, do a quick visual inspection. The DC2000 manual explicitly calls this out: inspect for damage during unpacking. Look at the LED panel for cracked diodes or bent housing, and check the power cord along its full length for cuts, fraying, or exposed wire. BESTVA's DC Series manual is direct about this: do not use the light if the fixture or power cord is damaged. That's not boilerplate. A damaged cord is a real fire and shock hazard, especially in a grow space where water is nearby.
Also confirm your grow space setup before powering on. The DC1000 manual specifies choosing a dry area, away from water, with adequate ventilation. BESTVA lights run fans to manage heat, but they need airflow around them to work properly. A sealed closet with no circulation is going to cause overheating problems fast. Make sure your space has some air movement before the light goes up.
- Check the LED panel for physical damage (cracked diodes, bent housing)
- Inspect the power cord end to end for cuts, fraying, or bare wire
- Confirm all hanging hardware is present (cables, carabiners, rope ratchets)
- Verify the grow space is dry and away from direct water exposure
- Make sure there's adequate airflow or ventilation around where the light will hang
- Do not power on if any component looks damaged
How to mount and hang your BESTVA light
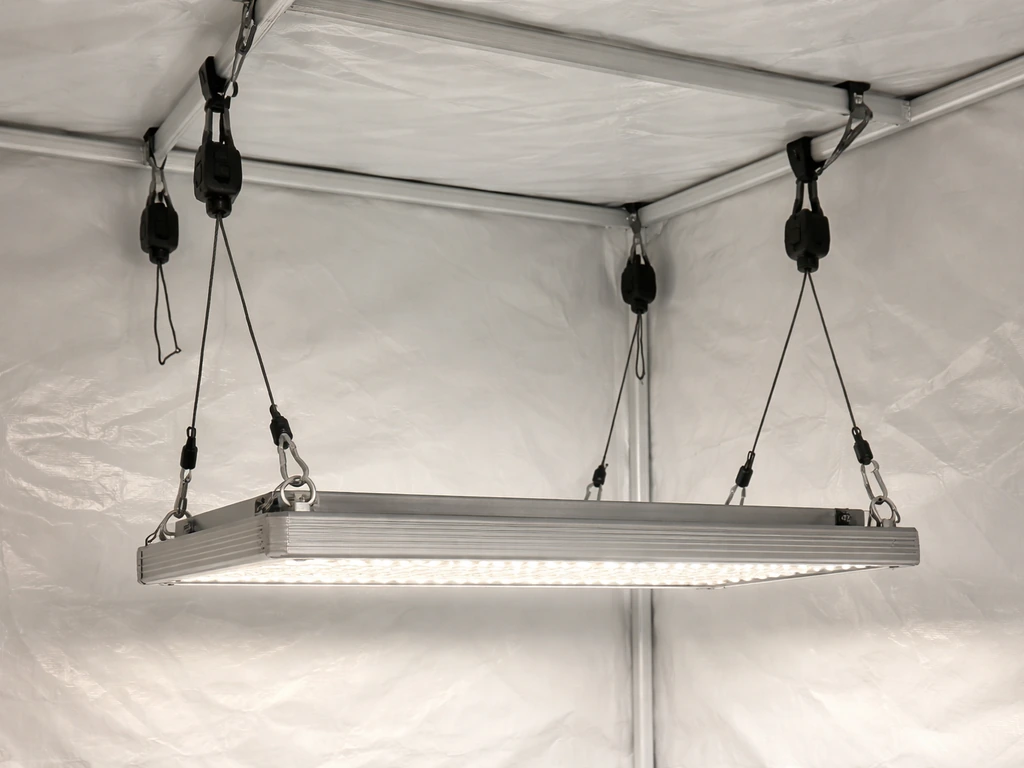
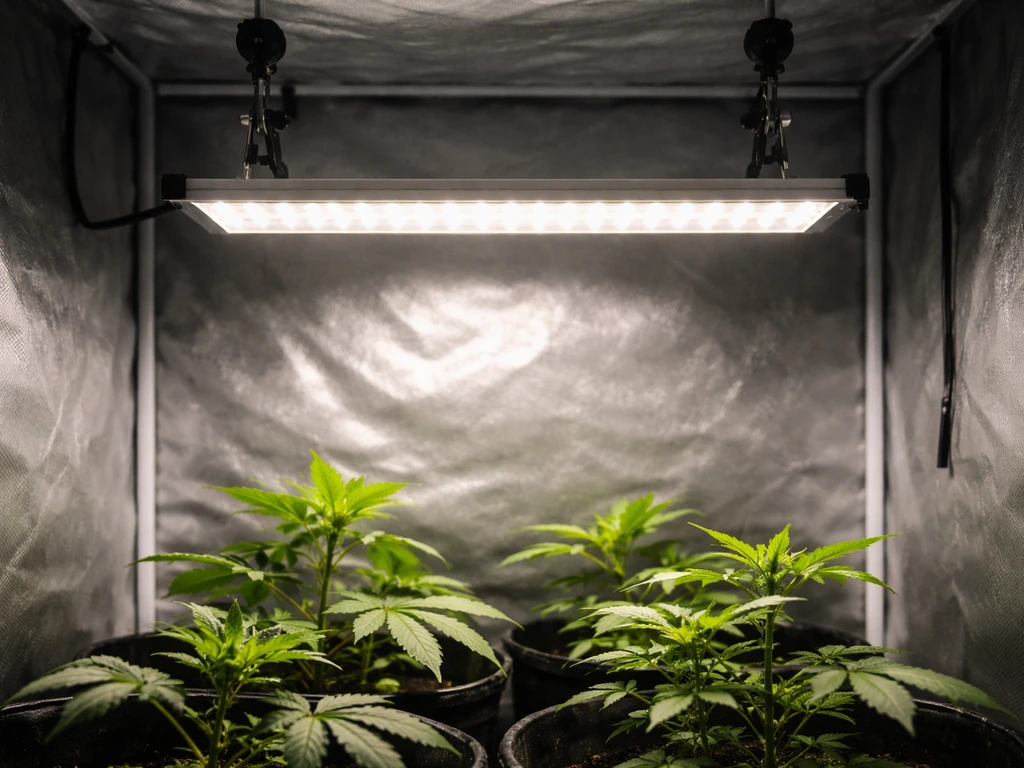
BESTVA lights hang from the top of your grow tent or ceiling using the included rope ratchets or steel cables. Thread the cables through the designated hanging points on the top of the fixture, attach the carabiners to your tent's top bar or a secure ceiling anchor, and use the adjustable rope ratchets to set your height. The DC2000 manual instructs attaching the hanging wires to designated points and leveling the fixture before securing it. Getting it level matters because an angled light creates uneven coverage across your canopy.
Height is the most important setup variable and the one most beginners get wrong. Hanging too close burns plants, hanging too far means weak, stretched growth. Here are the ranges from BESTVA's own manuals, which apply consistently across the DC and BP series:
| Growth Stage | Recommended Height Above Canopy | Notes |
|---|---|---|
| Seedlings / Clones | 24–30 inches | Start at the higher end; move down gradually |
| Vegetative Growth | 18–24 inches | Adjust as canopy rises toward the light |
| Flowering / Fruiting | 12–18 inches | Monitor closely for heat stress at this distance |
These ranges are starting points, not locked-in rules. The DC1000 manual notes that optimal distance varies and advises adjusting based on what your plants tell you. More on reading those signals in the monitoring section below. For spacing across your grow area, position the light centered above the canopy. A single DC1000 or DC2000 is designed to cover a defined footprint, generally around 4x4 feet for the DC2000 and 3x3 feet for the DC1000 at flowering intensity. If your canopy is wider than that, you'll either need a second light or you'll see weaker growth at the edges.
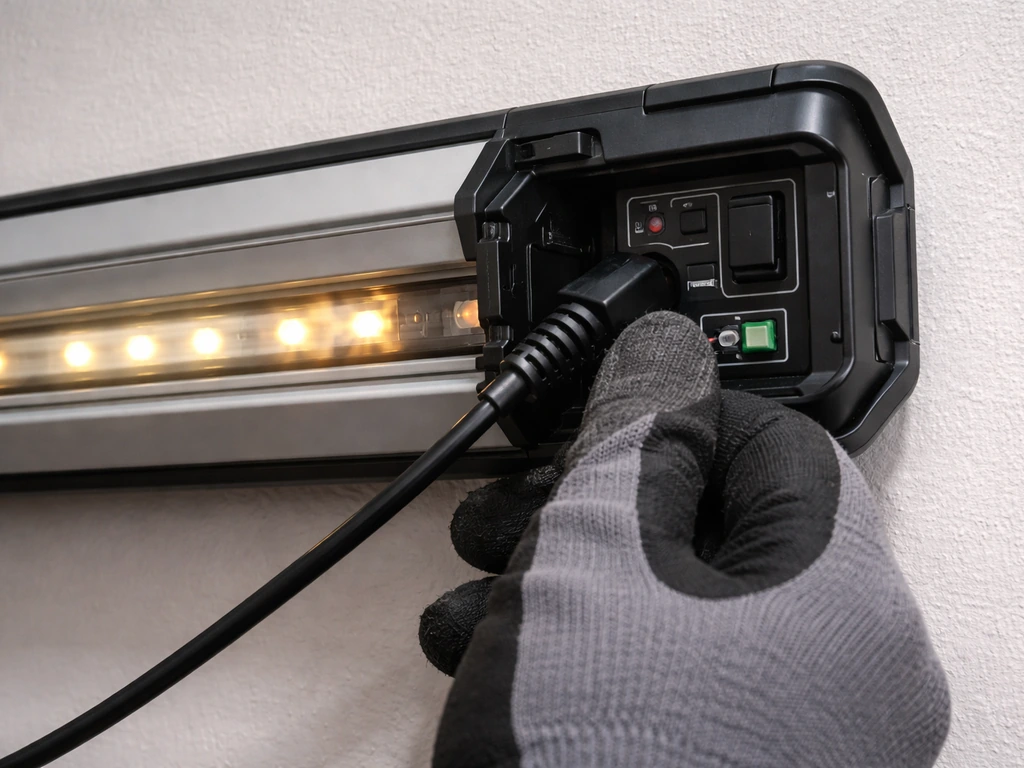
Wiring, power, and setting up a timer
The power setup for every BESTVA model is straightforward. If you want to follow the feit grow light instructions for a timer-based schedule, start by matching on/off times to your plant stage setting up a timer. Plug the included power cord into the input port on the light, then plug the other end into a standard 110V grounded outlet. Use the main power switch on the fixture to turn it on. That's the correct sequence per the DC2000 manual: connect to the light first, then to the wall, then flip the switch. Don't power on from the wall with the switch already in the ON position if you can avoid it.
If you're running multiple BESTVA DC2000 lights, the daisy-chain feature saves you outlet space. Connect the output port of the first light to the input port of the next one. This chains power through the fixtures without needing a separate outlet for each.
For timer automation, no BESTVA light includes a built-in timer, so you'll need an external plug-in timer (a basic mechanical outlet timer costs about $10 at any hardware store). Plug the timer into your outlet, then plug your BESTVA cord into the timer. Set the on/off times based on your plant stage. The DC2000 manual recommends 18 hours on, 6 hours off for vegetative growth, and 12 hours on, 12 hours off for flowering. Having a timer isn't optional if you want consistent results, because manually switching lights is unreliable and plants need a consistent photoperiod.
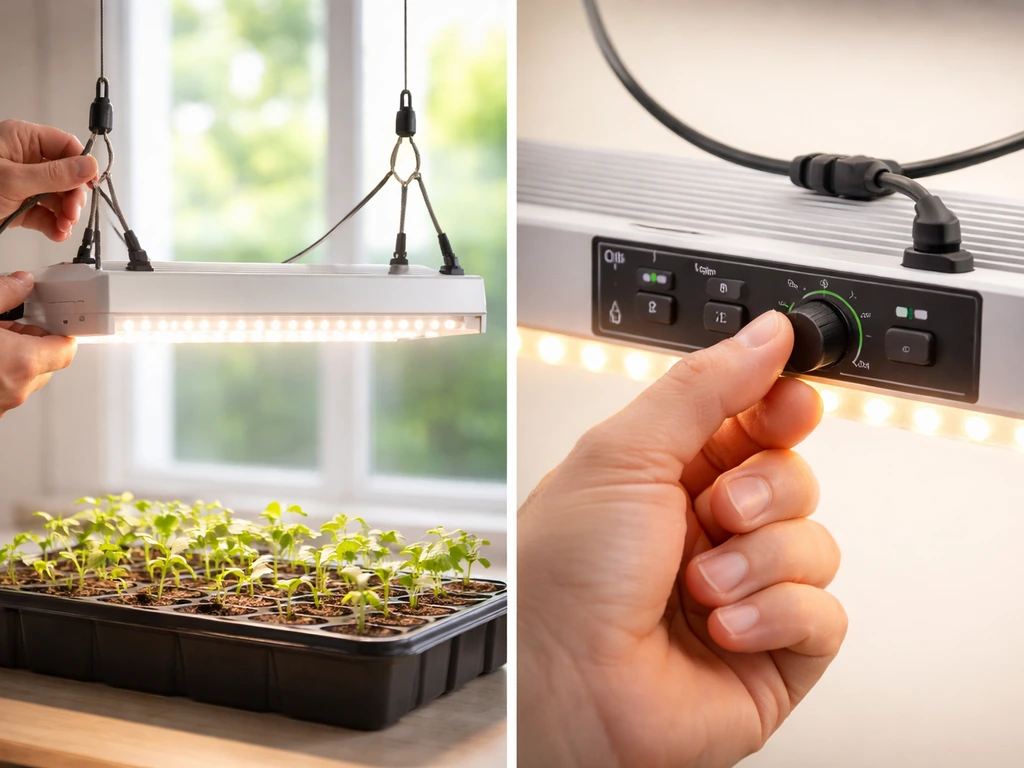
If your model has a dimming knob (common on BP Series lights like the BP2000), that knob is separate from the VEG/BLOOM switches. Rotate clockwise to increase brightness, counter-clockwise to decrease it. The DC2000 manual notes that dimmer availability is model-dependent, so if your DC Series light doesn't have a knob, the switches are your only intensity controls.
Setting intensity and schedule for each plant stage
This is what most people actually want from grow light instructions: what do I set it to? The answer depends on which model you have and what stage your plants are in. Here's how to dial it in for each scenario.
DC Series (VEG/BLOOM switches only)
The DC1000, DC2000, and other DC Series lights give you three modes using the side switches: VEG only (flip the VEG switch on, BLOOM off), BLOOM only (BLOOM on, VEG off), or Full Spectrum (both switches on). In a Reddit thread on microgrowery, users discuss whether to run VEG and BLOOM switches simultaneously during the flowering transition for BESTVA-style switch setups running VEG and BLOOM switches simultaneously during flowering.
For seedlings and young plants, start with VEG mode only and keep the light at 24–30 inches. For vegetative growth, run VEG mode and drop to 18–24 inches.
For flowering and fruiting, switch to Full Spectrum (both switches on) at 12–18 inches, or BLOOM only if your plants seem stressed at full intensity. The schedule from the DC1000 manual: 18–24 hours per day in VEG mode, and 12 hours per day in BLOOM/flowering mode.
BP Series (dimmer knob plus switches)
The BP2000 and similar BP Series lights add a dimmer knob that lets you soften the intensity without changing which diodes are active. The BP2000 manual recommends these dimmer settings by stage: seedlings at 25–50% intensity, vegetative growth at 50–75%, and flowering/bloom at 75–100%. Pair those settings with the same height ranges above. Starting seedlings at 25% intensity and 24–30 inches gives delicate young plants a much gentler introduction than blasting them at full power.
| Plant Stage | Switch Mode | Dimmer Setting (BP Series) | Height | Hours Per Day |
|---|---|---|---|---|
| Seedlings / Clones | VEG only | 25–50% | 24–30 inches | 18–20 hours |
| Vegetative Growth | VEG only or both ON | 50–75% | 18–24 inches | 18 hours |
| Flowering / Fruiting | Both ON (Full Spectrum) | 75–100% | 12–18 inches | 12 hours |
Common setup mistakes and how to fix them
Most problems that show up on setup day fall into a handful of categories. Here's what causes them and how to fix them quickly.
Light won't turn on
This is almost always a connection or switch issue. Check that the power cord is fully seated in the light's input port and securely plugged into the outlet. Confirm the main power switch is in the ON position, and verify that at least one of the VEG or BLOOM switches is also ON on DC Series models. Test the outlet with a phone charger or other device to rule out a dead outlet. The DC1000 troubleshooting table lists all three of these as the top causes for a light that won't turn on.
Light flickers or is dim
Flickering usually points to an unstable power supply or a loose connection somewhere. The BP2000 manual specifically identifies loose wiring and driver issues as the main causes. Start by unplugging and reseating the power cord at both ends. If you're using an extension cord or power strip, try plugging directly into a wall outlet instead. If the flicker continues after those checks, it's likely a driver issue and you should contact BESTVA customer support.
Only part of the LEDs are lighting up
On DC Series lights, this is often just a switch issue. If only one channel is lit, check whether only the VEG or only the BLOOM switch is on. For full coverage, both need to be ON. If individual diodes within a channel are dark while the switch is on, that's a hardware defect. The DC2000 manual says to contact customer service if individual diodes are out after confirming both switches are engaged.
Overheating
BESTVA lights use built-in fans and heat sinks to stay cool, but they need airflow to do their job. The DC1000 targets an operating temperature between 50°F and 60°F for the fixture itself. If your light feels excessively hot to the touch or the fan seems to be running at high speed constantly, check that nothing is blocking the vent openings on the fixture. The DC2000 manual recommends confirming that cooling fan vents aren't obstructed and that the ambient temperature in your grow area is within acceptable limits. If your room temperature is above 85°F, the light will struggle to cool itself.
Uneven growth or hotspots in the canopy
If plants directly under the center of the light are growing faster or showing stress while plants at the edges look weaker, your coverage is uneven. This usually means the light is hanging too high (losing intensity at the center) or the canopy footprint is too large for one fixture. Lower the light to the recommended range for your stage, and make sure it's centered and level. For larger grows, a second light running alongside the first (daisy-chained on DC2000 setups) is the right fix.
Signs the light is too close or too intense
Leaf tips curling upward, yellowing or browning at the leaf edges, or dry crispy patches on upper leaves are classic signs of light burn or heat stress. Raise the light by 2–3 inches and reduce dimmer intensity if you're on a BP Series model. Signs the light is too far away or too dim include plants stretching tall with long gaps between nodes (etiolation) and pale, washed-out leaf color. Lower the light or increase intensity to correct this.
Monitoring and dialing in results over time
The setup numbers in this guide are starting points, not final answers. Both the DC1000 and BP2000 manuals are explicit that optimal distance and intensity vary by plant type and environment, and they direct you to adjust based on stress indicators. That's good advice. A tomato plant and a succulent respond very differently to the same light intensity, even if they're at the same growth stage.
Get into a habit of checking your plants every day for the first two weeks after setup. Look at the newest growth at the top of the plant closest to the light. That's where stress shows up first. Upward leaf curl, bleaching, or crispy tips mean you need more distance or less intensity. Stretched stems and pale color mean more light. Adjust in small increments: raise or lower by 2 inches at a time, or shift the dimmer by one notch, then wait 48 hours before making another change.
As your plants grow taller during the vegetative stage, the distance between the canopy and the light decreases even without you touching anything. Check your hanging height every week and raise the light to maintain the recommended distance. The rope ratchets make this a 10-second adjustment. Ignoring it is how growers end up with light burn in week four of a grow that was perfectly set up in week one.
If you're running multiple lights from different brands alongside your BESTVA, keep in mind that control interfaces vary significantly. Some other brands use app-based dimming or single all-in-one switches instead of the separate VEG/BLOOM switch system BESTVA uses. The monitoring approach stays the same regardless of brand: watch your plants, respond to what they show you, and adjust incrementally.
Once you've got your BESTVA dialed in and plants are responding well, the main ongoing task is consistency. Don't adjust the timer schedule mid-grow without a reason, keep vents clear, and re-check height weekly. A grow light that's set up correctly and maintained consistently is genuinely one of the lower-maintenance parts of an indoor garden. If you want great value grow light instructions, use the same step-by-step setup and monitoring approach so you can dial in distance, intensity, and timing without wasting power or replacing equipment.
FAQ
Can I run the BESTVA grow light 24 hours a day, or will it hurt plants?
Most BESTVA guidance in the article assumes set photoperiods (for example, 18/6 veg, 12/12 flowering). Running 24 hours removes the normal dark period and can increase stress and weak growth in many plants. If you want to experiment, do it in small trial blocks, keep the height and intensity consistent with the stage, and watch for bleaching or curling within 2 to 3 days.
Do I need to use both VEG and BLOOM switches for flowering, or can I just use one?
For DC Series lights, flowering is typically best with both channels active (Full Spectrum), or with BLOOM only if the plants show stress at full intensity. If only one channel is on, you may get uneven development (some plants flower but grow slower or look lighter). If you see poor results, check that both switches are actually engaged, then adjust height before changing modes.
Is it okay to use a power strip or extension cord with a BESTVA grow light?
It can be used, but keep it reliable and avoid long, undersized, or coiled cords that can heat up. If you experience flickering, the article recommends trying a direct wall outlet first, because loose or marginal connections in extension cords can cause unstable power. Also route cables so they cannot contact water or wet surfaces.
What’s the safest way to dim if my BP Series plants look stressed?
Use the dimmer knob in the BP Series to reduce intensity gradually, then correct height if needed. The article suggests small, incremental changes and waiting about 48 hours before making another adjustment. If you see rapid burning (crispy tips) right away, raise the fixture first, then lower intensity, rather than turning the dimmer down aggressively.
How do I tell the difference between light burn and heat stress?
Light burn often shows up as bleaching, crispy tips, or browning starting on the newest growth closer to the center, which responds quickly to distance or intensity changes. Heat stress is usually tied to blocked vents or high ambient temperature, and you may notice the fixture running hot with persistently high fan speed. If both seem possible, first ensure airflow and unblocked vents, then adjust height by 2 inches and dimmer by one notch (BP).
My plants are stretching, but the light is already low. What should I check next?
Stretching with tall gaps between nodes usually means insufficient usable light at the canopy, which can happen if the fixture is too high or intensity is effectively too low. If the light is already at the low end of the recommended range, check that you have the correct mode (VEG only vs Full Spectrum), confirm the VEG/BLOOM switches are set correctly, and verify the dimmer knob position (BP). Then adjust in small increments and wait 48 hours to confirm.
Can I mix BESTVA lights with other brands in the same tent?
Yes, but the article highlights that controls differ a lot between brands. To avoid confusion, standardize your scheduling first using one timer source, then tune each fixture independently by plant feedback. Also center and level each light so that coverage overlap is even, since mismatched beam patterns can create zones of burning and pale edges.
How often should I re-check the hanging height during a grow?
Re-check weekly, especially during vegetative growth when plant height increases quickly. The article notes that rope ratchets make adjustments fast, and ignoring height changes leads to light burn later even if setup was correct initially. If you see new stress, re-check height immediately rather than waiting for the next weekly check.
What should I do if one LED channel is dark, but the switch is on?
If an individual channel or section does not light after confirming the relevant VEG/BLOOM switch is engaged, that points to a hardware defect rather than user error. The article advises contacting customer service when diodes remain out after verifying both switches. Do not keep running the fixture at the same setting expecting it to correct itself.
Why does my light flicker, even when it turns on?
Flickering usually indicates unstable power or a loose connection, and the article recommends unplugging and reseating the power cord at both ends. If flicker continues, remove extensions or power strips from the chain and try a direct wall outlet. If it persists after connection checks, it can be a driver issue, and you should contact BESTVA support.
Do I need to worry about fixture operating temperature, and what if it seems too hot?
Yes. The article notes a target operating temperature for the fixture (for example, DC1000 guidance around 50°F to 60°F for the fixture itself) and that performance drops if ambient conditions are too high. If it feels excessively hot or vents are blocked, clear airflow immediately (don’t cover vents, reposition the fixture, improve room ventilation). If the room is above 85°F, the light may struggle to cool itself.
How do I decide whether to add a second light instead of adjusting height?
If you consistently get uneven growth, with the center strong and edges weak, it can mean your fixture footprint does not match your canopy. The article suggests lowering/centering and also adding another light for larger areas. A practical rule is if raising or lowering within recommended ranges cannot produce uniform edge health, add a second fixture rather than pushing the first beyond stage-appropriate distance.
Should I change the timer settings mid-grow if I see changes in growth rate?
Try not to change the timer schedule mid-grow without a clear reason. The article recommends consistency and notes that inconsistent photoperiods lead to unreliable results. If your issue seems lighting-related, adjust height and intensity first, then only revisit scheduling after you confirm the photoperiod was the correct one for the stage.
What’s a good first-week monitoring routine after I set up the light?
Check daily for the first two weeks, focusing on the newest growth closest to the fixture, because early stress shows there first. Use small corrections (about 2 inches of height or one dimmer notch), then wait around 48 hours before another change so you can identify what actually worked.
Next Article
Innova Grow Light Instructions: Setup, Use, and Troubleshooting
Step-by-step Innova LED grow light instructions: setup, mounting, distance, schedules, intensity, and fast troubleshooti