Plug the Aokrean light's USB cable into the included power adapter, connect the adapter to a wall outlet, and press the Power button on the inline controller. Then set your timer (9H works for most plants), pick your spectrum mode (Mixed/All Light On is a safe default), and dial brightness up to 70-100% for seedlings or 50-70% for established houseplants. Position the halo head 6 to 12 inches above your plant canopy, and you're growing. If you are using a Sondiko grow light instead of the Aokrean halo, follow its specific placement and scheduling steps for the best results Position the halo head 6 to 12 inches above your plant canopy. That's the whole setup in a sentence. The rest of this guide fills in every detail so you don't have to guess.
Aokrean Grow Light Instructions: Setup, Settings, and Fixes

Quick-start checklist: what to do today
Run through this list before you dig into the detailed sections. It covers everything from unboxing to your first light cycle.
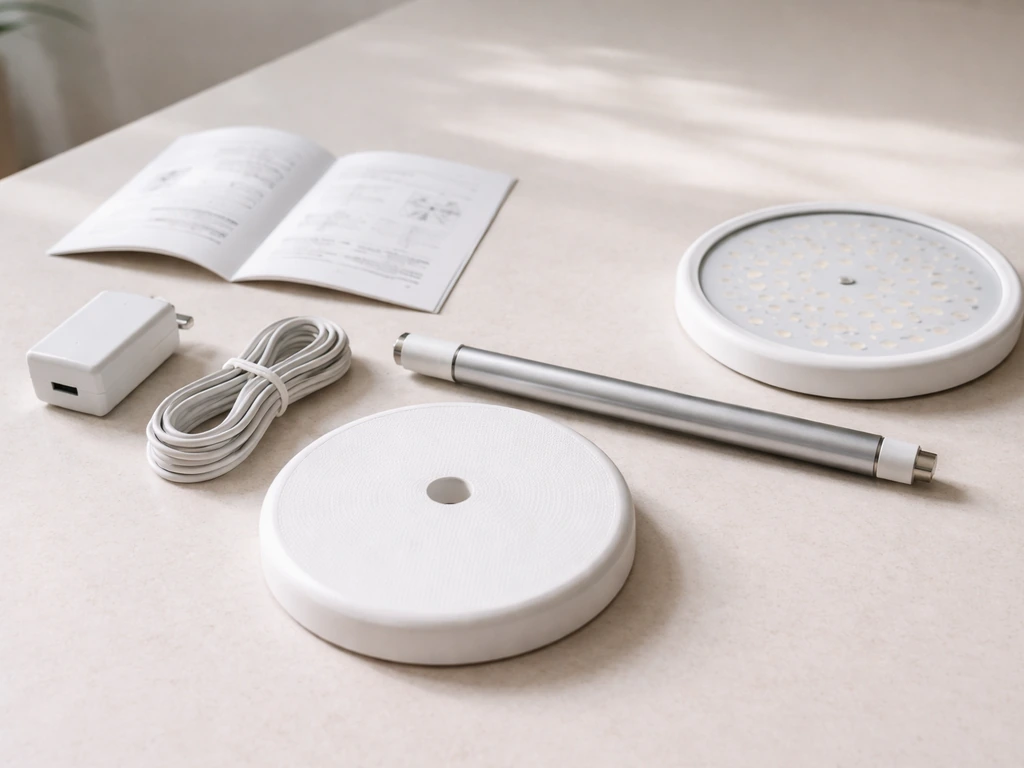
- Unbox and lay out all parts: halo light head, telescopic pole, ABS base, power adapter, USB cable, and user manual.
- Choose your mounting method: base + pole on a tabletop, or pole inserted directly into the soil.
- Assemble the pole into the base (or soil), then attach the halo head and set the initial height to about 12 inches above the plant canopy.
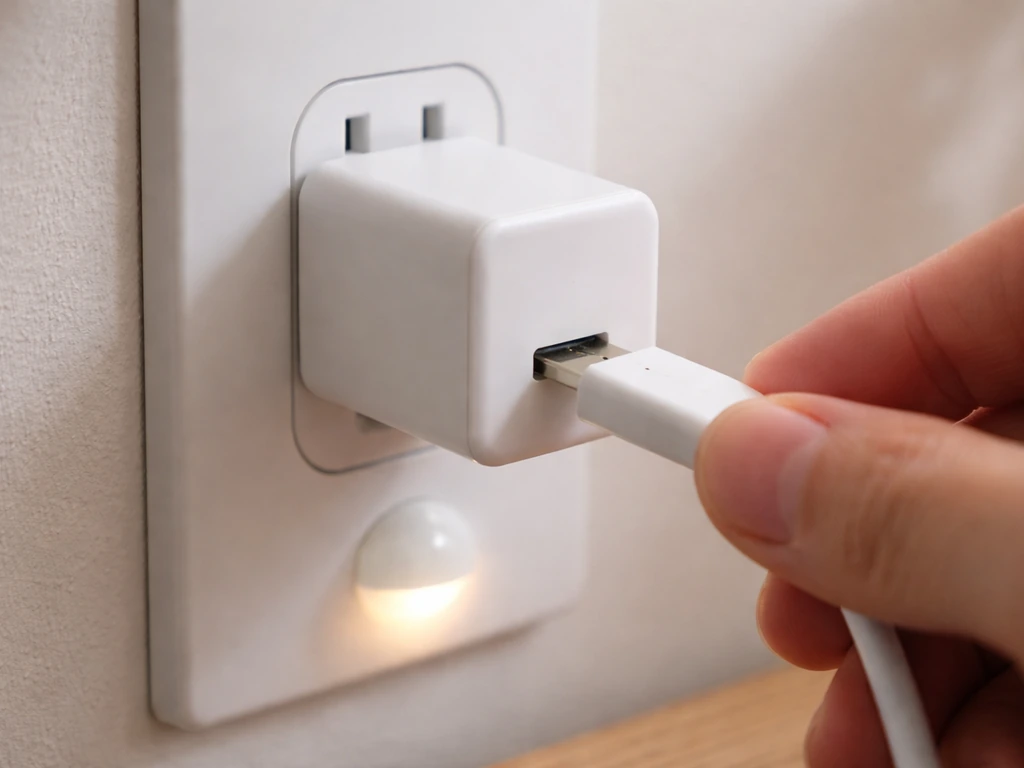
- Connect the USB end of the cord to the power adapter, then plug the adapter into a working wall outlet.
- Press the Power button on the inline controller to turn the light on.
- Press the Spectrum/Mode button to select Mixed (All Light On) for a reliable all-purpose starting point.
- Press Brightness + until you reach at least 70% output (7 out of 10 levels).
- Press the Timer button to cycle to 9H for most plants (or 12H for seedlings under 2 weeks old).
- Check the cord: make sure it isn't bent sharply, pinched, or running under anything heavy.
- Come back after 24-48 hours and check your plants for any signs of stretching or leaf bleaching, then adjust height or brightness as needed.
What's in the box and identifying your model
Aokrean sells a few halo-style grow light models, the most common being the BL-B10B, BL-B10E, and BL-C10A. All three are compact, pole-mounted halo lights built for single pots or small plant clusters, and their components are nearly identical across the lineup.
Standard package contents (all main models)
- Halo grow light head (1 unit, or 3 units if you bought the 3-pack)
- Telescopic adjustable pole
- ABS plastic base (round, weighted)
- Power adapter (wall plug)
- USB power cable
- User manual
If something is missing from your box, stop and contact the seller before proceeding. Using a substitute adapter is a safety risk.
Identifying your model's controls
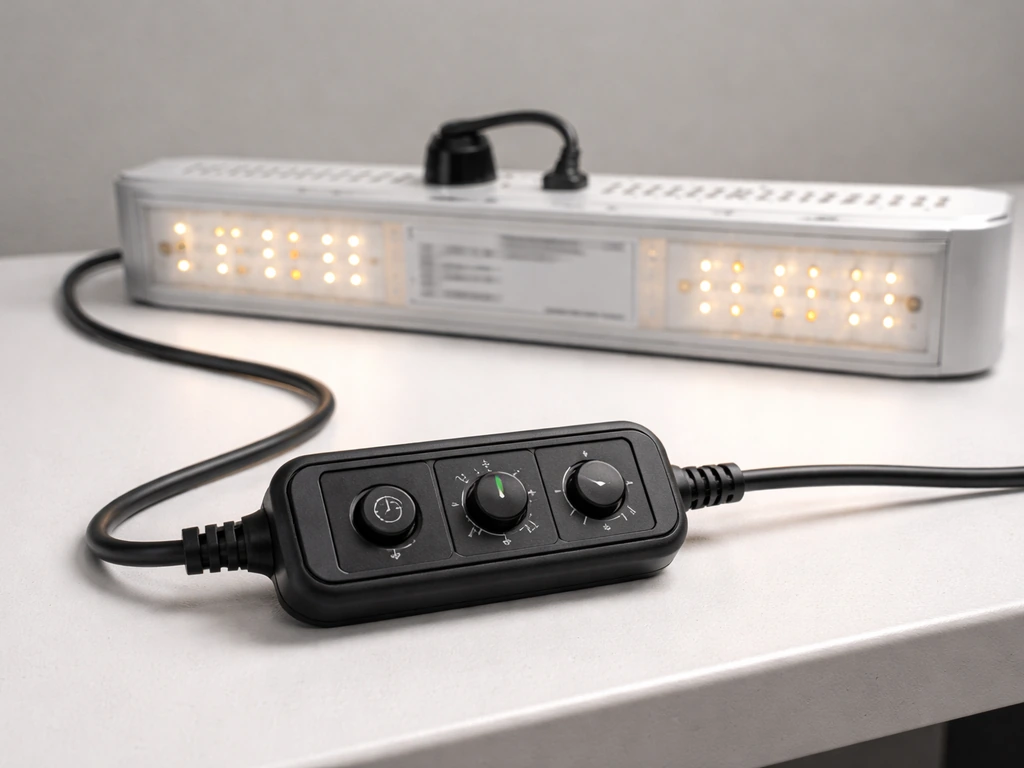
The model number is usually printed on a sticker on the base of the unit or on the power adapter. Here's what each model's controller looks like so you can match what you're holding.
| Model | Controls | Timer Options | Dimming | Spectrum Modes |
|---|---|---|---|---|
| BL-B10B | Inline cord controller: Power, Timer (clock icon), Mode (circle arrow icon), Brightness +/- | 3H / 9H / 12H | 10 levels (10%–100%) | White / Warm White & Red / Mixed (All On) |
| BL-B10E | Inline cord controller: Power, Timer, Spectrum/Mode, Brightness +/- | 3H / 9H / 12H | 10 levels (10%–100%) | White / Warm White & Red / Mixed (All On) |
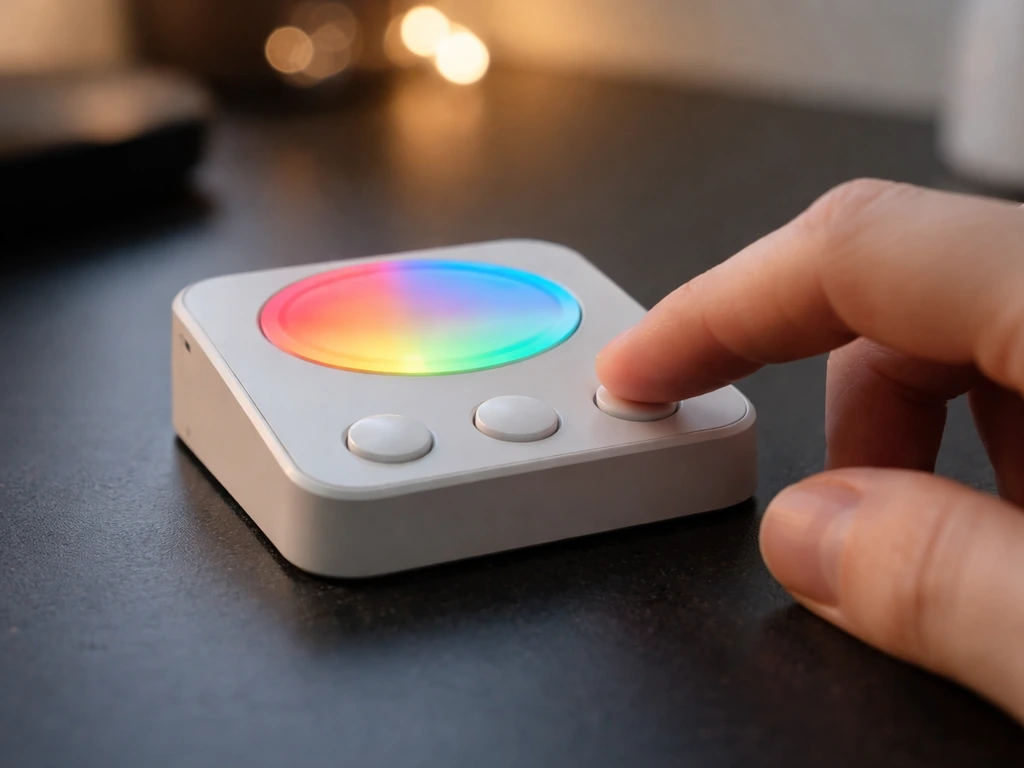
| BL-C10A | Touch control on unit: Power, Timer, Mode cycle, Brightness cycle | 3H / 9H / 12H | 10 levels | Natural White & Red / Cold White / All Lights On |
The BL-C10A is the one exception worth noting: it uses a touch-control panel rather than an inline button controller on the cord. The functions are the same, but the interface is on the light fixture itself rather than mid-cable. If you're not sure which model you have and the sticker is gone, count the LEDs. The BL-C10A has 48 LEDs, which you can count around the halo ring.
Assembly and safe installation
Method 1: tabletop base setup
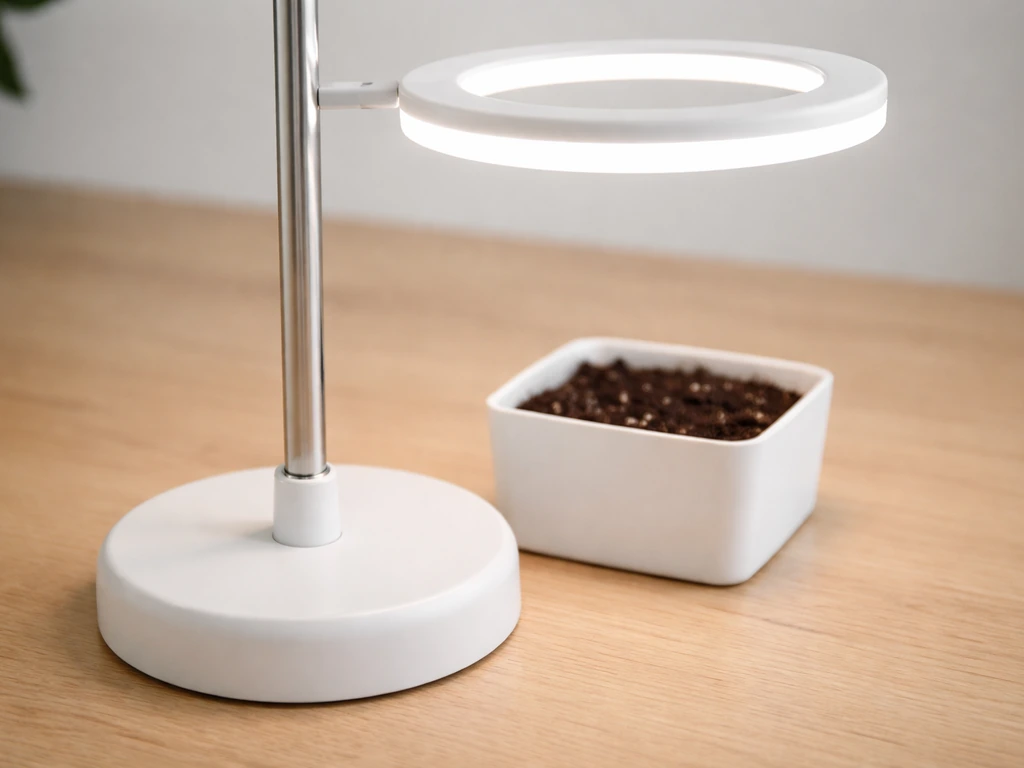
This is the method most people use and the one I'd recommend starting with. Insert the bottom of the telescopic pole into the slot on the ABS base until it clicks or seats firmly. Place the potted plant on top of the ABS base or directly next to it on the table. Then extend the pole to your starting height (about 12 inches above the top leaves is a good default). The pole adjusts between 6.5 and 26 inches, so you have a wide range to work with as your plant grows.
Method 2: direct soil insertion
If you're using a large planter or want a more integrated look, you can push the pointed end of the pole directly into the soil. Make sure you're pushing it in at least 2-3 inches so it stays stable. Once inserted, extend the pole to your desired height and rotate the halo head (it rotates up to 90 degrees) to aim the light directly down at the canopy.
Electrical safety basics
These lights run on low voltage through a USB connection, which makes them much safer than high-wattage HID or larger LED panels. That said, don't skip basic precautions. Always use the included power adapter. Don't run the cable under rugs, furniture legs, or anywhere it can get pinched or bent sharply. Periodically check the cord for fraying or visible damage, and stop using the light immediately if you see any. These lights are not waterproof, so keep them away from misters, humidifiers spraying directly at the unit, and any situation where water could drip onto the fixture or adapter. Indoor use only. Also lock the base in place and make sure the pole is stable before walking away. A halo light falling onto a plant (or worse, a pet) is a frustrating mistake that's easy to avoid.
How to set intensity, modes, and timer
Turning it on and navigating the controls
Press the Power button once to turn the light on. From there, everything else is a single button that cycles through options. There's no app, no Wi-Fi, and no complicated programming. That simplicity is actually one of the better things about these lights. If you want brand-specific guidance alongside these Aokrean basics, see wakyme grow light instructions as a related setup option.
Choosing a spectrum mode
Press the Mode button (or circle arrow icon on BL-B10B) to cycle through the three spectrum options. Here's what each one actually does for your plants.
| Mode | What It Does | Best Used For |
|---|---|---|
| White (Natural White) | Broad daylight-style spectrum | General houseplants, maintenance lighting, foliage plants |
| Warm White & Red | Adds red wavelengths that promote flowering and fruiting | Plants in bloom, fruiting herbs, late-stage growth |
| Mixed / All Light On | Full spectrum, all LEDs on simultaneously | Seedlings, active vegetative growth, all-purpose use |
If you're not sure which to choose, start with Mixed. It covers everything and you can experiment from there once your plants are established.
Setting brightness
Press the Brightness + or - button to step through 10 dimming levels, from 10% all the way up to 100%. For most situations, start at level 7 or 8 (70-80%) rather than blasting 100% right away. Jumping straight to maximum brightness on a plant that's been in low light can cause stress. Give it a few days at 70%, then nudge up if the plant looks healthy and you want more output.
Programming the timer
Press the Timer button to cycle through 3H, 9H, or 12H. Once you select a duration, the light will automatically repeat that on/off cycle every day at the same time. So if you turn it on at 8 AM and set it to 9H, it will go off at 5 PM, and the next morning it will turn on again at 8 AM. This is genuinely useful, but there's one gotcha: if you lose power (outage, unplugging accidentally), the timer resets and won't restart automatically. You'll need to press Power and set your timer again. The BL-C10A manual specifically calls this out. Keep that in mind if your power is unreliable or you travel and unplug things.
How far from plants? Distance and coverage planning
The official guidance across all Aokrean halo models is 6 to 12 inches above the plant canopy. That's your operating range. Within that window, distance, intensity, and plant sensitivity interact, and you have to dial it in for your specific situation.
- 6 inches: high intensity, suitable for seedlings needing strong light or compact-growing plants that tolerate it well. Watch closely for bleaching.
- 8-10 inches: the sweet spot for most vegetative growth and general houseplants. Start here if you're unsure.
- 12 inches: lower intensity at the canopy, good for light-sensitive plants, plants just coming out of low-light conditions, or when running at 100% brightness.
- Above 12 inches: light output drops off quickly. You'll likely see slower growth or stretching.
Coverage area is another thing worth thinking about before you commit to a placement. These are compact halo lights designed for a single pot or a small cluster of plants. Realistically, one unit covers an area of about 12 to 18 inches in diameter at the canopy level when positioned correctly. Realistically, one unit covers an area of about 12 to 18 inches in diameter at the canopy level when positioned correctly innova grow light instructions. If you're trying to cover a wider shelf or multiple pots spread out, the 3-pack option is designed exactly for that. Other brands like Yadoker and Sondiko sell similar single-pot halo setups if you're comparing options, but the Aokrean halo's adjustable angle (up to 90 degrees) gives you a bit more flexibility to aim coverage. If you are comparing alternatives, check the <a data-article-id="BAED707D-C780-46EF-A22B-DECE97227A7F">Yadoker grow light instructions</a> for model-specific setup details.
To check whether your plant is getting enough light, look at the growth after 1-2 weeks. Compact, upright new growth pointing toward the light is good. Stems stretching toward one side or upward with long gaps between leaves means the plant wants more light, either closer or brighter. Yellowing or bleached white patches on top leaves usually means too close or too bright.
Scheduling by plant type and growth stage
The Aokrean timer gives you three daily duration options: 3H, 9H, and 12H. That simplicity forces you to think in broad categories rather than obsessing over exact minutes. Here's how to map each stage to those settings.
Seedlings and young plants (first 2-4 weeks)
Use the 12H timer setting, Mixed (All Light On) spectrum, and brightness at 70-80%. Position the light 8-10 inches above the top of the seedling tray or starter pots. Seedlings need long light periods to establish strong roots and stems, but they're delicate. Don't start at 100% brightness because tender seedlings can bleach quickly. After the first two weeks, if growth looks healthy and compact, you can nudge brightness up to 90-100%.
Vegetative growth (established plants, actively growing)
Use the 9H or 12H timer, Mixed or White spectrum, and brightness at 80-100%. This covers herbs like basil and mint, leafy greens, and foliage houseplants actively putting out new growth. Position the light 6-10 inches above the canopy depending on how light-tolerant the species is. Tropical houseplants that would normally sit near a bright window do well with 9H at high brightness. Herbs being grown for harvest appreciate 12H.
Flowering and fruiting plants
Switch to Warm White & Red spectrum mode. This is specifically what that mode is for. Use the 9H or 12H timer depending on the plant's natural day-length preference. Tomatoes, peppers, and many flowering herbs do well on 12H. Orchids and some other flowering houseplants prefer slightly shorter days (9H). Keep brightness at 80-100% and position 6-8 inches above the canopy for best results.
General maintenance for houseplants
If you're supplementing natural light for a houseplant that lives near a window but needs more, the 3H or 9H setting at 50-70% brightness is often all you need. Use White spectrum or Mixed. The 3H option is genuinely useful here as a top-up light in the morning or evening when ambient light is low. Many people underuse this setting, defaulting to 9H for everything when their plants don't actually need that much.
| Plant Stage / Type | Timer Setting | Spectrum Mode | Brightness | Height Above Canopy |
|---|---|---|---|---|
| Seedlings (weeks 1-2) | 12H | Mixed (All On) | 70-80% | 8-10 inches |
| Seedlings (weeks 3+) | 12H | Mixed (All On) | 80-100% | 6-10 inches |
| Herbs and leafy greens | 12H | Mixed or White | 80-100% | 6-10 inches |
| Active veg growth (houseplants) | 9H | Mixed or White | 80-100% | 8-12 inches |
| Flowering / fruiting plants | 9H-12H | Warm White & Red | 80-100% | 6-8 inches |
| Maintenance / supplement lighting | 3H-9H | White or Mixed | 50-70% | 10-12 inches |
Troubleshooting common problems and fast fixes
Light won't turn on
This is almost always a connection issue. Check the USB cable at both ends: where it connects to the light and where it connects to the adapter. Both ends need to be fully seated. Then check that the adapter is pushed all the way into the wall outlet. Test the outlet itself by plugging in a phone charger or lamp. If the outlet works and the connections are secure, press the Power button on the controller. If it still doesn't come on, try a different outlet. If none of that works, the adapter or cable may be defective.
Light is flickering
Flickering almost always means a loose connection somewhere. Unplug the adapter, reseat both ends of the USB cable firmly, and plug it back in. If it still flickers, try a different wall outlet. A faulty switch or loose controller can also cause this on the BL-C10A. If reseating and switching outlets doesn't fix it, the unit likely has a hardware fault and should be exchanged.
Light feels very hot or is overheating
These LED halo lights run warm but shouldn't be hot enough to burn you. If the fixture feels uncomfortably hot, make sure there's open air around it. Don't place it inside an enclosed cabinet or box with no ventilation. Also try reducing brightness a level or two. If it still overheats after those steps, stop using it and contact the seller.
Plants are stretching or growing leggy
Leggy growth means the plant isn't getting enough light. Move the light closer (down toward the 6-8 inch range), increase brightness with the + button, or switch to Mixed spectrum mode if you're on White. Also check that your timer is actually running. If the timer reset after a power interruption, the plant may have been sitting in darkness for longer than you realized.
Pale leaves or slow growth (under-lighting)
Same root cause as leggy growth but showing up in the color instead of the shape. Increase brightness to at least 80%, move the light to 6-10 inches above the canopy, and extend your timer to 12H if you're currently on 9H. If you're covering a large pot or spread of plants with a single unit, that may simply be more than one halo light can handle. In that case, adding a second unit or upgrading to a higher-wattage panel is the honest answer.
Leaf bleaching or burn (too much light)
White or pale yellow patches appearing on the top leaves closest to the light is a classic sign of light burn. Raise the light to 12 inches, reduce brightness by 2-3 levels, or shorten the timer to 9H. Give the plant a few days to recover before making another adjustment. Don't make multiple changes at once or you won't know what fixed it.
Uneven coverage (one side of plant gets more light)
Rotate your pot 90 degrees every few days. Also use the halo head's 90-degree angle adjustment to make sure it's aimed directly straight down rather than off to one side. If the pole is inserted into the soil at an angle, straighten it out.
Timer not repeating or light not turning on at the right time
If the timer seems to have reset, it almost certainly means there was a power interruption. The Aokrean lights (especially the BL-C10A) do not save timer settings through a power loss. You'll need to turn the light on and re-set your timer duration every time it loses power. If your power situation is unpredictable, a simple plug-in outlet timer (the kind used for holiday lights) paired with the light always set to the On state is a reliable workaround.
Verify your setup is working: what to check after day one
After 24-48 hours, do a quick check on three things. First, is the timer cycling correctly? Watch for the light to turn off at the expected time and back on the next day. Second, feel the halo head after a few hours of operation. It should be warm but not painfully hot. Third, look at your plant's newest growth at the top. Compact, upright, healthy-colored new leaves mean your setup is working. If growth is reaching upward desperately or the top leaves look washed out, adjust height and brightness before the plant gets stressed further. Most Aokrean setup problems come down to distance and timer reset, and both are easy fixes once you know to look for them.
FAQ
Can I power my Aokrean grow light with a different USB adapter or power bank?
Yes, but only to a point. Because these are low-voltage USB lights, they can be used with a USB power source, as long as it matches the included adapter’s output (voltage and current). If you use a weaker charger, the light may flicker or fail to start, so match the adapter specs printed on the power brick rather than just using any USB outlet.
What should I do if my plant shows signs of light burn or bleaching?
If you see pale leaves, sudden bleaching, or the plant looks “washed out,” reduce brightness first and raise the light toward the 10 to 12 inch end of the recommended range. Then wait a few days before changing the timer, since combining multiple changes makes it hard to tell whether heat, intensity, or day length is the cause.
What is a good “first week” setting if I don’t know my plant’s light needs yet?
Set your first trial so the schedule is consistent every day. Start with 9H, Mixed spectrum, and brightness around level 7 or 8, then evaluate after 1 to 2 weeks. After that, adjust one variable at a time (usually distance before brightness) because these lights can correct slowly, not instantly.
How should I set timer and brightness for seedlings compared with mature houseplants?
For seedlings and young transplants, keep the brightness lower (around 70 to 80 percent) and prefer longer timers (9H to 12H), then increase brightness gradually once you see compact new growth. Avoid jumping to 100 percent on day one, since the fastest mistakes with these units show up as bleaching on the newest leaves.
When should I use the 3H timer setting versus 9H or 12H?
The simplest approach is to treat the timer as a daily cycle and keep it constant. Choose 9H or 12H for most active growth, then use 3H mainly as a top-up if your plants already get decent natural light. If you routinely change between 3H and 12H, the plant will experience inconsistent daily light, and growth can look irregular.
Will smart plugs or Wi‑Fi timers work with the Aokrean timer without causing resets?
Because the timer resets after power loss, avoid using smart plugs that briefly “cycle” power when they reconnect to Wi‑Fi. If you must use an automated plug, confirm it never turns the outlet off during reconnects. Otherwise, use a basic mechanical outlet timer and keep the light powered continuously during normal operation.
How can I tell if I have BL-C10A versus the other models when the sticker is missing?
Count LEDs only if you are trying to identify the model, not for settings. For BL-C10A specifically, the touch panel is on the fixture, so the same functions are controlled differently. If you press Power and nothing changes, confirm you are using the fixture buttons for BL-C10A rather than the cord controller buttons.
How do I position the light when I’m using one unit for multiple small plants on a table?
Place the halo so the center of the ring aligns with the target canopy area, and account for the lamp’s angle. If you’re growing more than one pot close together, you may need to adjust the head angle and still expect a diameter limit around the 12 to 18 inch range at canopy level. If one side of the plant is noticeably lighter, rotate your pot and adjust the aim before adding a second light.
How can I confirm my light is operating safely before leaving it on for hours?
Do a quick “no-plant” test first. Set the light at a low brightness level, run it for an hour, and check temperature by touch, it should feel warm but not uncomfortably hot. Also confirm the head rotation and cable strain are free, since a pinched cable is a common cause of intermittent operation.
What are the most common reasons an Aokrean light seems to “do nothing” after setup?
If the light turns on but the plant seems not to improve, verify the timer is actually cycling, then check placement and coverage. Many “it’s not working” cases are actually too high (beyond 12 inches) or too far from the center of the canopy. Once you confirm those, adjust brightness by 1 or 2 levels and wait several days before further changes.
Wakyme Grow Light Instructions: Setup, Schedule, Fixes
Wakyme grow light instructions for setup, safe mounting, scheduling, and fixes for weak light, burn, and timer issues.