Yadoker grow lights are genuinely solid budget-friendly options for indoor gardeners, but the instructions that ship with them can be thin. If you're staring at a pole, a cord, and a light strip wondering what to do first, this guide walks you through the whole process from unboxing to a working daily schedule. One important thing to know upfront: Yadoker makes several different models, and the setup steps vary depending on which one you have. The two most common ones you'll encounter are the BAM-16-2 (a taller floor-standing bar light) and the BAM-LTBS-PLUS-4-1PACK (a smaller clip/desk-style bamboo light). I'll call out the differences as we go.
Yadoker Grow Light Instructions: Setup, Height, and Troubleshooting

Marcus Tillman
11 Apr 2026
Figure out your model and check what's in the box
Before you do anything else, find your model number. It's printed on the box and usually on a sticker on the light or cord. The two most common Yadoker models look pretty different: the BAM-16-2 is a taller, freestanding unit with a telescoping bamboo pole that extends from 13.7 inches all the way to 61.1 inches, making it suited for larger plants or small shelving setups. The BAM-LTBS-PLUS-4-1PACK is a compact desk-style light with a shorter pole that adjusts between 6.3 and 20.9 inches, which is ideal for seedlings on a table or small herb pots.
For the BAM-16-2, the retail box officially contains just two items: the plant growing light assembly and a user guide. There's no separate external remote or controller in that box because the controls are built into the unit itself. The BAM-LTBS-PLUS-4-1PACK includes an in-line controller on the power cord, which handles both the timer and the brightness dimming. The Yadoker BAM-LTBS-PLUS-4-1PACK instruction manual (Manuals+) also describes the model as using an in-line controller on the power cord for timer and cycle timing. If you're missing any parts, contact Yadoker support before proceeding because both models depend on their specific control mechanisms to function correctly.
- BAM-16-2: light bar assembly, telescoping bamboo pole (13.7–61.1 inches), 13-foot power cord, user guide
- BAM-LTBS-PLUS-4-1PACK: LED light head, telescoping pole (6.3–20.9 inches), in-line controller on the cord, user guide
- Neither model ships with a separate remote — all controls are on the controller or built into the unit
- Check that the pole locks and slides smoothly before you start adjusting height under a plant shelf
How to mount and install your Yadoker grow light
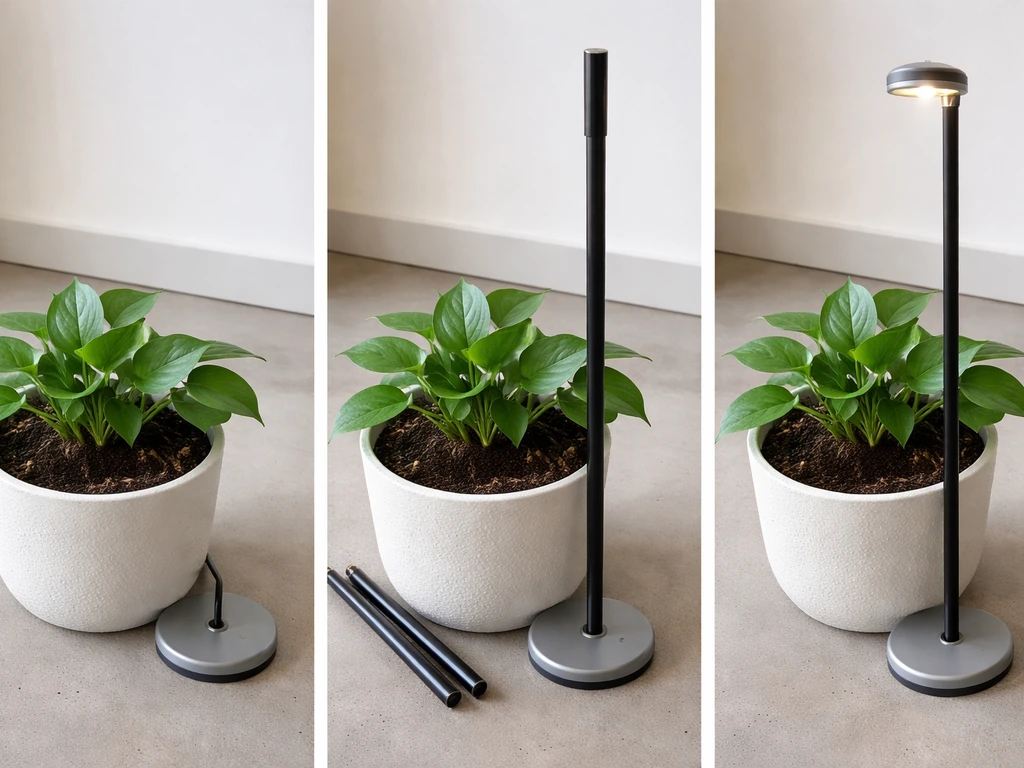
Installation is straightforward on both models because they're both pole-based, no-drill setups. Here's the step-by-step process that works for both:
- Place the base of the pole on a stable, flat surface next to or inside the pot you're lighting. For the BAM-16-2, the base sits on the floor or a table. For the BAM-LTBS-PLUS-4-1PACK, it typically clips onto the pot rim or sits alongside smaller containers.
- Extend the telescoping bamboo pole to your desired starting height. For seedlings, keep it low. For taller veg plants, extend toward the maximum range. We'll talk exact heights in the next section.
- Lock the pole at that height using the adjustment mechanism (twist-lock or friction-fit depending on the unit). Give it a gentle tug to confirm it won't slip.
- Position the light head so it faces directly downward over the center of the plant canopy. You want even coverage, not a side angle.
- Route the power cord safely along the pole or nearby wall to avoid a trip hazard.
- Connect the 13-foot power cord to a wall outlet. For the BAM-16-2, this is a standard plug-in. For the BAM-LTBS-PLUS-4-1PACK, the cord runs through the in-line controller before reaching the outlet.
- Turn the light on and do a quick test before setting any timer. Confirm the LEDs illuminate fully and there are no flickering or dark segments.
- Check the coverage area while the light is on. Stand back and look at the plant from the side — the light pool should cover the entire canopy with no obvious dark corners.
That test step is easy to skip, but please don't. It's much better to discover a wiring issue before you've built a schedule around the light. If it doesn't turn on immediately, check the outlet with another device before assuming the light is faulty.
Power setup and using the controls
Once it's plugged in, the control experience differs a little by model, so pay attention here.
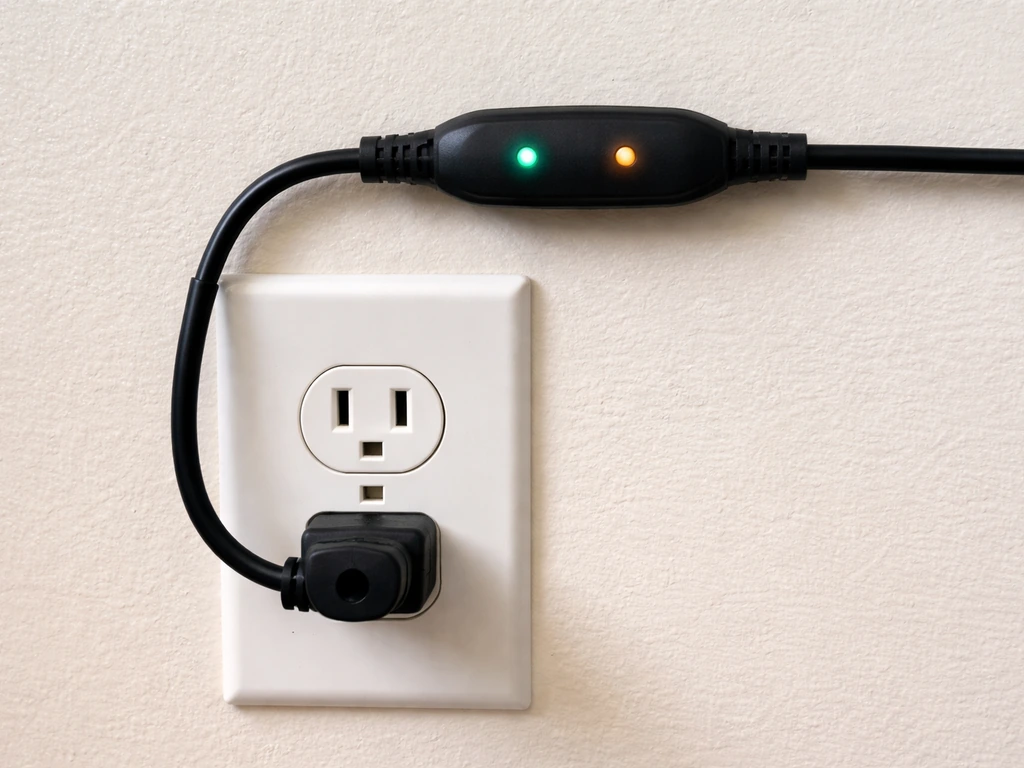
BAM-LTBS-PLUS-4-1PACK in-line controller
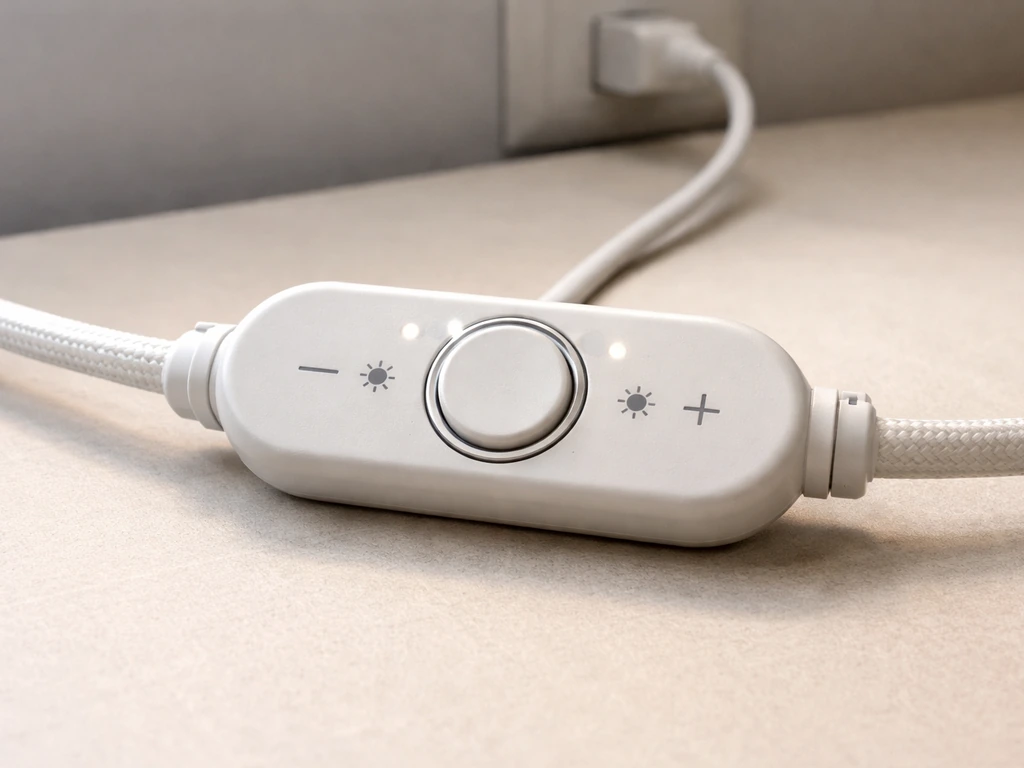
This model's in-line controller sits on the power cord between the light and the wall plug. It has a timer button and brightness buttons labeled "+" and "-". Pressing the timer button cycles through three color-coded LED indicators that tell you which daily schedule is active: red means 16 hours ON (8 hours off), green means 12 hours ON (12 hours off), and yellow means 8 hours ON (16 hours off). The timer repeats every 24 hours automatically once you set it. For brightness, pressing "+" steps the light up through 10 levels (from 10% up to 100%), and pressing "-" steps it back down. You don't need to hold the buttons, just press and release to cycle.
BAM-16-2 built-in timer and dimmer
The BAM-16-2 operates with the same three timer modes (8, 12, or 16 hours ON) and the same 10-level brightness range from 10% to 100%, but the controls are integrated into the unit rather than on a separate in-line controller. The timer also repeats on a 24-hour cycle. Set it once and it'll keep running. Both models follow the same basic logic, so if you've used either, the other will feel familiar.
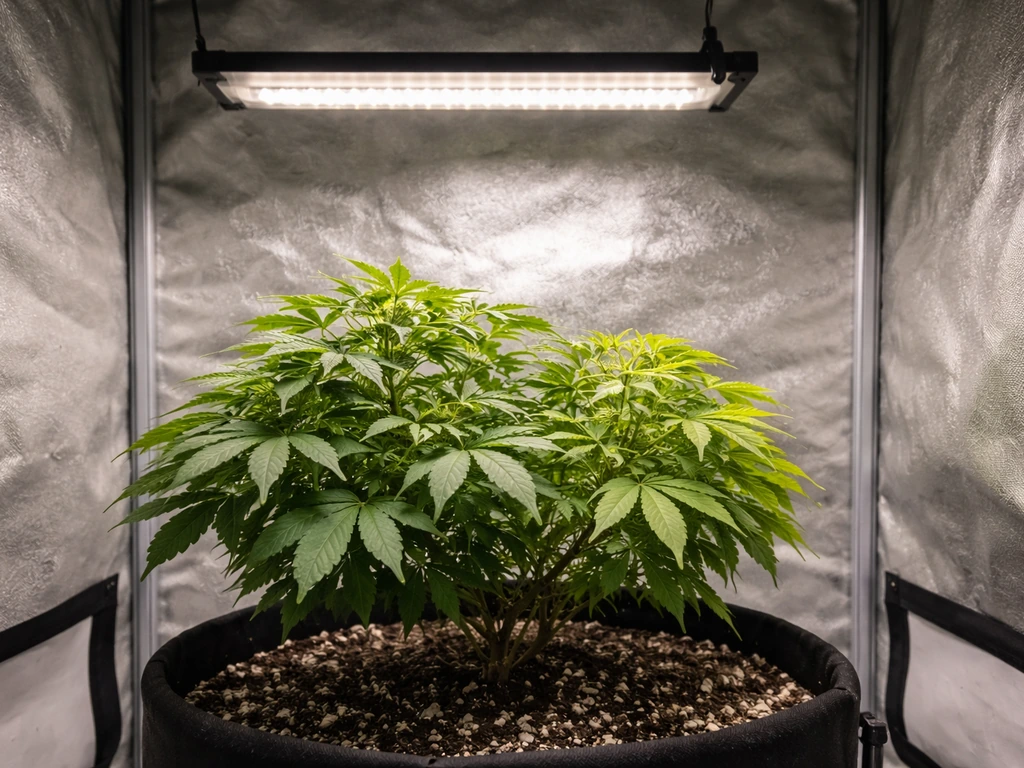
Height, placement, and coverage area
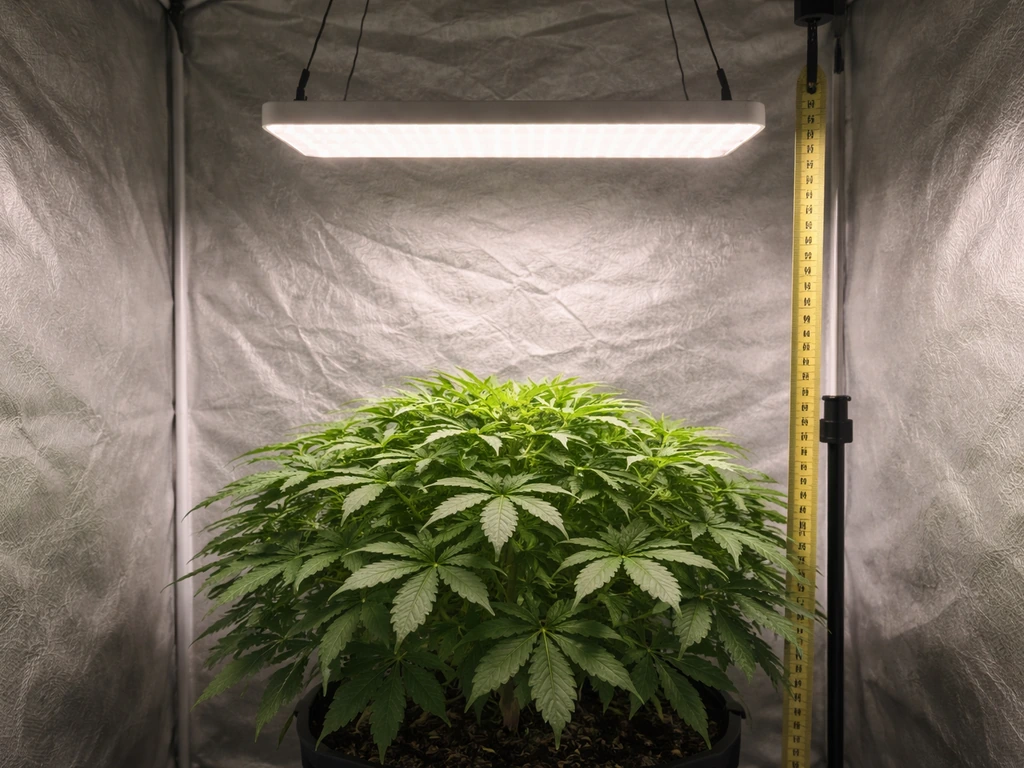
Getting the mounting height right is probably the single most important variable in your whole setup. Too close and you risk bleaching or heat stress; too far and your plants get leggy and weak. Yadoker's telescoping poles handle this nicely because you can adjust as your plants grow rather than permanently committing to one height.
| Plant Type / Stage | Recommended Height Above Canopy | Suitable Model |
|---|---|---|
| Seedlings (just sprouted) | 8–12 inches | BAM-LTBS-PLUS-4-1PACK or BAM-16-2 |
| Young veg / herbs (4–8 weeks) | 12–18 inches | BAM-16-2 (more height range) |
| Established houseplants | 18–24 inches | BAM-16-2 |
| Low-light tropicals | 24–30 inches | BAM-16-2 at lower brightness setting |
| Compact succulents or cacti | 6–10 inches | BAM-LTBS-PLUS-4-1PACK |
After adjusting height, always do the coverage check. Turn the light on and look at the plant canopy from the side and from above. The lit area should fully cover the plant's leaf spread with a consistent brightness pool. If you see a hot bright center and dimmer edges, raise the light slightly to widen the spread. If the whole canopy looks dim, lower it. The BAM-LTBS-PLUS-4-1PACK's shorter pole range (6.3 to 20.9 inches) is great for small pots and seedling trays. For anything taller than about 18 inches, the BAM-16-2's extended range of up to 61.1 inches gives you a lot more flexibility.
Adjusting brightness for seedlings vs. veg stage
Both Yadoker models offer 10 brightness levels, and how you use those levels should change as your plants develop. Seedlings are sensitive. Start them at 30–50% brightness (levels 3–5 on the dial) and at a higher position, around 10–12 inches. Their root systems and leaves aren't ready for full intensity yet, and blasting them with 100% right away can cause bleaching, curling, or stalled growth. Give them a week at lower intensity before stepping up.
Once your plants hit the vegetative stage, which is generally when they've developed their second or third set of true leaves, you can push brightness to 70–100% and lower the light slightly to 12–18 inches. This is when plants are actively building structure, and they respond well to more intense light. Herbs like basil and mint, and sun-loving houseplants like pothos in brighter setups, can handle full intensity once established. Low-light plants like ferns or peace lilies do better staying at 40–60% regardless of stage.
If you're working through the learning curve on intensity settings, you might find it helpful to compare how similar budget lights handle this. For example, the approach used in Sondiko grow light instructions covers dimming logic in a similar format, so seeing how another brand handles multi-level dimming can help reinforce the principles here.
Daily schedule, runtime, and avoiding beginner mistakes
Yadoker's timer modes give you three clean options: 8 hours on, 12 hours on, or 16 hours on per day. Here's how to match those to your plants:
- Yellow mode (8 hours ON): use this for low-light houseplants, or for giving any plant a gentler introduction to the light in week one
- Red / Green mode (12 hours ON): the most versatile setting — works well for most leafy houseplants, seedlings past the first week, and herbs that don't need maximum hours
- Green mode (16 hours ON): recommended for herbs like basil, cilantro, and sun-loving plants like tomato seedlings that would normally get long summer days outdoors
The timer starts counting from the moment you press the button, so set it at the time of day you want the light cycle to begin. If you plug in at 7am and press the timer for 12-hour mode, the light will run until 7pm and then turn off until 7am the next day. One common mistake is setting the timer right before bed and ending up with the light running in the middle of the night. That's not harmful to you, but it means your plants get light during their dark hours, which some are sensitive to. Set the start time intentionally.
Another mistake people make is leaving the light on 24 hours (no timer, just always on). Plants need a dark period for proper metabolic function. Using the built-in timer is the right call here, not running the light continuously. The other common error is changing the height and forgetting to reassess brightness. If you raise the light 6 inches to accommodate a taller plant, that's effectively reducing intensity at the canopy, so you may need to step up brightness to compensate.
Setup schedules across budget grow light brands follow similar logic. If you ever pick up a second light for a different shelf, checking out Wakyme grow light instructions is worthwhile since that brand uses a comparable timer system and the scheduling principles translate directly.
Troubleshooting: fixes for the most common Yadoker problems
Light won't turn on
First, confirm the outlet works by plugging in something else. Then check whether the in-line controller (if you have the BAM-LTBS-PLUS-4-1PACK) has any indicator lights on it at all. If there's no light on the controller either, the issue is likely the connection between cord and outlet, not the LED bar itself. For the BAM-16-2, confirm the power cord is fully seated into the wall outlet and the light's power connection. If everything is connected and it still won't power on, try a different outlet on a different circuit.
Flickering or intermittent light
Flickering usually means a loose connection somewhere. Check the cord connection at the base of the light and at the outlet. If you're using a power strip, plug directly into the wall instead and see if that resolves it. Power strips with surge protectors can sometimes interfere with LED drivers in budget lights. If the flickering continues with a direct wall connection, the LED driver inside the unit may be failing and you'll need to contact Yadoker for a replacement.
Dimmer not responding or stuck at one brightness level
On the BAM-LTBS-PLUS-4-1PACK, if the "+" and "-" buttons aren't changing brightness, first make sure the light is fully powered on (not in a timer off-cycle). You can only adjust brightness when the light is actively on. Press and release the button rather than holding it, since the control responds to quick presses. If you seem stuck at 100% or 10%, cycle through all 10 levels by pressing one direction 10 times to confirm you're not just at the endpoint of the range.
Overheating concerns
Yadoker LED grow lights run warm but shouldn't be hot to the touch. If the light bar feels uncomfortably hot after an hour of use, check that it's not sitting directly against a surface or enclosed in a tight space without airflow. LEDs need some air movement around them to dissipate heat. Running at 100% brightness for 16 hours continuously in a small enclosed cabinet can push temperatures higher than ideal. In that case, reduce brightness slightly or step down to a 12-hour cycle to give the unit rest time.
Uneven growth or patchy lighting across the canopy
If one side of your plant is growing faster or leaning toward the light, the coverage area isn't centered properly. Raise the light slightly to widen the light pool, or re-center it directly above the canopy. Bar-style lights like Yadoker's are directional, meaning the most intense zone is directly below the center of the bar. For wide trays or spreading plants, you may need to rotate the plant 180 degrees every few days to keep growth even. If you're working with multiple small pots in a row, make sure the entire row sits within the light's coverage zone, not just the pot directly beneath the center.
Timer not holding settings after a power outage
Yadoker's built-in timers don't have battery backup, so if the power goes out or the plug is pulled, you'll need to reset the timer when power is restored. Just plug it back in, set the time of day you want the cycle to start, and press the timer button to your chosen mode. It's a mild inconvenience, but it's normal behavior for this price point.
How Yadoker compares to similar budget grow lights
If you're deciding between Yadoker and other budget brands at a similar price, here's a quick honest comparison. Yadoker's bamboo pole aesthetic makes it a popular choice for visible home setups where a black metal pole would look out of place. The built-in timer on both main models is genuinely convenient and one less thing to buy separately.
| Feature | Yadoker BAM-16-2 | Yadoker BAM-LTBS-PLUS-4-1PACK |
|---|---|---|
| Pole height range | 13.7–61.1 inches | 6.3–20.9 inches |
| Best for | Larger plants, floor setups | Seedlings, small pots, desks |
| Timer modes | 8 / 12 / 16 hours ON | 8 / 12 / 16 hours ON |
| Brightness levels | 10 (10%–100%) | 10 (10%–100%) |
| Controls | Built into unit | In-line controller on cord |
| Box contents | Light + user guide | Light + controller + user guide |
| Power cord length | 13 feet | Not specified in manual |
For a different perspective on how other brands in this category handle setup and controls, the Innova grow light instructions guide covers a similar floor-standing format that some growers run alongside Yadoker lights in larger indoor setups. And if you're building out a multi-light shelf system, comparing the mounting approach in the Aokrean grow light instructions is worth a few minutes, especially for daisy-chaining considerations that Yadoker's simpler models don't include.
Your next steps after setup
Once your Yadoker is mounted, plugged in, and tested, your immediate next steps are: set the timer to a schedule that matches your plants (start with 12-hour red mode for most things), dial in brightness to 30–50% for seedlings or 70–100% for established veg plants, and check the coverage area before walking away. Come back in 24–48 hours and look at the canopy. If plants are leaning toward or away from the light, adjust height or centering.
If new growth looks pale or bleached, lower brightness or raise the light. If growth looks leggy and stretched, lower the light or increase brightness. The hardware is pretty forgiving once you get the fundamentals right, and these lights do exactly what they're supposed to do when set up correctly.
FAQ
Can I use one of the Yadoker timer modes as a “sunrise” or gradual ramp, like starting dim and building up?
No, the built-in timer just switches the ON duration, and the brightness buttons only step instantly to a selected level. If you want a ramp effect, you would need to manually change brightness in steps (for example after a few hours) or add a separate smart plug and dimmer, since these models do not automate gradual ramping.
What should I do if my plants are reaching toward the light but the coverage check looked okay?
First confirm the bar is centered over the canopy, then re-check distance. If one spot grows faster, it can mean the plant is off-center more than you think, because the strongest intensity is directly under the bar. A small height change (about 1 to 2 inches) often helps more than large brightness changes.
How often should I adjust height and brightness once the light is set?
Plan to reassess every time you notice a growth jump or after you change the plant arrangement. A practical rule is every 7 to 14 days for seedlings and about every 2 to 3 weeks for established plants. If you raise the light for any reason, you should re-check canopy brightness because raising height reduces intensity at the leaves.
Do I really need the 8, 12, or 16 hour timer options, or can I run it 18 to 20 hours on my own schedule?
The controller only offers those three fixed ON durations, so you cannot dial in 18 or 20 hours directly using the built-in timer. If you need a different photoperiod, the simplest approach is using a separate timer plug that controls wall power, but keep the Yadoker brightness setting the same while you experiment with cycle length.
Can I stack multiple Yadoker lights on one timer or power strip?
You can, but avoid plugging into a surge-protected power strip if you experience flicker, since budget LED drivers can react poorly to some strip electronics. If you use a strip, test with a direct wall outlet first, then add the strip once the behavior is stable. Also make sure each light’s cord is fully seated at both ends.
My BAM-LTBS-PLUS-4-1PACK timer light looks like it is on, but pressing “+” or “-” does nothing. Why?
Brightness adjustments only work during the light’s active ON period. If you press the brightness buttons during an OFF cycle, nothing changes. Also confirm the unit is fully powered on (not just plugged in without the active timer mode), and use quick presses rather than holding the buttons.
Why does the timer seem to “start late” compared to when I pressed the button?
The countdown begins at the moment you press the timer button, not at the next clock boundary. If you press at 7:03am for 12 hours, it will turn off around 7:03pm. For consistency, press the timer button at the exact time you intend to start the light cycle.
What are safe maximum brightness and cycle habits during summer or in hot rooms?
If the bar feels uncomfortably hot after about an hour, reduce brightness and consider using a shorter ON period (like 12 hours) to give the unit recovery time. Running 100% for 16 hours continuously, especially in a tight enclosed cabinet or against surfaces that trap heat, increases the chance of overheating.
If my seedlings bleach quickly, should I lower brightness or raise the light first?
Lower brightness first, then fine-tune height. Seeds and young leaves are sensitive, so dropping to around 30 to 50% typically prevents immediate bleaching. After that stabilizes, adjust height in small increments and reassess after 24 to 48 hours, since changes in distance can take time to show results.
Is it better to dim all plants to the same brightness, or adjust per plant height?
For best uniformity, keep the light centered and use height and brightness to match the most demanding plants in that space. If you mix seedlings with established plants under one bar, you generally need to compromise, then you may have to move seedlings to a closer position with lower brightness, or separate them into different zones, because one fixed bar intensity cannot perfectly suit both stages.
What happens to the timer after a power outage? Do I need to reprogram everything?
Yes, the timer has no battery backup. When power returns, you should set the time of day for the cycle start and press the timer button again to select the mode (8, 12, or 16 hours). If you do not, the light may not resume on the schedule you expect.
Can flickering be caused by plant contact or placement, not just wiring?
It can, especially if the power cord or the light’s base connection is being tugged, bent, or partially strained by how it is positioned. If you see flicker, check that the cord connections are fully seated and that the bar is not pulling on the connector. Also test by plugging directly into a wall outlet (not a power strip) to isolate driver issues from placement or wiring.
Next Article
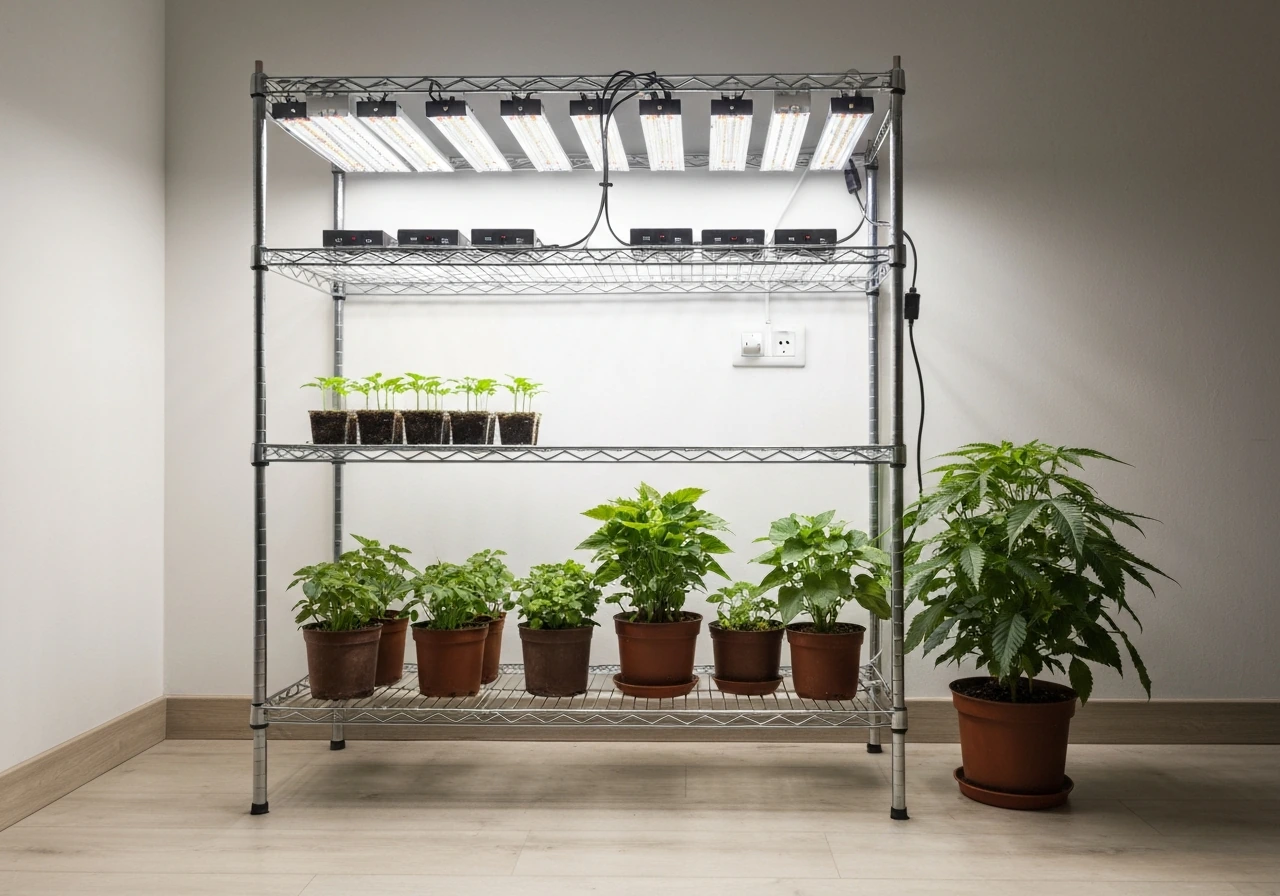
Grow Light Shelf Setup: Step-by-Step Guide for Indoor Plants
Step-by-step grow light shelf setup: shelf and light choice, safe wiring, correct height, timing, and troubleshooting fo