You can hide grow lights by combining smarter placement, light-directing hoods or baffles, and enclosed growing spaces like tents or cabinets. The key is making sure whatever you do to block the light from view doesn't also block the airflow your lights need to stay cool. Done right, your plants get every bit of light they need, your living room doesn't look like a police interrogation scene, and nothing overheats.
How to Hide Grow Lights Without Losing Plant Power

Marcus Tillman
2 May 2026
What 'hide grow lights' actually means (and which problem you're solving)
Before you start covering things up, it helps to be clear about what's bothering you. Most people who search this fall into one of three camps, and each one has a different fix.
- Aesthetics: The fixture itself looks ugly or industrial in a living space, and you want it to blend in or disappear.
- Glare and spill: The light is blasting you in the eyes every time you walk by, or it's lighting up the ceiling, walls, and neighboring rooms.
- Privacy and light leakage: Light is escaping through windows or under doors at night, and you don't want neighbors or family members to notice.
Each of these has a different best solution. Aesthetics are mostly solved by enclosures and placement. Glare and spill are solved by hoods, baffles, and angling. Privacy and light leakage are solved by blackout materials and negative-pressure enclosures. A lot of guides lump these together and end up giving you advice that's slightly wrong for your actual situation. Figure out which one (or combination) you're dealing with, and the rest of this guide will make a lot more sense.
Placement tricks that cut glare and spill without touching your plants
The easiest and cheapest fix is adjusting where and how the light is aimed before you spend money on accessories. A few positioning changes can make a huge difference.
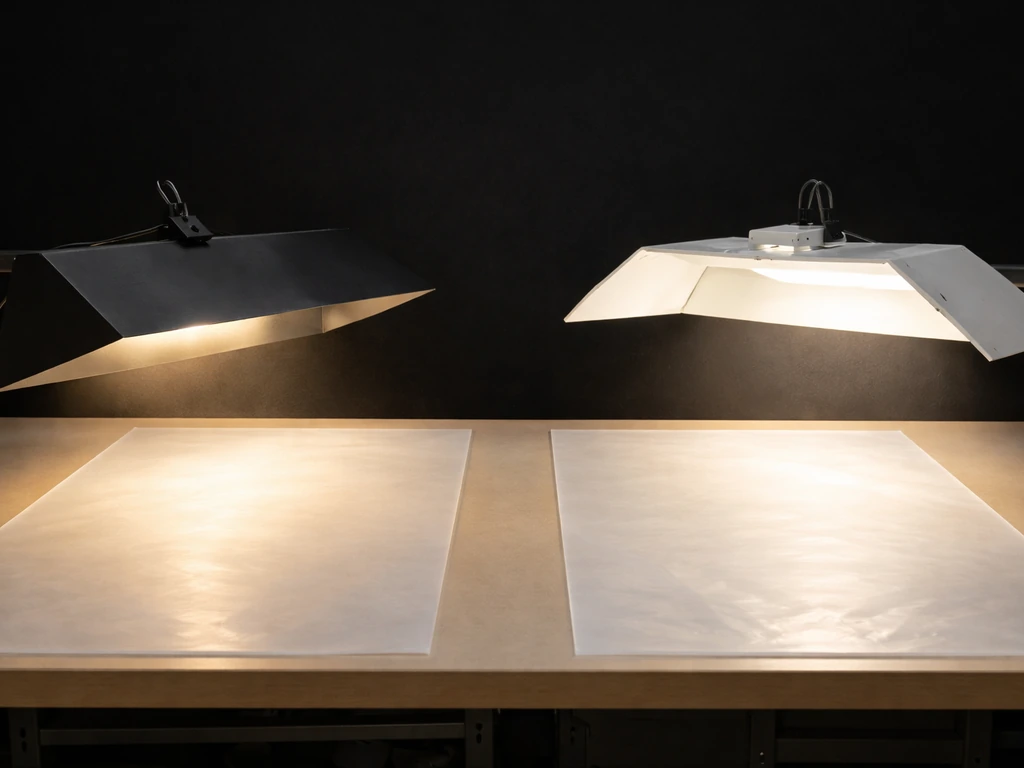
Keep the beam below eye level
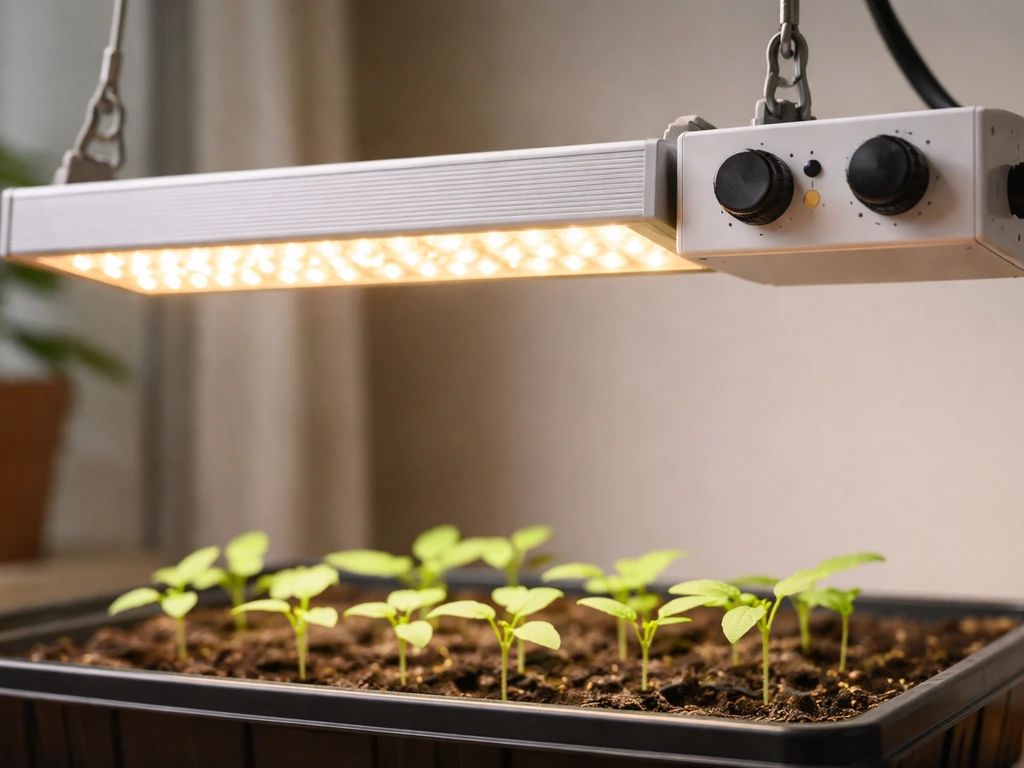
Most grow light glare happens because the fixture is mounted at or above eye level and the light hits you directly when you walk past. If you move your grow setup so the canopy sits on a lower shelf, inside a cabinet, or in a recessed corner, the light beam stays pointed down into the plant zone and you're never in its direct line of sight. Shelving units with a solid top shelf work particularly well because the shelf acts as a natural hood that blocks the upward and sideways scatter.
Angle and position matter more than you think
Bar-style LED panels can sometimes be angled very slightly inward (toward the canopy center) using adjustable hangers. Even a 5 to 10 degree tilt concentrates light downward and reduces the amount that spills sideways onto walls and ceilings. Just don't over-tilt: you want even PPFD coverage across the canopy, and tilting too much creates hotspots in the center. If edge growth looks stretched while the center looks fine, your uniformity is off. A good rule of thumb is that edge PPFD should stay above about 60% of your center reading. If it drops below that, back off the tilt.
Use natural room geometry to your advantage
Corners, closets, and recessed alcoves are genuinely useful. Placing your grow in a corner means two walls are already containing the light spill. A closet with the door closed contains nearly all of it. Even a bookshelf with a tall side panel reduces lateral spill significantly. These approaches cost nothing and often solve 80% of the problem before you add any accessories.
Diffusers, covers, and hoods: DIY vs store-bought
If placement alone doesn't cut it, the next step is controlling the beam with physical accessories. These come in both purpose-built and DIY forms, and the right choice depends on your budget and how much light you're dealing with.
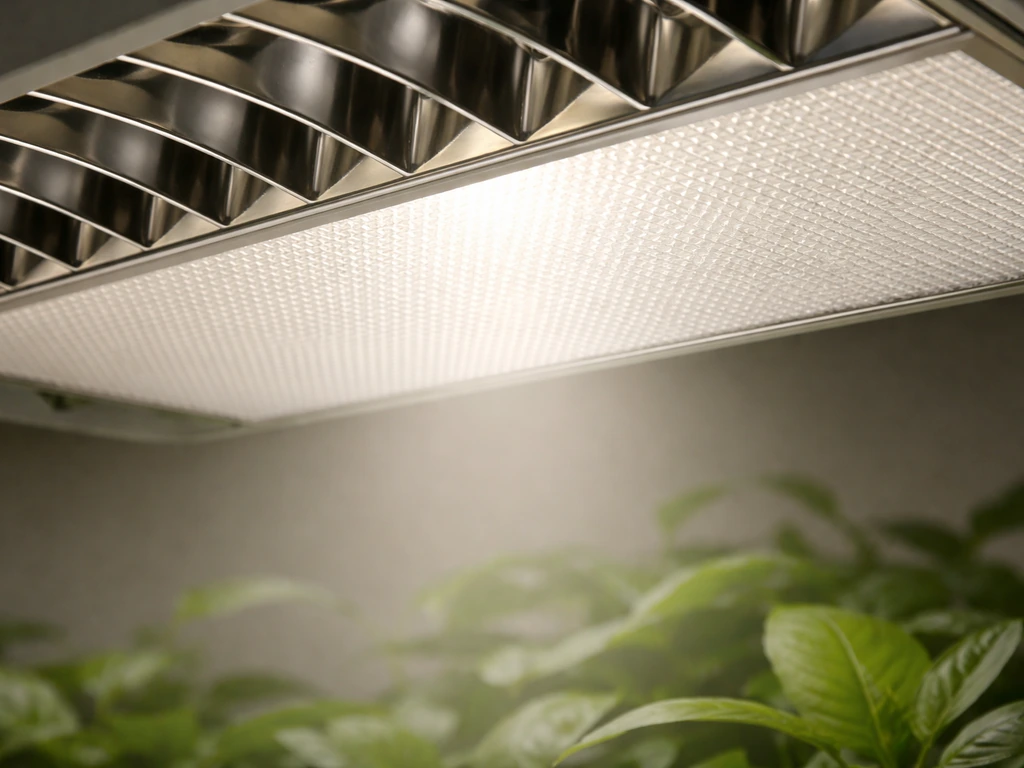
Grow light hoods and reflectors
A proper grow light hood redirects light downward and contains lateral spill at the source. Many HID and CMH fixtures come with hoods already. For LED panels, you can find aftermarket reflector hoods that mount over the bar or panel. The best ones are air-cooled: they have ducting ports on each end so you can run an inline fan through the hood itself, pulling heat away from the driver and LEDs before it builds up in your space. This is critical if you're planning to enclose the light, because heat accumulation is the main risk in any hiding setup.
Parabolic louvers and glare-control diffusers
Parabolic louvers work by using geometry to block any direct line of sight between your eye and the light source. They let light pass straight down while cutting off the high-angle light that causes glare above about 65 degrees from vertical. Some commercial glare-control diffusers work the same way. These are more common in commercial horticulture setups but are available for home growers. The tradeoff is a small reduction in total output, so you may need to drop your light 2 to 4 inches closer to the canopy to compensate, or bump up intensity slightly if your driver supports dimming adjustment.
DIY baffles and translucent panels
A DIY baffle is usually a piece of thin foam board, cardboard covered in flat black paint, or corrugated plastic sheeting cut to fit around the sides of your light. Black on the outside absorbs spill light. The inside facing the plants can be left white or lined with reflective material to bounce that light back down. Translucent polypropylene panels (the kind used in drop ceilings or photography light boxes) work as soft diffusers that reduce glare without fully blocking light. Neither of these is as effective as a purpose-built hood, but they cost almost nothing. Just make sure whatever you build doesn't restrict airflow around the fixture itself.
| Option | Glare Control | Light Loss | DIY Possible | Heat Risk |
|---|---|---|---|---|
| Air-cooled hood | Excellent | Minimal | No | Low (has ducting) |
| Parabolic louver | Very good | Moderate (~5–15%) | Difficult | Low |
| Glare-control diffuser | Good | Moderate | Somewhat | Low to moderate |
| DIY foam baffle | Moderate | Low | Yes | Moderate if poorly ventilated |
| Translucent panel | Moderate | Moderate | Yes | Low |
Enclosures: tents, cabinets, and rooms that block all the light
If you want a fully hidden grow, the most reliable solution is an enclosure that contains all the light. Grow tents, purpose-built grow boxes, and converted cabinets are the main options, and they each have real advantages.
Grow tents
Modern grow tents are specifically designed to be light-proof. They use heavy-duty fabric exteriors with light-proof zippers and overlapping flap closures at every opening. Internally, they're lined with diamond-pattern reflective mylar that bounces light back toward the plants instead of letting it scatter. The result is a setup that produces almost no external light leak and dramatically improves the efficiency of whatever fixture you're running. When you're evaluating tents, check that the zippers are described as light-proof or light-blocking, not just heavy-duty, because standard zippers leak light at the teeth.
Grow boxes and cabinets
Stealth grow boxes (sometimes called grow cabinets) look like furniture or appliances from the outside. They're lined with mylar on the inside and include dedicated ventilation openings that are baffled to prevent light from escaping through the airflow path. This is an important design detail: if you convert a regular cabinet yourself, every ventilation hole you cut is a potential light leak. The solution is a light baffle, which is a specific accessory (Secret Jardin makes one for their ducting flanges) that allows air to pass through a maze-like passage while blocking any straight-line path for light. If you're DIY-ing a cabinet, this is the piece that most people skip and then wonder why light is still escaping.
Dedicated grow rooms
If you're using a whole room, blackout curtains or blackout fabric (sold by the yard at fabric stores or from grow supply retailers) over windows and under doors will stop light from leaking out. Weather stripping under doors helps too. For the room itself, painting walls flat white or lining them with mylar keeps the light bouncing into the canopy rather than being absorbed by walls.
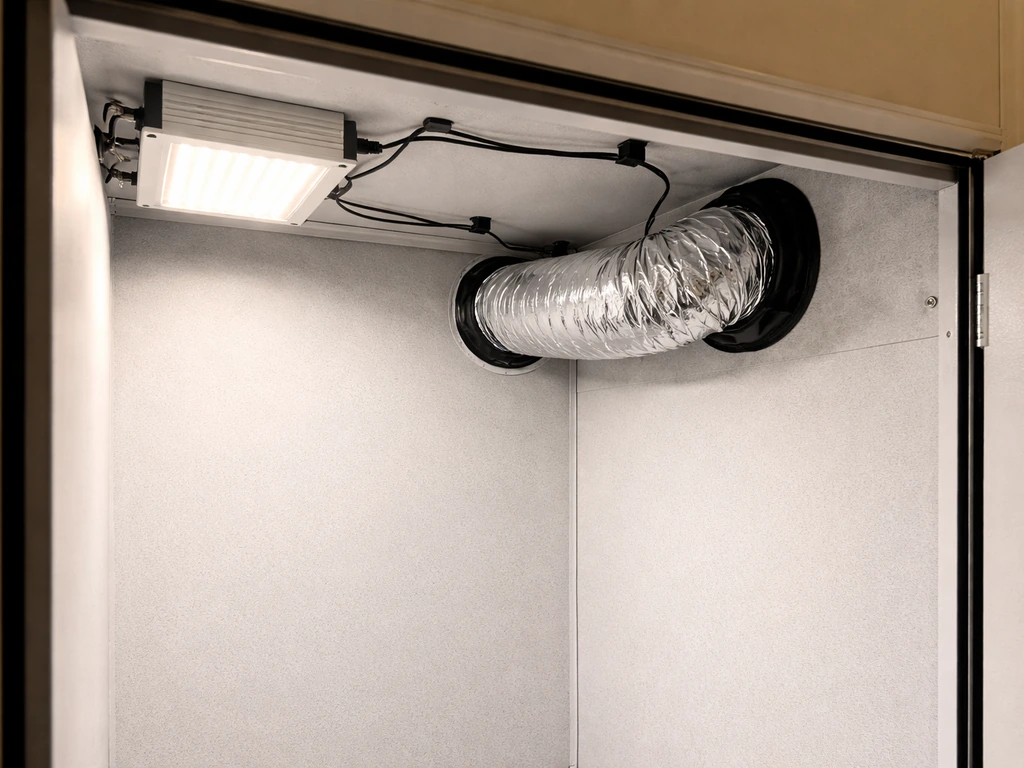
Ventilation inside enclosures: the part everyone underestimates
This is where most hidden grow setups go wrong. People seal up their tent or cabinet to block light and accidentally choke the airflow their lights need to stay cool. You cannot fully block all airflow and run grow lights safely. Here's how to do it right.
The standard approach is negative pressure: your exhaust fan removes air from the enclosure faster than passive or active intake brings it in. A common ventilation approach for grow tents is to calculate required CFM from the tent or room volume and the desired air-exchange time in minutes (volume ÷ exchange time), with negative pressure achieved when exhaust exceeds intake compute CFM from tent volume and exchange time. This keeps the interior at slightly lower pressure than the room, which means air flows inward at every opening rather than light (or odor) leaking outward. A practical check is to close up your tent, run the exhaust, and lightly pinch a zipper flap closed. If you feel air pulling inward at the gap, your negative pressure is working.
Size your exhaust fan based on the volume of your enclosure. Calculate the cubic footage of your tent (length x width x height in feet) and choose a fan with a CFM rating that can exchange that air volume every one to three minutes. For a 4x4x7 foot tent (112 cubic feet), that means a fan rated for roughly 40 to 112 CFM at minimum, and most growers run 150 to 200 CFM to account for filter and ducting resistance. Your exhaust CFM should run about 20 to 30% higher than your intake CFM to maintain that inward-flowing negative pressure.
One specific warning: light baffles on intake ports reduce airflow. Secret Jardin's own data shows their passive light baffle can cut airflow through that port by about 40%. If you're using light baffles on your intakes, factor that into your ventilation math and compensate with a stronger exhaust fan or a larger intake port.
Using dimmers, optics, and schedules to reduce visible light
Sometimes the simplest way to reduce light nuisance isn't to block it physically but to control when and how bright it runs. Modern LED drivers give you real tools here.
Dimming your grow light
Most current LED grow lights use 0-10V or PWM dimming on their drivers. Most dimmable LED grow lights let you reduce brightness using 0-10V or PWM dimming, so it's a practical way to lower visible light without changing your setup how to dim LED grow lights. A 0-10V system can dim down to roughly 1 to 10% of full output depending on the driver, and some drivers with dim-to-off capability can take output all the way to zero. By contrast, older 1-10V systems only dim to about 10% minimum and cannot fully shut off via the dimming signal alone. If stealth or light-off scheduling matters to you, check whether your driver supports 0-10V with dim-to-off. Some drivers (like certain Mean Well models) support multiple dimming methods including PWM and resistance control, so read the spec sheet for your specific unit.
During daytime hours when you're home and annoyed by the light, running your fixture at 70 to 80% intensity for a longer photoperiod often delivers the same DLI (daily light integral) as running at 100% for a shorter window. Your plants don't care as much about peak intensity as they do about total light received over the day, within reason. This is a practical way to make the light less visually aggressive during hours when people are in the room.
Scheduling to off-peak hours
Running your lights during hours when no one is home or when people are asleep eliminates the social problem entirely. Most plants don't care whether their light period is 9 AM to 9 PM or midnight to noon. A programmable outlet timer (mechanical or smart plug) handles this for under $15. If light leakage at night is your concern (neighbors seeing a glow from windows), nighttime running is the worst choice. In that case, run lights during the day and use blackout materials on windows.
Safety and equipment considerations you can't skip
Hiding a grow light changes its thermal environment, and that's where real risks come in. Grow lights produce significant heat, and most fixtures are designed assuming open-air or actively ventilated conditions. When you add a hood, baffle, or enclosure, you're changing that environment. Here's what to watch for.
- Heat buildup: Any enclosure that traps heat around the driver or LED board will shorten component life and can create fire risk. Always verify that your enclosure has an active airflow path that moves heat away from the fixture. If you're using an air-cooled hood, the ducting fan must be running whenever the light is on.
- Electrical clearances: Adding a hood or enclosure changes the minimum clearance between the fixture and surrounding surfaces. Grow light fixtures are evaluated under standards like UL 1598 and UL 8750 as a complete product. When you add non-standard enclosures or covers, you're operating outside that tested configuration. Keep flammable materials well away from any hood or enclosure surface that gets warm to the touch.
- Mounting strength: Hoods and reflectors add weight. Make sure your hanging hardware (ratchet hangers, tent poles, ceiling anchors) is rated for the combined weight of the fixture plus hood plus any ducting. A 2x4 LED panel with a full air-cooled hood and connected ducting can easily weigh 15 to 25 pounds. Tent top poles are typically rated for 50 to 100 pounds depending on the tent, but check your specific model.
- Cord and driver placement: LED drivers are often remote-mounted (outside the tent or hood) specifically because they generate heat. If your setup has a remote driver, keep it in a ventilated location with at least 2 to 3 inches of clearance on all sides. Never stuff a driver into a tight space or wrap it in fabric.
- DIY covers and fire risk: Cardboard, paper, and most fabrics are combustible. If you're making DIY baffles, use non-combustible materials like aluminum flashing, rigid foam board (not near heat sources), or metal mesh where airflow is needed. Keep anything flammable at least 12 inches from the light source.
Troubleshooting: when hiding causes plant problems
The most common thing that goes wrong after people hide their grow lights is that plants start stretching, looking leggy, or showing uneven growth. This almost always means the plants are getting less usable light than before, either because the fixture is now farther away, because a diffuser or cover is absorbing part of the output, or because the light distribution became uneven. If your LED grow light is causing heat buildup or uneven performance after you hide it, focus on ventilation and make sure the light level reaching the canopy is still strong enough.
Stretching and leggy growth
Stretching (long internodal spacing, stems reaching toward the light) is the clearest sign of insufficient PPFD at the canopy. If your plants started stretching after you added a hood, baffle, or moved the fixture, your canopy is receiving less light than it was before. The fix is straightforward: lower the light 2 to 4 inches closer to the canopy, or increase intensity via your dimmer if you have headroom. If you can't lower the fixture, check whether your diffuser or cover is absorbing more light than you expected and consider switching to a more transparent option.
Uneven growth across the canopy
If center plants look fine but edges are stretching, or the opposite (center is bleaching while edges look healthy), your PPFD uniformity is off. A well-designed grow space should have edge PPFD at least 60% of the center reading. Adding a partial cover or angling the light can create this kind of gradient. The diagnostic is a PPFD meter (PAR meter): take readings at the center and four corners of your canopy at the same height. If the spread is too large, adjust height, remove the angling, or switch to a wider-beam optic. Bar-style LEDs generally give better uniformity than single-puck designs at the same height.
Leaves looking wrong after enclosing
Yellowing, pale new growth, or upward-curling leaves after you enclosed your setup usually point to heat stress or reduced airflow, not the light hiding itself. Check temperatures inside your enclosure. Ideal canopy temperatures are around 70 to 85°F (21 to 30°C) for most plants. If you're above 90°F, your ventilation is insufficient. Increase exhaust fan speed, add a second fan, or open an intake port. If you used a light baffle that reduced intake airflow by 40%, this is exactly the situation where you need a stronger exhaust to compensate.
Light still leaking even after enclosing
If you're still seeing light escape from a tent or cabinet, check zippers first (run your hand along the zipper in a dark room), then vent ports and ducting pass-throughs. A piece of black gaffer tape over zipper stress points helps. Ducting entry points can be sealed with foam pipe insulation cut to fit around the duct. Any DIY intake hole should use a purpose-designed light baffle rather than just a piece of tape or a loose flap of fabric.
Once your setup is dialed in from a light-hiding standpoint, it's worth spending time on the related details that affect how well everything performs together. Suspending your light at the right height, keeping fixtures clean for maximum output, and making sure your cooling approach is matched to your enclosure size are all part of getting the full picture right. If you are wondering how to suspend grow lights safely, start by matching the hang height to canopy needs and your cooling setup Suspending your light at the right height. To keep grow lights operating safely and efficiently, you also need to learn how to air-cool them properly for the enclosure size how to air cool grow lights. After you’ve tuned placement and ventilation, cleaning your LED grow lights is the next maintenance step to keep output and cooling performance consistent clean LED grow lights.
FAQ
Can I fully seal my grow tent or cabinet so no light escapes at all?
Yes, but only if you can still move enough air around the fixture and the intake air path stays unblocked. Use light-tight containment only on the sides and viewing angles, keep duct runs smooth, and confirm with a quick airflow test (close the enclosure, run exhaust, and verify air pulls inward at the intake gaps). If you notice leaf-tip curl, higher canopy temps, or new stretching after the change, it usually means you blocked too much airflow.
Should the inside surfaces of an enclosure be blackout too, or reflective?
In most cases, “blackout” solutions work better for preventing outward light than for improving inward efficiency. For reducing glare, choose materials that are light-proof on the viewing side but reflective or at least not absorptive on the plant side (for example, mylar or matte white where safe). If you use blackout fabric internally, it can significantly reduce usable PPFD, leading to legginess.
If my plants look fine visually, will I still have a light problem after hiding the lights?
Not necessarily. Even if your setup looks dim, PPFD can still be high or uneven. After you add a hood, baffle, or cover, measure center and corner PPFD if possible, or use an observation checklist: stretching indicates low PPFD, bleaching indicates high intensity or hot spots, and edge-only stretching points to poor uniformity. Then adjust height first (usually 2 to 4 inches) before changing hardware.
How do I know my exhaust is strong enough for negative pressure once I add light baffles?
If you plan to use a negative-pressure setup, do not rely on a single small intake opening if you add baffles. Start by estimating enclosure volume and choosing a fan that can exchange air every 1 to 3 minutes, then compensate for any intake light baffles that reduce airflow. If you feel weak inward airflow at the intake during your zipper-gap pinch test, increase exhaust or enlarge and re-baffle the intake area.
What temperature signs mean my hidden setup is overheating even if the room feels cool?
Your goal is to keep the canopy within a safe temperature band without starving the fixture of fresh air. If your readings regularly go above about 90°F (32°C) inside the enclosure, increase exhaust speed, add a second circulation fan inside, or open and re-baffle intake. Do not just raise exhaust and forget intake, because stronger exhaust with restricted intake increases turbulence and can worsen heat buildup.
Where do grow lights usually leak even when the tent looks closed?
Yes, light can “leak” in unexpected places like zipper seams, duct pass-throughs, screw holes, and even around power cord routing. In a dark room, run your hand along zipper teeth, then check duct entry points and any gaps where fabric meets the frame. If needed, seal only those locations with light-baffle-compatible materials, not flat tape that blocks airflow.
Can I dim my grow lights instead of enclosing them to reduce visible glare and still meet plant needs?
For many LED setups, you can schedule “social stealth” without changing plant health by dimming during high-traffic hours and using a longer photoperiod. However, dim-to-low can reduce DLI if you go too far, especially for plants with high light needs. A practical approach is to start at a moderate reduction (like 70 to 80% intensity), then observe stretch and color over 1 to 2 weeks or re-target with PPFD/DLI calculations if you have the tools.
Do I still need negative pressure if I’m already air-cooling the light with a hood?
If you use an inline fan with an air-cooled hood, you still need to confirm the enclosure air exchange is correct, because hood airflow and enclosure airflow are not the same system. Hood ducting removes heat from the fixture area, while the enclosure ventilation clears heated air from the tent or cabinet. After installing the hood, redo the inward-flow test and watch canopy temperature trends.
How can I make the lights truly go dark at night if my driver supports dimming?
Yes, but dimming approach matters. Many fixtures support 0-10V or PWM dimming, and some can dim to near-zero only with specific driver features. If stealth requires “light off” during schedule gaps, check whether the driver supports dim-to-off, not just low minimum brightness. If you have an older 1-10V driver, it may only reduce output to around 10%.
Why do I get center-hot/edge-weak growth after adding a hood or changing placement?
Avoid placing the canopy too high relative to the hood or baffle, because hot spots and upward scatter can increase glare even if outward leakage seems low. Also keep optical fit in mind: wider coverage optics can improve edge PPFD uniformity, while very narrow reflectors can make center plants healthy and edges leggy. If edges stretch after hiding, lower height changes first, then adjust angle or switch optics if the distribution is the real issue.
Next Article
How to Dim LED Grow Lights for Seedlings and More
Step-by-step how to dim LED grow lights safely for seedlings: when to dim, when to adjust placement, and how to dial int