Yes, you can build your own grow light, and it will almost certainly outperform a cheap off-the-shelf fixture at the same price point. The catch is that you need to pick the right parts, wire them safely, and then dial in placement and timing so your plants actually respond. This guide walks you through every step: choosing components, assembling without burning anything down, sizing coverage for your space, and troubleshooting the things that go wrong. If you want a faster start before diving into the full build, the DIY grow light setup overview is a good companion read.
Do It Yourself Grow Lights: Build a Safe LED System

Marcus Tillman
2 Apr 2026
Why DIY grow lights (and when not to DIY)
DIY grow lights make sense when you want higher efficiency than budget commercial fixtures can deliver, when you need a non-standard size to fit a specific shelf or tent, or when you want to learn exactly how your lighting system works so you can troubleshoot it yourself. A well-built DIY LED fixture using quality components can hit 2.5 to 3.0 µmol/J or better, which matches mid-to-high-end commercial lights costing two to three times as much. You also get to choose your color spectrum, power level, and form factor.
That said, DIY is not always the right call. If you need a UL-listed fixture for a rental property, a commercial space, or any installation where electrical code compliance is required, building your own gets complicated fast. Safety standards like UL 1598 (the primary luminaire safety standard) and UL 8750 (which covers LED equipment and drivers) exist for real reasons, and a home-built fixture won't carry those certifications. Also, if you only need one small light for a couple of houseplants, a $30 commercial LED panel is probably a better use of your afternoon than a scratch build. DIY pays off most when you're covering a 2x4 ft (or larger) footprint, running multiple fixtures, or genuinely enjoying the build process.
Choosing the right DIY LED light parts
This is where most people get stuck. There are a lot of components, and buying the wrong driver or undersized heatsink wastes money and can create safety problems. Here is what you actually need and how to choose each piece.
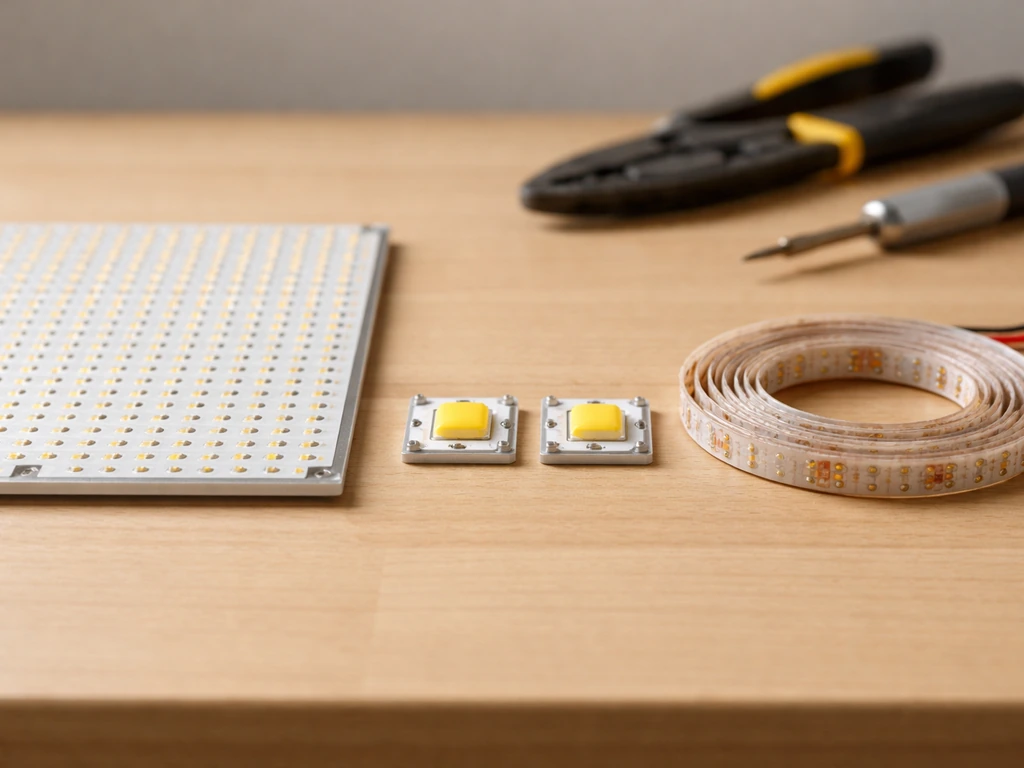
LEDs: quantum boards vs. COBs vs. strips
Quantum boards (flat PCBs covered in small, high-efficiency LEDs from Samsung, Bridgelux, or similar brands) are the easiest entry point. They spread heat across a large surface, don't require individual lens optics, and are easy to wire. If you want to go deeper on the quantum board approach, there's a full walkthrough on how to build a quantum board grow light that covers board selection in detail.
COB (chip-on-board) LEDs like Cree XLamp or Vero produce very intense point sources, which means you need reflectors or lenses to spread the light, but they're great for deep canopy penetration in taller spaces. LED strips (like Samsung LM301B or LM301H on flexible tape) are ideal when you need to fill a narrow shelf or build a fixture with an unusual shape.
For spectrum, aim for a warm white (3000K to 3500K) mixed with a cool or neutral white (5000K to 6500K) at roughly 3:1 ratio by wattage, or use a pre-made quantum board that combines these bins. This covers the full photosynthetically active range (400 to 700 nm) without needing separate red and blue channels. Adding a small percentage of deep red (660 nm) diodes boosts flowering response but isn't essential for vegetative growth or seedlings.
Drivers: sizing your power supply correctly
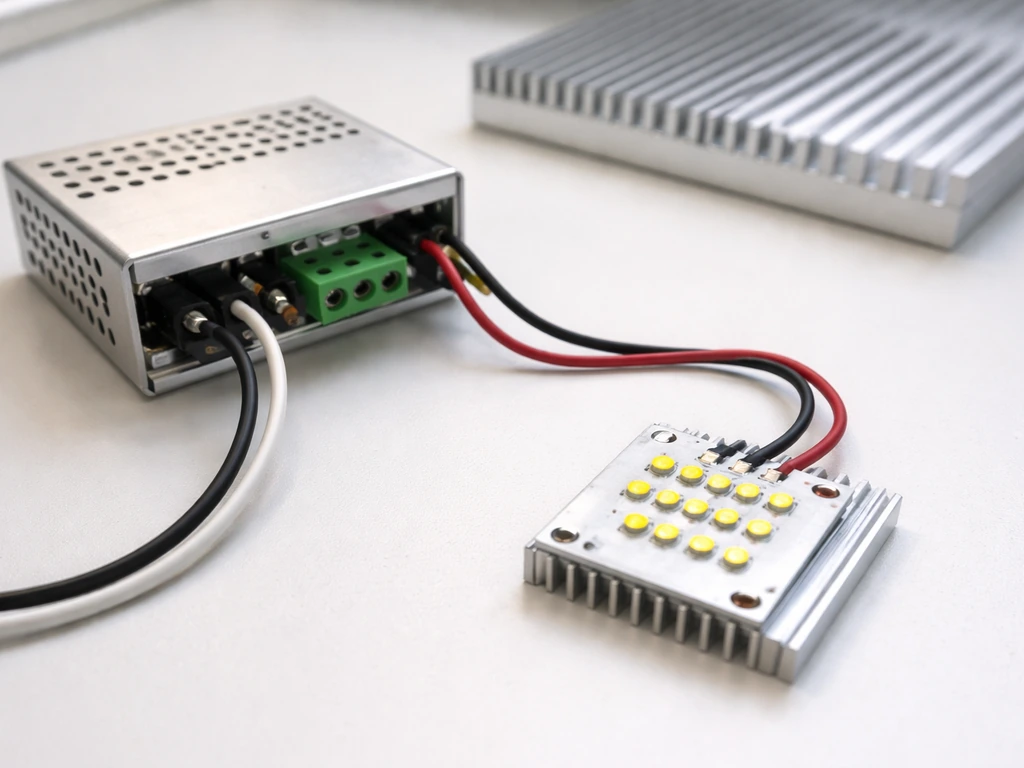
The driver (constant-current power supply) is the most critical part of the electrical design. A Mean Well HLG series driver is the standard recommendation because it's efficient (typically 93 to 95%), dimmable, IP67 or IP65 rated, and reliable. To size your driver, calculate the total forward voltage of your LED string and the current you want to run through it.
A 200W build, for example, might use an HLG-240H-C1400 running at a derated 70 to 80% of max current for efficiency and LED longevity. Always derate your driver to 80% of its rated wattage maximum; running it at full load shortens its life. If you're building for a 4x4 ft canopy, plan for 30 to 40 watts of actual LED wattage per square foot, so 480 to 640W total for that footprint.
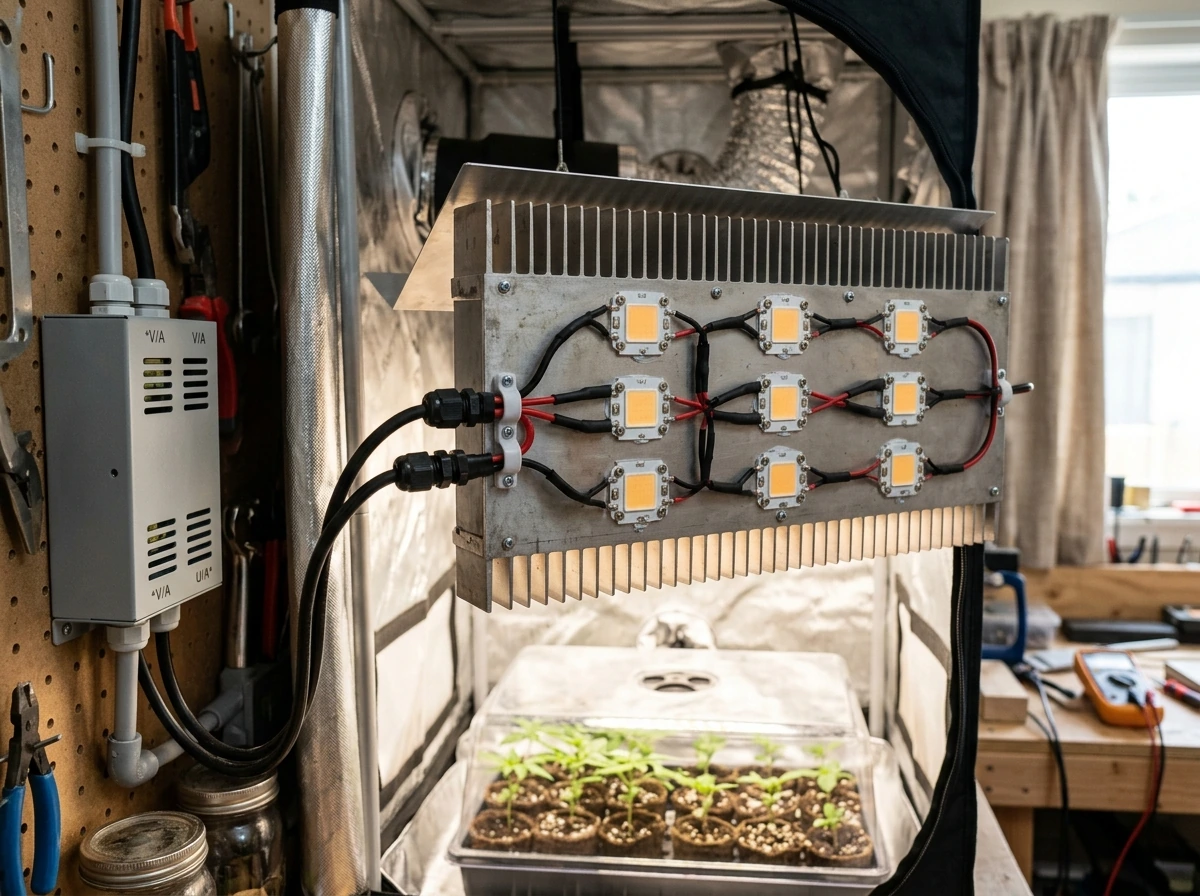
Heatsinks: don't skip this
LEDs fail early when they run hot. Cree's own thermal management guidance makes this explicit: never run XLamp LEDs without a heatsink, and you need to calculate the required thermal resistance to keep junction temperature below the maximum rated value under worst-case ambient conditions. For quantum boards, a large flat aluminum heatsink (typically 2 to 3mm thick aluminum plate in the same footprint as the board) is usually enough if you have airflow. For COB builds, use a dedicated star or cylindrical heatsink matched to the COB's wattage, typically targeting a heatsink thermal resistance of 0.5°C/W or lower for a 50W COB. Add a small 80mm fan if your ambient temps exceed 25°C or if your build is enclosed.
Wiring, switches, and other hardware
Use 18 AWG wire minimum for low-voltage LED connections, and 16 AWG or heavier for the 120/240V mains side. Silicone-jacketed wire is worth the small extra cost in a humid grow environment. Wago lever-lock connectors are cleaner and more reliable than wire nuts for indoor grow builds. If you want a dimmer switch on the low-voltage DC side, a simple PWM dimmer module rated for your current works fine.
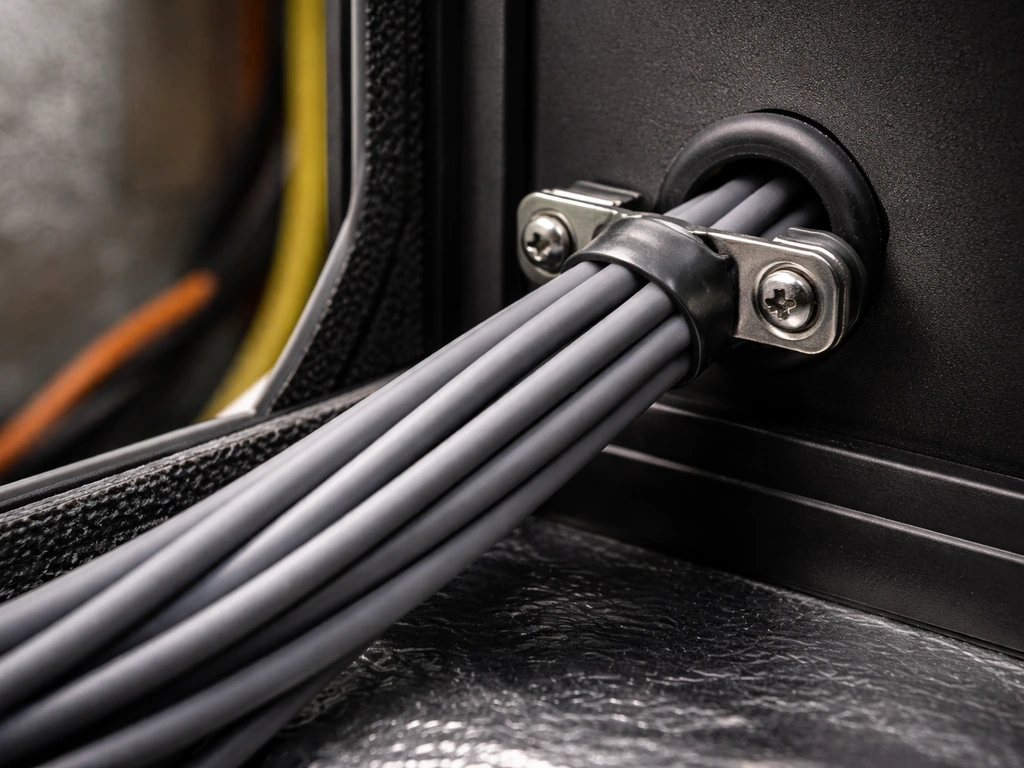
On the AC mains input to the driver, use a proper inline fuse (typically 3A to 5A for a 200W build) and a grounded cord. Strain relief fittings are not optional: UL 1598 specifically requires strain relief wherever a flexible cord or conductor could be subject to pulling, and this matters even in a DIY build where you want the cord to stay put when someone tugs the fixture.
For additional CFR guidance on flexible electric cords and cables, 46 CFR § 111. 60-13 requires flexible cords to be sufficiently sized, including 18 AWG or larger [Strain relief fittings are not optional: UL 1598 specifically requires strain relief wherever a flexible cord or conductor could be subject to pulling](https://www. law. cornell.
edu/cfr/text/46/111. 60-13).
Building your DIY grow light safely
Electrical and thermal safety are the two areas where DIY builds go wrong. Handle them methodically and you'll be fine.
Electrical basics: grounding and wiring
Connect the green ground wire from your power cord to the metal chassis or heatsink. This is not optional. If there is ever a fault in the driver, the ground path protects you. Use only three-prong grounded cords on the mains side.
The low-voltage DC output from the driver to the LED boards is generally safe to touch (typically 24 to 54V depending on your build), but the AC input side is live household voltage, so keep all AC connections inside an enclosed driver housing or a plastic junction box. Tape or heat-shrink every exposed terminal on the AC side before powering up.
If you're new to wiring, the detailed component and wiring steps in the guide on how to build grow lights walks through this more carefully.
Thermal management during the build
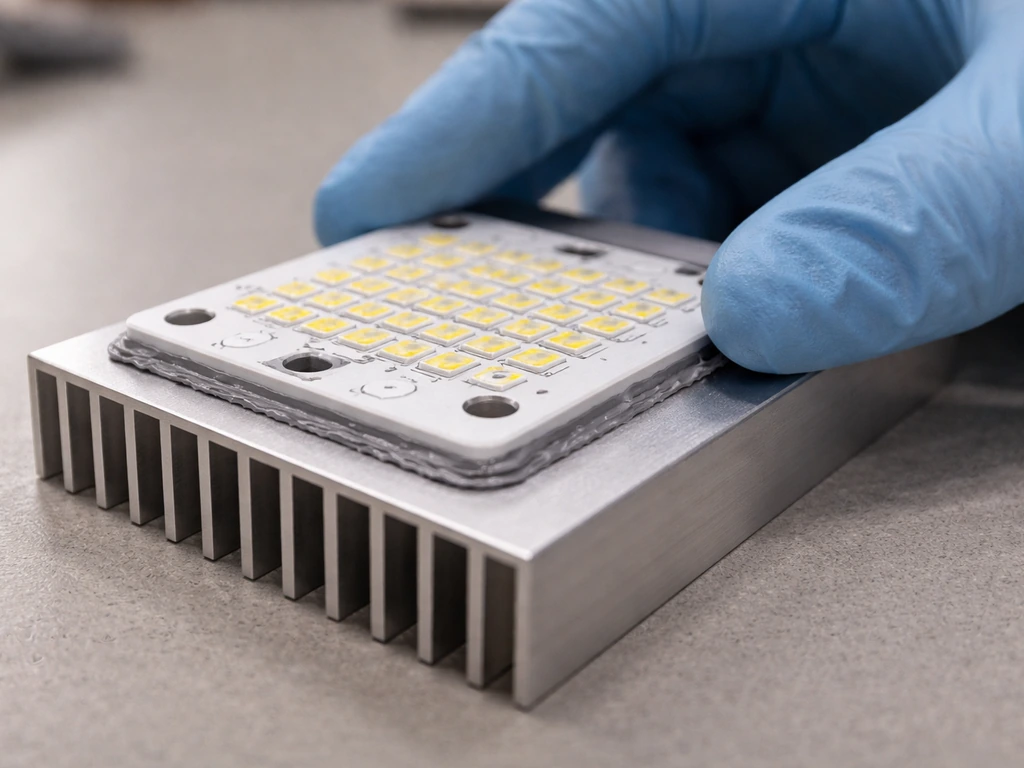
Apply a thin, even layer of thermal paste (or use thermal pads) between the LED board and heatsink. Air gaps kill thermal transfer. After your first power-on, let the fixture run at full power for 15 minutes and then touch the heatsink: it should be warm (40 to 60°C is fine) but not too hot to hold. If it's burning your hand, you need more heatsink surface area, a fan, or you need to derate the driver current.
The LED junction temperature you're trying to protect is always higher than the case temperature you can measure, so give yourself margin. Cree's application guidance for XLamp LEDs frames this as solving for the maximum allowable case-to-ambient thermal resistance, and that's the right mental model: work backward from the junction temperature limit to what your heatsink needs to do.
Sizing and positioning the light
Building the fixture is only half the job. A grow light stand is the practical way to mount your DIY fixture at the right height and keep it stable while you tune coverage. Getting the coverage area and mounting height right is what determines whether your plants actually grow well.
How many LEDs and what coverage area
A rough but reliable rule: plan for 30 to 50 watts of LED wattage per square foot for flowering plants and 15 to 25 watts per square foot for seedlings and low-light houseplants. A 2x2 ft seed-starting shelf needs roughly 60 to 100W; a 4x4 ft grow tent for tomatoes or peppers needs 480 to 800W. Spread your LEDs as evenly as possible across the footprint.
A single COB in the center of a 3x3 ft space will leave the corners dim; three or four smaller COBs (or a full quantum board) give you much more uniform coverage. If you're designing a shelf-style fixture with strips, space the strips 3 to 4 inches apart and run them parallel for the most uniform canopy coverage.
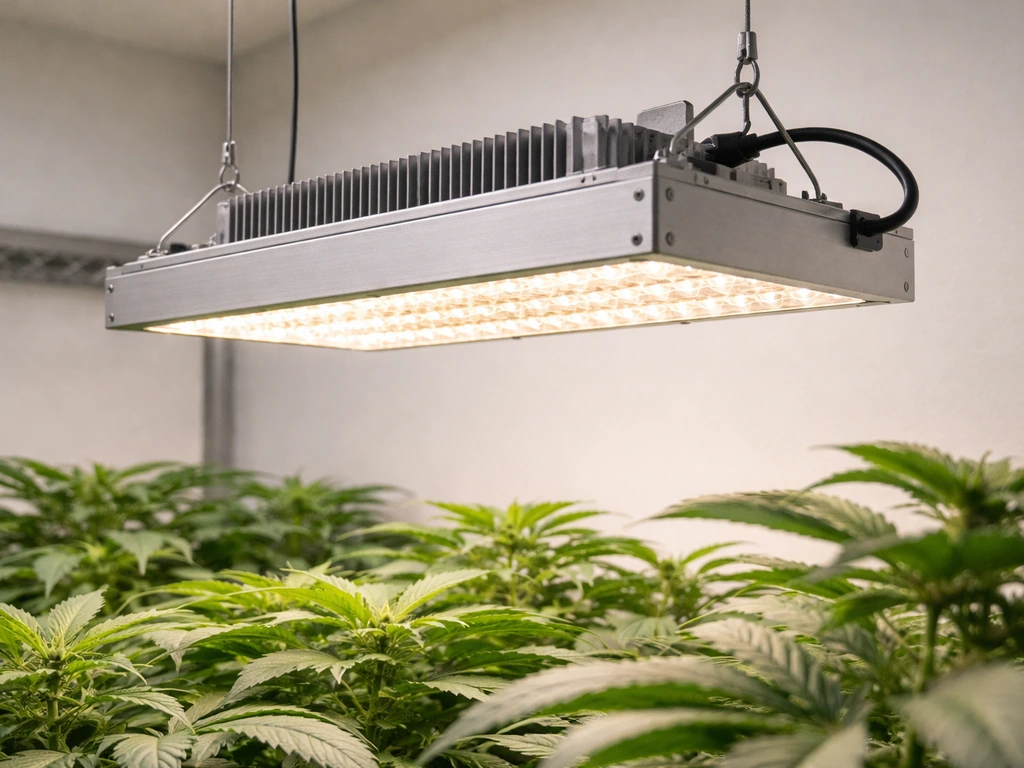
Mounting height and distance from plants
As a starting point, mount a full-power (200W+) quantum board 18 to 24 inches above seedlings and 12 to 18 inches above established vegetative plants. For low-power strip or panel builds under 100W, you can get as close as 8 to 12 inches. The intensity at the canopy drops with the inverse square of distance, so small height changes have a big effect.
If you want to be precise, a PAR meter (measuring photosynthetic photon flux density, or PPFD, in µmol/m²/s) is worth borrowing or buying. If you want to convert PPFD into Daily Light Integral, DLI is commonly calculated as 3. 6×10^-3 × PPFD × hours/day (using a 24-hour context) [PPFD, in µmol/m²/s](https://en. wikipedia.
org/wiki/Dailylightintegral). Sensors like the Apogee SQ-500 measure PPFD across 389 to 692 nm and give readings up to 4000 µmol/m²/s, well above anything a DIY fixture will produce. Most home growers target 200 to 400 µmol/m²/s for seedlings and 400 to 800 µmol/m²/s for flowering plants at the canopy level. If you can't borrow a PAR meter, the height guidelines above will get you close.
Reflectors and spacing
White-painted or mylar-lined walls inside a grow tent act as reflectors and meaningfully increase effective PPFD at the canopy without adding any wattage. This is free efficiency. For COB builds, a secondary lens or reflector cup (typically 60 or 90 degrees) helps spread the concentrated point source and smooth out hot spots. Quantum boards and strip builds generally don't need secondary optics if mounted at the right height. One thing worth thinking about: once your system is up and running, if it's going in a living space rather than a tent, making your grow lights look nice is a real consideration for keeping things tidy.
Setting intensity and timer schedules for seedlings vs houseplants
FAQ
How do I know I picked the right driver voltage and current for my do it yourself grow lights?
Don’t size by LED board wattage alone, size by the driver’s constant-current target. You need the LED string’s total forward voltage at your intended current, then confirm the driver output voltage range can cover that at operating temperature. If you have multiple boards in series or parallel, document the wiring layout before ordering drivers, because miscounting strings is a common cause of flicker and driver protection.
What quick checks should I do before powering my DIY grow lights for the first time?
If you want a quick safety check before full power, use a multimeter to verify continuity on the AC side wiring, then confirm the driver DC output polarity matches the LED wiring plan. Once powered, watch for thermal protection behavior, many drivers indicate it with an LED blink or audible change, and recheck that the LED load is connected to the driver output terminals, not the LED input side.
Can I dim do it yourself grow lights, and what dimmer type should I use?
Yes, but only if you know what you are dimming. Many Mean Well drivers accept specific dimming methods, and random PWM modules can cause unstable output or reduced driver lifetime. If you dim, consider dimming on the AC side only if the driver supports it and you maintain the correct load wiring, otherwise use a dimming input that matches the driver’s documentation.
What are the most common thermal mistakes that lead to early LED failures in DIY builds?
Thermal paste matters, and so does mechanical pressure. Use a thin, even layer, don’t stack it thick, and tighten the heatsink mounts evenly so there are no air gaps. If you can’t get consistent contact (for example uneven board thickness), thermal pads can work as long as you choose an appropriate pad thickness for your setup and still keep airflow aimed at the heatsink fins.
How do I plan cooling for do it yourself grow lights in a tent or hot closet?
If your room is hot or your fixture is enclosed, assume ambient temperature will be higher than you think at canopy level. Increase airflow first, add a fan directed at the heatsink, then derate the driver current. A practical decision aid is to run a full-power test for 15 to 30 minutes, measure heatsink temperature, and adjust before you trust performance for the whole grow.
My DIY grow light flickers, what should I check first?
When a driver goes into protection, it’s often caused by the LED load being out of spec, a wiring polarity or series-parallel mismatch, or a short/open connection. A flicker pattern plus driver output indication helps, but the fastest troubleshooting step is to power off and re-check LED string forward voltage with the wiring disconnected, then confirm the driver can operate across its required output voltage range.
What should I do if my DIY grow lights look bright in the center but dim at the edges?
It depends on how uniform you want the canopy. For a single board in the center of a large area, expect corner underexposure, so use multiple smaller emitters or plan for a reflective environment. As an edge-case, shelves with fixed spacing often benefit from evenly spaced strip runs rather than one central high-intensity COB, because strips distribute light more evenly across the width.
How should I adjust intensity and photoperiod if my plants stall or stretch?
Use DLI as a daily target, then validate PPFD at the canopy if you can. If you only have height guidelines, pick one starting schedule, then adjust based on plant response over 1 to 2 weeks, seedlings usually react faster to photoperiod changes. Also watch for heat stress, leaf temperature can cause bleaching even if your PPFD seems reasonable.
When is it not worth building do it yourself grow lights, even if I can wire them safely?
For rentals, commercial installs, or any place where inspectors expect certified luminaires, a home-built fixture can be a compliance problem regardless of how safe it seems. If UL-listed hardware is required, the practical next step is to use commercially certified drivers and housings or buy a rated fixture, then only customize non-electrical parts like mounting brackets and reflector surfaces.
Do I really need a ground wire on a DIY LED grow light?
If you’re using a metallic chassis or heatsink, ground bonding is mandatory. Connect the green ground to the chassis with a secure mechanical connection, not a loose terminal, and ensure the driver enclosure is bonded correctly if it’s metal. Also keep all AC connections fully enclosed so accidental contact is impossible, even if a cord is tugged.
Next Article
DIY Grow Light Setup: Build a Reliable Best-Result LED System
How to build a reliable diy grow light LED system with parts, wiring safety, coverage, power needs, and tuning for plant