Grow lights don't have to look like a science experiment exploded in your living room. With the right fixture style, a little cable management, and some smart placement decisions, you can get a setup that looks intentional, clean, and even kind of nice, while still giving your plants exactly what they need. This guide walks through every part of that problem: aesthetics, placement, spectrum, hardware, and scheduling.
How to Make Grow Lights Look Nice and Still Grow Well

Marcus Tillman
7 Apr 2026
Choose the right grow light style and finish

The single biggest aesthetic decision you'll make is which fixture you buy. Most of the 'it looks ugly' complaints come from choosing the wrong form factor for the space, not from grow lights being inherently unattractive.
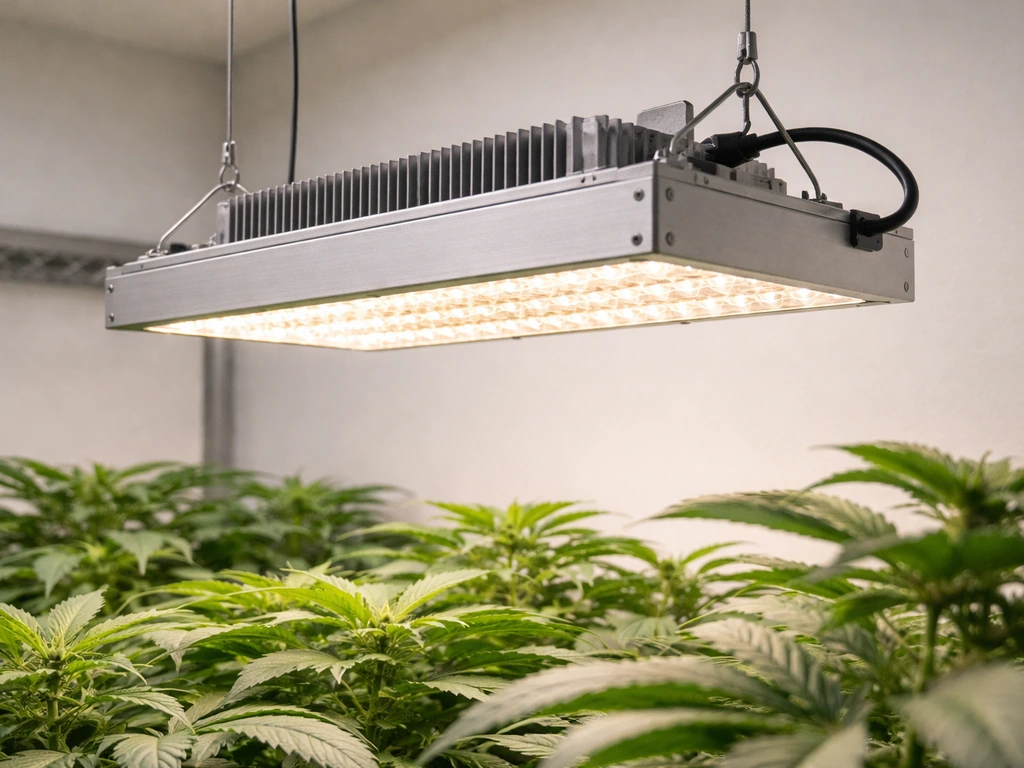
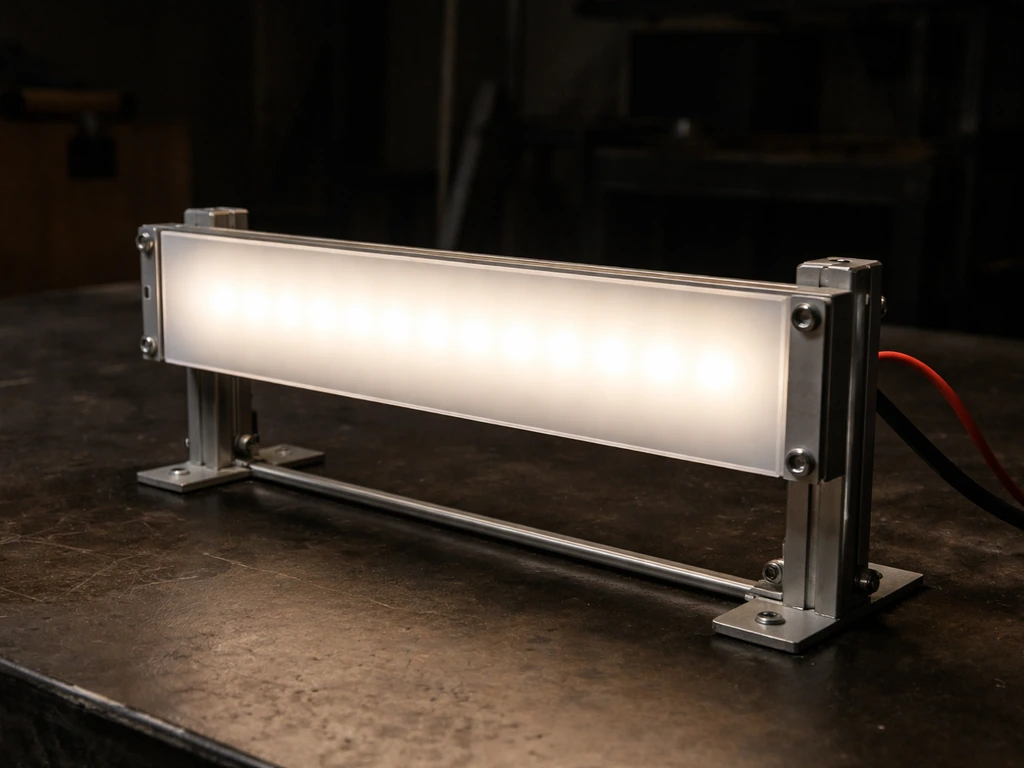
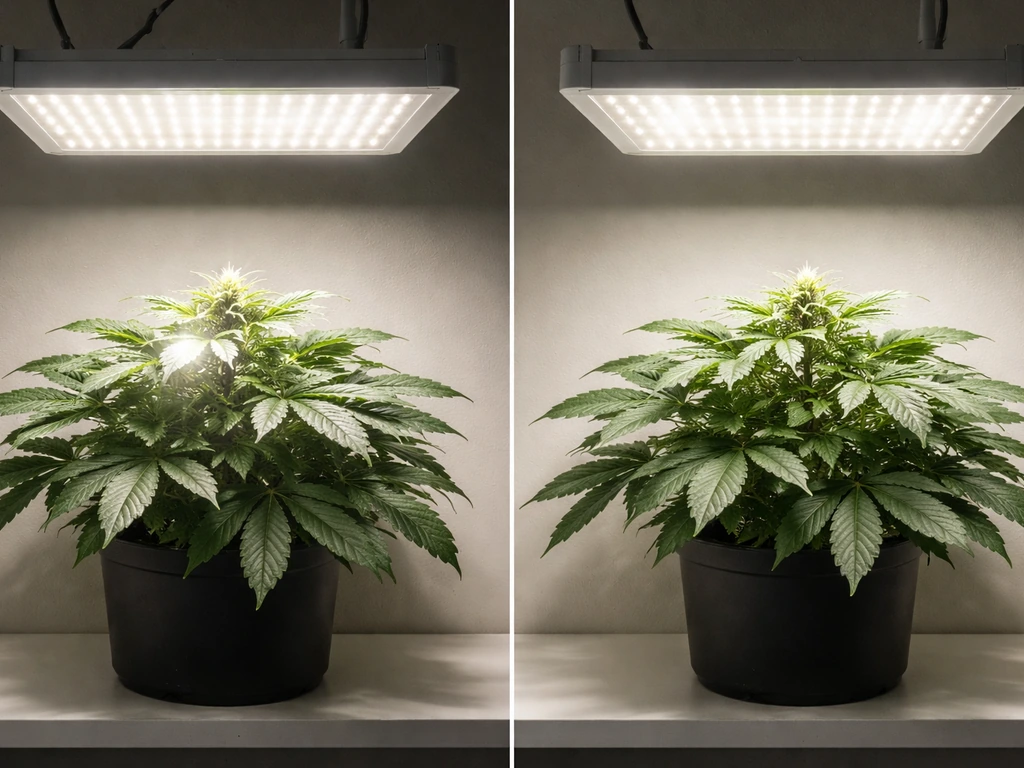
Bar-style LED fixtures are the easiest to blend into a room. They're slim, they mount flat, and they read more like a design detail than a piece of equipment. Quantum board panels are a close second: they're flat, minimalist, and typically come in black or white finishes that don't scream 'grow tent.' Blurple or purple-hued lights (the older style with separate red and blue diodes) are the hardest to hide because they cast a distinctly alien glow that affects the whole room's color. If aesthetics matter to you, go with full-spectrum white-LED bars or quantum boards. They produce a warm or neutral white light that looks far more natural in a living space.
Finish matters too. Matte black fixtures disappear against dark shelving or wall mounts. White fixtures work well on white ceilings or inside shelving units. Avoid shiny silver housings if your space has a lot of natural light, because they create unwanted reflections. If you're planning to do it yourself grow lights rather than buying off the shelf, you have full control over the housing finish, which is a real advantage for aesthetics.
Placement and mounting for even, "clean" coverage
Where you put the light matters as much as which light you choose. A fixture that's off-center, hanging at an awkward angle, or mounted too low looks messy and also creates uneven light coverage that stresses your plants. Both problems have the same fix: deliberate, measured mounting.
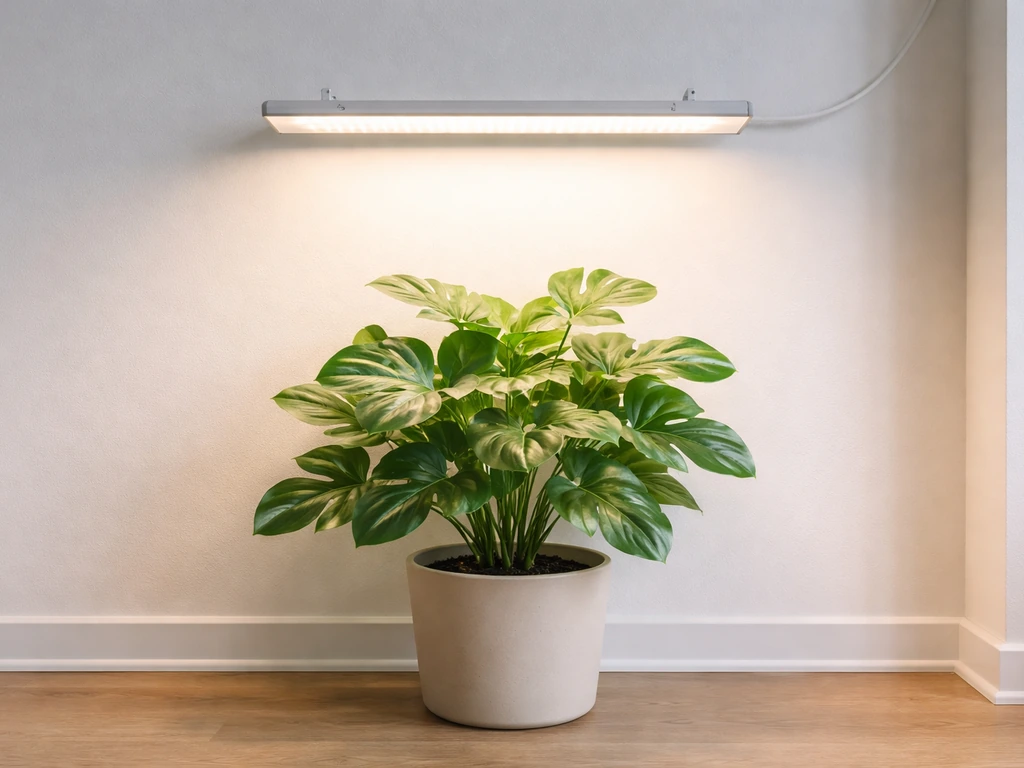
Center the fixture directly over the plant canopy. This sounds obvious but it's surprisingly easy to get lazy about, especially when you're retrofitting a shelf or corner. Use a tape measure. Mount the fixture so it's parallel to the floor, not tilted. A tilted light creates an uneven hot spot on one side and a dim zone on the other, and it also just looks sloppy.
Uniformity of coverage is something manufacturers actually model carefully. Lumatek's lighting strategy documentation, for example, shows that coverage uniformity is tied directly to how many fixtures you use and how they're laid out, not just how high the light is hung. If you're covering a large canopy area, two smaller bars positioned symmetrically will almost always look cleaner and cover more evenly than one big panel shoved in the middle.
For the mounting hardware itself, adjustable rope ratchets are your best friend. They let you fine-tune height without tools, they're cheap, and they keep the fixture level. If you want a more permanent, furniture-grade look, consider building a dedicated frame. You can find detailed guidance on how to build a grow light stand that integrates cleanly with your space rather than looking like an afterthought.
Tighten the hardware look (cables, mounts, timers)
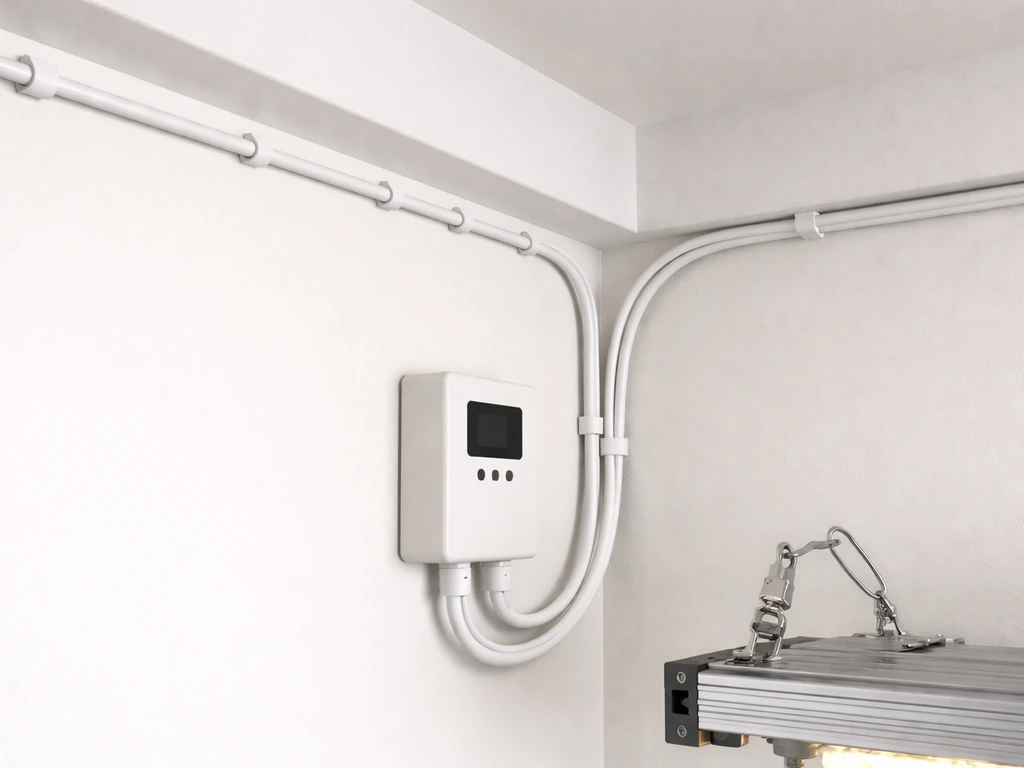
Dangling cables are the number one reason a grow light setup looks bad. You can have the most beautiful fixture in the world and it'll still look like a mess if the power cord is snaking across the floor or looping randomly in the air. The fix is straightforward: cable management clips, velcro straps, and a plan.
Route power cables along the ceiling or wall edge before they drop down to the fixture. Use adhesive cable clips (the kind with a peel-and-stick back) to pin the cord flat against a surface. Velcro ties are better than zip ties for cables you'll be adjusting frequently, because you can redo them without cutting. Bundle any excess cord length and secure it out of sight, either above the fixture or behind whatever shelf or cabinet the plants are sitting on.
Timers and controllers should be tucked away or mounted neatly, not left sitting on the floor plugged into an extension cord. A small shelf bracket or a 3M Command strip can hold a smart plug or timer controller flat against the wall. If you're running multiple lights with a centralized controller, locate the controller in a spot where the cables fanning out from it are roughly equal in length. This keeps the wiring symmetrical and makes the whole setup look planned rather than patched together.
Match brightness and spectrum to the room (reduce glare)
Glare is the second biggest aesthetic complaint after cable mess. A grow light that's too bright for the ambient room conditions looks harsh, throws weird shadows on walls, and makes it uncomfortable to sit near your plants. Fortunately, this is one of the easiest things to dial in.
Full-spectrum LEDs in the 3000K to 4000K color temperature range look the most natural in a home. A 3000K light has a warm white tone that blends with standard household bulbs. The HLG 260, for example, is available in a 3000K version specifically because that spectrum works well in spaces where humans spend time. Higher color temperatures like 6500K push into a bluer, more clinical white that reads as 'lab' rather than 'home.' For most houseplants and herbs, 3000K to 4000K gives you the red-heavy spectrum plants need for flowering and growth, without the color cast that makes a room feel weird.
Dimming is your primary glare tool. Run lights at the intensity your plants actually need, not at full blast. PPFD (photosynthetic photon flux density) is the metric that actually tells you how much usable light your plants are getting. Most herbs and leafy greens do well at 200 to 400 PPFD. Seedlings are happy around 200 PPFD. Fruiting plants might need 600 to 900 PPFD at the canopy, but that's in a dedicated grow space, not a living room corner. If you're using an app like Photone to measure PPFD at the canopy, make sure you're using the correct diffuser type in the app settings and standard white paper at 80 g/m² (22 lbs) if you're making a paper diffuser for the camera lens. Mismatched diffuser settings throw off readings significantly and you'll end up either over- or under-driving the light.
One more thing on spectrum: if you're dealing with light bleed into adjacent rooms or onto a couch you sit on, a warmer spectrum light at lower intensity will be far less intrusive than a bright, cool-spectrum fixture. The plants won't care about the difference in most cases.
Use covers, reflectors, and diffuser tricks for a nicer visual
You don't have to accept the raw look of an exposed LED bar or panel. There are a few simple additions that can make the light itself look more finished and soften the output at the same time.
Frosted acrylic diffuser panels are the cleanest solution. You can cut them to fit almost any fixture and attach them with clips or a simple channel mount. They scatter the light rather than projecting it in a focused beam, which eliminates the sharp hotspot effect directly under an LED cluster. The tradeoff is a small efficiency loss, but for home setups where you're not pushing maximum yields, it's worth it for the softer, more ambient glow. Look for diffusion ratings in the 55 to 85 percent light transmission range so you're not blocking too much output.
Reflectors work differently: they redirect light downward rather than softening it. A matte-white reflector positioned above and around the fixture keeps the light aimed at the canopy and prevents upward light spill that illuminates your ceiling in a weird way. This is especially useful if your fixture is visible from across the room, because it creates a cleaner visual boundary between 'plant zone' and 'living space.' If you're thinking about building a custom setup with a reflector housing included from the start, learning how to build grow lights with integrated reflectors gives you far more control over the final look than retrofitting an off-the-shelf fixture.
For a very low-effort diffuser trick: a single layer of white ripstop nylon or sheer white fabric stretched below the fixture (think of it like a small softbox) diffuses light beautifully and costs almost nothing. Just make sure the fabric isn't touching the fixture and has enough airflow around it.
Set safe distances and height to avoid hotspots and plant stress
Getting the height wrong creates two simultaneous problems: it stresses your plants and it makes the setup look bad. A light that's too close creates a visible hotspot directly underneath it and causes bleaching or curling in the center of the canopy. A light that's too far away produces dim, stretchy plants and wastes the fixture's potential.
Here are the practical numbers from real manufacturer guidance and grow-stage research:
| Growth Stage / Fixture | Recommended Height Above Canopy | Notes |
|---|---|---|
| Seedlings (general) | 10–12 inches | Avoid stretching; check daily |
| HLG 260 (3000K quantum board) | At least 15 inches | Manufacturer minimum; go higher if bleaching |
| HLG 300L Rspec | 18–24 inches | Manufacturer recommended range |
| Kind LED K5 series (first 3–4 days) | 48 inches or 50% intensity | Acclimation period before full power |
| Kind LED K5 series (established plants) | 30–36 inches | Standard operating range |
| Lumatek setups (configuration dependent) | 30–40 cm (approx. 12–16 inches) | Varies by fixture count and layout |
| Fruiting/flowering plants (general) | 18–24 inches | Confirm with PPFD measurement at canopy |
The key principle: start higher and lower the fixture gradually rather than starting close and burning your plants. When you bring a new light into your setup, Kind LED's guidance is explicit about this: start at 48 inches or 50% intensity for the first 3 to 4 days, then move to your target height. This gradual approach prevents the stress response that creates uneven, unattractive growth, and it also lets you visually assess hotspots before they do any damage.
Once you've settled on a height, check for hotspots by holding your hand palm-up at the canopy level for 30 seconds. If it's uncomfortably warm, raise the light. If you're using a PPFD app, measure at the center and at the edges of the canopy. A good setup has less than 20 to 25 percent variation across the coverage area.
Scheduling and dimming so lights look and feel consistent
A grow light that switches abruptly from zero to full power at 7am is jarring. It's harsh on your eyes if you happen to be in the room, and it's not great for plants either. The better approach is scheduled dimming with a gradual ramp, which also happens to look far more natural and pleasant in a living space.
Modern controllers like the AC Infinity IONBEAM system have a SCHEDULE mode that does exactly this: the lights ramp up gradually at the start of the photoperiod and dim down smoothly toward the end. blank" rel="noopener noreferrer">The IONBEAM manual gives a specific example where dimming begins at 16:00 and reaches minimum by 18:00, creating a natural 'sunset' effect rather than an abrupt cutoff. AC Infinity's IONBEAM system manual provides the example schedule where dimming begins at 16:00 and reaches minimum by 18:00 the IONBEAM manual gives a specific example where dimming begins at 16:00 and reaches minimum by 18:00. For anyone who uses their plant space in the evening, this makes a noticeable difference in how livable the room feels.
For plants, a 16 to 18 hour photoperiod works for most seedlings and vegetative growth, while 12 hours of light triggers flowering in photoperiod-sensitive plants. Set your schedule to align with when you want the lights on and off relative to your own schedule. Running lights during daylight hours and off at night is more comfortable for the household and keeps the room usable in the evenings.
One thing worth knowing about dimming: not all dimming methods are equal. PWM (pulse width modulation) dimming works by rapidly switching the light on and off, which can introduce flicker that some people find uncomfortable even if they can't consciously see it. CCR (constant current reduction) dimming actually reduces the current to the LED, which produces a truly dimmer light without flicker. If you notice an irritating visual quality from a dimmed grow light, the dimming method is the likely culprit. IEEE standard 1789-2015 specifically addresses health risk mitigation from modulating current in high-brightness LEDs, and choosing a driver and controller that use CCR-based dimming is the cleanest solution for a living space. If you want to go deeper on building a setup with the right driver from the start, exploring a DIY grow light setup gives you full control over driver selection.
Quick troubleshooting for common "ugly" grow-light problems
Even a well-planned setup can develop aesthetic or horticultural problems over time. Here's how to diagnose and fix the most common ones quickly.
- Harsh glare spilling into the room: Lower intensity to the minimum needed for your plant stage (check PPFD at the canopy), add a reflector above the fixture to redirect upward light spill, or switch to a warmer color temperature lamp. You should not be running a fixture at 100% in a living room unless your plants genuinely need that intensity.
- Visible hotspot under the light: Raise the fixture. A hotspot means you're too close for the fixture's beam angle. For most panel and bar lights, moving up 4 to 6 inches will spread the beam enough to soften the hotspot. If the hotspot persists, add a frosted acrylic diffuser panel below the fixture.
- Uneven coverage (bright center, dim edges): This usually means you need a second fixture or a wider-beam reflector. Measure PPFD at the center and the edges. If the edge readings are less than 60 to 70 percent of the center reading, redistribute fixture positions or add a supplemental bar light at the perimeter.
- Cable clutter reappearing after tidying: This means your cable routes weren't anchored well enough. Use adhesive cable raceways (the kind that snap closed) instead of individual clips. One raceway can hold all your cables along a single wall run and looks completely clean.
- Light flicker visible when dimmed: Switch from PWM dimming to a CCR-compatible driver/controller, or stop dimming that particular driver below its stable threshold. Many drivers have a minimum dimming level (often 10 to 20%) below which they become unstable. Don't push past it.
- Plants stretching even though the light looks bright: The light looks bright to you because your eyes aren't measuring PPFD, they're measuring overall luminance. Use a PPFD meter or app (with the correct diffuser set in the app settings and the right paper weight if you're making a homemade diffuser) to get an actual reading. Stretching means the plants aren't getting enough photosynthetically usable light, regardless of how bright it looks.
- The fixture looks out of place visually: This is almost always a form-factor mismatch. A blurple-style panel in a living room will never look right. Replace it with a slim bar or quantum board in a neutral finish. If you're committed to a custom build, you can design around aesthetics from the ground up, and reading up on how to build a quantum board grow light will show you just how clean and minimal those fixtures can be made.
The through-line across all of these fixes is measurement and intentionality. Most 'ugly' grow light setups got that way because decisions were made quickly, without a plan for what the finished setup should look like. Taking 20 extra minutes to measure, level, route cables, and set up a schedule pays off immediately in how the space looks and feels, and it keeps your plants healthier at the same time. That's not a bad trade.
FAQ
Why does my grow light make the whole room look tinted, even though I chose a full-spectrum fixture?
If your grow light still looks “too purple,” check whether the fixture is actually full-spectrum white or a red-blue style. Blurple looks like an alien glow because the spectrum is split, so even good placement will keep coloring the room. If it is white, the next culprit is color temperature and dimming level, try 3000K-4000K and lower intensity with a ramped schedule so the room illumination feels closer to normal household lighting.
How can I make wiring look symmetrical when I have multiple lights at different positions?
Put the controller on the side where the cable run is shortest and keep the outgoing cords the same “layout,” bundles and bends included. If the runs are unequal, the symmetry will look broken. Use velcro ties to create matching cable lengths from the controller to each fixture, then tuck the extra slack above the shelf, behind the cabinet, or in a shallow cable channel.
My PPFD app says I’m in range, but I still see hotspots or uneven growth. What should I check?
Most people aim for the right PPFD but measure the wrong place or with the wrong diffuser assumptions. Confirm you are measuring at canopy level, then compare center readings to edge readings, you want relatively even output. If your app requires a diffuser type, match it exactly, and if you DIY a paper diffuser, keep the paper weight and layer consistent each time.
What’s the fastest way to correct hotspots without damaging my plants?
Try raising the fixture slightly and confirm it is level, then adjust intensity down before you lower it further. A fixture that is too close creates a visible hotspot and can bleach the center, a fixture that is too far creates dim edges and “stringy” growth. After each change, do a quick 30-second hand test at canopy height to detect harsh heat or brightness.
Why does my setup look harsh even when the photoperiod is right?
Use a ramped schedule and avoid hard on-off times when possible. Even if your photoperiod hours are correct, an abrupt jump can look harsh in a living space and be uncomfortable to be around. Set a schedule that ramps over a noticeable window (for example, tens of minutes) so the light intensity matches how people perceive morning and evening.
How do I know whether dimming is causing flicker or discomfort?
If you see flicker or “irritating” quality when dimmed, it is often the dimming method, not the brightness number. Look for CCR-style dimming (constant current reduction) rather than PWM when available. Also ensure your driver and controller are compatible and set to the intended dimming mode, because mismatched pairings can introduce flicker.
Can I reduce light spill into adjacent rooms without sacrificing plant performance?
Yes, but you need to manage light bleed as a separate problem from plant growth. Use a warmer 3000K-4000K white at a lower intensity and add a diffuser or matte-white reflector to keep light from traveling upward. If the beam is visible, the diffuser approach (frosted acrylic or a stretched white fabric) usually softens the “look” more than a reflector alone.
What should I change first if glare is still bothering people in the room?
Start by verifying the fixture is centered over the canopy and parallel to the floor. Then address the diffuser or reflector if glare persists: frosted diffusion reduces sharp hotspots and makes the room feel less “spotlit,” while matte-white reflectors mainly stop upward spill. If the room still feels bright, reduce intensity first, then fine-tune height to keep coverage even.
My plants started even, but later growth got patchy. How do I troubleshoot?
If growth looks uneven over weeks, the likely causes are height drift, fixture tilt, and changes in plant size. Re-level the fixture, recheck height with tape at multiple points across the canopy, and re-measure PPFD (center and edges) to confirm coverage uniformity. Adjust gradually, and avoid large one-step intensity jumps.
What’s the most “living-room friendly” combination for appearance and performance?
Warm dimmable white lighting is usually the easiest to blend, but placement and boundary definition matter too. If your plants are visible from across the room, a reflector boundary and a diffuser that eliminates sharp beams help the “plant zone” read as intentional rather than like exposed hardware. Also choose matte finishes to reduce reflections from shiny housings.
Next Article
Do It Yourself Grow Lights: Build a Safe LED System
Step-by-step DIY LED grow lights: safe parts, wiring, heat control, coverage layout, mounting height, and troubleshootin