For a Click & Grow Smart Garden, the rule is simple: start the lamp at its lowest position (no extension arms), and only raise it when your plants are almost touching the light. That one guideline covers 90% of situations. The built-in 16-hour light cycle does the timing work for you, so your main job is watching plant height and responding to what you see.
Click and Grow When to Raise Light: Height Guide

Marcus Tillman
15 May 2026

What 'raise the light' actually means on a Click & Grow
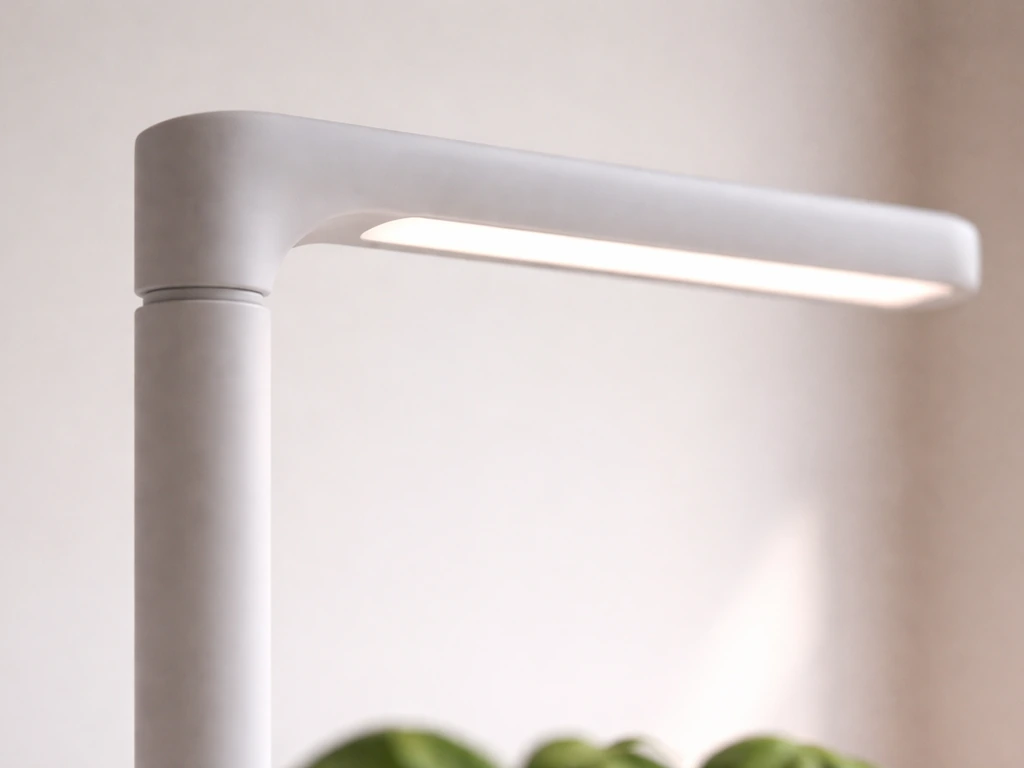
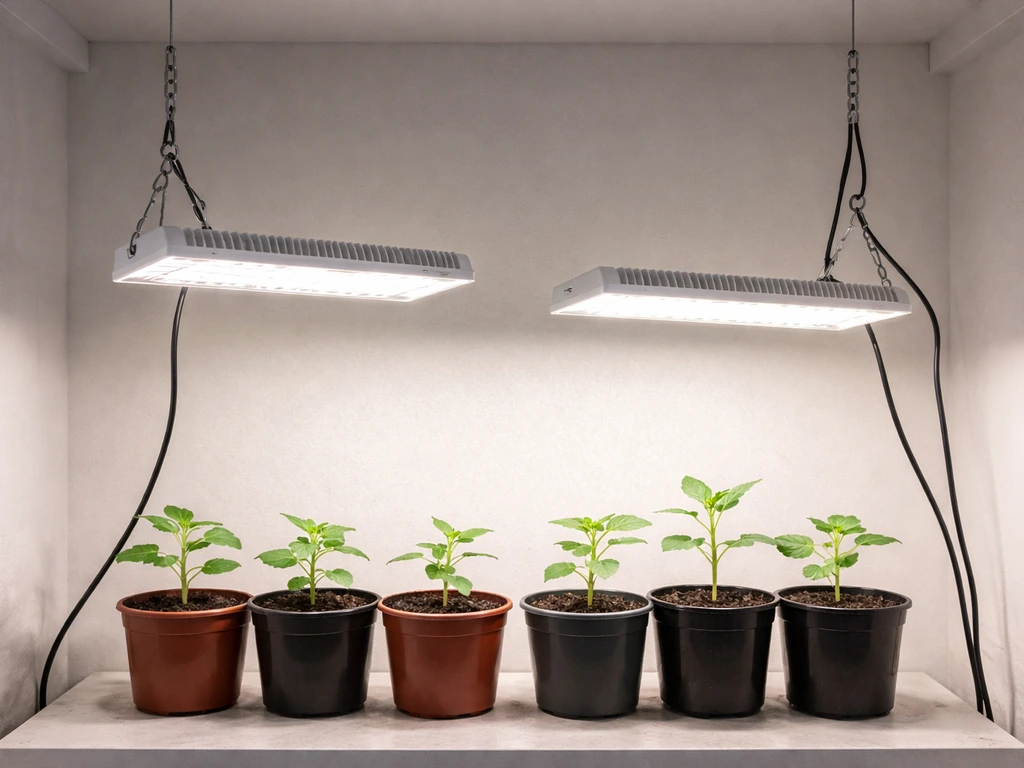
Unlike a traditional grow tent setup where you hang a light on adjustable ropes, Click & Grow Smart Gardens use a fixed lamp arm that sits on a vertical post. You raise the lamp by adding plastic extension arms to that post. The Smart Garden 3, for example, has a vertical range of 210 mm to 470 mm (roughly 8 inches up to 1 foot 7 inches) depending on how many extensions are attached.
So 'raising the light' here means snapping on an extra extension section, not pulling on a rope or cranking a pulley. If you've come from reading general advice about adjusting grow light height on DIY rigs, the concept is the same, but the method is specific to Click & Grow's hardware.
The key detail from Click & Grow's own guidance: always start with no extension arms when you plant new pods. The lamp begins at its lowest position, closest to the soil. You only add an extension when plants start reaching up toward the lamp. This might feel counterintuitive if you've read general LED guides recommending you keep lights 18–24 inches away from seedlings, but Click & Grow's LEDs are designed for the compact distances their system creates. Trust the system's intended range.
When to raise the light at each growth stage
Germination (Days 1–7, roughly)
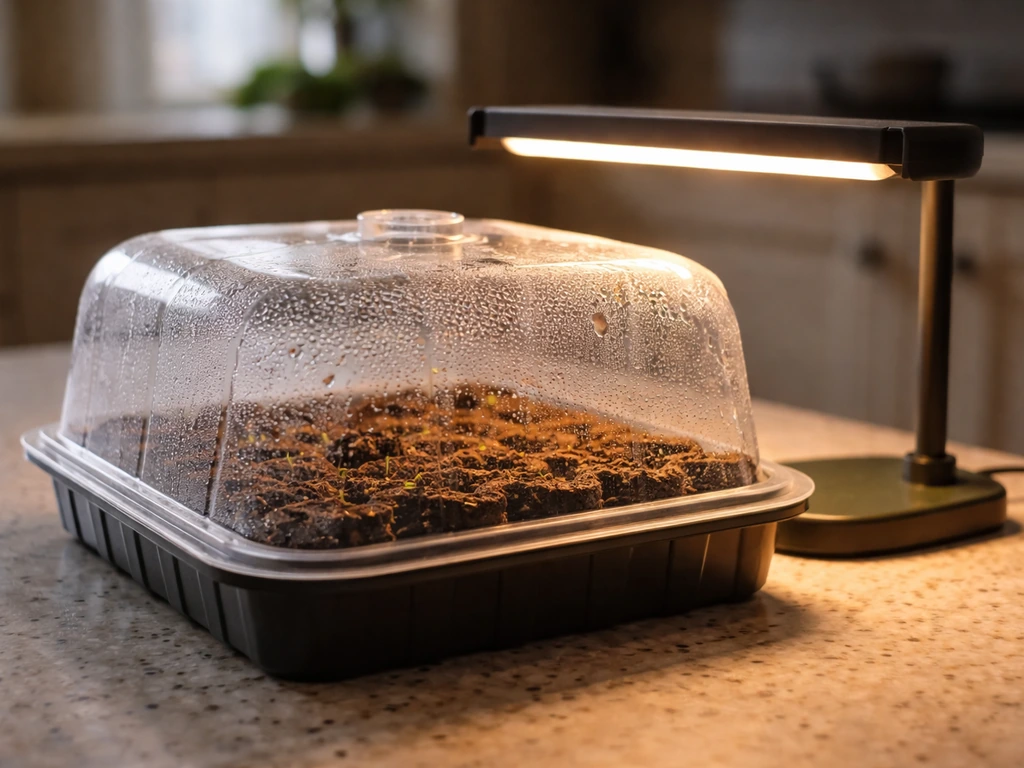
Keep the lamp at its lowest position and leave the germination domes on. The domes trap humidity and warmth, which seeds need to sprout. The light is on during this phase, but the dome acts as a buffer. Don't touch the lamp height at all during germination. Your only job is to watch for the first signs of green poking through the pod.
Seedling stage (after sprouts appear)
Once you see sprouts, remove the germination domes. The seedlings are now in direct exposure to the lamp, and the lamp stays at its lowest setting. Most Click & Grow pods show sprouts between day 3 and day 10 depending on the plant. At this stage, the plants are short, so the low lamp position is exactly right. Resist the urge to raise it. The closeness actually helps prevent the seedlings from stretching toward a distant light source.
Vegetative and mature growth (weeks 2–8+)
This is when you start monitoring actively. As plants grow taller, the gap between the canopy and the lamp shrinks. When plants are almost touching the lamp, that's your signal to add the first extension arm. If you want a wider range than a fixed arm, you can use adjustable grow lights with a height or track system to fine-tune light distance as your plants grow.
In general, the key is to raise and lower grow lights gradually based on how close the plants are to the lamp. Add only one extension at a time. Click & Grow specifically warns that using two sets of extension arms on a Smart Garden 9 can cause leggy, stretched growth because the light becomes too distant. The same logic applies to the Smart Garden 3.
Add an extension, watch for a few days, and only add another if the plants catch up again.
| Growth Stage | Lamp Position | Action Needed |
|---|---|---|
| Germination (days 1–7) | Lowest, no extensions | Leave domes on, don't touch lamp |
| Sprouts visible | Lowest, no extensions | Remove domes, keep lamp as-is |
| Seedlings growing (week 1–3) | Lowest, no extensions | Monitor canopy-to-lamp gap daily |
| Plants approaching lamp | Add first extension arm | Snap on one extension, re-check gap |
| Plants approach lamp again | Add second extension if needed | Add cautiously, watch for legginess |
Setting the initial light height and reading plant response
When you set up a new round of pods, remove any extension arms from a previous grow and return the lamp to its base position. This is the official Click & Grow recommendation, and it matters because plants from a previous grow may have been tall, meaning you left extensions on. New seeds need the lamp close from day one.
Once the system is running, check the gap between the top of your tallest plant and the underside of the lamp every day or two. A healthy gap is roughly 1–3 inches (2–7 cm). If you have significantly more gap than that, your plants may start stretching toward the light. If you have almost no gap, plants risk tip burn from heat and overly intense light at close range.
For people using general LED grow lights (not the proprietary Click & Grow arm system), the starting distance guidelines look a little different. A small LED under 100W typically wants to be blank" rel="noopener noreferrer">10–14 inches (25–35 cm) from the canopy during seedling stage, and somewhere around 12–18 inches during vegetative growth. But again, Click & Grow's integrated LEDs are calibrated for the system's physical range, so follow the 'almost touching' trigger rather than an absolute inch measurement. If you are wiring a separate grow light setup, follow a clear how to wire grow lights guide and double-check the electrical requirements before powering anything on.
Signs your light is too high or too low
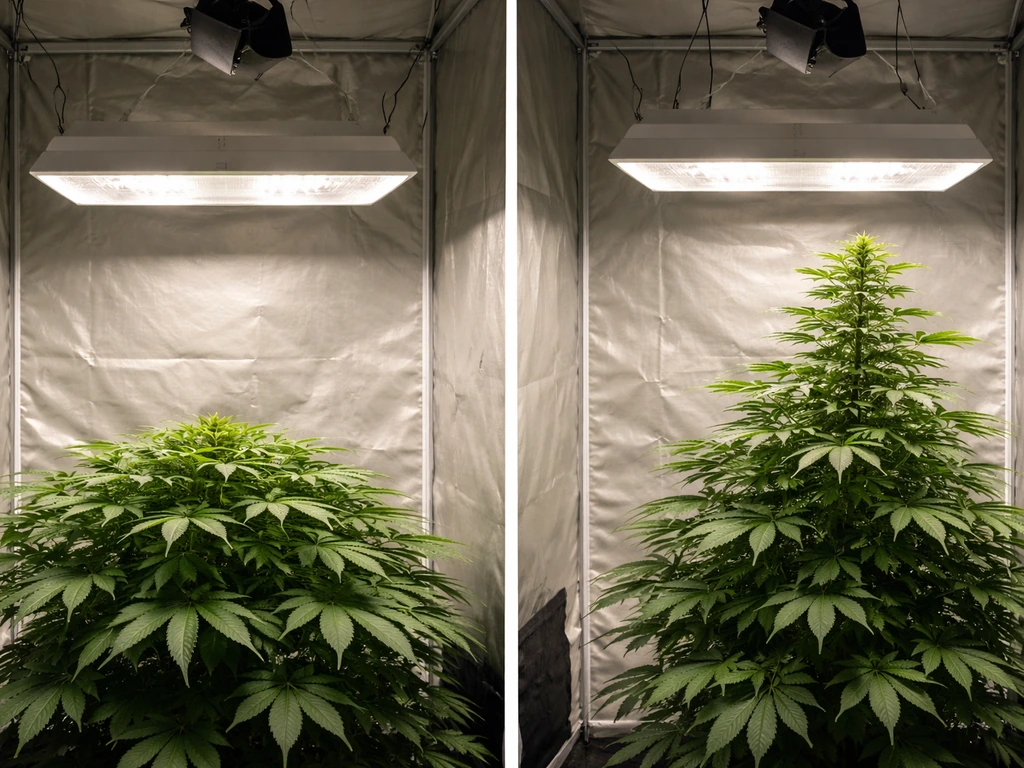
Light too high: leggy, stretching plants
When the lamp is too far from the canopy, plants stretch their stems upward trying to reach the light. You'll notice stems that are long and thin instead of short and sturdy, and leaves spaced widely apart on the stem instead of compact. This is called etiolation or 'leggy growth,' and it's one of the most common problems in small indoor gardens.
On a Click & Grow, this usually happens when you've added too many extension arms too early, or if you started a new grow and forgot to remove extensions from a previous cycle. The good news: a seedling with 2–3 inches of stretch can usually recover once the lamp is repositioned closer, typically within 1–2 weeks of fixing the distance.
Light too low or too intense: burn, curling, and bleaching
When the lamp is too close, you'll see the opposite problem. Look for brown or crispy leaf tips and edges, leaves that curl upward at the edges, or a bleached/whitish color on the tops of leaves closest to the light. This is light burn or tip burn. Grow Weed Easy notes that pale, stretchy, and stress symptoms can indicate too-high light levels, and it distinguishes [light burn or tip burn](https://www.
growweedeasy. com/led-grow-lights-too-much-or-not-enough-light) from nutrient burn. It's less common in Click & Grow setups than legginess because the system is designed to keep the lamp at a safe distance, but it can happen when a fast-growing plant suddenly shoots up into the lamp before you've had a chance to add an extension. If you see these signs, add a lamp extension immediately and monitor recovery over 3–5 days.
Heat stress (separate from light burn)
Heat stress looks similar to light burn but has a different cause. If your plants wilt during the warmer parts of the day and then perk back up later, that's a classic heat stress pattern. Click & Grow units don't control room temperature, so if your home gets above 85–90°F (29–32°C), plants will struggle regardless of lamp position. Check your room conditions before assuming the lamp height is the problem.
| Symptom | Likely Cause | Quick Fix |
|---|---|---|
| Long, thin stems with wide leaf spacing | Light too far away (lamp too high) | Remove one extension arm or check extensions weren't left from last grow |
| Brown/crispy leaf tips or edges | Light too close or tip burn | Add one extension arm, check airflow |
| Bleached or pale white tops of leaves | Light burn from too-close lamp | Add extension arm immediately |
| Wilting midday, recovery in evening | Heat stress from room temperature | Move unit away from heat sources, check room temp |
| Uniform yellowing across plant | Nutrient or water issue, not light | Check water level and pod placement, not lamp height |
Step-by-step: adjusting light height and checking results
- Start fresh: When planting new pods, remove all extension arms and return the lamp to its lowest position.
- Plant your pods and replace the germination domes. Plug in your unit in the morning so the 16h/8h timer cycle aligns with daytime hours.
- Check daily once sprouts appear: measure or eyeball the gap between the tallest plant's tip and the lamp's underside.
- When a plant is almost touching the lamp (gap under about 1 inch / 2.5 cm), snap on one extension arm.
- After adding an extension, wait 3–5 days and re-check. Look for stretching (too far) or tip burn (too close).
- If plants stretch noticeably after adding an extension, consider whether you added one too soon. You can remove an extension if the plants aren't actually touching yet.
- If you need a second extension, add it the same way: only when plants are almost touching again. Avoid jumping to two extensions at once.
- For plants that were already leggy when you caught the problem: move the lamp closer (remove an extension), and give the plant 1–2 weeks to produce sturdier new growth. You won't reverse the stretched stem, but new growth will be compact.
- For plants showing tip burn: add an extension immediately, and gently remove any severely damaged leaves. Recovery typically shows up in 3–5 days as new growth looks healthy.
Light scheduling and duration: what to keep in mind
Click & Grow's built-in timer is fixed at 16 hours on and 8 hours off. You can't change that cycle on standard Smart Garden models, and you don't need to. The 16/8 schedule works well for herbs, leafy greens, and most flowering plants the pods are designed for. There's no 'seedling mode' or 'veg mode' to switch between. The only scheduling decision you actually make is what time of day you first plug in the unit.
Plug your Smart Garden in during the morning hours. Because the timer starts its 16-hour 'on' cycle from the moment you plug it in, starting in the morning means the light turns off sometime in the evening or at night, which is natural and avoids bright light flooding your room at 2 AM. Click & Grow specifically recommends this to avoid light pollution disrupting your household. Once plugged in, the timer runs automatically from there.
One thing people sometimes wonder: should you give seedlings fewer hours of light and increase it as they mature? For Click & Grow systems, no. The 16/8 cycle is appropriate throughout the plant's life in the system. What changes is lamp height, not duration. Keep the schedule constant and adjust height as plants grow.
Common Click & Grow light problems and quick fixes
My seedlings are growing tall and floppy
This is almost always a light distance issue. Either the lamp has extensions on from a previous grow (remove them), or the seeds sprouted very slowly and the stems stretched in the low-light period before the sprout broke through the pod (common with slower-germinating plants). Fix it by getting the lamp closer. If the stem is already stretched and floppy, you can gently support it by mounding a little extra growing medium around the base, or just accept that the new growth above it will be healthier once light distance is corrected.
My plants look burned even though I haven't raised the lamp
Fast-growing plants like basil can shoot up 2–3 inches in a single week. If you checked the gap on Monday and everything looked fine, by Friday a fast grower can be pressing against the lamp. Get into the habit of checking every couple of days during peak growth periods, typically weeks 3–6. Add an extension as soon as you notice contact or near-contact.
Leaves are turning yellow
Yellowing isn't always a light problem. Uniform yellowing across the whole plant usually points to a water or nutrient issue rather than lamp height. Check that the water tank isn't empty and that pods are properly seated. If only the leaves directly under the lamp are yellowing or bleaching, that's more likely a light intensity issue and adding an extension may help. When in doubt, Click & Grow's support community and official troubleshooting resources are genuinely useful for photo-based diagnosis.
Green slime or algae on the pods
Algae grows when light hits the water in the tank, and it has nothing to do with lamp height. It's a separate issue entirely. If you see green or brown slimy buildup around the pod holes, that's algae, not a light-distance problem. Cover any empty pod holes with the included pod covers to block light from reaching the water.
The light seems to be on at odd hours
If the light is running through the night and bothering you, unplug the unit and plug it back in during morning hours. The 16/8 cycle resets from whatever moment you plug it back in. It's a simple fix that a lot of new Click & Grow users don't realize is available to them.
FAQ
How do I know if my Click & Grow lamp height adjustment actually worked, and when should I re-check?
After you add (or remove) an extension, re-check the gap and plant look in about 3 to 5 days. Light-stretch and bleaching patterns usually become clearer over that window, not overnight. If seedlings are already touching the lamp, add the extension immediately, then wait for 3 to 5 days before making another change.
Should I raise the lamp as soon as I see sprouts, or wait until plants nearly touch it?
Wait until the canopy is nearly touching the lamp. During the sprout stage you keep the lamp at its lowest position, because raising early often increases etiolation rather than preventing it in this system. The “almost touching” trigger is the key decision point.
What if one pod grows faster than the others, do I adjust for the tallest plant or the average?
Use the tallest plant as your height reference. If the top plant is reaching the lamp, add an extension even if smaller plants look fine, then allow the others a few days to catch up. If you only adjust for the average, the fastest grower is more likely to tip-burn or bleach.
Can I remove extensions before plants are stretching, just to prevent leggy growth?
Only if you truly see excessive stretching or a gap that stays too large. If plants are already close, removing extensions can cause heat or light tip burn. A safer check is the gap, roughly 1 to 3 inches (2 to 7 cm) for a healthy range.
Is it safe to use both extension arms sets at once, for a faster adjustment?
In general, no. Click & Grow warns against stacking two extension sets on some models because it can make the light too distant and lead to leggy growth. Adjust one extension at a time, then reassess after a few days.
My lamp is close, but leaves near the top look bleached. How can I tell if it is light burn versus a nutrient problem?
Bleaching or white tops that are localized to the area closest to the lamp usually points to light intensity. Nutrient issues often show more uniform discoloration across the whole plant. If only the top-facing leaves are affected, raise the lamp by adding one extension and monitor over 3 to 5 days.
What should I do if I keep seeing heat-stress-like wilting even when lamp height seems correct?
First check the room temperature, especially during the warmest part of the day. If your home regularly exceeds about 85 to 90°F (29 to 32°C), the unit cannot compensate with lamp positioning. Also ensure there is airflow around the garden and that the unit is not pressed against a heat source.
During a new pod cycle, do I really need to remove all extensions from the previous grow?
Yes. Start each new run with no extension arms so the lamp is close from day one. Leaving extensions on is a common cause of delayed or stretched growth because new seeds need that initial proximity to establish strong early growth.
What if my plants are still stretched after I add an extension, will they recover?
Usually, yes. If the stretch is mild (for example, a few inches), new growth above the stretched area typically becomes healthier once the light distance is corrected, often within 1 to 2 weeks. If stems are already floppy, you can gently support them by mounding extra growing medium around the base.
If seedlings grow slowly and the first sprout takes longer than expected, does that change when I raise the light?
No, you still keep the lamp at its lowest setting through germination and early sprouting. Slow sprouting can contribute to some stretch before green appears, but the fix is still to keep the system started correctly, then only raise using the “almost touching” rule once plants are actively growing.
Does adjusting the lamp height affect the built-in light schedule (16 hours on, 8 hours off)?
No. Lamp height changes do not modify the timer cycle. The schedule is fixed on standard models, so your only ongoing control is lamp position, not how long it runs.
The light turns off at an inconvenient time. Can I shift the schedule without changing hardware?
Yes. Unplug the unit and plug it back in during morning hours. The 16/8 cycle starts from the moment you plug it in, so this effectively shifts when “on” and “off” occur.
Should I cover empty pod holes to prevent algae or light issues?
Yes. Cover empty pod holes with the included pod covers to block light from reaching the tank water, which helps prevent algae growth. This is specifically about algae control, not lamp height adjustment.
Next Article
How to Raise and Lower Grow Lights for Better Plant Growth
Step-by-step guide to adjust grow light height and timing using plant feedback for optimal seedlings, veg, and flowering