Raising your grow light reduces intensity and heat at the canopy; lowering it increases both. That single relationship is the engine behind almost every height adjustment you'll ever make. Get the distance right and your plants grow compact, green, and healthy. Get it wrong and you'll see either stretched, leggy stems from too little light or bleached, curling leaves from too much. The good news is that fixing it is straightforward once you know what to look for and how far to move the fixture each time.
How to Raise and Lower Grow Lights for Better Plant Growth

Marcus Tillman
6 May 2026
What raising vs lowering your grow light actually does
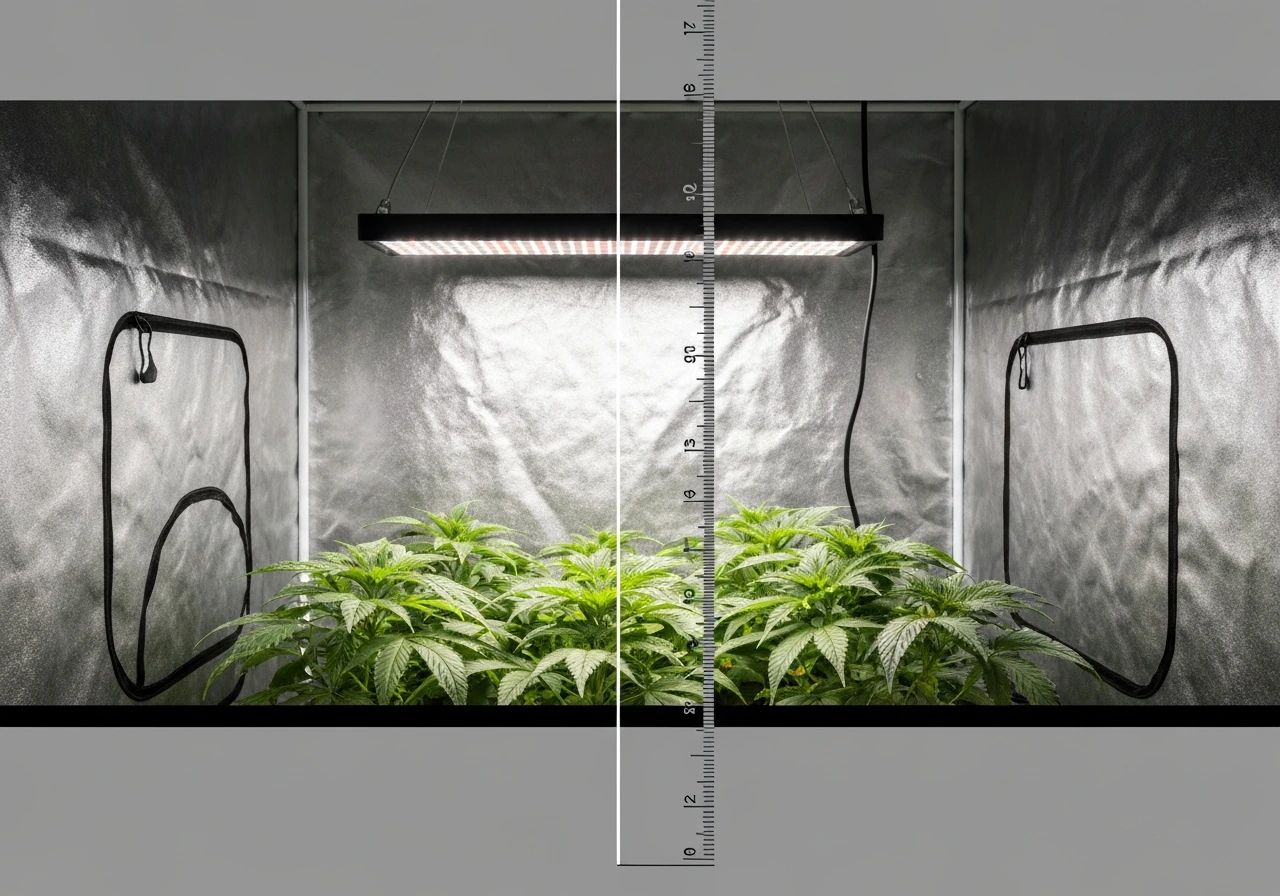
Light intensity follows an inverse-square relationship with distance. In plain terms: cut the distance in half and you roughly quadruple the intensity at the plant surface. Double the distance and intensity drops to about a quarter. This is why even a small move, say 4 inches up or down, can have a surprisingly large effect, especially when you're already working at short distances like 12 to 18 inches.
The metric growers use to describe this is PPFD (photosynthetic photon flux density), measured in µmol per square meter per second. It counts the photons in the 400 to 700 nm range that actually drive photosynthesis. Apogee Instruments discusses PAR/PPFD-type quantum measurements and explains how the sensor wavelength range relates to plant-relevant photon measurement PAR/PPFD-type quantum measurements and wavelength ranges. You don't need a PAR meter to get started, but knowing the concept helps you understand why height matters so much. A light sitting 12 inches from your seedlings might deliver 600 µmol/m²/s. Raise it to 24 inches and you might drop to 200 µmol/m²/s over the same footprint.
Height also affects two other things people underestimate: heat and coverage area. Lowering a light concentrates heat in a smaller zone, which can stress leaves even if the intensity is technically fine. Raising it spreads light over a wider footprint, which helps with coverage but reduces the punch delivered to any one spot. These trade-offs are why adjusting height is an ongoing process, not a one-time setup.
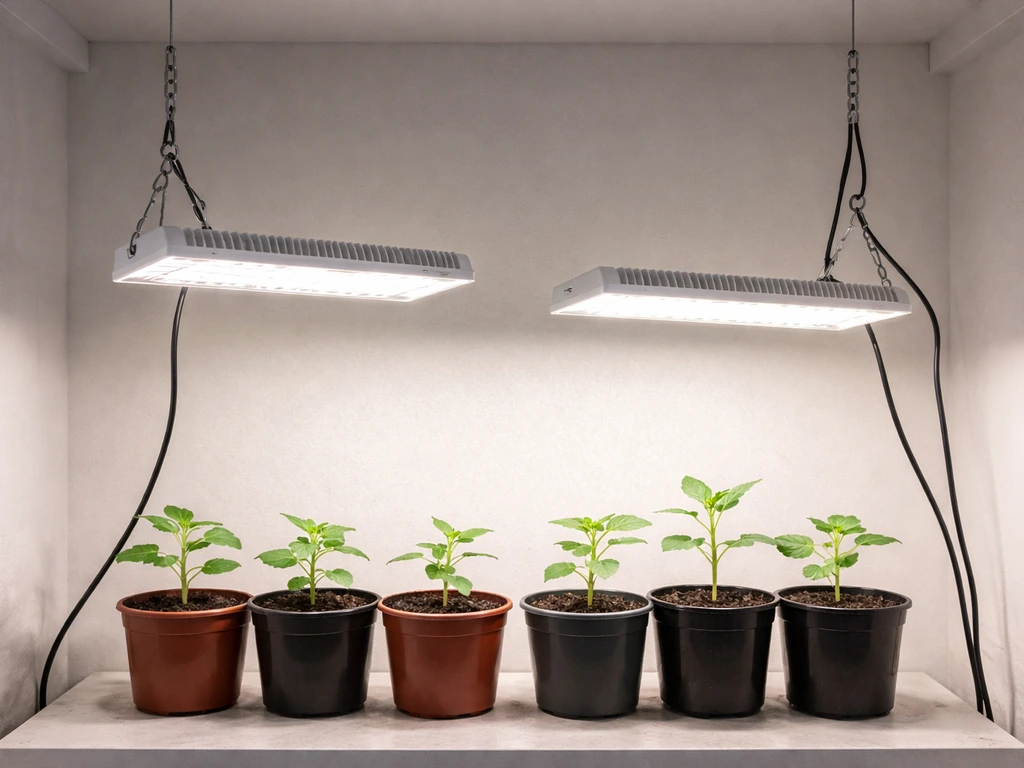
Choose a starting height by light type and plant stage
There's no single universal hang height. It depends on your fixture type and where your plants are in their growth cycle. The table below gives you practical starting points. Treat these as baselines to refine, not exact prescriptions.
| Light Type | Seedling Stage | Vegetative Stage | Flowering/Fruiting Stage |
|---|---|---|---|
| LED bar or quantum board (200–400W) | 24–36 inches | 18–24 inches | 12–18 inches |
| Full-spectrum LED panel (budget/blurple) | 18–24 inches | 14–20 inches | 10–16 inches |
| HID / HPS / Metal Halide (400–600W) | 24–36 inches | 18–24 inches | 16–24 inches |
| Fluorescent T5 / T8 / shop light | 2–6 inches | 4–8 inches | 6–12 inches |
| CMH / LEC (315W) | 24–30 inches | 18–24 inches | 14–20 inches |
For seedlings under fluorescents, keep the fixture very close, often just 2 to 4 inches above the tray. Fluorescent tubes are low-output and lose intensity fast with distance. UNH Extension recommends running them for up to 22 hours a day at that close range to deliver enough light for sun-loving seedlings. LEDs are much more powerful and need more clearance, especially premium quantum boards from brands like Spider Farmer, Mars Hydro, or HLG.
As plants move from seedling to vegetative growth, they need more light, so you gradually lower the fixture. Then as they move into flowering or fruiting, many growers lower it again to push PPFD into the 600 to 900 µmol/m²/s range. Oklahoma State University's LED guidance puts the sweet spot for good plant growth at roughly 400 to 800 µmol/m²/s, which lines up with what most home growers aim for in veg, while flowering plants often benefit from the higher end of that range.
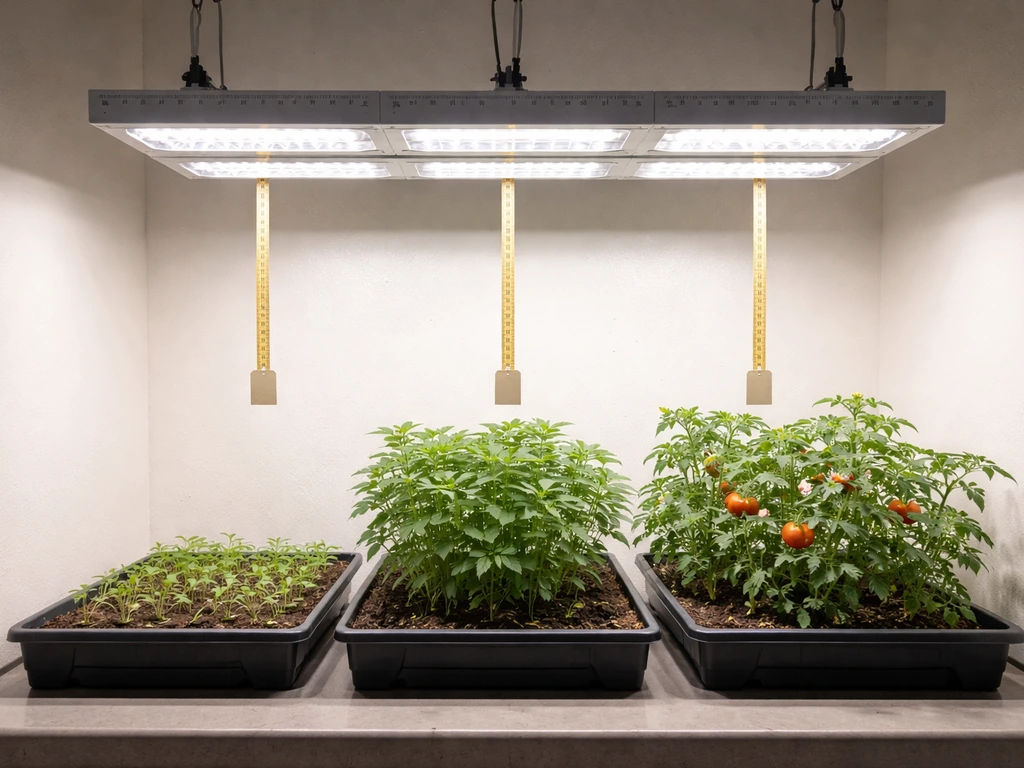
How to adjust safely: tools, distances, and how much to change at a time
What you need before you touch the fixture
- A tape measure or ruler (measure from the bottom of the fixture to the top of the canopy, not the floor)
- A stepladder or step stool if the fixture is mounted high
- A ratchet rope ratchet or adjustable hanging kit (most grow lights ship with these)
- A notepad or phone app to log current height and date of any change
- Optional but useful: a PAR/PPFD meter or a smartphone app like Photone for rough readings
Always turn the light off before adjusting it. Even with LEDs, working near a hot driver or bumping the fixture while it's on is a risk you don't need. If you're using HID or HPS lights, give them at least 15 minutes to cool before handling.
How much to move it each time
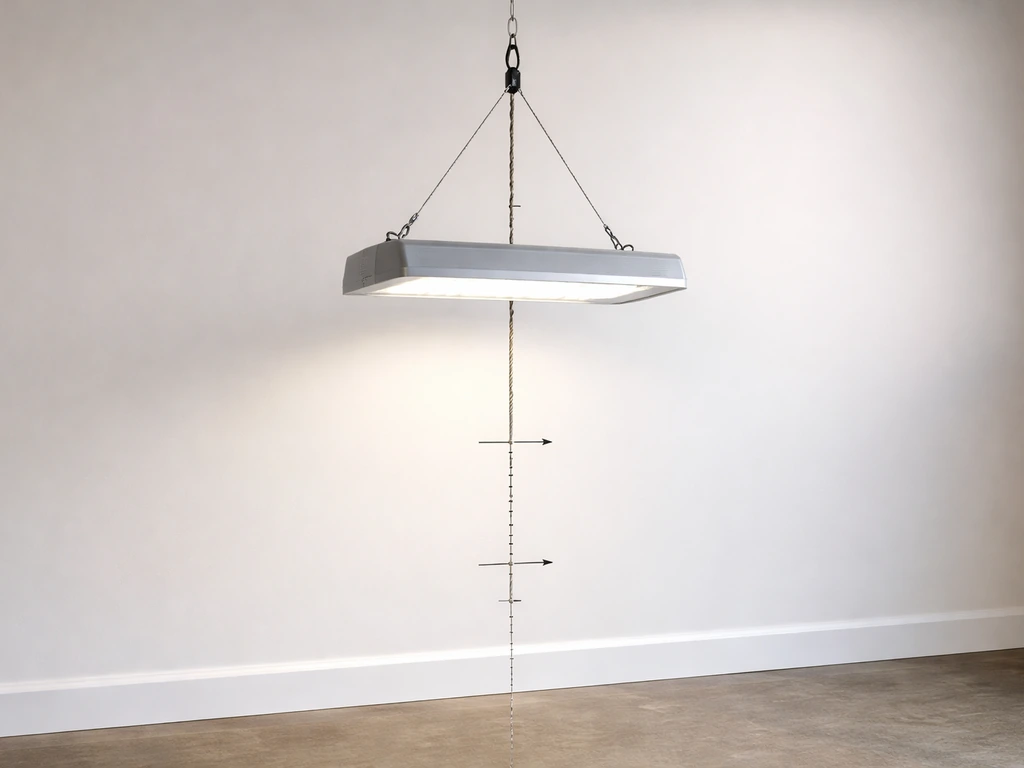
Move in 2-inch increments for most LED panels and HID setups. For fluorescents and low-power LEDs, 1-inch moves are enough given how quickly intensity changes at close range. Make one adjustment, then wait 48 to 72 hours before evaluating the plant's response. Plants don't react instantly. Leaf curl or discoloration from a bad height might not show up for a day or two, so patience between adjustments is essential.
If you're using a PAR meter, take readings at the canopy level across multiple points, not just directly under the center of the fixture. Apogee's approach of mapping a grid of readings across the footprint is the gold standard. Even a rough 5-point check (center, four corners) will tell you whether you have hotspots in the middle or dark corners that need fixing. Adjust height first, then consider rotating the fixture or adjusting reflectors if the spread is uneven.
Common adjustment scenarios
- Plants outgrowing a shelf: raise the light gradually as the canopy rises, maintaining the same canopy-to-fixture distance rather than letting plants grow into the light
- Moving a light to a different room: re-measure from scratch; wall reflectivity and ceiling height change how the light behaves
- After repotting into a taller container: the canopy is now closer to the fixture, so raise the light by the height added by the new pot
- After adding a trellis net or SCROG: the canopy is now flatter and wider, so check coverage across the whole net, not just the center
Signs to raise the lights vs lower the lights
Your plants will tell you when something is off. The trick is reading the signals correctly. Keep in mind that some of these symptoms overlap with nutrient deficiencies, overwatering, and root problems, so always rule out those causes first before blaming the light. If you are wondering when to raise light during the grow, watch for stretching, color changes, and how quickly symptoms improve after each height adjustment click and grow when to raise light.
Signs your light is too far away (raise the DLI, lower the fixture)
- Leggy, stretching stems: internodes are long and the plant looks tall and thin rather than compact and bushy
- Pale or light-green leaves that should be darker
- Slow growth overall, especially in veg stage
- Seedlings falling over or reaching toward the light source
- Flowering plants that produce few buds or small, airy flowers
Signs your light is too close (lower the DLI, raise the fixture)
- Bleaching or whitening of leaves at the top of the canopy, especially directly under the fixture
- Leaf canoeing or cupping: leaves curl upward along their length like a taco shell
- Leaf clawing or downward curl: tips bend down and under, a classic heat-stress or light-overload signal
- Brown or crispy patches on upper leaves that were not there before
- Stunted growth despite good watering and feeding, because excessive light can retard growth just like too little can
- Heat at canopy level above 85°F (30°C) when measured with a thermometer
One important caution: leaf curl, clawing, and yellowing can all be caused by overwatering, nitrogen toxicity, or root problems. UC IPM also notes that weak growth and light-green or yellow leaves can be linked to nutrient deficiency, often nitrogen, along with root problems and exposure to too much or too little light. If you raise the light and symptoms don't improve within a week, start investigating other causes. UC IPM explicitly notes that light-stress symptoms can look identical to nutrient and aeration deficits, so treat any diagnosis as a working hypothesis until confirmed by improvement.
Using light schedules and intensity together
Height controls intensity, but your timer controls duration, and both together determine your plants' total daily light intake, which scientists call DLI (daily light integral). DLI is essentially intensity multiplied by hours. This means you have two levers: move the light to change intensity, or change the timer setting to change duration. UNH Extension lists both as valid ways to increase the light a plant receives.
In practical terms: if your seedlings are stretching a little but you can't lower the fixture any further without risking heat stress, try adding 2 more hours to your photoperiod instead. Conversely, if you're seeing early signs of light stress but still need high intensity for flowering, shorten the photoperiod slightly rather than immediately raising the light.
There's an important distinction between using light for DLI and using it for photoperiod control. Many plants, especially flowering ones, respond to the length of the dark period to decide when to flower. For photoperiod extension lighting, the actual intensity can be very low, around 10 foot-candles or just 1 to 2 µmol/m²/s. This is completely separate from your main grow light. Don't confuse extending the photoperiod with a low-intensity lamp (to delay or trigger flowering) with adjusting your main fixture height for DLI. They're different tools for different goals.
| Growth Stage | Target PPFD (µmol/m²/s) | Typical Photoperiod | DLI Goal (mol/m²/day) |
|---|---|---|---|
| Seedling | 100–300 | 18–22 hours | 7–12 |
| Vegetative | 400–600 | 16–18 hours | 20–30 |
| Flowering / Fruiting | 600–900 | 12–16 hours (species dependent) | 25–40 |
| Houseplants (low light) | 50–150 | 12–16 hours | 5–10 |
Troubleshooting common problems by symptom
Use this as a quick diagnostic checklist when something looks wrong. Start at the top and work down.
- Stretching/leggy growth: Lower the fixture 2 inches, wait 72 hours. If still stretching, lower another 2 inches. Also check that your photoperiod is long enough (at least 16 hours for most veg plants).
- Bleached or white patches on upper leaves: Raise the fixture 2 to 4 inches immediately. Check canopy temperature. If above 85°F, raise more and improve airflow.
- Leaf canoeing or cupping upward: Raise the fixture 2 inches and check VPD and humidity. Dry air combined with high light can worsen this symptom.
- Leaf clawing (tips curling down): Raise the fixture 2 inches, then check nitrogen levels and watering frequency before making further light changes.
- Slow growth across the whole plant: Check PPFD at the canopy with a meter or app. If below 200 µmol/m²/s for a veg plant, lower the fixture. Also rule out root bound conditions and nutrient deficiency.
- Uneven growth (one side stretching, one side compact): Rotate the plant or the fixture. Measure PPFD at multiple canopy points to identify dead zones or hotspots.
- Flowering plants not producing buds: Verify photoperiod first. Short-day plants need an uninterrupted dark period of 12+ hours. A light leak in the room can prevent flowering even if intensity is perfect.
- Yellow leaves with green veins on new growth: This points to iron or micronutrient deficiency, not a light issue. Don't adjust height before fixing the feed.
Fine-tuning and re-checking after adjustments
A single adjustment rarely ends the process. Indoor growing is iterative. After any change, give your plants 3 to 5 days before you evaluate the result. Then do a full canopy check: look at the color of new growth (the most reliable indicator of current light conditions), measure the distance again since plants grow fast and the gap closes quickly, and check for any emerging heat stress.
Re-evaluate height at every major plant transition: when seedlings are transplanted to larger containers, when you switch from veg to flower, when plants hit the trellis, and whenever you move a setup to a new space. Each event changes either the canopy height, the reflective environment, or the plant's light demand.
If you have a dimmer on your fixture (most modern LED panels do), use it in combination with height. Running a light at 75% power and lowering it closer often gives a more even footprint than running at 100% and hanging high. This is especially useful in small tents where you have limited vertical space. Conversely, if you want to cover a larger area, raise the fixture and increase power rather than spreading one light too thin.
A simple log goes a long way. Write down the date, fixture height, dimmer setting if applicable, photoperiod, and any plant symptoms you observed. After a few grow cycles you'll have a reliable reference sheet for your specific fixture and space, and you'll spend far less time second-guessing. The most experienced growers aren't the ones who never make mistakes, they're the ones who track what they changed and why, so they can repeat what worked.
If you're also thinking about making your setup more adjustable from the start, looking into systems that let you change height easily, or if you want to understand how wiring and electrical setup affects what you can safely run, those are worth exploring as separate topics alongside the height tuning work covered here. If you want to streamline the whole process, a guide on how to make adjustable grow lights can help you build in flexibility from the start change height easily. If you're also wondering about how to wire grow lights safely, make sure you follow the right electrical setup for your specific fixture and controller.
FAQ
How do I know if I should raise the grow light or lower it first when plants look unhappy?
Start by checking which direction the newest growth is trending. Stretching with pale or light-colored leaves usually means you should lower the light (increase intensity). Bleaching, intense light-green to white patches, or leaves that curl upward or taco toward the light usually means you should raise it (decrease intensity). If symptoms look like clawing or persistent yellowing, also check overwatering, roots, and nitrogen because height changes alone may not fix them.
If my timer is already set, should I adjust height or photoperiod to correct light issues?
Use height to correct intensity at the canopy. Use photoperiod to correct total daily light (DLI) when you need more or less total light without changing how hard the light hits at a moment in time. A good rule is, if plants show heat stress or leaf bleaching, change height first, not hours. If plants are not reaching the target growth rate but look otherwise healthy, adjusting hours can be a safer lever.
How long should I wait after moving the light before making another change?
Wait at least 48 to 72 hours for an observable shift, and then do a more confident read after 3 to 5 days. Evaluate primarily new growth, since older leaves may take longer to reflect the change and can be misleading.
Can I adjust height by smaller steps if my light is already very close to the canopy?
Yes. When your fixture is already in a short-distance range, small moves can swing intensity a lot. Many growers switch to 1 inch increments when the light is near the low end of the recommended clearance, especially with fluorescent and low-power setups.
What if my plants are different heights within the same tent, should I adjust the light to the tallest plants?
Avoid targeting only the tallest plants. Either (1) level your canopy by raising or lowering plant groupings, or (2) use a dimmer to reduce peak stress while keeping enough intensity for the shorter plants. If you cannot level, consider rotating plant positions or sectioning the space so each group gets similar intensity.
How should I interpret leaf curl and discoloration, which often overlap with nutrient or watering problems?
Treat light-stress symptoms as a working hypothesis, not a final diagnosis. If you raise or lower the light and symptoms do not improve within about a week, begin systematically ruling out other causes such as root problems, watering frequency, and nutrient imbalance. Also check whether the symptom follows new growth (light-related) or persists regardless of new leaf color changes (more likely nutrition or roots).
If I use a PAR meter, where exactly should I measure and what should I do with multiple readings?
Measure at canopy height, not at fixture height, and take readings at several points across the growing area (center plus corners, or a small grid). After you identify hotspots or dark corners, adjust height first to fix overall intensity, then use rotation, reflector changes, or dimming to even out the spread.
Does dimming change how I should adjust height, or should I treat dimmer and height separately?
They interact. In general, adjust height to correct the overall intensity reaching the canopy, then use the dimmer to fine-tune and improve footprint uniformity. Many setups get more even results by lowering the power slightly while lowering the fixture rather than relying on height alone.
Can raising the light cause stretching if the plants are already under-lit?
Yes, if you raise the fixture too far you reduce intensity enough to trigger leggy growth. If you need to raise because of bleaching or heat stress, do it in small increments, then confirm the change by checking new growth color and spacing over the next several days.
Is it safe to adjust HID or HPS lights immediately, or do I need to wait?
Wait at least 15 minutes after switching off before handling or raising/lowering the fixture. HID and HPS components stay hot, and adjusting too soon increases burn and equipment risk.
When I move the setup to a different room, should I re-check height even if nothing else changed?
Yes. Changes in airflow, ambient temperature, reflective surfaces, and even how the plants settle in their containers can alter heat stress and canopy conditions. Re-measure canopy distance and re-check for hotspots after any major environment change, then adjust gradually based on new growth response.
What’s a practical way to keep track of which height change actually worked?
Log the canopy height (or exact fixture height), dimmer setting if used, photoperiod, and a short symptom note focusing on new growth. Include the date you made the change and when you evaluated it. Over multiple cycles, this becomes a personalized reference for your specific fixture model and plant stage.
Next Article
How to Adjust Grow Light Height for Best Intensity
Adjust grow light height for correct PPFD using distance, beam spread, and plant cues for each growth stage.