Most Elaine grow light timers are not clock-based schedulers. They are fixed-duration countdown timers built directly into the lamp, with options labeled 3H, 6H, or 12H. Once you press the timer button and select a duration, the light runs for that period, shuts off, then turns itself back on at the same time the next day automatically. That circular repeat cycle is the whole system. If you were expecting to punch in a specific on-time like 7:00 AM and an off-time like 7:00 PM, you will need to approach this differently than you might with a standalone outlet timer. Understanding that distinction upfront will save you a lot of frustration.
Elaine Grow Light Timer Instructions: Setup and Troubleshooting

Marcus Tillman
17 Apr 2026
Identify your Elaine timer model and controls
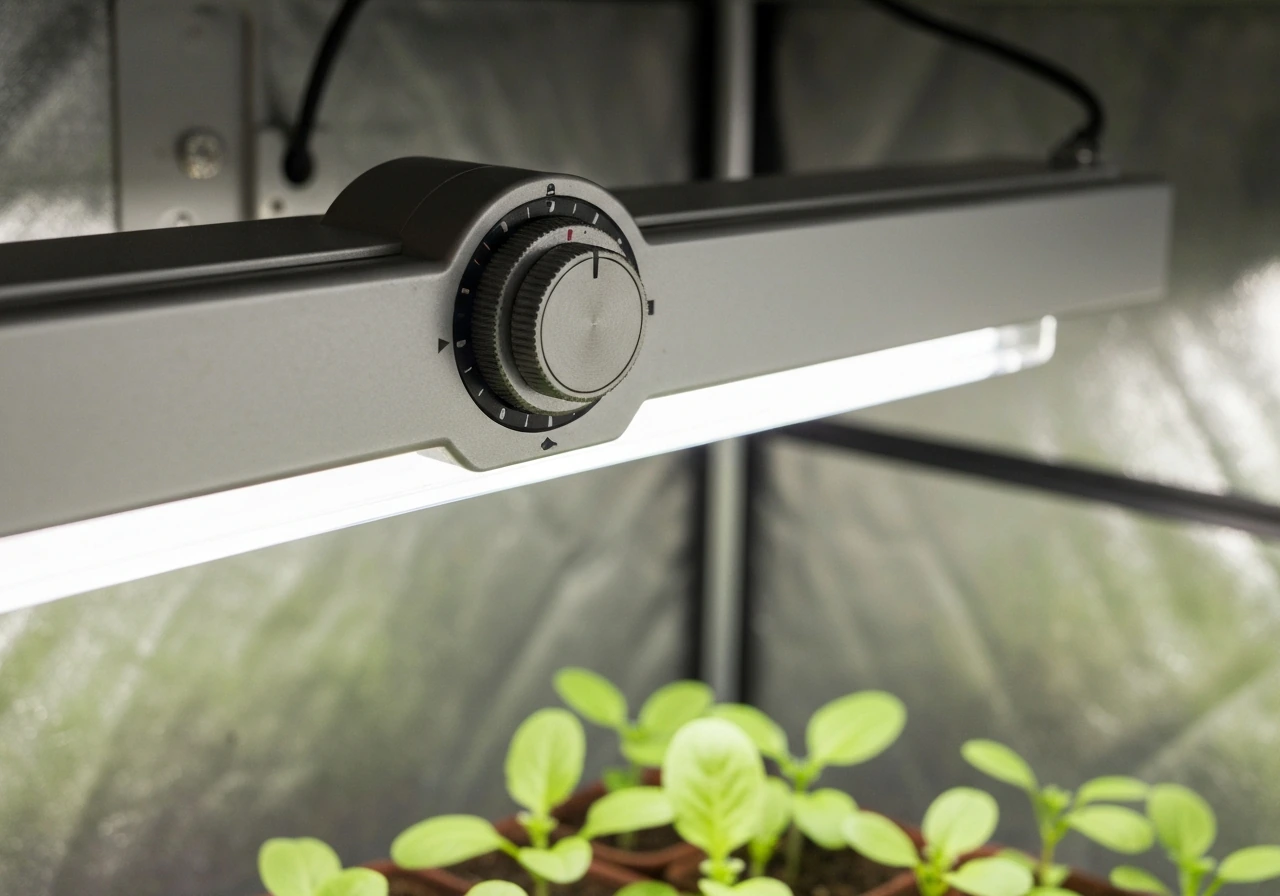
Before you press anything, take a close look at the lamp itself and the inline controller cord (if there is one). Elaine-branded grow lights typically come in one of two configurations: a lamp with all controls built into a dial or button cluster on the head or neck, or a lamp with a separate inline controller hanging on the power cord partway between the plug and the lamp. The timer function lives in that controller on the cord-style models.
Look for these labeled buttons or markings on your specific unit:
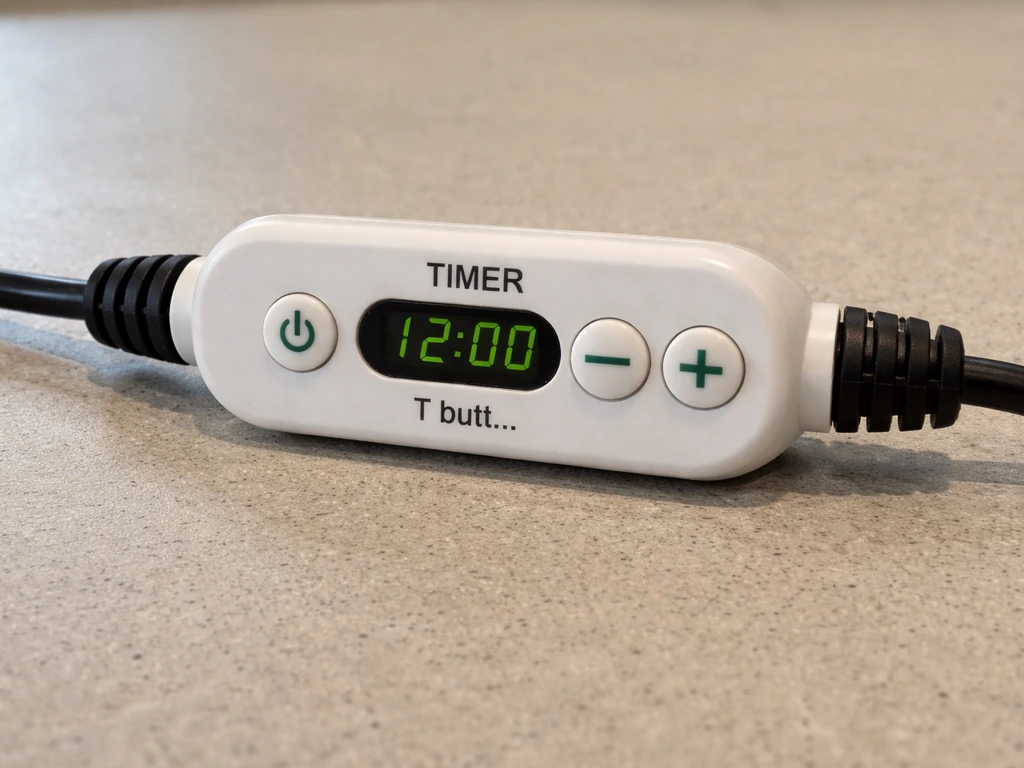
- TIMER or T button: selects the countdown duration (3H / 6H / 12H)
- MODE or M button: switches between light color modes (usually red only, blue only, or red+blue full spectrum)
- Dimmer or brightness dial: adjusts intensity across typically 5 levels (10%, 25%, 50%, 75%, 100%)
- ON/OFF switch or power button: main power toggle
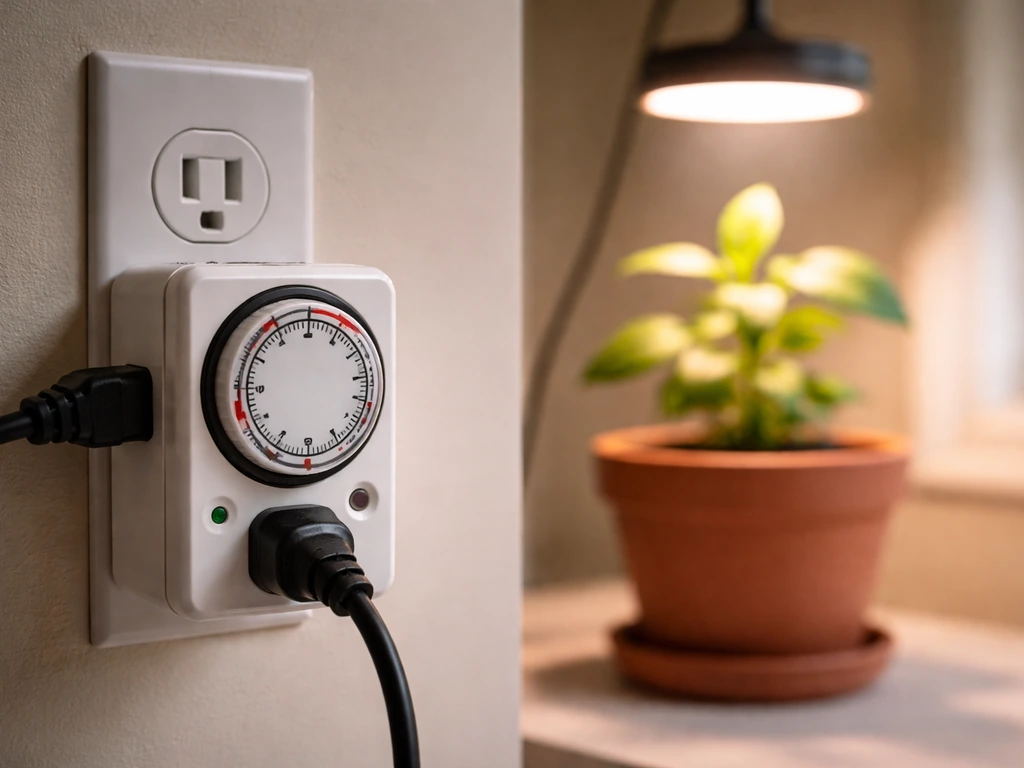
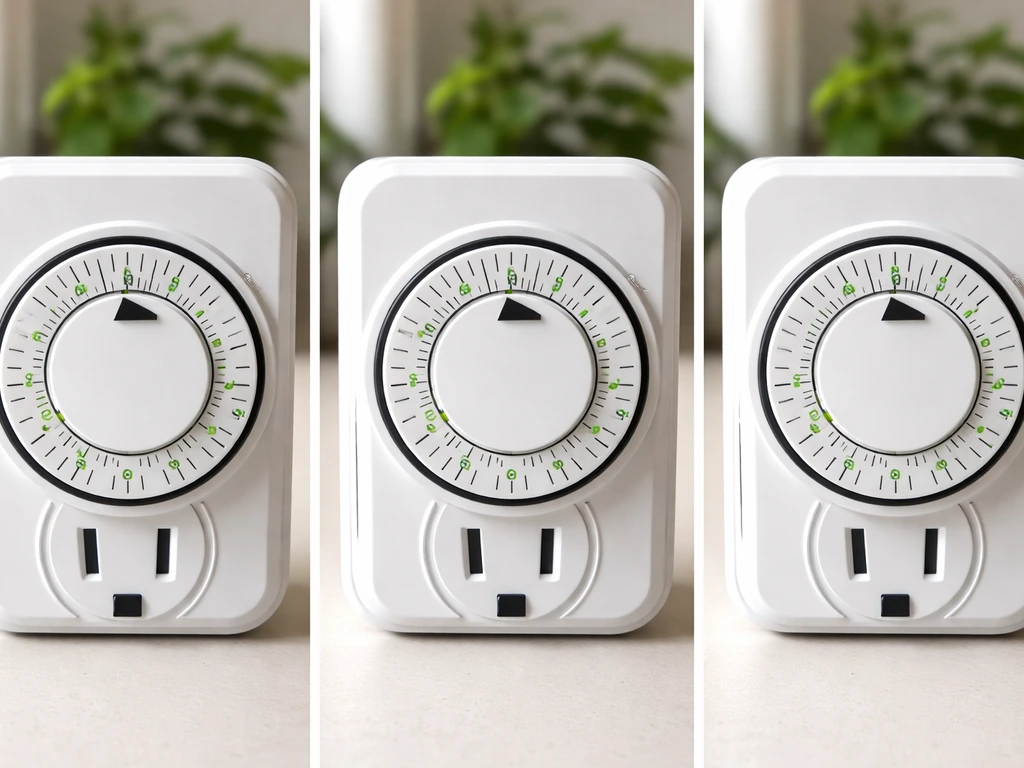
If your Elaine lamp has a dial with numbers around it and a small clock symbol, that is a completely different product: a mechanical outlet timer, not the built-in countdown type. The instructions in this guide apply to the integrated countdown timer models (the 60W / 130 LED style and similar). If you have an outlet-style or plug-in countdown timer with a digital display and clock input fields, check out general grow light timer instructions to match your specific interface, since the programming steps differ significantly from what is covered here.
Quick start: power on, display basics, and your first test
Plug the light into a standard 120V outlet. Most Elaine grow lights power on immediately when plugged in, defaulting to the full-spectrum (red+blue) mode at a mid-range brightness. If nothing happens, check the ON/OFF switch on the inline controller or on the lamp itself. Some units have a small rocker switch that ships in the OFF position.
Here is how to run a quick functional test before you commit to any schedule:
- Plug the lamp in and confirm the LED panels light up.
- Press the MODE button once or twice to cycle through the color modes. You should see the lamp shift from red LEDs only, to blue LEDs only, to red+blue combined.
- Turn the dimmer dial (or press the dimmer button) to confirm brightness changes. At level 1 the light is noticeably dim; at level 5 it is at full output.
- Press the TIMER button once. The lamp display or indicator light should show 3H selected. Press again for 6H, press again for 12H, press once more to return to continuous ON (no timer).
- Select 3H on the timer and leave the room for a few minutes, then come back. The light should still be on. After 3 hours it will shut off on its own. That confirms the timer is working.
If the light never turns off after the 3-hour window during your test, the timer mode was not actually engaged. When you press the TIMER button on the built-in timer model, it sets the auto-off time using the preset hour options 3H, 6H, or 12H, with indicator behavior to confirm the selection blank" rel="noopener noreferrer">TIMER button sets the auto-off time using preset 3H, 6H, and 12H options. This usually means you pressed the button but the display did not confirm the selection, often because the button requires a firm, deliberate press rather than a light tap. Try again with a solid press and hold for about one second.
How to program your daily on/off schedule
Because this is a countdown timer and not a clock-based scheduler, the way you control when your plants get light each day is by choosing when you manually turn it on for the first time. The timer does the rest. Here is the full programming process:
- Decide what time of day you want your grow light to turn ON. For most growers, this is early morning (6:00 AM to 8:00 AM) to align with natural daylight rhythms.
- At your chosen start time, plug in or switch on the lamp.
- Set your MODE (light spectrum) and DIMMER level first, before engaging the timer. The lamp will remember these settings through the cycle.
- Press the TIMER button to select your desired duration: 3H, 6H, or 12H.
- Leave the setup alone. The light will count down and shut off automatically after the selected duration.
- The next day, at the same time you first turned it on, the lamp's circular memory timer will automatically power the light back on for the same duration. This repeats every 24 hours.
The phrase 'circular memory timer' is exactly what it sounds like: the lamp remembers the timing cycle from the first activation and loops it daily. You do not need to re-program it every day. The only time you need to reset it is if the power is interrupted (outlet switch, power outage, unplugging the lamp), which breaks the cycle and requires you to restart from step 1.
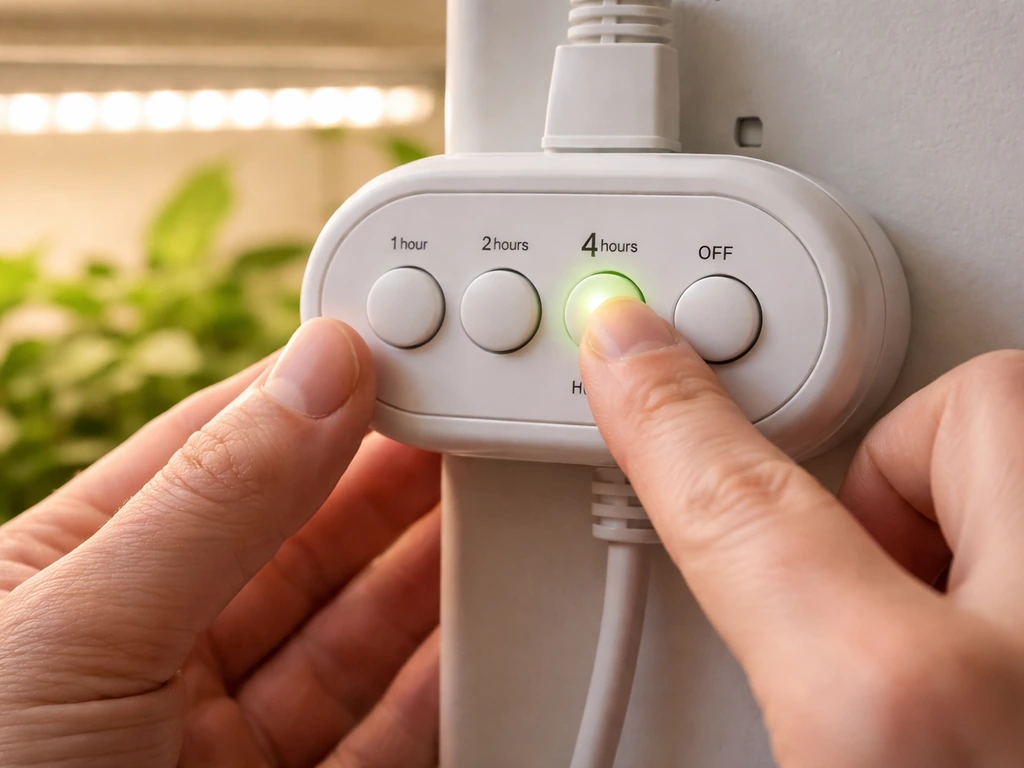
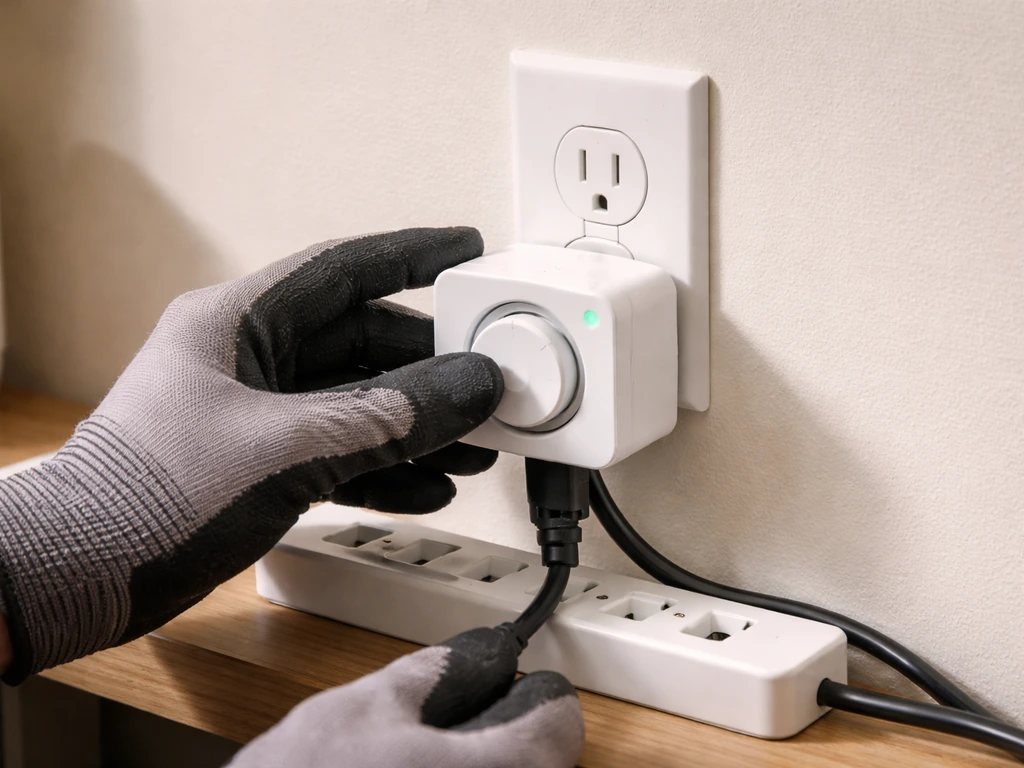
There is no per-week programming, no day-of-week setting, and no ability to set two separate on/off windows in a single day on these built-in timers. If you need that level of control (for example, two 6-hour windows separated by a dark period), you would need to pair the lamp with a separate outlet timer. Learning how to set a timer on a grow light outlet controller to handle the on/off switching externally while the lamp itself runs in continuous mode is the most flexible approach for complex schedules.
Common mistakes that break the cycle
Accidentally turning the lamp off between cycles
This is the most common issue. If you flip the power switch, unplug the lamp, or the outlet cuts power for any reason during the dark period, the timer resets. When power returns, the lamp does not know where it was in the cycle. It defaults back to continuous ON mode. You have to set the timer again from scratch. The fix is simple: never interrupt the power. Leave the lamp plugged into a dedicated outlet that stays live at all times, and let the built-in timer do all the switching.
Selecting the wrong duration for your plant type
The 3H setting is almost never appropriate for plant growth. It is more of a supplemental boost option. Most growers accidentally select 3H when they meant 12H because they only pressed the TIMER button once. Always check which duration is indicated before walking away. If your lamp has a small LED indicator next to each hour option, confirm the correct one is lit. Many integrated timer grow lights indicate the selected auto on/off duration using indicator colors such as yellow for 12H, green for 8H, and red for 4H timer indicator colors show which auto on/off duration is selected (yellow = 12H, green = 8H, red = 4H).
Using the timer with an outlet timer simultaneously
If you plug a lamp with the built-in countdown timer into a separate outlet timer, the two timers will fight each other. The outlet timer will cut power during the lamp's dark period, resetting the cycle every single day. Either use the built-in timer alone (with the outlet always live) or use an outlet timer alone (with the lamp in continuous ON mode, no internal timer selected). Never run both at the same time.
Wrong mode selection and light color confusion
Elaine grow lights with three switch modes (red only, blue only, red+blue) need to be in the correct mode before you set the timer. If you set the timer while in blue-only mode and you wanted full spectrum, the lamp will complete its entire cycle in blue-only. Set your mode first, always. For general vegetative and flowering growth, red+blue combined is the default best choice.
Troubleshooting when the timer won't trigger your lights
When the light fails to turn on at the expected time, or the timer seems to do nothing at all, work through this checklist before assuming the lamp is broken:
- Power interruption reset: Check whether the outlet or power strip was switched off at any point. Even a brief outage resets the timer. Re-set the cycle from scratch.
- Timer not confirmed: The TIMER button on some units requires a firm press. If the indicator for 3H/6H/12H is not lit, the timer was not engaged. Press again.
- Lamp in continuous ON mode: If no timer indicator is lit, the lamp is in continuous mode and will never self-shut or auto-restart. Press TIMER to select a duration.
- Faulty outlet: Plug a phone charger or lamp into the same outlet to confirm it has power. A tripped breaker or dead outlet is a surprisingly common culprit.
- Inline controller switch in OFF position: On cord-controller models, the small switch on the inline controller must be in the ON position for the timer circuit to function.
- Overheating protection triggered: Some LED grow lights have thermal shutdown. If the lamp ran in a very hot, unventilated space, it may have shut off early and not re-engaged. Allow it to cool for 20 minutes, then restart.
- Flickering or strobing lights: This usually means a loose connection at the plug, the inline controller, or the lamp head junction. Unplug, inspect for loose connections, and re-seat all connectors firmly.
If you have worked through all of the above and the timer still behaves erratically, the issue may be the lamp's internal timer circuit failing. Budget Elaine-style grow lights are not premium hardware. At that point, the most reliable fix is to disable the internal timer entirely (leave the lamp in continuous ON mode) and add a separate outlet timer to control the schedule. This gives you more flexibility and makes troubleshooting much simpler going forward.
For reference, other popular budget brands handle this similarly, and reading through Sansi grow light timer instructions can give you a useful comparison of how different integrated timer circuits behave and fail, since the failure modes are often nearly identical across these product categories.
How long to run your grow light by plant type
The 3H/6H/12H options on the Elaine timer map pretty cleanly to different growth stages and plant types, though 12H is the workhorse setting for most situations. Here is a practical breakdown:
| Plant Type / Stage | Recommended Daily Light | Best Timer Setting | Notes |
|---|---|---|---|
| Seedlings (first 2-4 weeks) | 14-16 hours | 12H + outlet timer for extra hours, or two 6H cycles | Seedlings are light-hungry but heat-sensitive. Keep lamp 12-18 inches above tray. |
| Vegetative houseplants | 10-12 hours | 12H | Most tropical houseplants thrive at 12 hours. Start first cycle at sunrise equivalent. |
| Leafy greens / herbs | 12-14 hours | 12H (supplemented with ambient light if possible) | Basil, lettuce, and spinach do well at 12H under a full-spectrum setting. |
| Flowering/fruiting plants | 8-10 hours (short-day) or 14-16 hours (long-day) | 6H or 12H depending on species | Tomatoes and peppers need 14-16H; strawberries and some flowers need 8-10H to trigger blooms. |
| Supplemental light (window plants) | 3-6 hours | 3H or 6H | Used alongside natural window light. Run during low-light morning or winter hours. |
One thing worth knowing: the Elaine timer's 12H setting is the most useful option for the vast majority of indoor growers. If your plants are seedlings or long-day crops needing more than 12 hours, the cleanest solution is to pair the lamp with a plug-in outlet timer set to deliver the extra hours, with the lamp itself running in continuous ON mode during those extra hours. Other brands like Lordem handle extended scheduling slightly differently, and if you are mixing equipment in your setup, reviewing how to set the timer on a Lordem grow light can help you understand the contrast between integrated timers and more flexible scheduling systems.
Placement and intensity: make the timer schedule actually work
Getting the timer set correctly is only half the equation. If the lamp is too far from your plants, even a perfect 12-hour schedule delivers too little light. If it is too close, you risk heat stress and light burn within that same 12-hour window. Here is how to match your placement and intensity to your timer settings:
- Seedlings: Position the lamp 12 to 18 inches above the tray. Use brightness level 3 or 4 out of 5 (roughly 50-75%). Seedlings do not need maximum intensity, and too much heat at close range causes leggy, stressed growth.
- Established vegetative plants: 18 to 24 inches from the canopy at full brightness (level 5). At 12H per day this gives solid vegetative growth without light stress.
- Flowering/fruiting plants: 18 to 24 inches at full brightness, red+blue spectrum mode. The red wavelengths in the combined mode are especially important for flowering response.
- Houseplants used to low light: Start at 24 to 30 inches and brightness level 2 or 3. Introduce the timer schedule gradually over one to two weeks, increasing hours by 1-2 per week to avoid shock.
- If plants show bleached or pale patches near the center of the light cone, the lamp is too close or too bright. Raise it 4 to 6 inches or drop the dimmer one level.
- If plants are stretching toward the light (etiolation), the lamp is too far or the hours are too few. Lower by 4 inches or increase the timer duration.
One practical tip that makes the timer setup easier: use the lamp's dimmer to compensate for distance instead of constantly repositioning the fixture. If you need to keep the lamp at a fixed height over a multi-level shelf, you can dial brightness down rather than raising the lamp. This is especially useful when you have a mix of plant heights in one space and cannot optimize distance for every pot individually.
Finally, make sure the lamp stays in one consistent position once you set the timer. Moving the lamp changes the light intensity plants receive during each timed cycle, which affects how they respond over days and weeks. Consistent distance plus a consistent timer schedule is what gives you consistent, predictable plant growth. Once your setup is dialed in, the Elaine timer's simple countdown system is surprisingly effective for exactly that kind of set-it-and-leave-it routine.
FAQ
Can I set an exact on-time and off-time (like 7:00 AM to 7:00 PM) on an Elaine built-in grow light timer?
No, these integrated Elaine timers generally do not let you enter an exact daily on-time like 7:00 AM. The schedule is driven by when you first activate the countdown. After that first start, it repeats the same duration daily until power is interrupted.
How can I tell whether my Elaine timer selection actually engaged, not just an accidental button press?
If the lamp has been running on continuous power (timer disabled or not engaged), it will not begin the circular cycle until you select 3H/6H/12H and the timer is actually confirmed. A quick check is to watch for the hour indicator LED (if present) to ensure the intended duration is lit right after you press.
Should I switch the inline controller OFF at night, or leave it ON and rely on the timer?
Use the inline controller cord’s own ON/OFF switch and keep it in the ON position. For best results, leave the lamp plugged into an outlet that stays powered. Turning the controller switch OFF during the dark period behaves like removing power and can reset the cycle.
What happens if power flickers or the lamp gets unplugged during the dark period?
Avoid unplugging or flipping any power switch that cuts power, even briefly. If power returns after a blackout or accidental unplug, many of these units reset to continuous ON mode, so you must re-enable the built-in countdown cycle.
What’s the best way to prevent accidentally running the wrong duration (like 3H instead of 12H)?
Check the LED indicators near each hour option (3H, 6H, 12H). If you intended 12H but only 3H is selected, you will get a much shorter photoperiod. The most reliable method is to confirm the correct hour light is on before walking away.
If I want to switch from 12H to 6H later, do I just change the setting and it updates immediately?
If you must change the schedule, you typically need to start a fresh cycle by reselecting the hour mode (and effectively restarting from “first activation”). Many units will not automatically “adjust” an existing countdown to your new target once it is already running.
Can I use an Elaine built-in timer and an outlet timer together to get more precise control?
Yes, but only if you avoid overlapping control. The safe rule is one scheduler at a time. Either run the lamp’s internal countdown with the outlet kept live, or run the outlet timer with the lamp in continuous ON mode and leave the internal timer unselected.
What are the first checks when my Elaine timer seems to do nothing or starts at the wrong time?
If the light does not turn on at the expected repeat time, verify that the outlet is continuously powered, the inline controller (or lamp) switch is ON, and the correct hour indicator is selected. Then confirm you are using the correct physical timer type (built-in countdown vs outlet-style timer).
Why does my lamp keep running only red or only blue during the timer cycle?
This is common when a unit is set to a single color mode before starting the timer. Set the red+blue mode first, then select the timer duration, so the timed cycle runs with the intended spectrum for the full photoperiod.
How do I handle schedules longer than 12 hours with an Elaine timer?
If your photoperiod needs more than 12 hours (for long-day crops or extended lighting goals), a practical approach is to set the lamp to continuous ON and use a separate outlet timer to supply the extra hours. That avoids the built-in timer’s 12H ceiling while keeping the internal cycle from resetting.
After correcting a wiring or power issue, what should I re-verify to make sure the next cycle is correct?
Integrated countdown timers may default to a different behavior if the lamp is already on, after a reset, or after mode changes. After any power interruption, re-check the mode (red+blue, dim level) and re-enable the desired 3H/6H/12H selection before relying on the next cycle.
What should I adjust first, timer duration or lamp brightness/distance, if plants look stressed?
If the lamp is heating plants too much or looks too intense for the same 12-hour window, adjust dimmer first and keep distance consistent. Repositioning the fixture changes intensity mid-cycle, which makes it harder to tell whether timer duration is the real cause of stress.
Next Article
How to Set Timer on Grow Light: Step-by-Step Setup
Step-by-step how to set a grow light timer, choose on/off schedules, verify, and troubleshoot common timing issues.