Setting the timer on your grow light comes down to one thing first: figuring out what kind of timer you actually have. Once you know that, the steps are straightforward. This guide walks you through every common setup, fixes the problems that trip people up, and gives you real schedules to use for your plants starting today.
How to Set Timer on Grow Light: Step-by-Step Setup

Marcus Tillman
8 Apr 2026
Identify your grow light timer type
Before you press anything, look at your setup and figure out which of these three categories you're dealing with. The steps are completely different depending on which one you have.
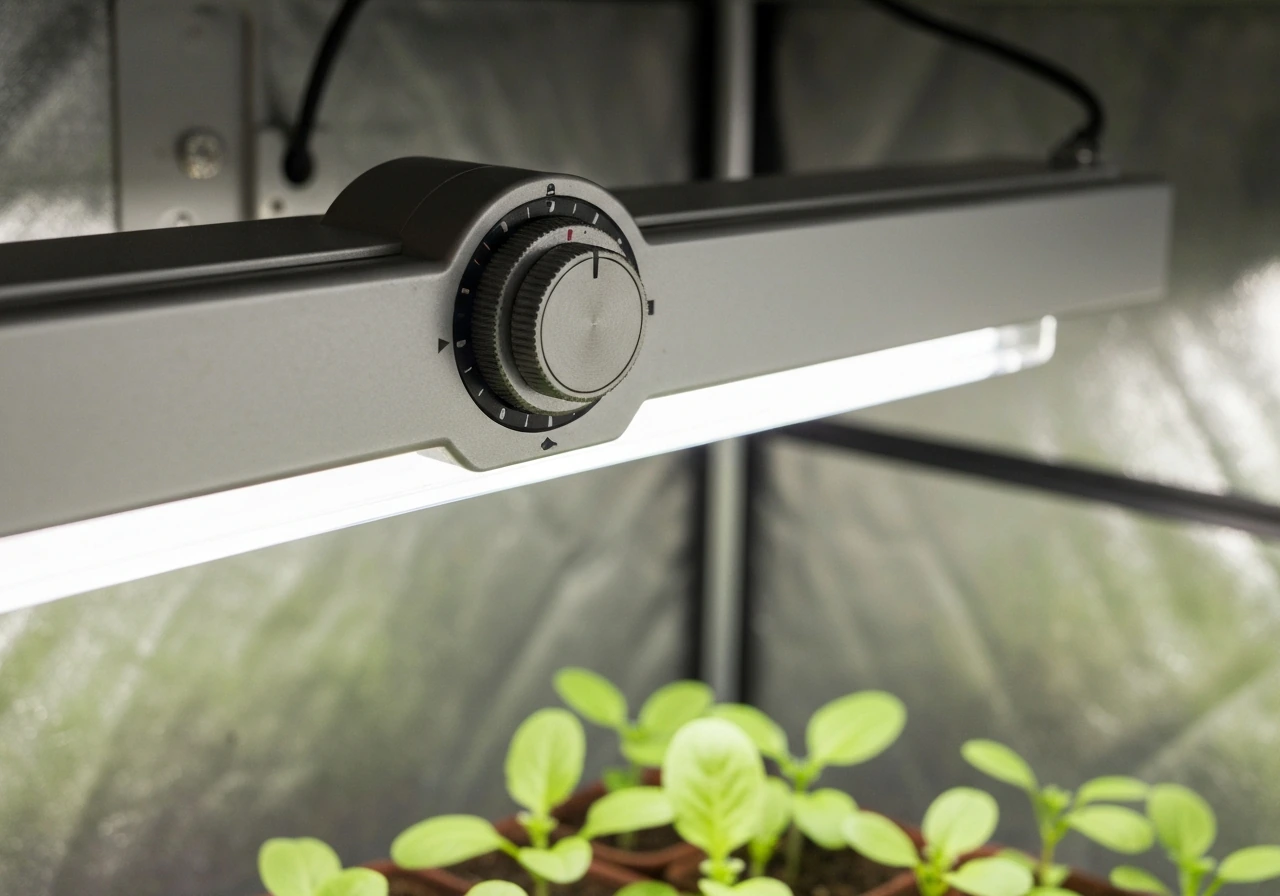
- Built-in timer on the light unit: The timer controls are part of the light itself, usually as buttons or a dial on the fixture, a hanging controller box, or a small remote. Brands like SANSI, LORDEM, and some Vivosun models work this way. You press buttons directly on the light or its controller to set a duration.
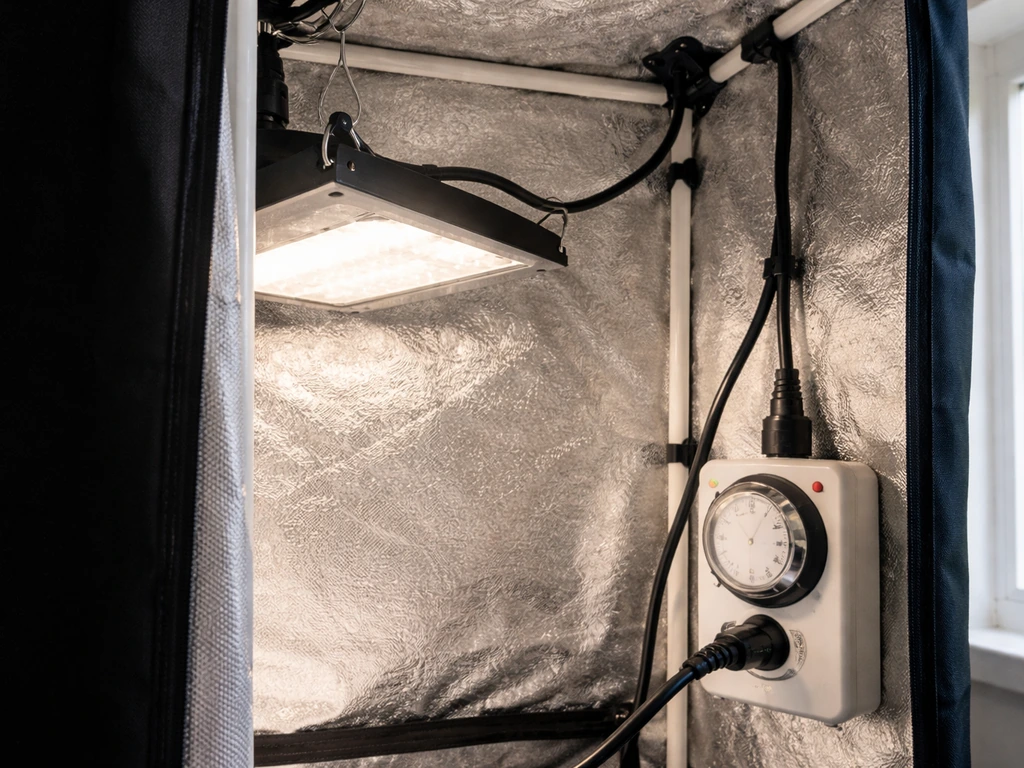
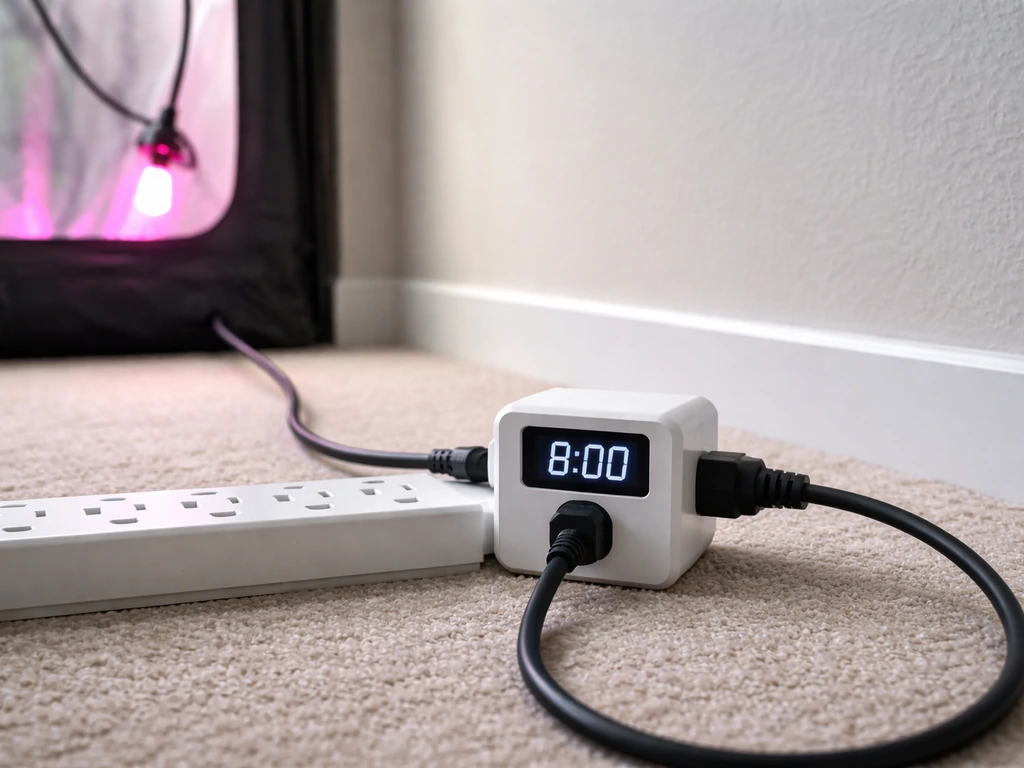
- External plug-in timer outlet: A separate device that plugs into your wall outlet, and your grow light plugs into it. You set on/off times on the timer outlet itself, and it cuts or restores power to the light on schedule. Brands like Etekcity, NEARPOW, and Westek make these.
- Smart plug or app-based scheduling: A Wi-Fi smart plug (like TP-Link Kasa or Geeni) sits between your wall and your grow light. You set the schedule through an app on your phone. This is the most flexible option but requires a Wi-Fi setup step before anything else.
Some lights, like Click & Grow Smart Garden lamps, have a fixed built-in timer with no settings at all. The cycle is locked at 16 hours ON and 8 hours OFF, and it starts automatically from the moment you plug in the unit. If that's what you have, your only job is plugging it in at the right time of day.
Step-by-step: set the timer on common grow lights
Built-in button timers (SANSI, LORDEM, and similar)
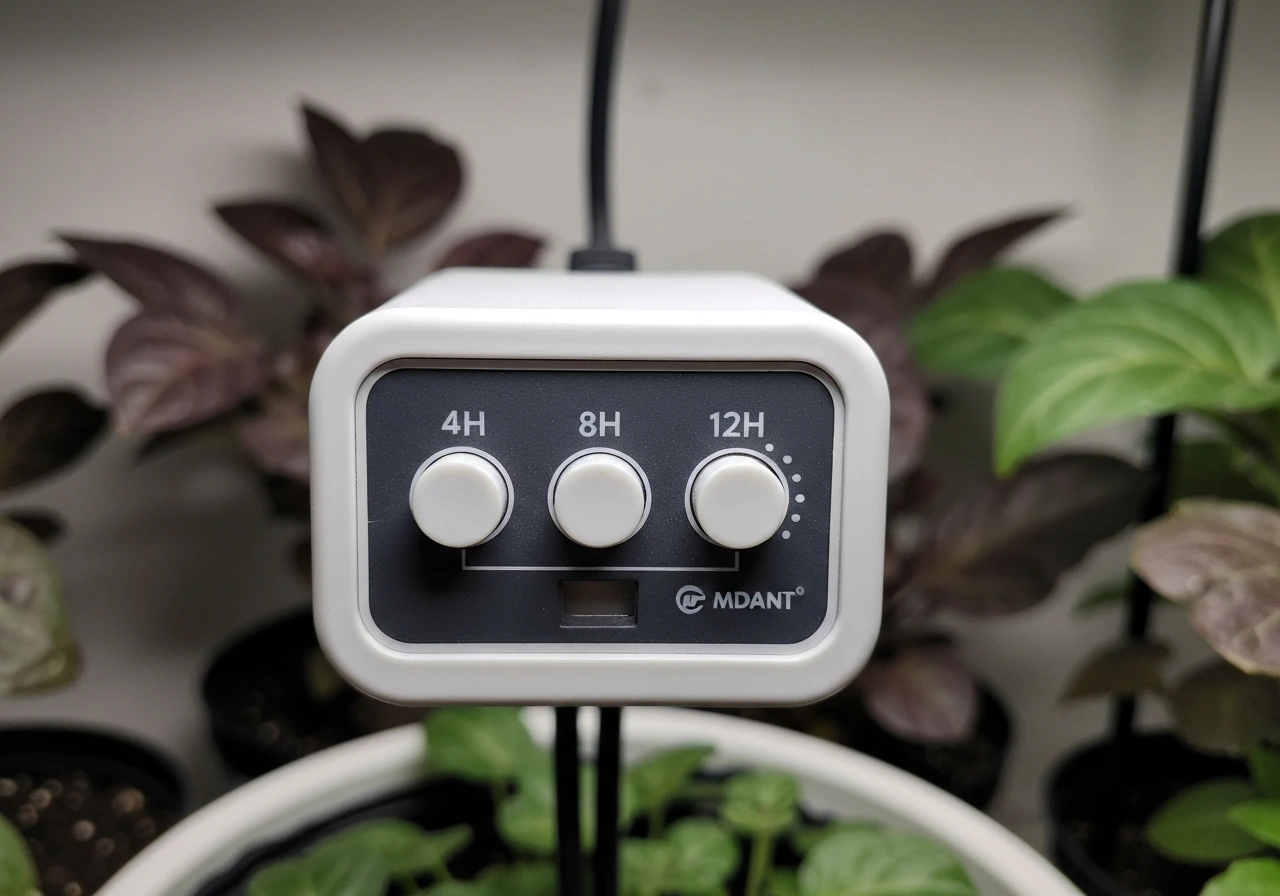
These lights usually offer preset timer durations rather than letting you enter a specific clock time. The most common options are 4 hours, 8 hours, or 12 hours. Here's the general process, which applies to most models in this category.
- Plug in your grow light and power it on.
- Find the timer button. On LORDEM models like the HL-0083, it's marked with a clock icon. On SANSI clip-on lights, it's often a dedicated button labeled with timer durations or positioned at the top-left of the controller.
- Press the timer button once to select your desired duration (4H, 8H, or 12H depending on the model). Each press typically cycles through the available options.
- Confirm your selection. The light's indicator or display should show the chosen duration.
- The light will now turn off after that duration and repeat the same cycle every 24 hours automatically. For example, if you select 12H and turn the light on at 7 AM, it will turn off at 7 PM and turn back on at 7 AM the next day.
If you have a SANSI model with a lettered controller (buttons labeled A, B, C, D), the process is slightly different. You press the button that corresponds to your desired duration, then use a separate top-left button to confirm the auto on/off cycle. For detailed button sequences on specific SANSI products, the Sansi grow light timer instructions page covers the exact steps for each controller variant. For LORDEM-specific button combinations, the dedicated Lordem grow light how to set timer guide walks through the HL-0083 and other models in detail.
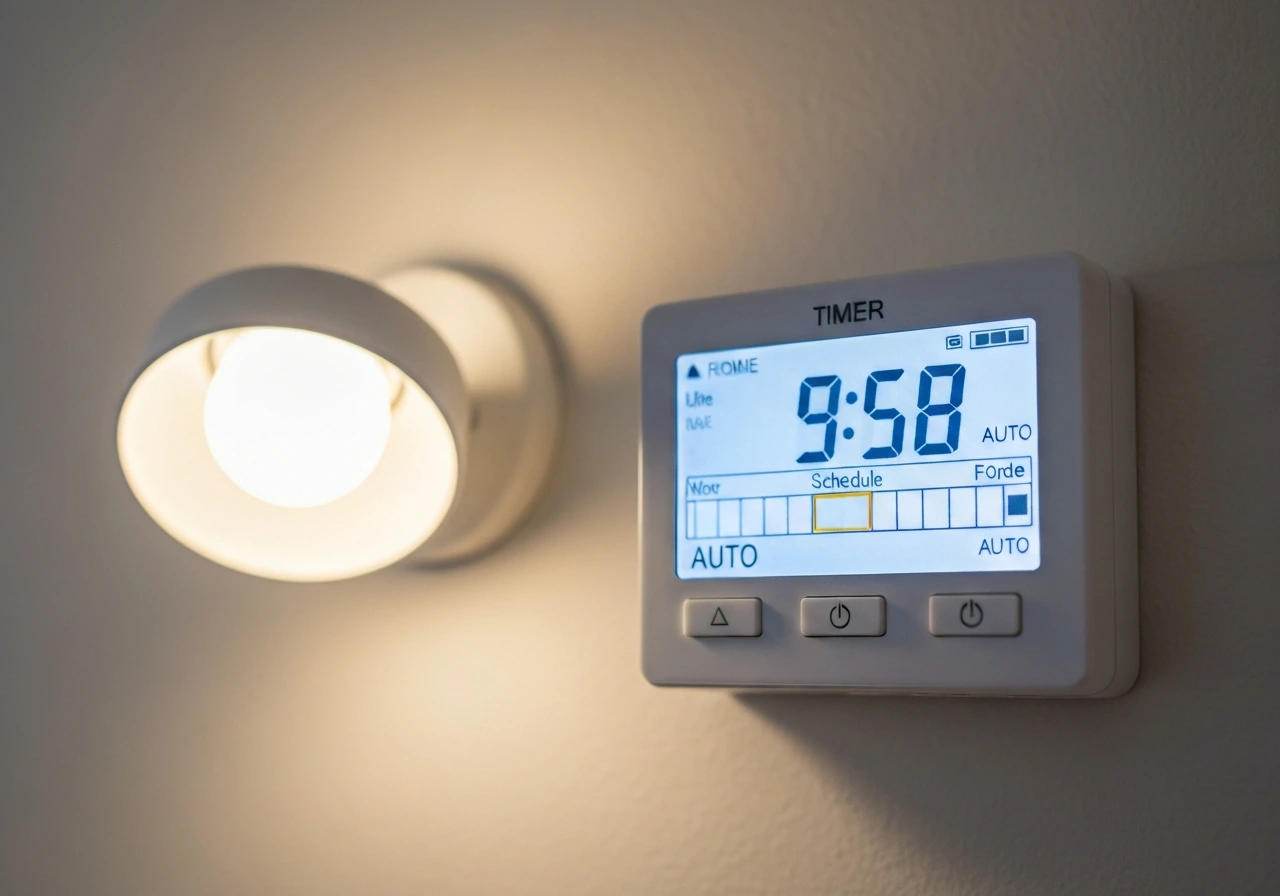
External plug-in digital timers (Etekcity, NEARPOW, Westek, and similar)
These timers have their own clock, and you program specific on and off times. They're brand-agnostic, meaning they'll work with any grow light you plug into them.
- Plug the timer outlet into your wall. Do not plug your grow light in yet.
- Set the current time. Most models have a CLOCK or SET button. Hold it, then use + and - buttons to set the correct hour and minute. Confirm with SET or OK.
- Program your ON time. Press PROG or TIMER, select a program slot (usually P1), and enter the time you want the light to turn on. Confirm.
- Program your OFF time. Move to the next slot (P2) and enter the time you want the light to shut off. Confirm.
- Set the repeat behavior. Most digital timers default to daily repeat. On the Etekcity EDT-1USA, make sure the mode is set to AUTO (not ON or OFF) so the programmed schedule runs automatically.
- Plug your grow light into the timer outlet.
- Wait for the first scheduled ON time and confirm the light actually powers on.
Some plug-in timers also offer a Random Mode, like the NEARPOW, which randomizes on/off times within your programmed window. That's more useful for security lighting than grow lights. Stick to fixed daily programs for plants.
Smart plug and app-based scheduling (Kasa, Geeni, and similar)

- Install the app for your smart plug (Kasa app for TP-Link plugs, Geeni app for Geeni plugs).
- Connect the smart plug to your Wi-Fi network following the in-app setup wizard.
- Open the device in the app and go to Schedule or Timer.
- For the Kasa app: tap Schedule, then Add Schedule. Set your ON time, choose Daily repeat, and save. Repeat to add an OFF schedule.
- For a countdown-style timer in Kasa: tap Timer, set the duration, and confirm. Note that countdown timers don't repeat automatically, so use Schedule for daily grow light cycling.
- Plug your grow light into the smart plug.
- Check the schedule history or activity log after the first cycle to confirm it fired correctly.
Using timer modes and scheduling correctly
The biggest scheduling mistake people make is confusing a countdown timer with a repeating daily schedule. A countdown just turns the light off after X hours, once. A repeating daily schedule does it every day at the same time. For grow lights, you almost always want the daily repeating schedule.
On built-in timers with preset durations (4H/8H/12H), the repeat behavior is automatic once you select the duration. The light turns off after the set period and turns back on exactly 24 hours after it first came on. So if you press the 12H button at 8 AM on Monday, the light runs until 8 PM, then turns back on at 8 AM Tuesday. That cycle repeats indefinitely, which is exactly what you want.
On plug-in digital timers, the daily repeat is controlled by the mode setting. Keep the timer in AUTO mode at all times during normal growing. If you accidentally set it to ON or OFF manually, it overrides the program and stays in that fixed state until you switch back to AUTO. TP-Link’s guidance for Kasa shows that Schedule, Away, and Timer will continue to run as programmed if internet fails. This trips up a lot of people and looks like a timer malfunction when it's actually just a mode issue.
For a broader overview of how different timer types handle scheduling, the grow light timer instructions resource covers the general logic that applies across brands and timer formats, which is useful if you're working with a less common model.
Troubleshooting when the timer won't work or schedules are wrong
The light won't turn on at the scheduled time
- Check that the timer is in AUTO mode, not manual ON or OFF.
- Verify the current time on the timer is correct. If the clock is wrong by even a few minutes, your schedule fires at the wrong time.
- On plug-in digital timers, check that you have both an ON program and an OFF program entered. A single program entry without both events won't create a full cycle.
- Make sure the grow light's own power switch is in the ON position. The timer controls power to the outlet, but if the light's switch is off, it won't turn on when the timer fires.
- Check for a child lock feature. Some timers (like certain NEARPOW models) have a lock mode that prevents the schedule from running. Look for a LOCK indicator on the display.
The schedule resets after a power outage
This is one of the most common issues with built-in timers on grow lights, and it's not a defect. Many lights, including Vivosun LED linear grow lights, explicitly clear timer memory after a power interruption. When the power comes back, the timer is blank and you have to re-enter your settings. The fix is to write down your settings somewhere and re-enter them after any outage. If you're using an external plug-in digital timer like the Etekcity EDT-1USA, those typically retain programmed settings in memory even through outages, making them more reliable for consistent scheduling.
The timing is off by an hour (often after daylight saving time)
Smart plugs like Geeni devices don't automatically update for daylight saving time. You have to go into the app and reset or update your scheduled timers manually after each time change. Some plug-in digital timers like the Westek TM1627DOLB have a dedicated DST button that shifts the clock by one hour, which is much easier. Check your timer's manual for a DST setting and use it instead of re-entering all your programs. The Etekcity EDT-1USA manual also describes a daylight savings time (DST) option and how to use the manufacturer reset button labeled “R” if you need to clear or restore settings DST setting. If your light is running an hour early or late after a time change, this is almost certainly the cause.
The light seems stuck on or won't turn off
- On a plug-in digital timer, check that the mode is set to AUTO and not stuck in manual ON.
- Look for an accidental duplicate program. If you entered P1 as ON at 7 AM and P2 as ON again at 7 PM (instead of OFF), the timer never gets an off command.
- Try a full reset. The Etekcity EDT-1USA has a small reset button (labeled R) that clears all programmed settings so you can start fresh. Most plug-in timers have a similar pinhole reset.
- For Click & Grow units where the light never goes off: unplug the unit, wait 10 seconds, and plug it back in. The 16H ON/8H OFF cycle restarts from that point.
- If the issue is with a built-in timer like on an Elaine grow light, the Elaine grow light timer instructions page includes model-specific steps for resetting the schedule when it gets stuck.
Buttons don't seem to do anything
If pressing the timer buttons produces no response, first check for a child lock or hold mode, which disables all buttons to prevent accidental changes. On most timers, holding a specific button combination for 3 to 5 seconds unlocks it. Check your manual for the exact combination. If the display is completely blank, the unit may not have power or the battery backup (present in some plug-in timers) may be dead. Replace the backup battery and try again.
Best practices: placement, duration, and plant-specific schedules
How long to run your grow light
The right daily duration depends on what you're growing and what stage it's in. Here are the baselines I'd start with, based on manufacturer and grower guidance across multiple sources.
| Plant Stage / Type | Recommended Daily Light Duration | Notes |
|---|---|---|
| Seedlings | 14 to 16 hours on, 8 to 10 hours off | 16H on / 8H off is a solid default; Spider Farmer recommends 14 to 18H for seedlings |
| Vegetative / leafy plants | 14 to 16 hours on | Herbs, lettuce, and foliage houseplants do well at this range |
| Flowering / fruiting plants | 12 hours on, 12 hours off | A 12H timer triggers flowering in many plants that need a day/night cue |
| Low-light houseplants | 10 to 12 hours on | Less is more for shade-adapted plants; watch for bleaching or leaf curl |
If you're unsure where to start, use 12 hours on and 12 hours off as your safe baseline. It works reasonably well for almost every plant type and gives you a clear reference point to adjust from. SANSI's grow light recommendations confirm 16H on / 8H off for seedlings specifically, while a 12H cycle is the go-to for flowering. Watch your plants for the first two weeks and adjust by 1 to 2 hours at a time.
Light height and distance matter as much as duration
Too much light intensity at too short a distance causes bleaching and stunted growth, even if your timer duration is perfect. Spider Farmer's stage-based distance guidance recommends keeping LEDs further from seedlings during early stages and moving lights closer as plants mature and can handle higher PPFD (light intensity). As a general rule: start with the light 18 to 24 inches above seedlings and 12 to 18 inches above established plants in the vegetative stage. Adjust based on how your plants look after a week.
Vivosun's guidance for their AeroLight ties light height directly to PPFD targets. At high power settings, they recommend placing the light further away for wider, softer coverage, and closer only when targeting specific high-light plants. If your light has a dimmer knob (like SANSI's 100W dimmable models), you can reduce intensity instead of raising the light. That gives you more flexibility without moving your mounting hardware.
A few habits that prevent most timer problems
- Write down your timer settings (duration, on time, off time) the moment you get them working. Power outages happen, and re-entering settings takes 30 seconds if you have the info ready.
- Set your timer to start at a consistent, memorable time you can verify easily, like 7 AM on, 7 PM off. It's easier to notice if something goes wrong.
- Check the actual behavior after the first full cycle, not just after setup. Confirm the light turned off and turned back on before you trust the schedule.
- Update your schedule after daylight saving time changes, especially if you use a smart plug or a basic digital timer without an automatic DST function.
- Don't mix timer modes. Pick one method (built-in timer OR external plug-in timer) and stick with it. Running both simultaneously can create conflicts where the light turns off unexpectedly.
The goal with any grow light timer is consistency. Plants respond to predictable light cycles, and even a few days of irregular timing can stress them during sensitive growth stages. Once your timer is set and verified, the system runs itself. That's the whole point. Get the schedule right once, confirm it works, and then let your plants do the rest.
FAQ
If my grow light has an on/off cycle, should I use a specific clock time or just the ON duration option?
For preset-duration built-in timers, you choose the length (like 4H, 8H, or 12H), and the light repeats from the moment you start it, so the practical clock time is when you plug it in or press the cycle. For digital plug-in timers with a real clock, you should enter exact on and off times in AUTO mode so the schedule stays consistent even if the light is unplugged briefly.
What should I do the first day after setting a timer, how do I confirm it is working?
Do a quick real-world check by observing the light at the first scheduled transition, for example the first OFF event after you set the program. If possible, verify for both transitions (ON and OFF) within 24 hours, then re-check after any power event to ensure settings did not clear or revert.
How do I handle a power outage if my built-in timer loses its settings?
If the timer clears after power loss, do not rely on memory. Write down the exact settings (duration or on/off times and any mode settings) right away, then re-enter them after the outage. If you want to avoid manual re-entry, consider using a digital plug-in timer that retains schedules through outages.
Can I use a countdown timer instead of a repeating daily timer for grow lights?
Usually not. A countdown turns the light off once after X hours, it does not repeat at the same time every day. If you accidentally use countdown behavior, you can create inconsistent daily cycles that stress seedlings or flowering plants, especially when the next day’s start time shifts.
Why does my light seem to be running on a different schedule than I set?
Common causes are the timer being in a manual ON/OFF state (instead of AUTO), daylight saving time drift (especially with smart plugs or some timers without DST controls), or child lock preventing changes while you think settings updated. Re-check mode first, then confirm the timer clock time after any DST change.
If my smart plug controls the grow light, will it keep the schedule through daylight saving time automatically?
Not always. Many smart plugs do not automatically adjust schedules correctly at DST transitions, so your grow light can run an hour early or late. After each DST change, open the plug app and update or re-save the schedule, or switch to a timer with a dedicated DST adjustment button if available.
What if the timer buttons do nothing, even though the light turns on when plugged in?
This often indicates a locked control panel (child lock or hold mode). Try unlocking using the documented button-and-hold combination, usually held for a few seconds. If the display is blank, confirm power and, for timers with battery backup, replace the backup battery before re-programming.
What is a good starting schedule if I am unsure whether to use 12/12 or 16/8?
If you want one simple starting point, a 12 hours on, 12 hours off cycle is a common baseline for many plants. If you are specifically growing seedlings, 16 hours on, 8 hours off is often used, then you can shift toward a 12/12 cycle when moving toward flowering or when your plants respond better to shorter days. Always adjust gradually (about 1 to 2 hours) and watch leaf response.
Should I adjust light height based on timer settings, or treat timer and distance as separate settings?
They are separate. Even with the right daily schedule, incorrect intensity from mounting height or dimmer level can cause bleaching, stunting, or leggy growth. Start with recommended heights (for seedlings versus established vegetative plants), then adjust after a week by checking plant color and posture, not by changing timer duration first.
How do I choose between using the timer and using a dimmer?
If your light has a dimmer, reducing intensity (or PPFD output) is often easier and less disruptive than raising or lowering the fixture repeatedly. Use the dimmer to fine-tune within your mounting plan, and reserve distance changes for when plants consistently show signs of being too intense or too dim.
Is it okay to run a “random mode” to prevent exact on/off timing?
For plants, fixed daily schedules are usually better. Random mode can introduce daily inconsistency, which is different from what plants expect and can complicate tracking growth stage. Random timing is more suited to security lighting, where the goal is unpredictability rather than consistent photoperiod.
Next Article
Grow Light Timer Instructions: Setup, Program, Troubleshoot
Step-by-step grow light timer instructions to set schedules, test runs, and troubleshoot common setup issues safely.