Great Value grow lights are budget-friendly 2ft LED bar/tube fixtures sold at Walmart, typically running either 14W full spectrum or 20W selectable spectrum, and they work really well once you get them set up correctly. Hang them 6 to 24 inches above your plants depending on the growth stage, plug into a standard grounded 120V outlet, and run them 14 to 16 hours a day for seedlings or 12 hours for flowering plants. That covers about 90% of what you need to know. The rest of this guide fills in the details so you don't fry your plants or waste a trip back to the store.
Great Value Grow Light Instructions Setup, Use, Troubleshoot
Marcus Tillman
4 May 2026
Identify your Great Value grow light model and what's in the box
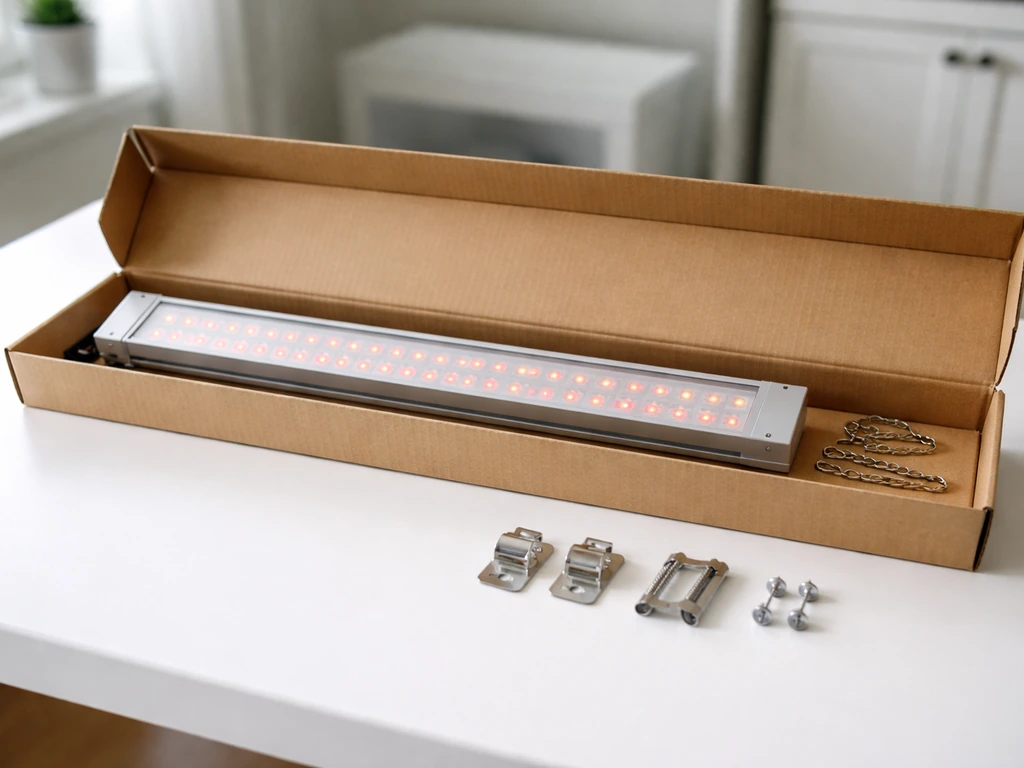
There are at least two current Great Value grow light models worth knowing about. The first is the 14W Full Spectrum Linkable model with an integrated receptacle that lets you chain up to 10 units together. The second is the 20W Selectable Spectrum Linkable model, which adds a spectrum-switching feature so you can toggle between light modes. Both are 2ft bar-style fixtures, roughly 23 to 24 inches long and about 2 inches wide. Check the back label or the original box to confirm your wattage and whether yours says 'selectable spectrum' or just 'full spectrum,' because the spectrum switch step only applies to the 20W model.
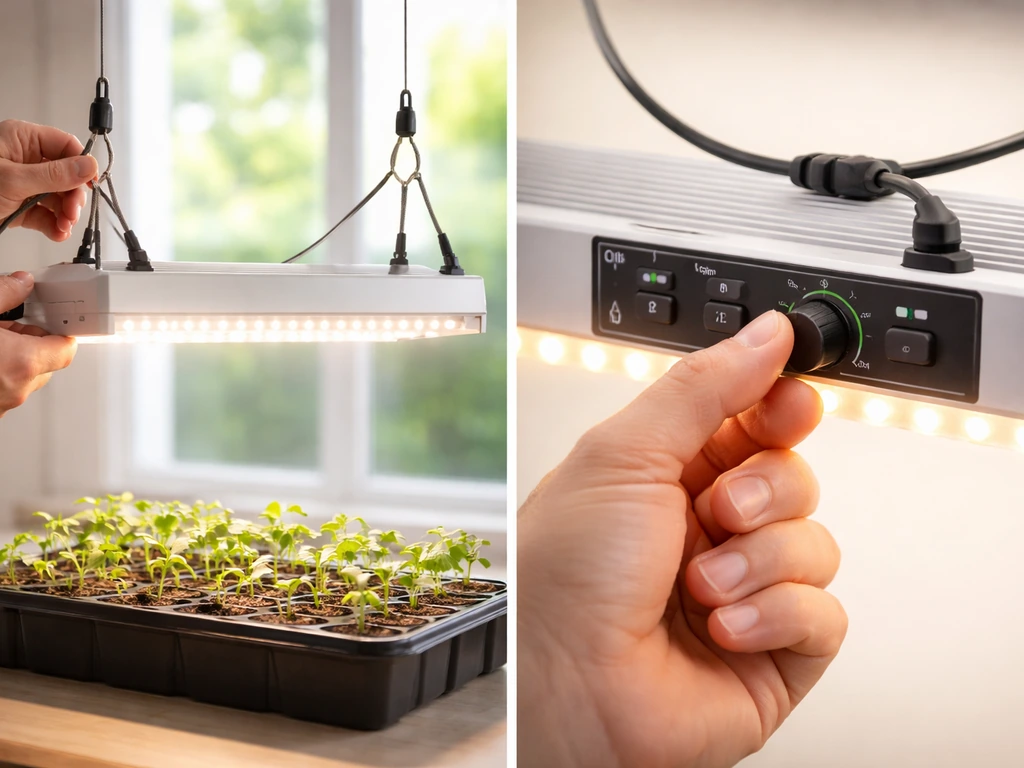
When you open the box, you should find the grow light bar itself, a power cord, a linking cord (for daisy-chaining units), hanging hardware (usually S hooks or V hooks, a length of metal chain, and screw hooks or toggle bolts for the ceiling), and possibly end-to-end connectors. Lay everything out before you start. If anything is missing, especially the hanging chain or the mounting screws, check the packaging again before assuming it's incomplete. The toggle bolts are easy to miss because they're often packed inside a small plastic bag tucked under the fixture.
Safety and setup: how to mount, position, and connect it properly
Before you touch a drill, check that the surface you're mounting into can actually hold the fixture. Drywall alone is not sufficient. You need to hit a stud, a ceiling joist, or use the toggle bolts that came in the kit for hollow surfaces. Drill your pilot holes and check for hidden electrical lines or plumbing before going in with a screw. Once your screw hooks are in the ceiling, attach the chain, then clip the S hooks through the chain links and into the holes or slots on each end of the light bar. Once everything is mounted and connected, you can follow the jump start instructions to power it safely and verify it works as expected jump start grow light system instructions. The chain links give you easy height adjustment later, which matters more than you'd think.
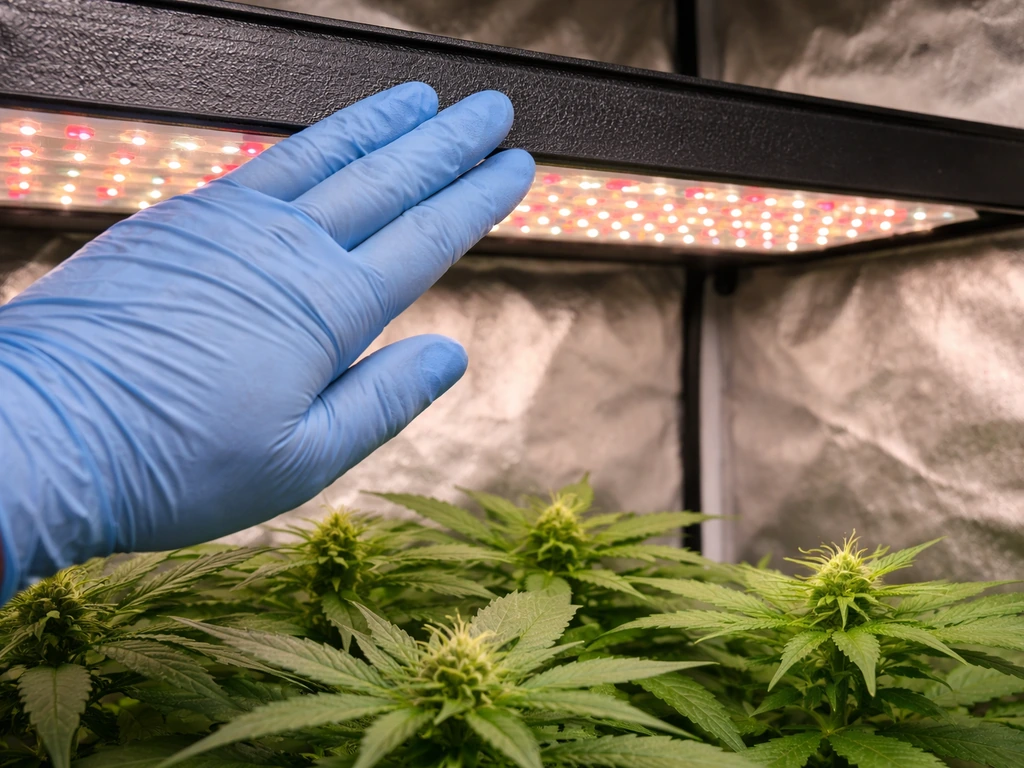
Keep at least 3 inches of clearance between the top of the fixture and the ceiling. This isn't optional. LED bars still generate some heat at the driver end, and trapping that heat against a ceiling shortens the light's life and can be a fire hazard in a enclosed space. Also, these fixtures are rated for dry indoor use only. They are not waterproof. Keep them away from misters, humidifier output, open windows in rainy weather, and definitely don't spray them directly with water when cleaning your grow area.
For power, plug the grow light's power cord into a standard grounded 120V wall outlet. The 14W model uses an integrated non-grounded receptacle for linking, which is fine for the daisy-chain connections between units, but your first unit in the chain always needs to plug into a proper grounded wall outlet. If you're linking multiple bars together, connect them using the linking cord before you power anything on. On the 20W version, confirm the spectrum switch is in your desired position before plugging in.
Switches, timers, and dimmers: getting the controls right
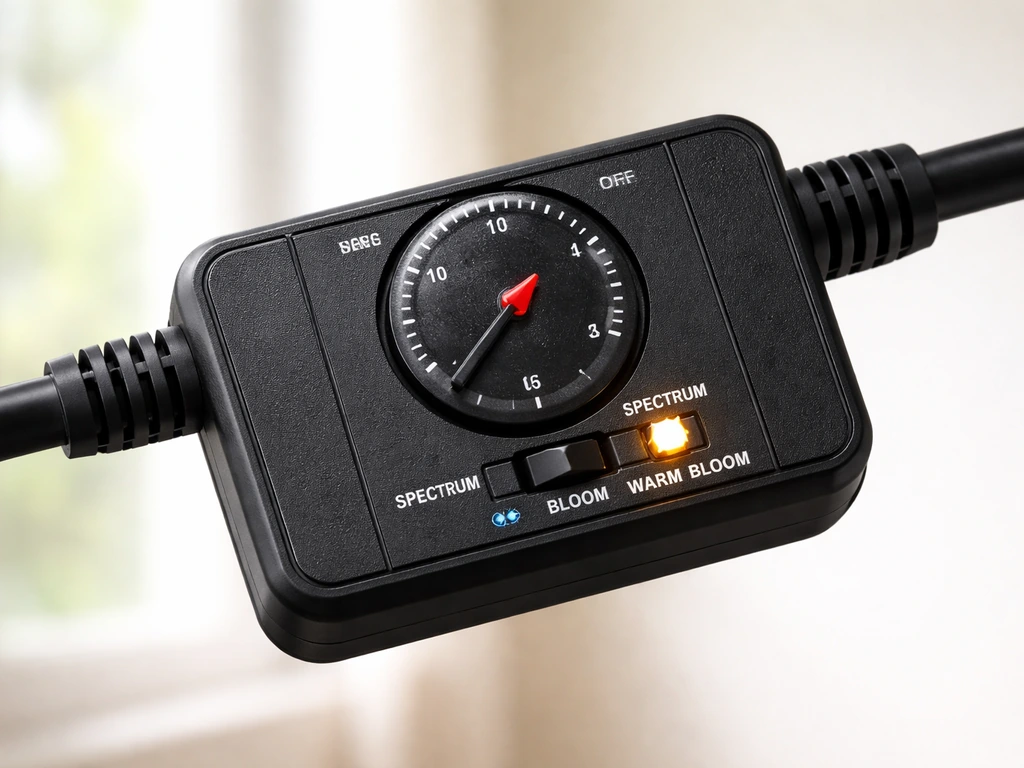
The 20W selectable spectrum model has a switch that lets you choose between light modes, typically something like a warm/bloom spectrum, a cool/veg spectrum, or a combined full-spectrum mode. The exact labels vary, but the switch is usually on the end cap of the bar. Set this before your first use. For seedlings and leafy greens, a full-spectrum or veg-leaning setting works best. For flowering plants, shift toward the warm/bloom side. If your model doesn't have this switch (the 14W full spectrum version), you're already running full spectrum all the time and there's nothing to toggle.
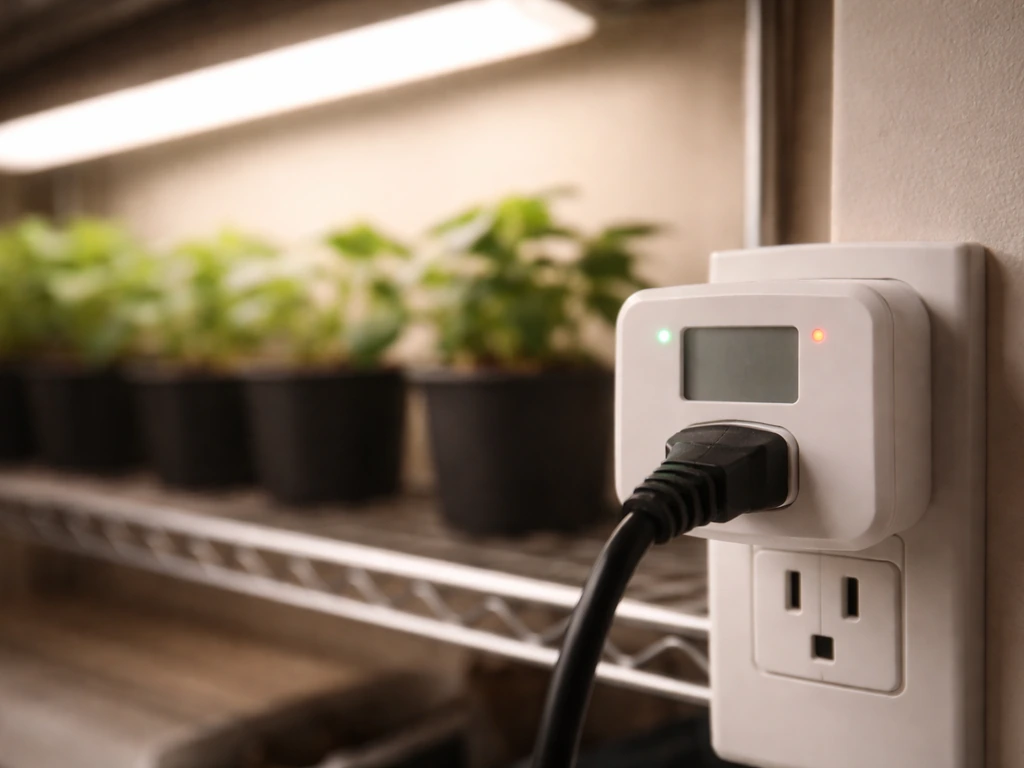
Neither Great Value model appears to include a built-in dimmer, so intensity control is done by adjusting the height of the fixture above your plants, not by turning a knob. If you want a dimmer or timer built in, you'll need an external one. A simple plug-in mechanical outlet timer costs about 10 dollars and is the most reliable option. Set it to run the light on a fixed daily schedule. Avoid smart plugs with unreliable Wi-Fi connections for this purpose. Plants need consistent photoperiods, and a dropped connection at 2am that leaves the light off all night can stress your plants over time.
If you're linking multiple units, the power switch on the first unit in the chain controls all of them when they're connected via linking cords. You don't need a separate switch for each bar, which is one of the practical advantages of the daisy-chain design. Just remember not to link more than 10 units together on the 14W model, and use your own judgment based on the total wattage load on your outlet. A single 15-amp circuit can safely handle around 1,800 watts, so 10 units at 14W is about 140W total, which is well within limits.
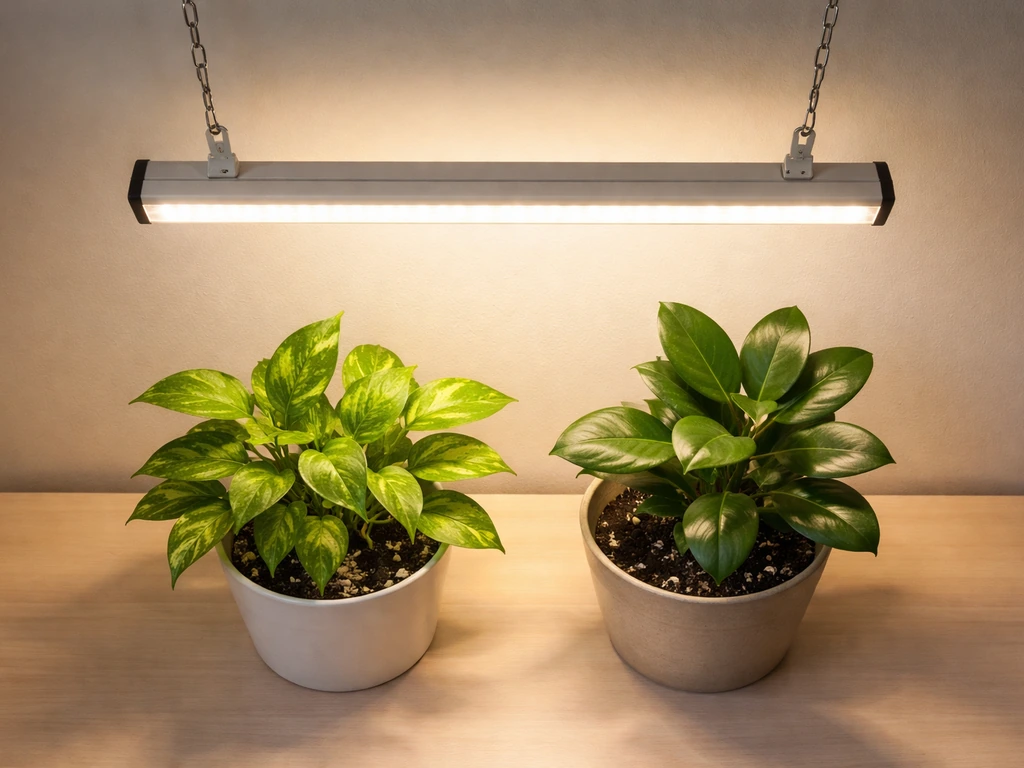
How high to hang it: distance guide for seedlings vs. mature plants
Distance is the single biggest lever you have for controlling how much light your plants actually receive, since these lights don't have a dimmer. Here's how to think about it based on what you're growing:
| Plant type / growth stage | Recommended distance from canopy | Notes |
|---|---|---|
| Seedlings / germination | 12 to 18 inches | Start at 18 inches and move closer if stems are stretching |
| Young vegetative plants | 10 to 16 inches | Adjust based on leaf color and stem thickness |
| Leafy greens (lettuce, herbs) | 8 to 14 inches | These tolerate closer light well |
| Mature houseplants | 12 to 24 inches | Most houseplants prefer gentler light intensity |
| Flowering / fruiting plants | 10 to 16 inches | Move closer during bud development if plants are vigorous |
Because the Great Value fixture is a 2ft bar, its coverage footprint is narrower than a panel-style light. One bar works well for a single shelf tray or a row of pots, but if you have a wider area, you'll want two bars side by side. The 2ft length covers roughly a 2x1 foot footprint at optimal intensity. Beyond that zone, light drops off significantly, so plan your plant layout around that.
Daily schedule and photoperiod by plant goal
How many hours you run the light each day depends entirely on what you're trying to grow. Here are practical schedules you can start with today:
| Plant goal | Daily light hours | Example schedule |
|---|---|---|
| Seed germination / seedlings | 14 to 16 hours | 7am to 10pm |
| Leafy greens and herbs (vegetative) | 14 to 16 hours | 6am to 10pm |
| Houseplants (low to medium light species) | 10 to 12 hours | 8am to 8pm |
| Flowering plants (short-day trigger) | 12 hours on, 12 off | 7am to 7pm |
| Succulents and cacti | 12 to 14 hours | 8am to 8pm or 9pm |
The most important rule about photoperiod is consistency. Plants track the dark period, not the light period, to regulate flowering. If you have a flowering plant and your light leaks into the dark period even briefly (a hall light, a phone screen left nearby), it can delay or prevent flowering. For seedlings and vegetables, this is less critical, but consistency still reduces stress. Set your timer once and leave it alone unless you're intentionally shifting to a flowering schedule.
Troubleshooting: when the light won't turn on, flickers, or overheats
Light won't turn on
- Check that the power cord is fully seated in the outlet and that the outlet is live. Test the outlet with a phone charger or lamp.
- If you're using a timer, make sure it's in the ON position for the current time and that the timer itself is programmed correctly.
- Check all linking cord connections between daisy-chained units. A loose link cord at any point in the chain can cut power to all downstream bars.
- Inspect the power cord for any visible damage. If the cord is kinked sharply or pinched under a shelf, there could be an internal break.
- Try unplugging and replugging the unit. If there's a power switch on the fixture, make sure it's switched on.
Flickering
Flickering almost always points to a loose connection somewhere. Unplug everything and reconnect each cord firmly, paying special attention to the linking cords between units. If the light flickers even when standing alone on its own power cord with no linked units, the driver inside the fixture may be failing. At that point, the safest step is to stop using the light and contact the retailer or manufacturer about a replacement. Do not try to open or repair the fixture yourself.
Overheating or unusually hot to the touch
LED grow lights run warm but should never be hot enough to cause discomfort when you briefly touch the housing. If yours is uncomfortably hot, first check that you have at least 3 inches of clearance above the fixture and that air can circulate around it. Running too many linked units in a confined shelf space can also cause heat buildup. If the fixture still runs excessively hot after improving airflow, unplug it and don't use it until you've contacted support. Heat issues are worth taking seriously because they can shorten the driver's life dramatically.
Wrong color output or spectrum looks off
If you have the 20W selectable spectrum model and the light looks unexpectedly pink, purple, or purely white when you expected a different mode, check the spectrum selector switch on the end cap. It may not have clicked fully into position. Toggle it off and back on to the desired setting. If you have the 14W full spectrum model and the light looks more pink/purple than white, that's actually normal for many full-spectrum LED grow lights. The blended diodes create that characteristic color. If the light looks completely wrong (dim orange, only one color strip working), a diode section may have failed and you should pursue a replacement.
Fine-tuning intensity and height using your plants as feedback
Your plants will tell you if something is wrong within a few days. Here's what to look for and how to respond:
- Leggy, stretching stems reaching toward the light: the light is too far away. Lower it by one or two chain links and reassess in 48 hours.
- Yellowing or bleached-out leaves directly under the fixture: the light is too close. Raise it by 3 to 4 inches and watch for improvement over the next few days.
- Curling leaves with crispy edges on plants directly under the center of the bar: often a combination of too close and too warm. Raise the fixture and check airflow.
- Slow growth with deep green but slightly smaller-than-normal leaves: could be too little light. Lower the fixture incrementally, 2 inches at a time, every few days.
- One side of a plant growing faster than the other: your bar may not be centered over the plant. Reposition or rotate the pot every few days.
The practical approach is to make one adjustment at a time and wait 48 to 72 hours before making another. Plants don't respond instantly, and making multiple changes at once makes it impossible to know what actually worked. Start with your bar at 14 to 16 inches above your seedlings or 10 to 12 inches above leafy greens, run it on your scheduled timer, and check in every couple of days for the first week. After that first week of observation, you'll have a clear picture of whether to go higher or lower and you can lock in your setup with confidence.
If you end up expanding your setup later and want to compare how other budget-friendly bar-style grow lights handle scheduling and linking, it's worth looking at how brands like Feit, Mosthink, and Bestva approach the same bar-light format, since the distance and photoperiod principles are very similar across all of them even when the hardware differs slightly.
FAQ
How do I tell which Great Value model I have, 14W full spectrum or 20W selectable spectrum?
Check the wattage and wording on the back label or the box, look specifically for the phrase “selectable spectrum,” and confirm whether there is an end-cap spectrum switch. The 14W model has no spectrum toggle, so any switch you see usually means you have the 20W version.
Can I use these grow lights outdoors in a covered area or greenhouse?
No, they are for dry indoor use only. Even in a covered greenhouse, avoid mist, condensation, rain exposure, and humidifier output because the fixtures are not waterproof and moisture can damage the driver.
What if I accidentally plug the first chained unit into an ungrounded outlet or extension?
The first unit needs a properly grounded 120V wall outlet for safe operation. If you are using an extension cord, use a properly rated grounded cord, keep connections off the floor where water can pool, and avoid undersized cords that can overheat.
Is it safe to run the lights nonstop (24 hours) to speed up growth?
No, these lights still need a daily dark period. For flowering plants especially, constant light can prevent proper flowering because plants regulate flowering by the dark period, not the light period.
Can I use a smart plug or app to control the schedule?
You can, but it is risky if the Wi-Fi or app connection is unreliable. The safer approach is a simple plug-in mechanical timer because it keeps a consistent on off schedule even during internet outages.
How many plants can one 2ft bar realistically cover?
One bar is best for a narrow zone, roughly around a 2 by 1 foot footprint at effective intensity. If you need a wider area, add a second bar side by side rather than spreading one bar across many rows, because light drops off outside the target zone.
What is the best way to mount the chain and adjust height over time?
Use the chain links to make gradual adjustments, then wait 48 to 72 hours before changing again. Small height changes can noticeably affect intensity since these fixtures have no built-in dimmer.
My lights are flickering only when linked units are attached. What should I check first?
Unplug and reseat each connection, then inspect the linking cord ends for a snug fit. Flicker that disappears when the bar is not linked points to a loose link rather than a single failing driver.
If the housing feels hot, when is it a problem?
LED bars should get warm, but they should not be uncomfortably hot to touch briefly. If it is excessively hot, confirm at least 3 inches of clearance above the fixture and improve airflow, then reduce how many units you chain in a confined shelf space.
Should I try to open the fixture if it stops working or looks dim?
Do not open or repair it yourself. If a light looks abnormal (for example, only one strip working, dim orange output, or persistent flicker when used alone), unplug it and pursue a replacement or retailer support.
What if my 20W light looks pink or purple even though I selected a different spectrum mode?
Make sure the spectrum selector switch is fully clicked into the intended position. Sometimes the switch is not in its detented position, toggling off and back on often fixes the mismatch.
Can I dim these lights by turning the height way down or aiming them from different angles?
Height is your main intensity control, aiming or angling can spread light less evenly and may create hotspots. If you need lower output, adjust height upward slightly and rely on scheduled photoperiod consistency rather than guessing with angles.
Do I need a separate timer for each linked light?
No, the power switch on the first unit typically controls the linked units. Use one timer for the first plugged-in unit, but confirm that your linking cord setup is correct before trusting the schedule.
How should I start with height and then adjust after the first week?
Start at about 14 to 16 inches above seedlings or around 10 to 12 inches above leafy greens, then check after 48 to 72 hours. After the first week, adjust once more based on plant response, keeping changes incremental so you can understand what worked.
Next Article
BestVA Grow Light Instructions: Setup, Dimming, and Scheduling Guide
Step-by-step BESTVA grow light setup, dimming, and timer scheduling for seedlings to flowering, plus troubleshooting tip