If your Bell & Howell grow light isn't working, the fix is almost always one of four things: a power or connection problem, a timer or dimmer setting that's quietly blocking the light, a partial LED or driver failure, or a placement issue making the light look weaker than it actually is. This guide walks through each one in order, starting with the fastest checks first.
Bell & Howell Grow Light Not Working: Troubleshooting Guide

Marcus Tillman
7 Apr 2026
What 'not working' actually means (and why it matters)
Before diving into fixes, it helps to get specific about the symptom. 'Not working' can mean completely different things depending on what you're seeing. A light that won't turn on at all has a different cause than one that flickers, and a light that looks too dim is often a settings problem rather than a hardware failure. Here are the main symptoms and what they typically point to:
- No power at all (no LEDs, no indicator light, nothing): likely a power supply, outlet, or connection issue
- Light turns on briefly then shuts off: timer may have already completed its cycle, or the driver is overheating
- Flickering or strobing: loose connection, failing driver, or incompatible dimmer
- Only some LED bars or rows are lit: partial driver failure or a wiring issue between heads
- Very dim output across all LEDs: brightness setting is too low, or the driver is underperforming
- Wrong color (only blue, only red, or unexpected mix): color mode got cycled accidentally
- Plants look like they're not responding to the light: a placement or intensity issue, not necessarily a broken light
Pinpointing your exact symptom before you start poking around saves a lot of time. If you're not sure whether the light is actually putting out usable light (as opposed to just looking weak), check out this guide on how to know if a grow light is working before assuming it's broken.
Power and connection: check these first
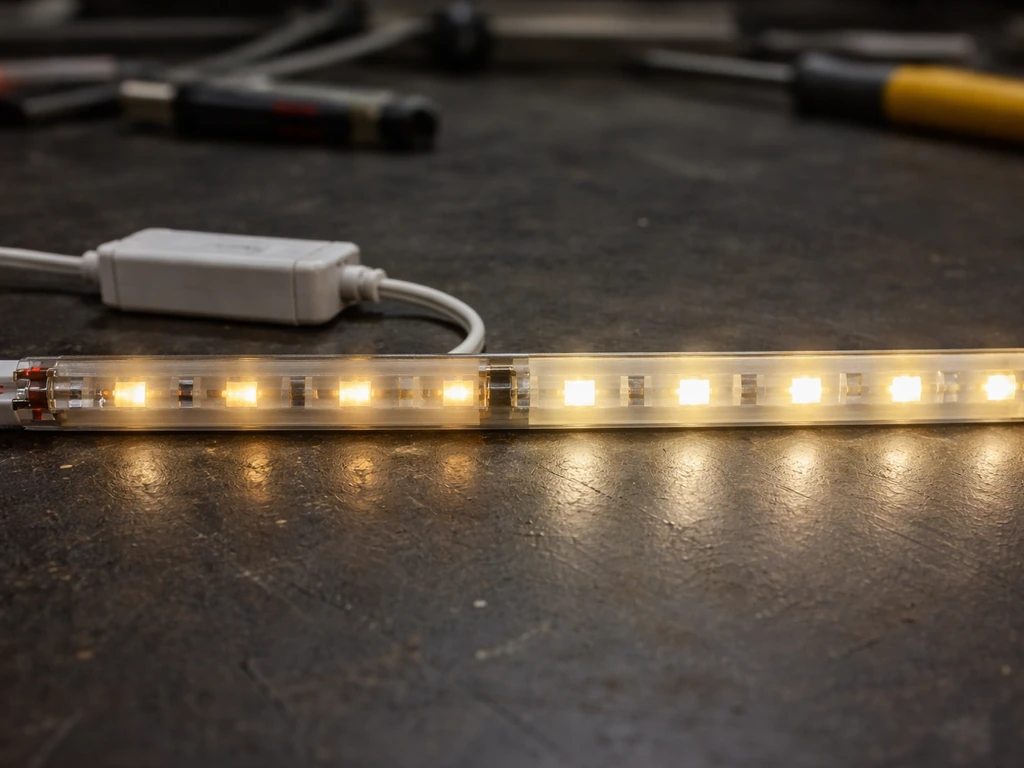
The majority of 'dead' grow light cases come down to something in the power chain. Bell & Howell grow lights like the Bionic Grow (model 8573) and the GrowBurst 24-inch use an external AC adapter (the power brick between the wall and the fixture). That adapter is often the first thing to fail, and it's also the easiest thing to overlook.
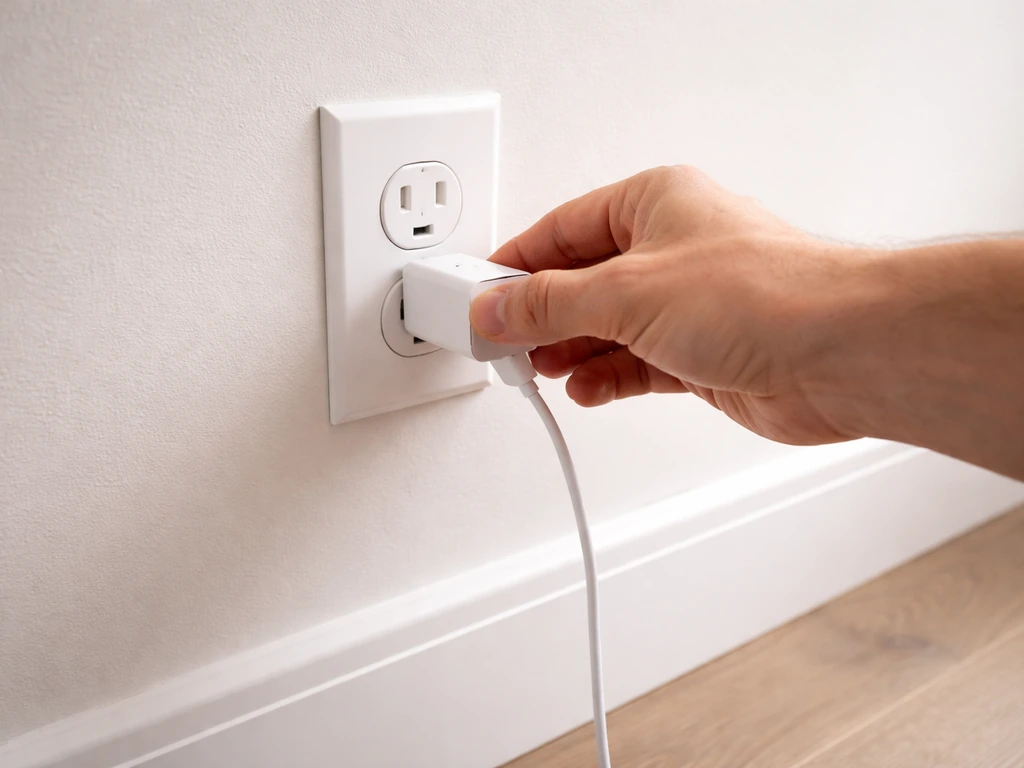
Start at the wall outlet
Plug something else into the same outlet, a phone charger or a lamp you know works. If that device also fails, the outlet is the problem, not the grow light. Check the breaker, and if you're using a power strip, test without it. Some cheap power strips have internal overload protection that trips quietly and doesn't reset with the obvious button.
Check the adapter and its connections

The AC adapter on Bell & Howell grow lights is a small brick with a DC barrel connector on the output side. Check that the barrel connector is fully seated in the light's input port. It should click or seat firmly with no wiggle. A half-seated barrel connector is one of the most common causes of an apparently dead light. Also check the AC cable going into the brick itself. Some models have a detachable AC cord on the adapter side. Make sure it's fully pushed in at both ends.
If the adapter feels warm but the light still doesn't come on, the adapter may have failed internally. Adapters are a known weak point in low-cost LED grow lights. Look at the label on your adapter and note the output voltage and amperage (something like 12V 2A or 24V 1A). You can test it with a cheap multimeter set to DC voltage, touching the probes to the center pin and outer sleeve of the barrel connector. The reading should be close to the labeled voltage. Zero volts means the adapter is dead.
Avoid extension cords when possible
If you're using a long or thin extension cord, try plugging directly into the wall instead. Undersized extension cords can cause voltage drop that's enough to keep a small grow light's driver from firing up properly. If you must use an extension cord, use one rated for at least 10 amps and keep it as short as practical.
Multi-head models: check the connections between arms
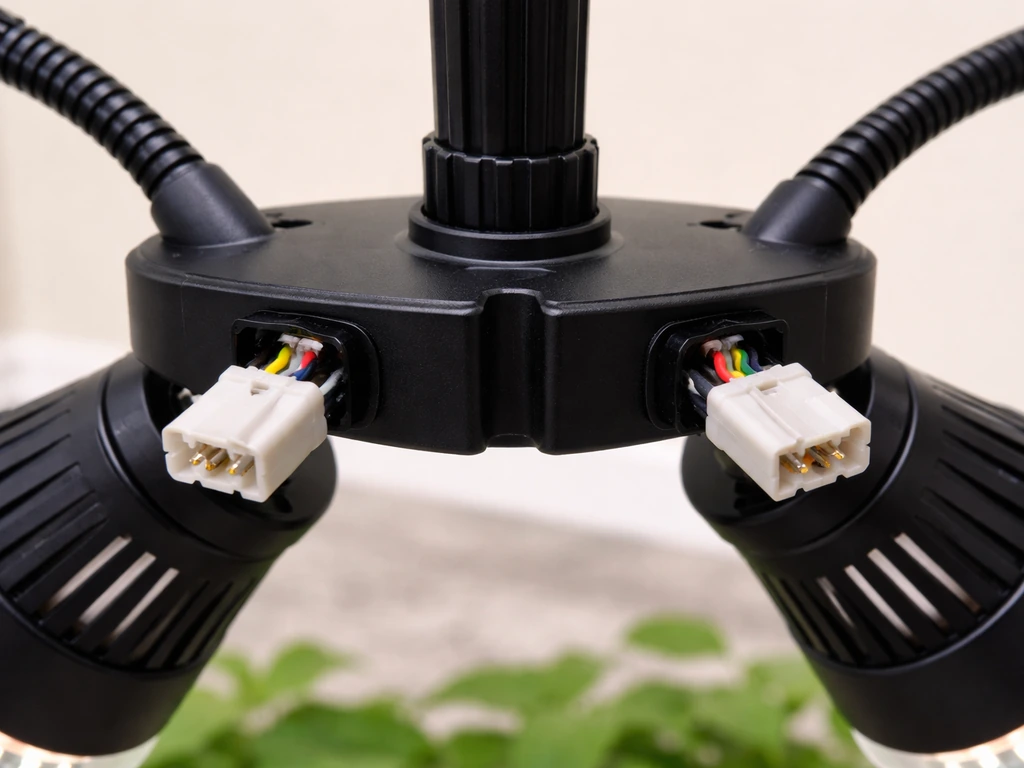
The Bell & Howell Bionic Grow 8573 comes in 2, 3, and 4-head versions. The individual lamp heads connect to the central body, and those connections can loosen over time, especially after you've been adjusting the gooseneck arms. If some heads are lit and others aren't, disconnect and firmly reseat each head connector. Run your finger along any connection points or cables between heads and look for any visible damage to the insulation.
Timer, dimmer, and color mode settings that quietly kill the light
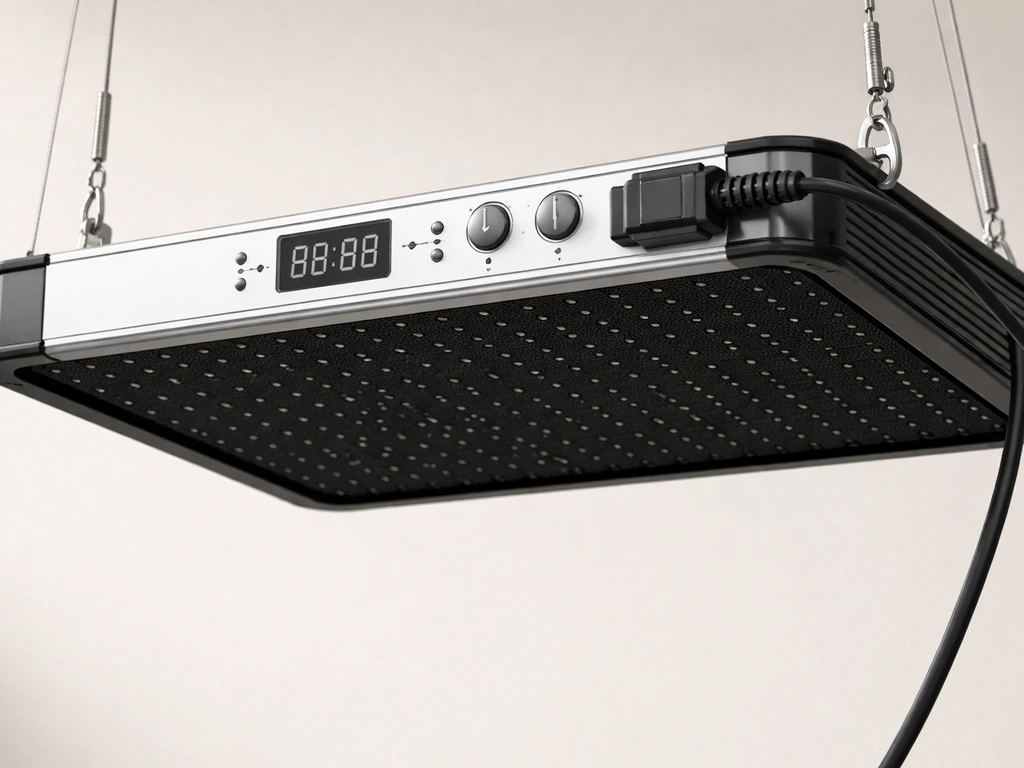
This is the one that trips people up most often, because it looks exactly like a hardware failure. Both the Bionic Grow 8573 and the GrowBurst 24-inch have built-in timers (3H/6H/9H settings), 8-step brightness controls, and color mode cycling (blue, red, or mixed spectrum). Any one of these settings, if left in the wrong state, can make the light appear completely dead or severely underperforming.
The timer already ran its cycle
This is the single most common 'my grow light stopped working' call I see from new users. You set the timer once, the light ran for 3, 6, or 9 hours, and now it's off. The light isn't broken. It completed the cycle. To restart it, you usually need to press the timer button again to initiate a new cycle, or power-cycle the unit (unplug and replug). On the 8573, the control panel has indicator lights showing which timer duration is active. Check those lights to see if the timer has simply ended.
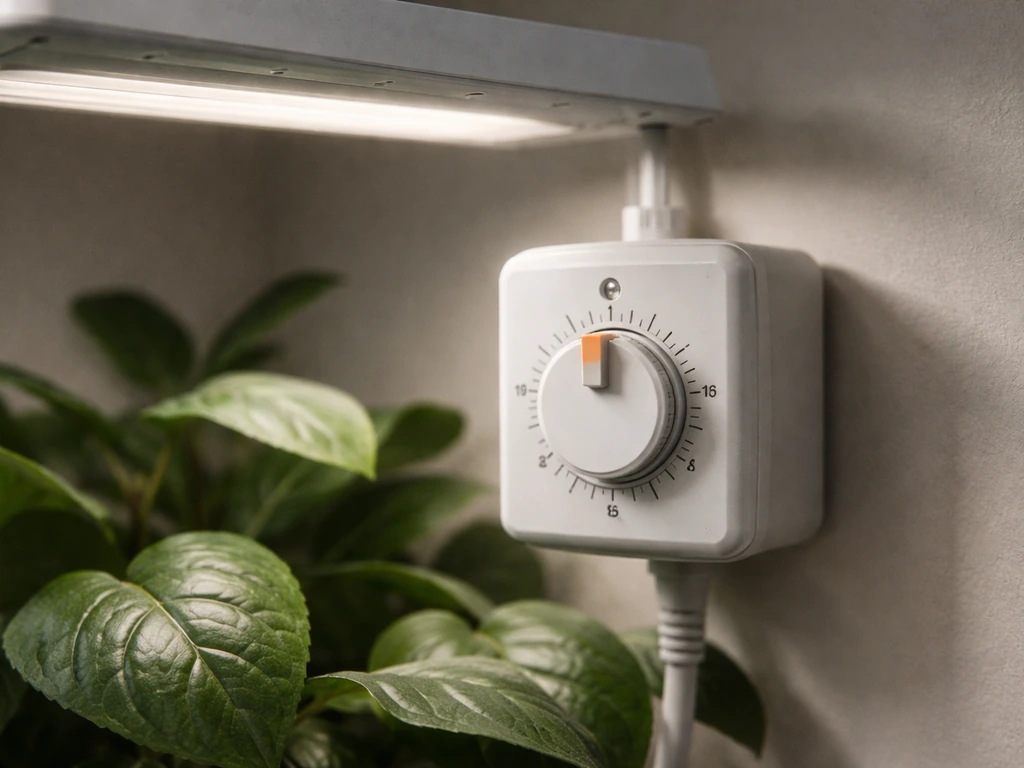
If you want the light to run on a fixed schedule automatically, the built-in timer works differently from a plug-in mechanical timer. Read through the Bell and Howell grow light instructions for your specific model to understand how timer memory works after a power cycle, because some firmware versions reset the timer mode when unplugged.
Brightness set too low
Both the 8573 and GrowBurst support 8 brightness levels. Level 1 is very dim and easy to mistake for 'off' in a well-lit room. Hold the brightness button down or cycle through all 8 levels and see if the output changes. If the light gets noticeably brighter as you cycle up, the fixture is working fine. Set it to level 8 for your baseline test.
Color mode got changed accidentally
Bell & Howell's grow lights let you switch between blue-only, red-only, and a full mixed-spectrum mode. Blue-only light in a room with warm ambient lighting can look almost invisible to your eye. If the LEDs seem off but you can see a faint glow when you cup your hands around the fixture head, you might just be in blue-only mode. Cycle through the color settings. For general plant growth, the mixed mode is what you want.
Diagnosing partial failure: flicker, dead bars, and dim output
If the light is definitely getting power and the settings are correct, but something still looks wrong, you're likely dealing with a partial hardware failure. These are the main patterns to look for:
| Symptom | Most Likely Cause | What to Try |
|---|---|---|
| Flickering or strobing at any brightness level | Loose connection or failing driver/adapter | Reseat all connectors; swap adapter if possible |
| Only some heads/bars lit on multi-head model | Failed connection between heads or partial driver failure | Reseat each head connector; try powering each head independently if the design allows |
| All LEDs on but very dim even at max brightness | Driver underperforming or adapter voltage is low | Test adapter output voltage with multimeter; replace adapter if below rated spec |
| Light works on full brightness only, dims don't respond | Control board issue or firmware glitch | Power-cycle the unit; if persistent, contact Bell & Howell support |
| Light flashes once then goes dark | Thermal shutoff or driver protection circuit tripped | Let the unit cool 10-15 minutes unplugged, then retry |
Flickering is particularly important not to ignore. Consistent flicker usually means the driver (the internal power conversion circuit) is starting to fail, or the incoming voltage from the adapter is unstable. A failing driver will often get worse over time and can take the LEDs with it if you keep running it. If swapping the adapter doesn't stop the flicker, treat it as a driver failure and move on to the replacement steps below.
Placement and distance problems that look like failure
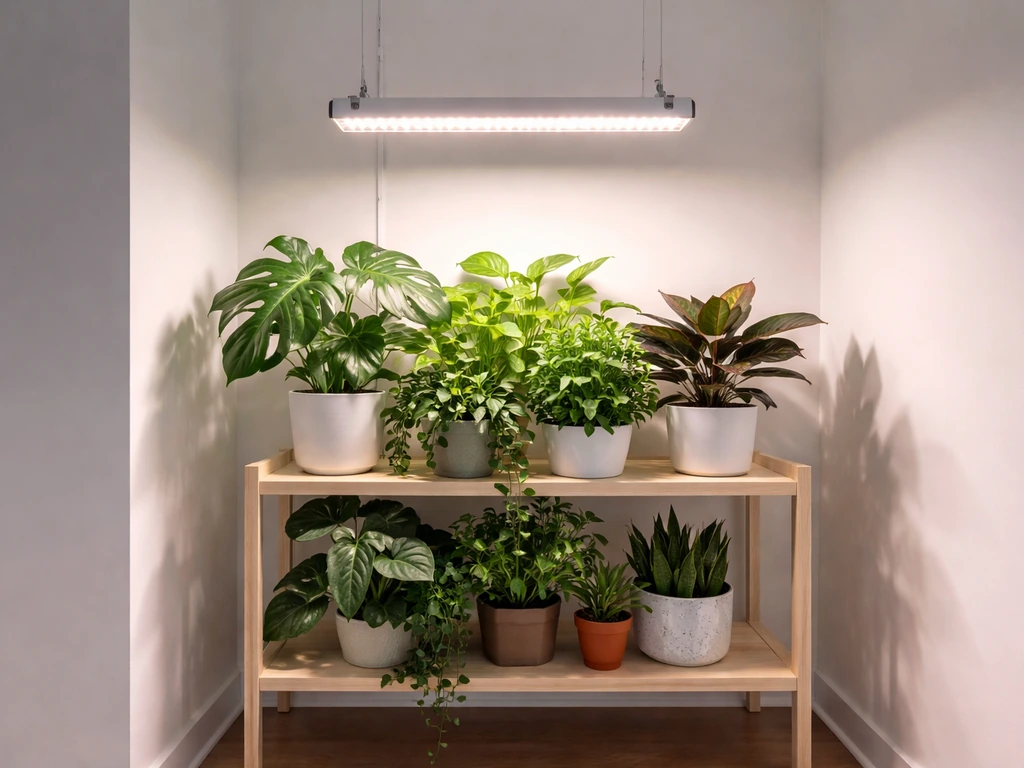
A grow light that's positioned too far from your plants, or in the wrong angle relative to the canopy, can look like a failing light, especially in a bright room where you can barely see the LEDs are on. Bell & Howell's LED grow lights are designed for close-range use. The Bionic Grow's gooseneck arms are meant to position the heads 4 to 12 inches above the plant canopy for seedlings and small houseplants. At 24 inches or more, the light intensity drops off dramatically and won't do much for plant growth even if the fixture is working perfectly.
The way light intensity drops with distance follows an inverse-square relationship. Doubling the distance cuts the intensity to roughly a quarter. So if your fixture is 16 inches away and you move it to 8 inches, you're getting about four times the light hitting your plants. This matters a lot for compact LED fixtures like Bell & Howell's, which don't have the raw output to compensate for poor placement.
If you want to verify what your fixture is actually delivering at plant level, a PAR meter or even a basic lux meter can tell you a lot. For seedlings, you're typically aiming for 200-400 PPFD at canopy level, and for most houseplants, 100-250 PPFD is adequate. The guide on how to measure grow light intensity walks through how to do this without expensive equipment.
Also check the angle of the heads. The Bionic Grow's gooseneck arms let you position each head independently, but if a head is angled away from the plant and toward the wall or ceiling, you're wasting most of the output. Point each head directly at the canopy from above, not from the side at a steep angle.
Safe testing with known-good power and components
Once you've ruled out settings and placement, the next step is isolating the actual failure by swapping in known-good components one at a time. Here's how to do this safely:
- Unplug the grow light completely before touching any connections or moving the fixture.
- Test the wall outlet with a different device as described above. Confirm power is present before concluding the light is at fault.
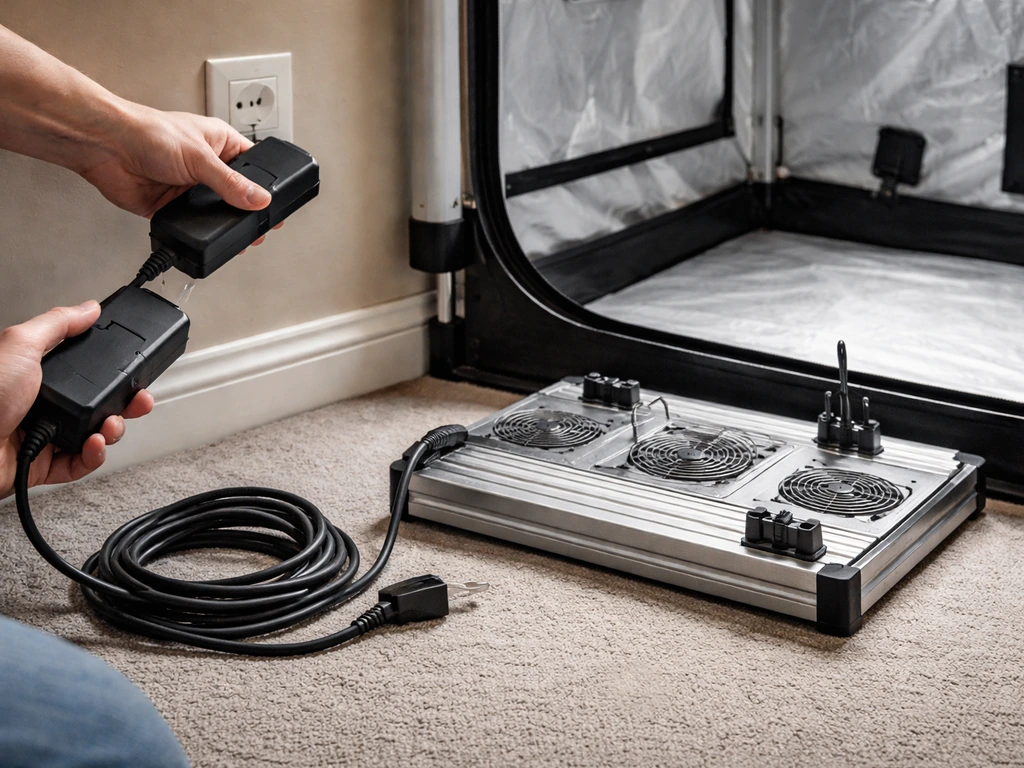
- If you have access to a compatible replacement adapter with the same output voltage and amperage (check the label on your original adapter), swap it in and see if the light comes on. This is the single most useful test you can do.
- Use a multimeter to check DC output at the barrel connector of your existing adapter. Set the meter to DC voltage, touch the red probe to the center pin and the black probe to the outer sleeve. A reading significantly below the rated voltage (say, 9V on a 12V adapter) indicates the adapter is failing under load.
- For multi-head models, try operating with only one head connected if the design allows. If one head works alone but not with others connected, the issue is in the interconnect cables or one of the heads is drawing too much current.
- Do not open the adapter housing or the fixture body. There is no user-serviceable component inside that justifies the risk of stored capacitor discharge or voiding your warranty.
If you've swapped the adapter, confirmed good outlet power, checked all settings, and the light still won't function normally, stop here. Further disassembly isn't safe and won't get you closer to a fix on a product like this. The next step is support or replacement, covered below.
For broader context on diagnosing issues shared across LED grow light brands, the grow light not working troubleshooting guide covers additional scenarios that apply regardless of brand, including driver overheating and LED degradation over time.
Replacement parts, repair, and getting support
Bell & Howell sell their grow lights primarily through mass-market retailers including Home Depot, Walmart, and Amazon. Replacement adapters for the 8573 and similar models are not sold separately as official Bell & Howell parts in most retail channels, but a compatible third-party adapter is usually easy to source if you match the voltage and amperage exactly from the label on your original adapter. Polarity matters too: confirm the center pin is positive (marked with a + or a diagram on the adapter label) before buying a replacement.
If the fixture body itself has failed (the control board, the LED array, or the internal wiring) and it's still within the warranty period, contact Bell & Howell directly before buying anything. Bell & Howell's customer support can be reached through their official website at bellhowell.net. Have your model number (for the Bionic Grow, that's 8573 or 8573FEL) and purchase receipt or order number ready. Many of these products carry a 30-day to 1-year warranty depending on where you bought it, and retailers like Home Depot often have their own return window that's easier to use than a manufacturer warranty claim.
When to just replace it
Bell & Howell grow lights are positioned as affordable entry-level products, typically retailing between $20 and $50. If your unit is out of warranty, the adapter has failed, and you can't find a matching replacement adapter for under $10 to $15, it may be more practical to replace the entire fixture than to hunt for parts. The same applies if the LED array has partially failed (dead bars that won't come back). LEDs themselves rarely fail in isolation on a fixture this size. If you're seeing dead sections, the driver board is almost always the underlying cause, and that's not economically repairable on a budget fixture.
If you do replace the fixture, this is also a good moment to reassess whether a single-arm gooseneck model is the right form factor for what you're growing. Compact clip-on fixtures like the Bell & Howell Bionic Grow work well for a single plant or a small seedling tray. For a wider coverage area, a bar-style fixture or a panel-style light will give you more even distribution. Whatever you choose next, make sure you understand the timer and brightness controls before your first use, because as this guide hopefully made clear, a lot of 'broken' grow lights are actually just sitting in the wrong mode.
FAQ
How can I tell if my Bell & Howell grow light is in a timer-ended state versus fully dead?
Look for any timer indicator lights on the control panel, or try pressing the timer button to start a new cycle. If the LEDs come on immediately after restarting, the fixture is not dead, it just finished its programmed run time.
My light only turns on when I press or move the cable, what does that usually mean?
That pattern often points to a loose DC barrel connection, damaged barrel cable, or a failing internal contact. Reseat the barrel connector firmly, inspect the cable jacket for nicks, and avoid repeatedly wiggling while powered.
Is it safe to test the adapter with a multimeter while it’s plugged into the outlet?
Yes for voltage checks, but be careful: set the multimeter to DC voltage, touch probes to the barrel connector center pin and outer sleeve, and do not open the adapter housing. If you read zero volts (or wildly fluctuating voltage), the adapter is the likely culprit.
What extension cord type should I use if I have to run one to the grow light?
Use a heavy-gauge cord rated for at least 10 amps and keep it as short as possible. Thin or long cords can cause voltage drop that prevents the driver from starting reliably, even if the light seems to get “some” power.
Why does the brightness seem to change a lot after I switch color modes?
Blue-only or red-only modes can look dramatically different to your eyes, especially under warm indoor lighting. Cycle through all color settings and use the brightness level as your baseline test (for example, temporarily set to the highest brightness level).
If the heads are positioned correctly but output still looks weak, what’s the quickest placement check?
Confirm the distance to the canopy is within the intended 4 to 12 inch range for the gooseneck heads, then check that each head is angled toward the plants, not toward a wall or ceiling. Even small angle mistakes waste a large portion of the output.
My light flickers, I swapped the adapter, what should I suspect next?
If flicker continues with a confirmed-good adapter and stable outlet, treat it as driver instability. At that point, continuing to run it can worsen LED performance, so prioritize warranty, replacement, or support rather than more guessing.
How do I verify the light is actually producing enough at plant level without buying expensive gear?
A lux meter or PAR meter can confirm whether the intensity is in a reasonable range. If you only “see LEDs” but plants look unchanged, placement and distance are usually the first suspects, since intensity drops quickly with distance.
Can I replace just the adapter for my Bell & Howell model, or do I need the exact same part?
Match the labeled output voltage and amperage on the adapter label exactly, and confirm polarity (center pin positive if marked). Third-party adapters can work, but using the wrong voltage or polarity can prevent the driver from firing or cause damage.
When is it better to replace the fixture instead of troubleshooting components further?
If settings, power, adapter, and connections are confirmed, and the issue still persists, it’s usually more cost-effective to use warranty/returns or replace the fixture. Budget fixtures often cannot be repaired economically once the driver or control electronics fail.
Next Article
Grow Light Setup for Indoor Plants: Step-by-Step Guide
Step-by-step guide to set up indoor grow lights: choose fixtures, place correctly, size coverage, set timers, troublesho