Setting up a Likesuns LED grow light is pretty straightforward once you know what each part does and where everything goes. The short answer: mount the bar at the right height, plug it in, set your timer, and dial your dimmer to match the plant stage. This guide walks you through every step in order, with the actual numbers you need so you are not guessing.
Likesuns LED Grow Light Instructions: Setup, Controls & Troubleshooting

Marcus Tillman
21 Apr 2026
What you need before you start
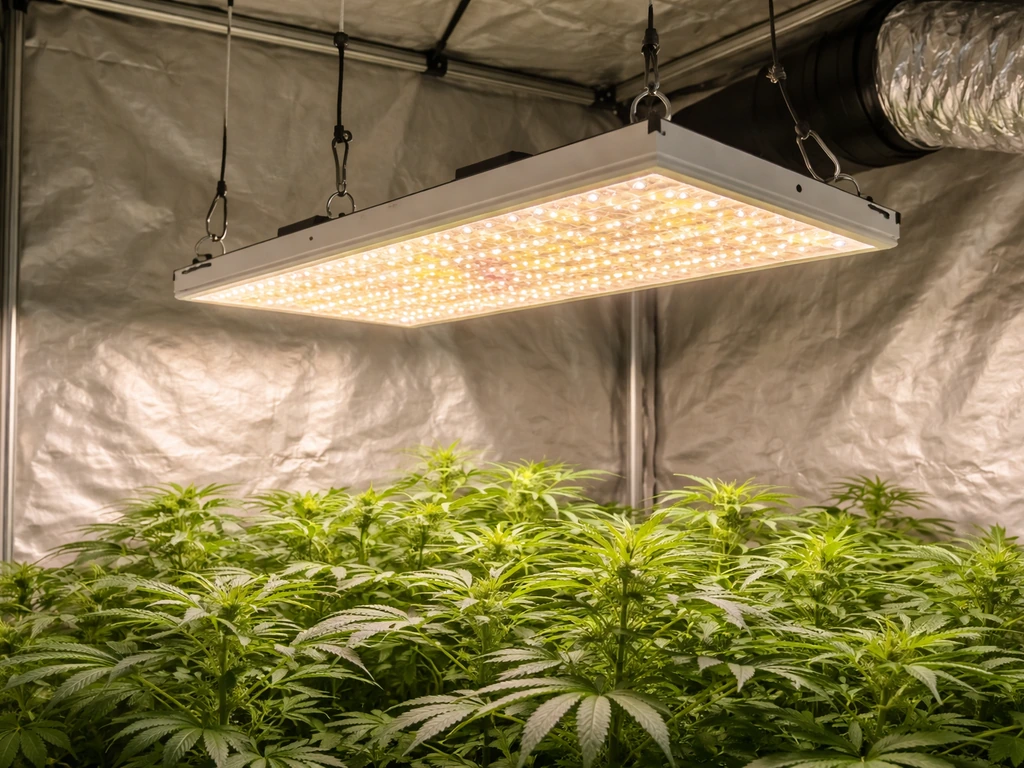
Before you touch anything, do a quick inventory and make sure your space is ready. Likesuns sells a couple of fixture types, but the most common one you will find in stores and on marketplaces is the bar-style Double Switch model, rated at 320W (plus or minus 5%). It accepts 110–240V AC (standard US and international outlets) as well as 277V and 347–480V for commercial setups. If you are running it at home, a standard 120V outlet is fine.
The bar-style fixture uses passive thermal management, meaning no internal fans. Heat dissipates through the aluminum shell. That is great for noise but means airflow around the fixture matters more than it would with an actively cooled light.
What should be in the box
Check all these items against your packaging before you start. If anything is missing, contact the seller before you install the light.
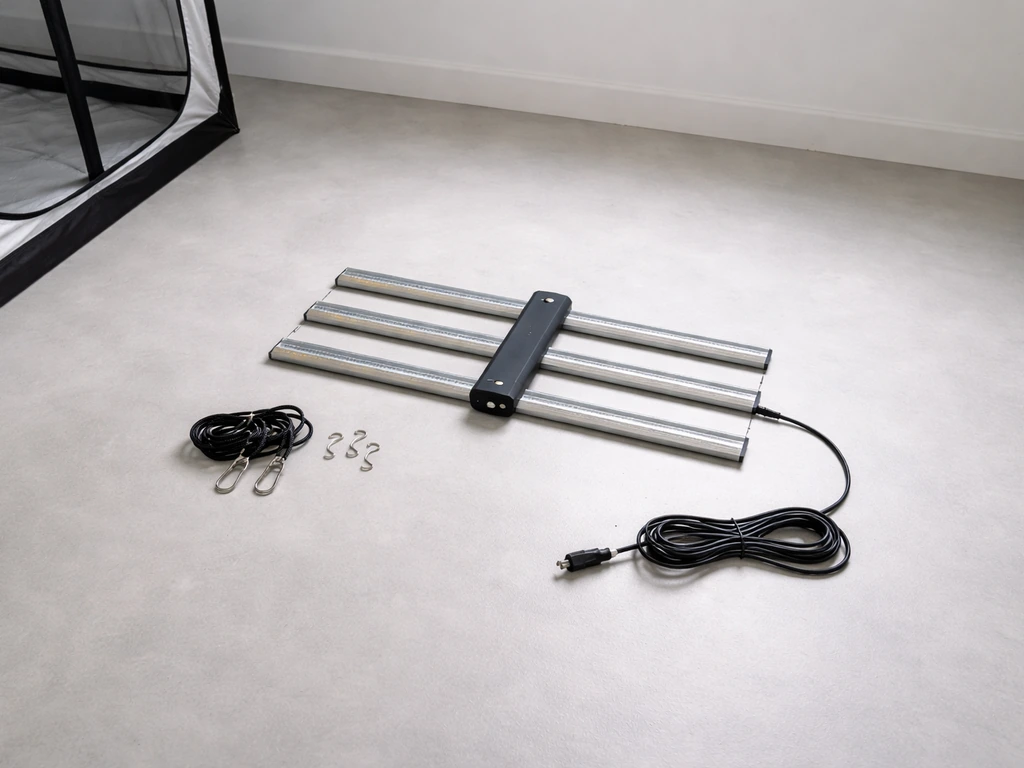
- 1x LED grow light bar (the main fixture)
- 1x power cord
- 2x adjustable rope hangers
- 2x hanging hook kits
- 1x user manual (keep this for warranty reference)
- Thermometer (included with some models, like the 1000W version)
Safety checks before you plug anything in
- Never use this light near dripping water or in a space where it can get wet. Water and electricity are a dangerous combination, and the fixture is rated for indoor dry-area use only.
- Make sure your ceiling anchor point or tent crossbar can hold the weight of the fixture plus the hanging hardware.
- Confirm your outlet is on a circuit that can handle the wattage, especially if you are daisy-chaining multiple units (limit of 4 fixtures per daisy-chain run).
- Keep the power cord off the floor and away from water trays or irrigation lines.
Step-by-step installation and mounting
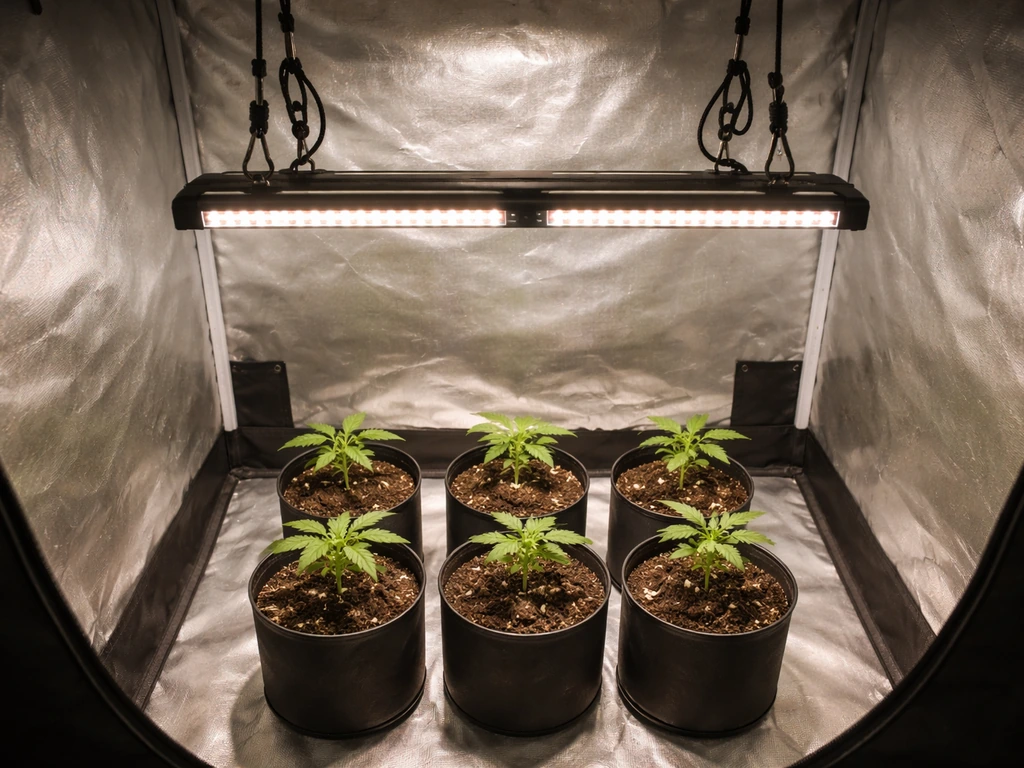
The bar-style Likesuns fixture is designed to hang horizontally above your canopy. The adjustable rope hangers let you raise or lower the light easily as your plants grow, which is genuinely useful and something you will be doing regularly.
- Identify your hanging points. For a grow tent, hook directly onto the crossbars at the top. For an open shelf or room ceiling, install screw hooks rated for at least twice the weight of the fixture. The bar covers a 5×5 ft area for veg and a 4×4 ft area for flowering, so position it centered over your grow space.
- Thread the adjustable rope hangers through the hanging hook kits. Both ropes should be the same length so the bar hangs level. An unlevel bar throws light unevenly across the canopy.
- Attach the hanging hook kits to the ends of the grow light bar using the mounting points built into the fixture.
- Clip or hook the rope ends onto your ceiling anchor or tent crossbar.
- Set the initial height. For seedlings or new clones, start at the top of the 0.5–1.5m (roughly 20–60 inch) recommended range. A good starting point is 24 inches (about 60 cm) above the canopy. Adjust down gradually as plants mature and you confirm they are not showing stress.
- Before connecting power, give the whole rig a gentle tug to confirm it is secure. A falling light can destroy a crop and is a serious safety hazard.
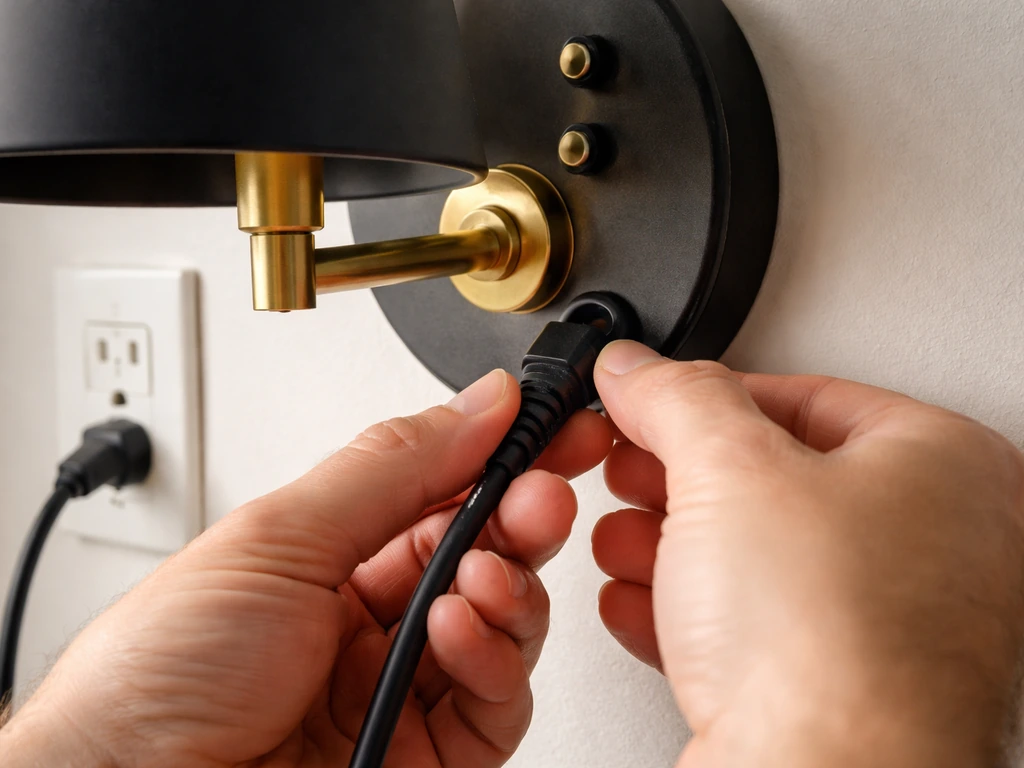
Wiring and controls: power, switches, dimmers, and timers
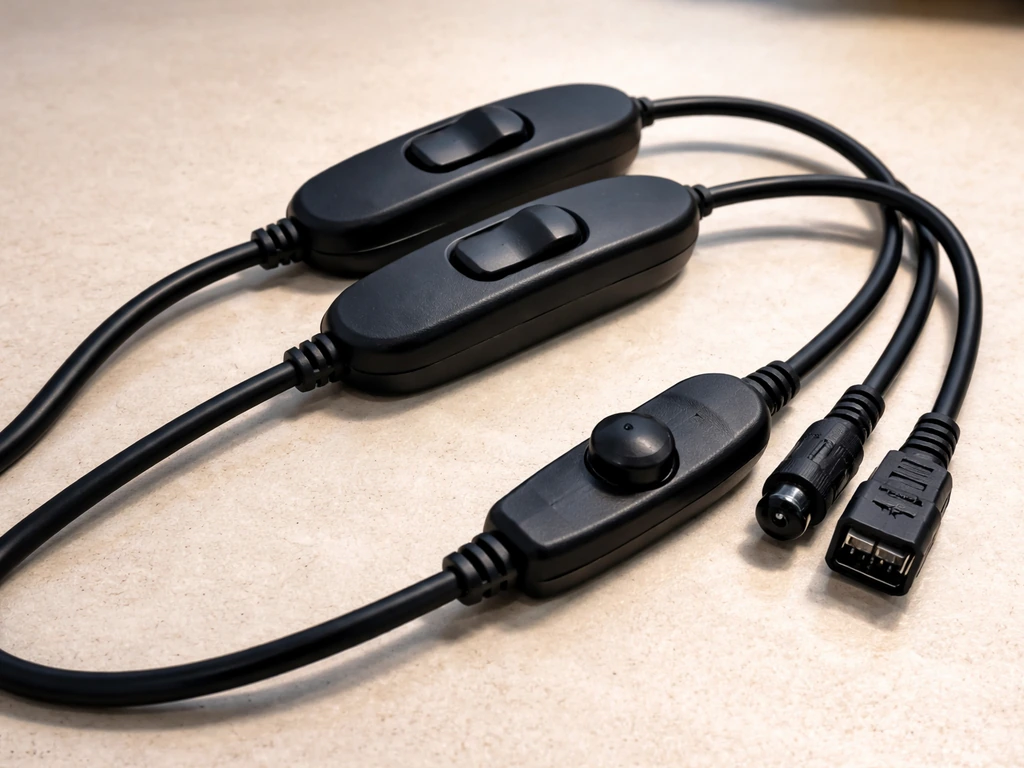
The Likesuns Double Switch bar uses 0–10V or PWM dimming, which means dimmer control is done either through an inline knob on the power cord or an external 0–10V controller depending on the exact model you received. Growers Network forum users discuss how 0, 10V dimming controls can vary in compatibility with horticultural LED fixtures and controllers, including whether any “0, 10V dimming” device will work 0–10V or PWM dimming. Check your unit's cord for a rotary dial or slider, that is your dimmer. If you have a separate controller box, it plugs into a dedicated port on the fixture.
The 'Double Switch' name refers to the two independent switches on the fixture or controller that let you run different parts of the light spectrum or intensity zones separately. On most setups, one switch controls the full-spectrum LEDs and the other controls a secondary channel (sometimes a veg or bloom-biased grouping). For general use, run both switches on simultaneously for full output.
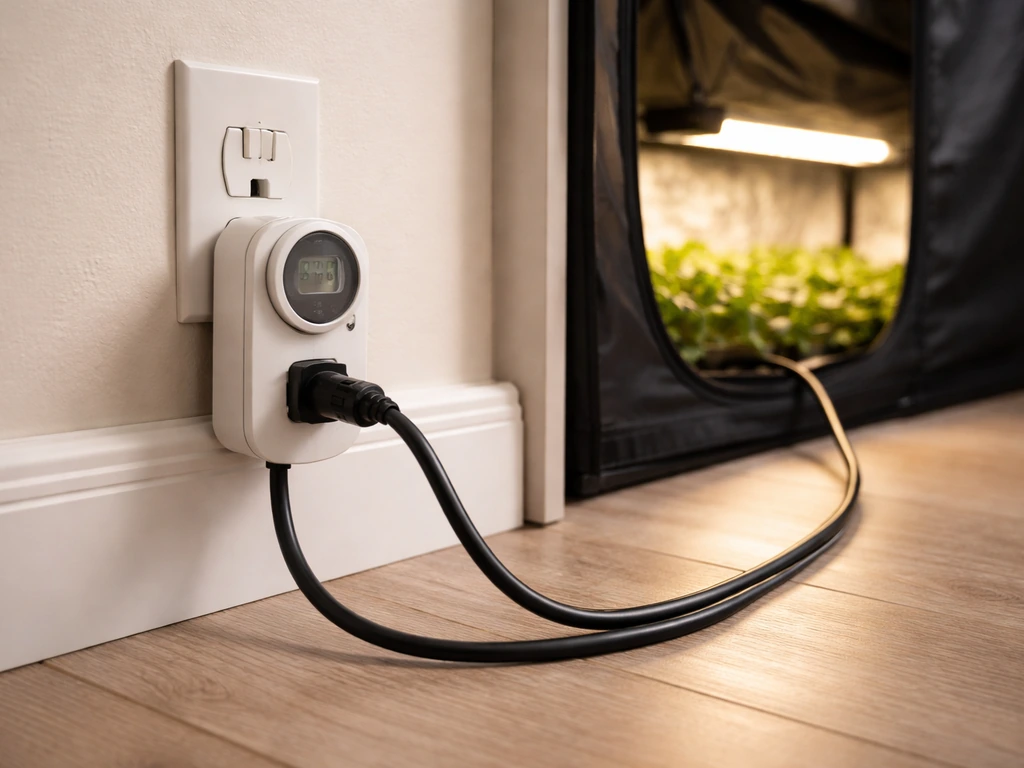
Connecting a timer
Plug your outlet timer between the wall socket and the grow light's power cord. Do not plug the light directly into the wall if you want automated scheduling. Set your timer's ON window based on the plant stage schedules in the section below. Mechanical timers work fine, but a digital timer with a backup battery is more reliable since a power blip will not reset your schedule.
Dimmer settings by stage
Do not run new seedlings or freshly transplanted clones at 100% intensity. Start at 50–60% and increase by about 10% every few days as plants acclimate. Established plants in veg can handle 75–100%. Flowering plants typically do best at full intensity provided the distance is correct. If you notice bleaching (leaves near the light turning pale or white), either raise the bar or reduce the dimmer setting.
Placement and distance: getting canopy spacing right
Getting the height wrong is the single most common mistake beginners make with LED grow lights. Too close and you bleach or stress the plants. Too far and they stretch toward the light and grow weak, leggy stems.
The Likesuns bar-style fixture has a 120-degree light distribution angle and a recommended working range of 0.5–1.5 meters (20–60 inches) above the canopy. The specific sweet spot depends on the growth stage and your dimmer setting. Here is a practical starting table:
| Growth Stage | Recommended Height Above Canopy | Dimmer Setting |
|---|---|---|
| Seedlings / clones | 20–24 inches (50–60 cm) | 40–60% |
| Vegetative | 18–24 inches (45–60 cm) | 75–100% |
| Flowering / fruiting | 12–18 inches (30–45 cm) | 100% |
For the 320W bar model, the footprint covers 5×5 ft during veg and tightens to 4×4 ft for flowering (where you want higher intensity over a smaller, more productive zone). If you are growing in a 4×4 tent, you are right in the sweet spot for flowering coverage. For a 5×5 tent you can still run this light for veg but you may notice slightly softer light intensity at the corners.
If you have the 1000W panel-style model instead, the core coverage is 42×42 inches (about 3.5×3.5 ft) with a maximum spread of 65×65 inches (about 5.4×5.4 ft). Use the core coverage number for flowering and the max number as your veg footprint estimate.
One thing worth knowing: the spec sheet lists a maximum distance of 24 inches (0.6m) from plants in one section and a broader range of 0.5–1.5m in another. Treat 24 inches as the practical upper limit for good intensity delivery, and use the 1.5m figure only as a physical clearance maximum when the light is not yet at operating height.
How long to run the light: schedules for every stage
Likesuns specifies a suggested continuous working time of 10–16 hours per day, and the per-stage recommendations fit neatly inside that window. These are the schedules to follow:
| Stage | Daily Light Hours (On) | Dark Hours (Off) | Notes |
|---|---|---|---|
| Seedlings | 16–18 hours | 6–8 hours | High-light window helps early stem development; keep intensity lower via dimmer |
| Vegetative | 10–12 hours | 12–14 hours | Some growers run up to 18 hrs for veg, but 10–12 is the Likesuns recommendation |
| Flowering | 8–10 hours | 14–16 hours | Most flowering plants need consistent uninterrupted dark to trigger and hold bloom |
| Fruiting | 7–8 hours | 16–17 hours | Reduced light period supports ripening in many fruiting species |
One thing that trips people up with flowering plants: the dark period needs to be truly dark. Even a small light leak (like a phone charging indicator visible through tent gaps) can interrupt the photoperiod signal and delay or disrupt flowering. Tape up any gaps before you switch to a flowering schedule.
Set your timer to turn the light on at a consistent time each day. Most growers prefer lights-on during daytime hours for their own convenience, but the plants do not care which part of the 24-hour cycle is light versus dark, only that it is consistent.
Troubleshooting common Likesuns LED grow light problems
Most issues with LED grow lights come down to a handful of root causes. Work through these in order before assuming the fixture is defective. If 0, 10V dimming flickers, common commercial causes include wiring polarity mistakes and interference or noise affecting the 0, 10V control leads 0–10V dimming flickers.
Light won't turn on
- Check that both switches on the fixture are in the ON position.
- Confirm the power cord is fully seated at both the fixture end and the outlet end.
- Test the outlet with another device. If the outlet is dead, check your breaker.
- If using a timer, confirm it is programmed correctly and the current time is within the ON window. Override it to manual ON to test.
- Inspect the power cord for visible damage. Do not use a damaged cord.
Flickering or intermittent light
- A loose connection at the power cord port on the fixture is the most common cause. Unplug, reseat the cord firmly, and try again.
- If you are using a dimmer controller, a faulty or incompatible 0–10V controller can cause flickering. Disconnect the dimmer and run the light at full power to isolate the issue.
- Flickering under a mechanical timer can sometimes happen at the moment of switching. If it is only a brief flicker at on/off transition, that is normal. Constant flickering is not.
Overheating or fixture feels very hot
The Likesuns bar uses passive cooling, so the aluminum shell will get warm during operation. That is normal and by design. However, if the fixture feels extremely hot to the touch or if you notice a burning smell, check these things: confirm there is at least 6 inches of clearance above the fixture so heat can rise away from it, make sure the fixture is not resting against anything (tent fabric, walls), and confirm room temperature is not already very high. In a sealed tent without ventilation, ambient temps can climb fast and compound heat buildup. Add an exhaust fan if you are not running one.
Dimmer not responding or not changing intensity
- Make sure the dimmer control port on the fixture is connected if you are using an external 0–10V controller. An unconnected controller will not do anything.
- If the inline knob on your cord does not seem to change output, turn it slowly across its full range. Some units have a noticeable step at the bottom of the dial before output drops.
- Confirm both switches are ON. Running only one switch can make it seem like the dimmer is only partially working.
Timer not working as expected
- Confirm the current time on the timer is set correctly. A timer with the wrong clock time will trigger on/off at the wrong hours.
- On mechanical (dial) timers, make sure the ON and OFF pins are physically pushed in and not skipped.
- If the light runs continuously even when the timer should be in the OFF window, the timer may be in override/manual mode. Check for a manual ON switch on the timer body and set it back to AUTO.
Uneven plant growth under the light
If plants on the edges are stretching or are noticeably smaller while center plants look fine, the light is probably too high or the coverage area is too large for the fixture's output. Lower the bar by 2–4 inches and check again in 48 hours. If one side of the canopy is outgrowing the other, the bar is not hanging level. Adjust the rope hangers until the fixture is perfectly horizontal.
Tuning after the first week: dialing in for real growth
The first week is mostly about watching and making small adjustments. Do not change too many things at once or you will not know what actually made the difference.
Every day for the first week, look at the tops of your plants closest to the light. Healthy veg growth means compact internodal spacing (nodes close together on the stem), green leaves without any yellowing or bleaching, and leaves pointing slightly upward, not curling down. Leaves curling downward or edges turning crispy are usually signs of too much light intensity or heat stress. Raise the bar 2 inches or reduce the dimmer by 10% and reassess.
If plants are stretching (long gaps between nodes, leaning toward the light), they need more intensity. Lower the bar, increase the dimmer setting, or both. Make one change at a time and give it 48 hours before deciding it is not working.
What to monitor and log
- Light height above canopy (measure each time you adjust)
- Temperature directly under the light at canopy level (target 70–85°F / 21–29°C during the light period)
- Any yellowing, bleaching, or curling on the top leaves
- Internodal spacing on new growth (getting tighter or longer than last check?)
- Timer on/off accuracy (spot-check a couple of times in the first week)
If you picked up the 1000W model that included a thermometer in the box, use it at canopy level rather than at room level. Temperature at the canopy can be several degrees higher than ambient, especially under a passive-cooled fixture with no fan moving air downward.
Daisy-chaining multiple fixtures
If you are running more than one Likesuns unit in the same space, you can daisy-chain them for simplified wiring. The hard limit is four fixtures per chain. Exceeding that creates a safety hazard at the connections and risks tripping breakers or worse. If you need to cover a larger area than four fixtures can handle on one chain, split them onto separate circuits.
How this fits with other grow lights you might be comparing
The setup process for Likesuns is pretty similar to other bar-style and panel LED grow lights in this category. If you are also comparing Sunblaster systems for your garden, follow the sunblaster grow light garden instructions for the best starting height and stage-based timing. If you have also looked at options from Vivosun, Juhefa, or Sunraise, the core workflow is the same: hang, set height, dial intensity, set timer, observe. If you are using a Vivosun 600W LED grow light as well, check the vivosun 600w led grow light manual for the exact settings and setup steps. If you are using a Sunraise grow light, you can follow the same core workflow: hang it at the right height, dial intensity, set your timer, and then observe how your plants respond. If you are using a Juhefa Grow Lights model, the same workflow applies: hang it at the right height, set stage-based intensity, and use a consistent timer schedule. The main differences are in actual wattage, coverage footprint, and what controls come included. The Vivosun VS1000 and Vivosun 4000, for example, both use similar rope hanger systems and timer-based scheduling, so if you are comparing specs before buying or running multiple brands in one space, the adjustment principles carry over directly. If you specifically have a Vivosun 4000 grow light, use these same height, dimmer, and timer principles from the Vivosun 4000 grow light instructions. If you are following vivosun vs1000 grow light instructions, you can use the same workflow for setting height, dimmer intensity, and timer scheduling based on your plants' stage.
After the first week you should have a stable baseline: the right height, the right dimmer setting for the current stage, and a timer schedule your plants are responding well to. From there, the main ongoing task is raising the bar as the canopy gets taller and transitioning your schedule and intensity when you move from veg into flower. Write down your current settings somewhere physical (a sticky note on the tent works fine) so you have a reference point when something changes and you need to troubleshoot.
FAQ
Can I run the light on a smart plug instead of an outlet timer?
Smart plugs can work for basic on and off control, but avoid ones that have delayed switching, auto-off features, or Wi-Fi “power saving” modes. If you use a smart plug, still set a consistent schedule and verify the light turns on and off exactly on time after any power outage. If your unit needs a dedicated 0–10V or PWM dimming control, the dimmer signal should remain stable, not be reset by the smart plug.
How do I tell whether my fixture is using 0–10V dimming or PWM dimming?
Check the control hardware you received. If you have an external controller with a 0–10V input and a dedicated port on the fixture, it is likely 0–10V. If your cord has an inline rotary dial or slider that directly adjusts brightness without a separate controller box, that setup is commonly PWM-based. When in doubt, do a simple test: set the dimmer low and observe whether the brightness changes smoothly and predictably across the range, not just in on and off steps.
What spacing should I use between multiple lights in the same tent?
Use coverage as your guide, but also leave overlap room for even intensity. In practice, if each light is specified for a 4×4 flowering footprint, avoid placing tents rows so far apart that plants end up in “edge-only” zones. If you do need a compromise, keep all fixtures on the same dimmer level and hang height, then fine-tune after 48 hours by checking the canopy closest to each fixture for bleaching or stretching.
Is it safe to run the fixture 16 hours or longer during veg?
The article’s suggested continuous window (10–16 hours) is a practical limit for typical home setups. If you go longer, increase observation for heat buildup and canopy stress, especially with passive cooling in a sealed tent. A good rule is to keep intensity slightly conservative when extending hours, then adjust dimmer rather than pushing the light fully at longer schedules.
My plants look fine, but the timer keeps resetting. What should I check?
First confirm the timer is actually rated for the grow light’s power draw and that it is installed securely, not in a loose power strip. If the schedule resets after brief outages, swap to a digital timer with a backup battery. Also check whether the fixture’s dimming controller is powered through the same outlet the timer controls; some controllers expect to retain settings.
What should I do if the canopy is uneven, but the bar is hanging level?
If the light is level but one side still stretches or lags, look for airflow differences and plant positioning. Passive-cooled lights can create uneven microclimates if one side of the tent has stronger airflow or different temperatures. Rotate the plants or adjust vent placement, then reassess after 48 hours before changing height or dimmer again.
How close can I place the fixture to the plants safely?
Use the height guidance as the primary rule, but also respect clearance for heat. If the practical spec mentions a 24-inch figure for good intensity, treat that as your upper limit for aggressive closeness, not a default target. Keep at least about 6 inches of clearance above the fixture for heat to rise, and do not allow the fixture to touch tent fabric or nearby walls.
Do I need to measure temperature at the canopy every time I troubleshoot?
Yes, at least when something changes, like moving the light height, adding another fixture, or increasing schedule length. Canopy temperature can be higher than room temperature, especially with passive cooling. Place the thermometer or sensor at canopy level and compare before and after adjustments, so you know whether your problem is intensity-related or heat-related.
My tent has light leaks, but I cannot find the crack. How do I confirm darkness for flowering?
Do a quick “darkness test” by turning off the grow lights and then observing from inside the tent using your eyes after a few moments (your eyes adjust). If you can see any indicator LEDs through seams, zippers, or gaps, tape or cover them. Avoid relying only on your outside view, because small internal reflections can still interrupt the photoperiod.
Can I daisy-chain more than four fixtures on one run?
Do not exceed four fixtures per chain. Even if they light up, pushing past the limit increases risk at the connections and can trip breakers or cause overheating at the wiring. If you need more coverage, split fixtures across separate circuits, and keep each chain within the stated maximum.
Should I start seedlings at the same height as veg plants?
Usually no. Even if height is correct, start intensity lower (the article recommends 50–60%) and expect seedlings to acclimate more slowly. Keep the same general working range, but after the first couple of days check for leaf edge stress or bleaching, and then make one adjustment at a time, height first or dimmer second.
How long should I wait before deciding the problem is not fixable?
For most LED height and dimmer adjustments, reassess after about 48 hours. Changing multiple variables at once makes it hard to identify the cause, and plant responses can lag behind the change. Keep a simple record of your height, dimmer setting, and schedule, so you can correlate the next visible changes to the last adjustment.
Next Article
Sunraise Grow Light Manual: Setup, Controls, Timing, Fixes
Sunraise grow light manual guide for setup, controls, timing, distance, and fixes for common power and brightness issues